7 unnoticed Todoist features you should be using
Todoist is a great productivity app. Having been around for over ten years, there are sure to be features that you don’t know about.
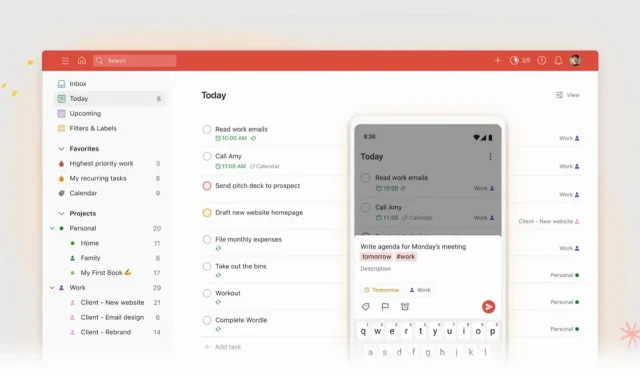
Todoist is one of the oldest task management apps. And the fact that the productivity app has been around for over a decade says a lot about its ability to adapt to keep up with the times. What’s more, Todoist has undertaken a massive redesign project in recent years, and the result is truly amazing across all platforms. Add to that a lot of very useful features borrowed here and there and you have an extremely functional service. But regardless of whether you have been using it for a long time or not, there are probably functions that are still unknown to you, or almost unknown to you.
Learn how to use Smart Typing
Smart typing is one of Todoist’s best kept secrets. The system analyzes what you enter and can initiate appropriate actions. If you type “get milk tomorrow at 8am”for example, the date and time will be highlighted and this information will be added to the task.
It also works for tagging colleagues, projects, filters, or even setting a priority level (from P1, P2, etc.). Use # to identify the project, @ to add a label, and + to assign a contact.
Master the command bar
Almost all productivity apps have a command bar concept. Press Cmd/Ctrl + K and the full search bar will appear. You can enter commands there to create a new note, go to your inbox, or whatever.
Scroll down the list and you will see all the existing actions and their corresponding shortcuts. For example, you can use the Q key to switch to “quick input”mode and the / key to open search. Key?, on the other hand, shows existing shortcuts.
Use the description area to take comprehensive notes
If you’re the type of person who adds a lot of detail to a task, Todoist lets you add a description to any task as you add it. But it’s better to click on the task to expand it completely.
When you are in the Description section, you will see a very complete template. You can highlight any text, format it, and even add links to it. And if you just paste it, Todoist will convert it into a clickable link with the page title.
Moreover, Markdown is present in the game. You can use hash to create subtitles, underline for italics, etc.
Don’t be afraid to scale
Most of these applications are designed to display a large amount of information on the screen and it is difficult to scale all this content. If you want to take a breath or just look at today’s tasks in detail, for example, you’ll love Todoist’s zoom feature.
Select the view, then use the keyboard shortcut Cmd/Ctrl + Plus (+) to zoom in. The text will expand, as will the UI elements. Do this five or six times until the sidebar disappears and you only see the list of tasks. Conversely, use the minus key (-) to zoom out.
Manage your calendar according to your needs
Todoist offers deep integration with Google Calendar in both directions. If you add a task with a start and end time in Todoist, it will appear in Google Calendar. And when you create an appointment in Google Calendar, it shows up in Todoist. With real-time synchronization in both directions.
However, you must manually activate this integration in Settings > Integrations > Overview > Google Calendar > Add.
Turn your to-do list into a Trello board
If you love kanban, Todoist has got you covered. No need for Trello or Asana for an operational workflow. You can turn any project into Tableau. Go to View > Board to set up Kanban. Todoist automatically sorts products into sections. You can click on a section to rename it and you can add sections.
You can also return to the list view at any time.
Use sections everywhere
Just as it is useful to divide tasks into subtasks, dividing projects into sections is very convenient. It’s more useful to do this in your inbox so you can sort tasks into different sections before adding them to a project.
Organizing your tasks in different sections helps to separate things and gain clarity. It’s much easier than having an endless list of tasks in your project list.
Use the “Add Section”button in the menu with three small dots or the S-key shortcut to add a section. Give it a name and start adding tasks by dragging and dropping them.
Leave a Reply