Windows 11: How to enable TPM 2.0 on your Windows 11 PC
Microsoft has begun rolling out Windows 11 to new PCs and laptops that ship with Windows 10. For older hardware, the company says that Windows 11 takes a number of factors into account before shipping a free update, including minimum requirements.
These requirements include the use of a supported AMD or Intel processor, secure boot capability, a minimum of 4 GB of RAM and 64 GB of memory, and TPM 2.0 must be enabled on the device. You can check if your system supports Windows 11 or not by using the official Microsoft PC Health Check tool.
If you are reading this article, you most likely encountered a TPM 2.0 error while installing Windows 11. Here we will guide you on how to enable TPM 2.0 on your computer. If the chip is not present at all on your PC, we will also look at how you can bypass the Windows 11 TPM 2.0 requirement.
How to check if TPM 2.0 is enabled or not
Most laptops and desktops have a TPM (Trusted Platform Modules) chip integrated into the motherboard and enabled by default. If it is not enabled, you will see an error message when you run the PC Health Check Tool. Alternatively, you can check if TPM is running by doing the following:
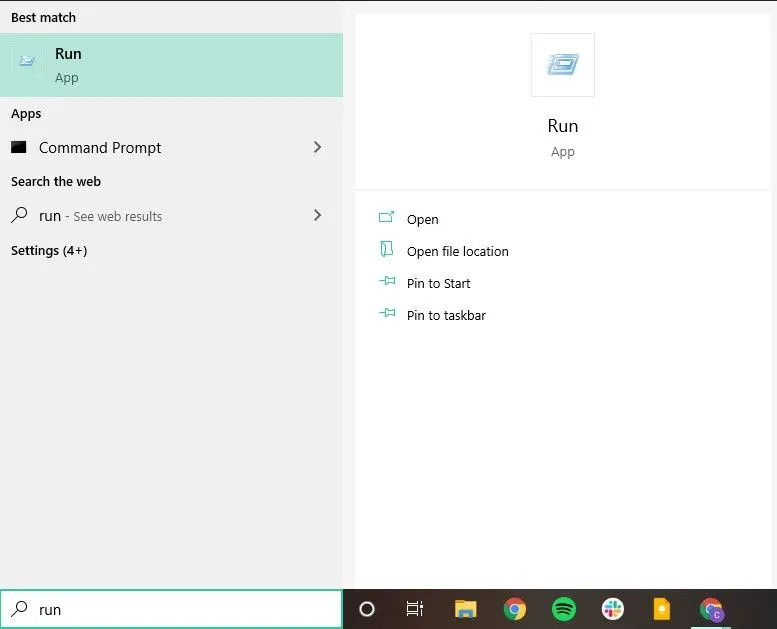
1. Open “Start”and find “Run”or press the keyboard shortcut – Windows + R.
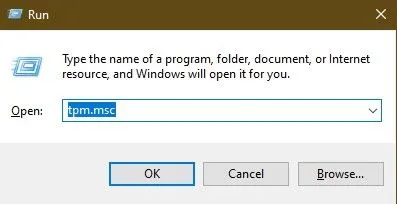
2. Type tpm.msc in the text field and press Enter.
3. Check the TPM status and specification version.
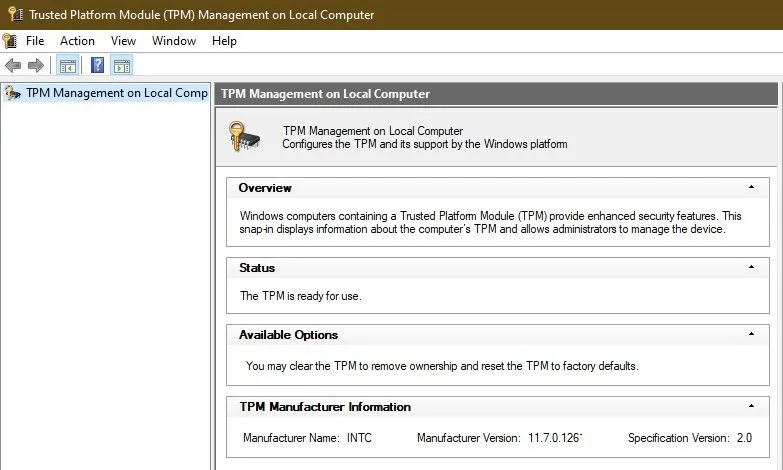
If you don’t see the “TPM ready to use”status, the TPM may have been disabled by default in the BIOS.
Also Read: How to Install Windows 11 on Your Laptop or PC [Complete Guide]
How to enable TPM 2.0 for Windows 11
Your computer may support TPM 2.0 but is not configured for it. In this case, you will have to manually enable TPM in the BIOS settings.
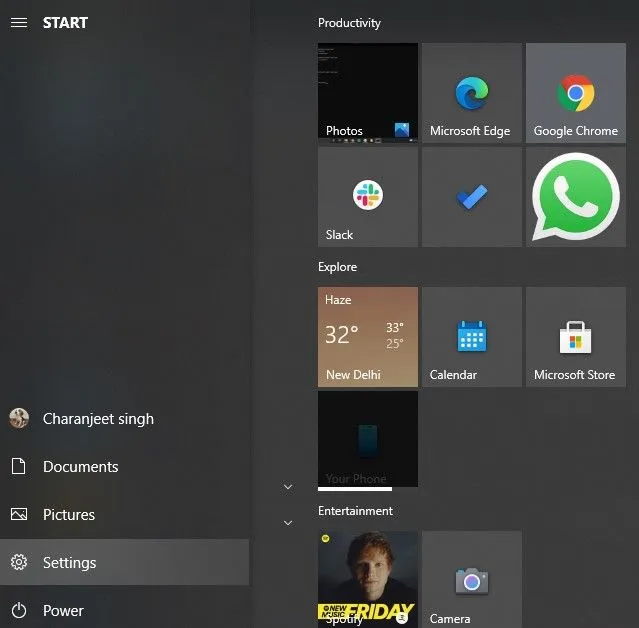
1. Go to Start and open Settings.
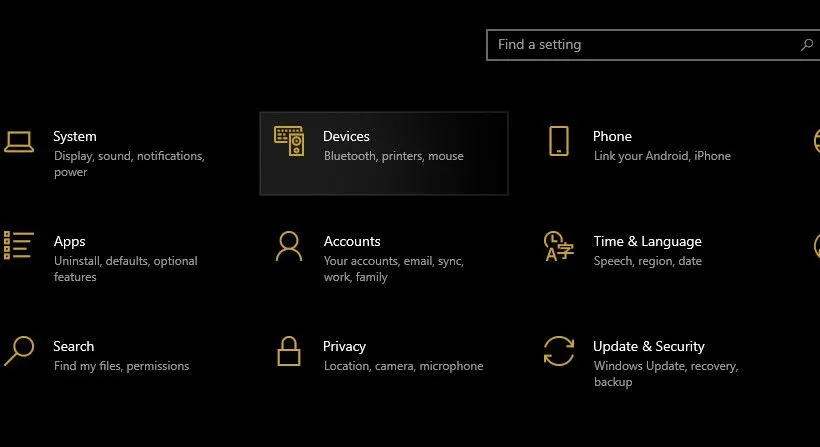
2. Click Update & Security.
3. On the sidebar, click Recovery.
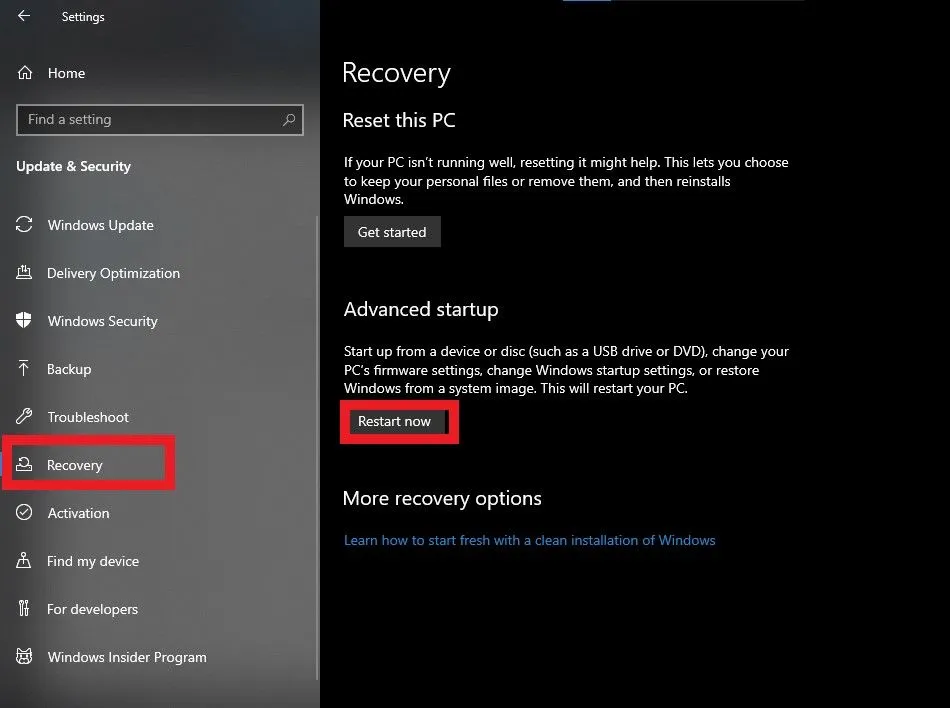
4. Click Restart Now under Advanced Startup.
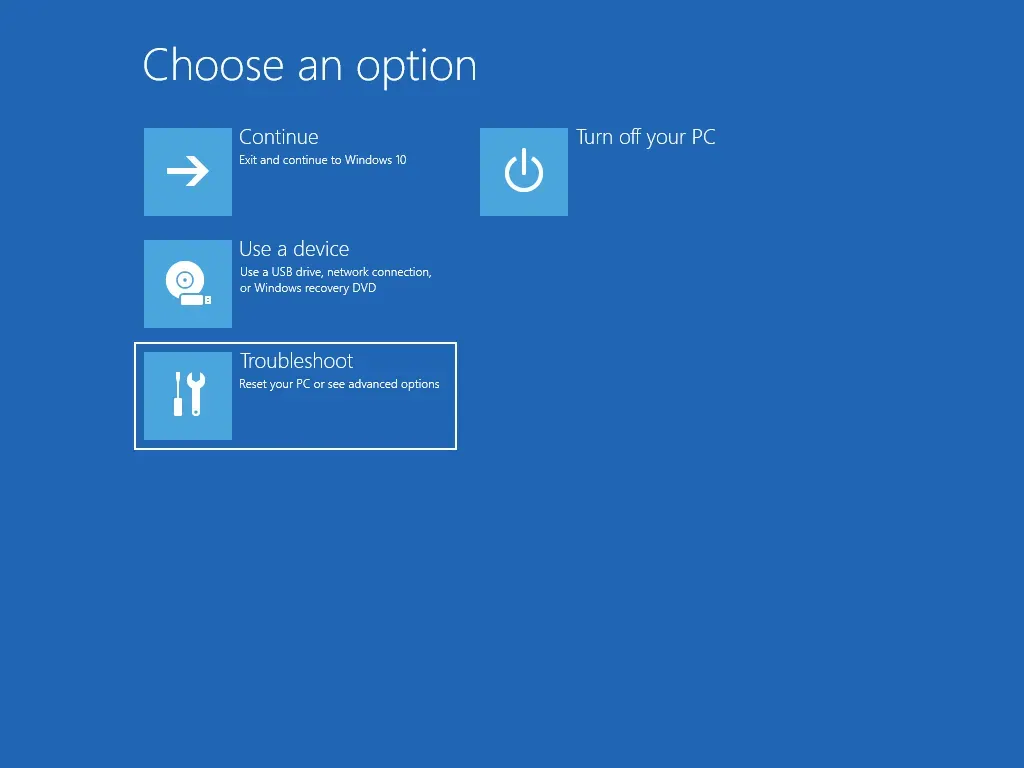
5. Click Troubleshoot, and then click Advanced Options.
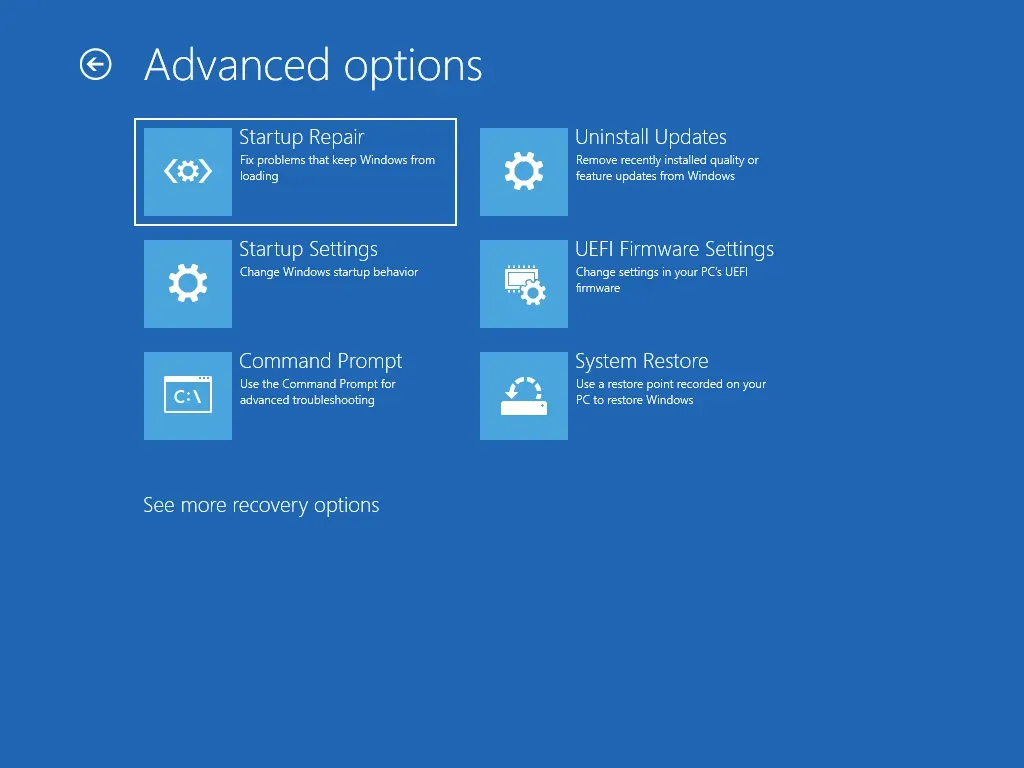
6. Click on UEFI Firmware Settings and click Restart.
7. On the BIOS screen, click the Security tab.
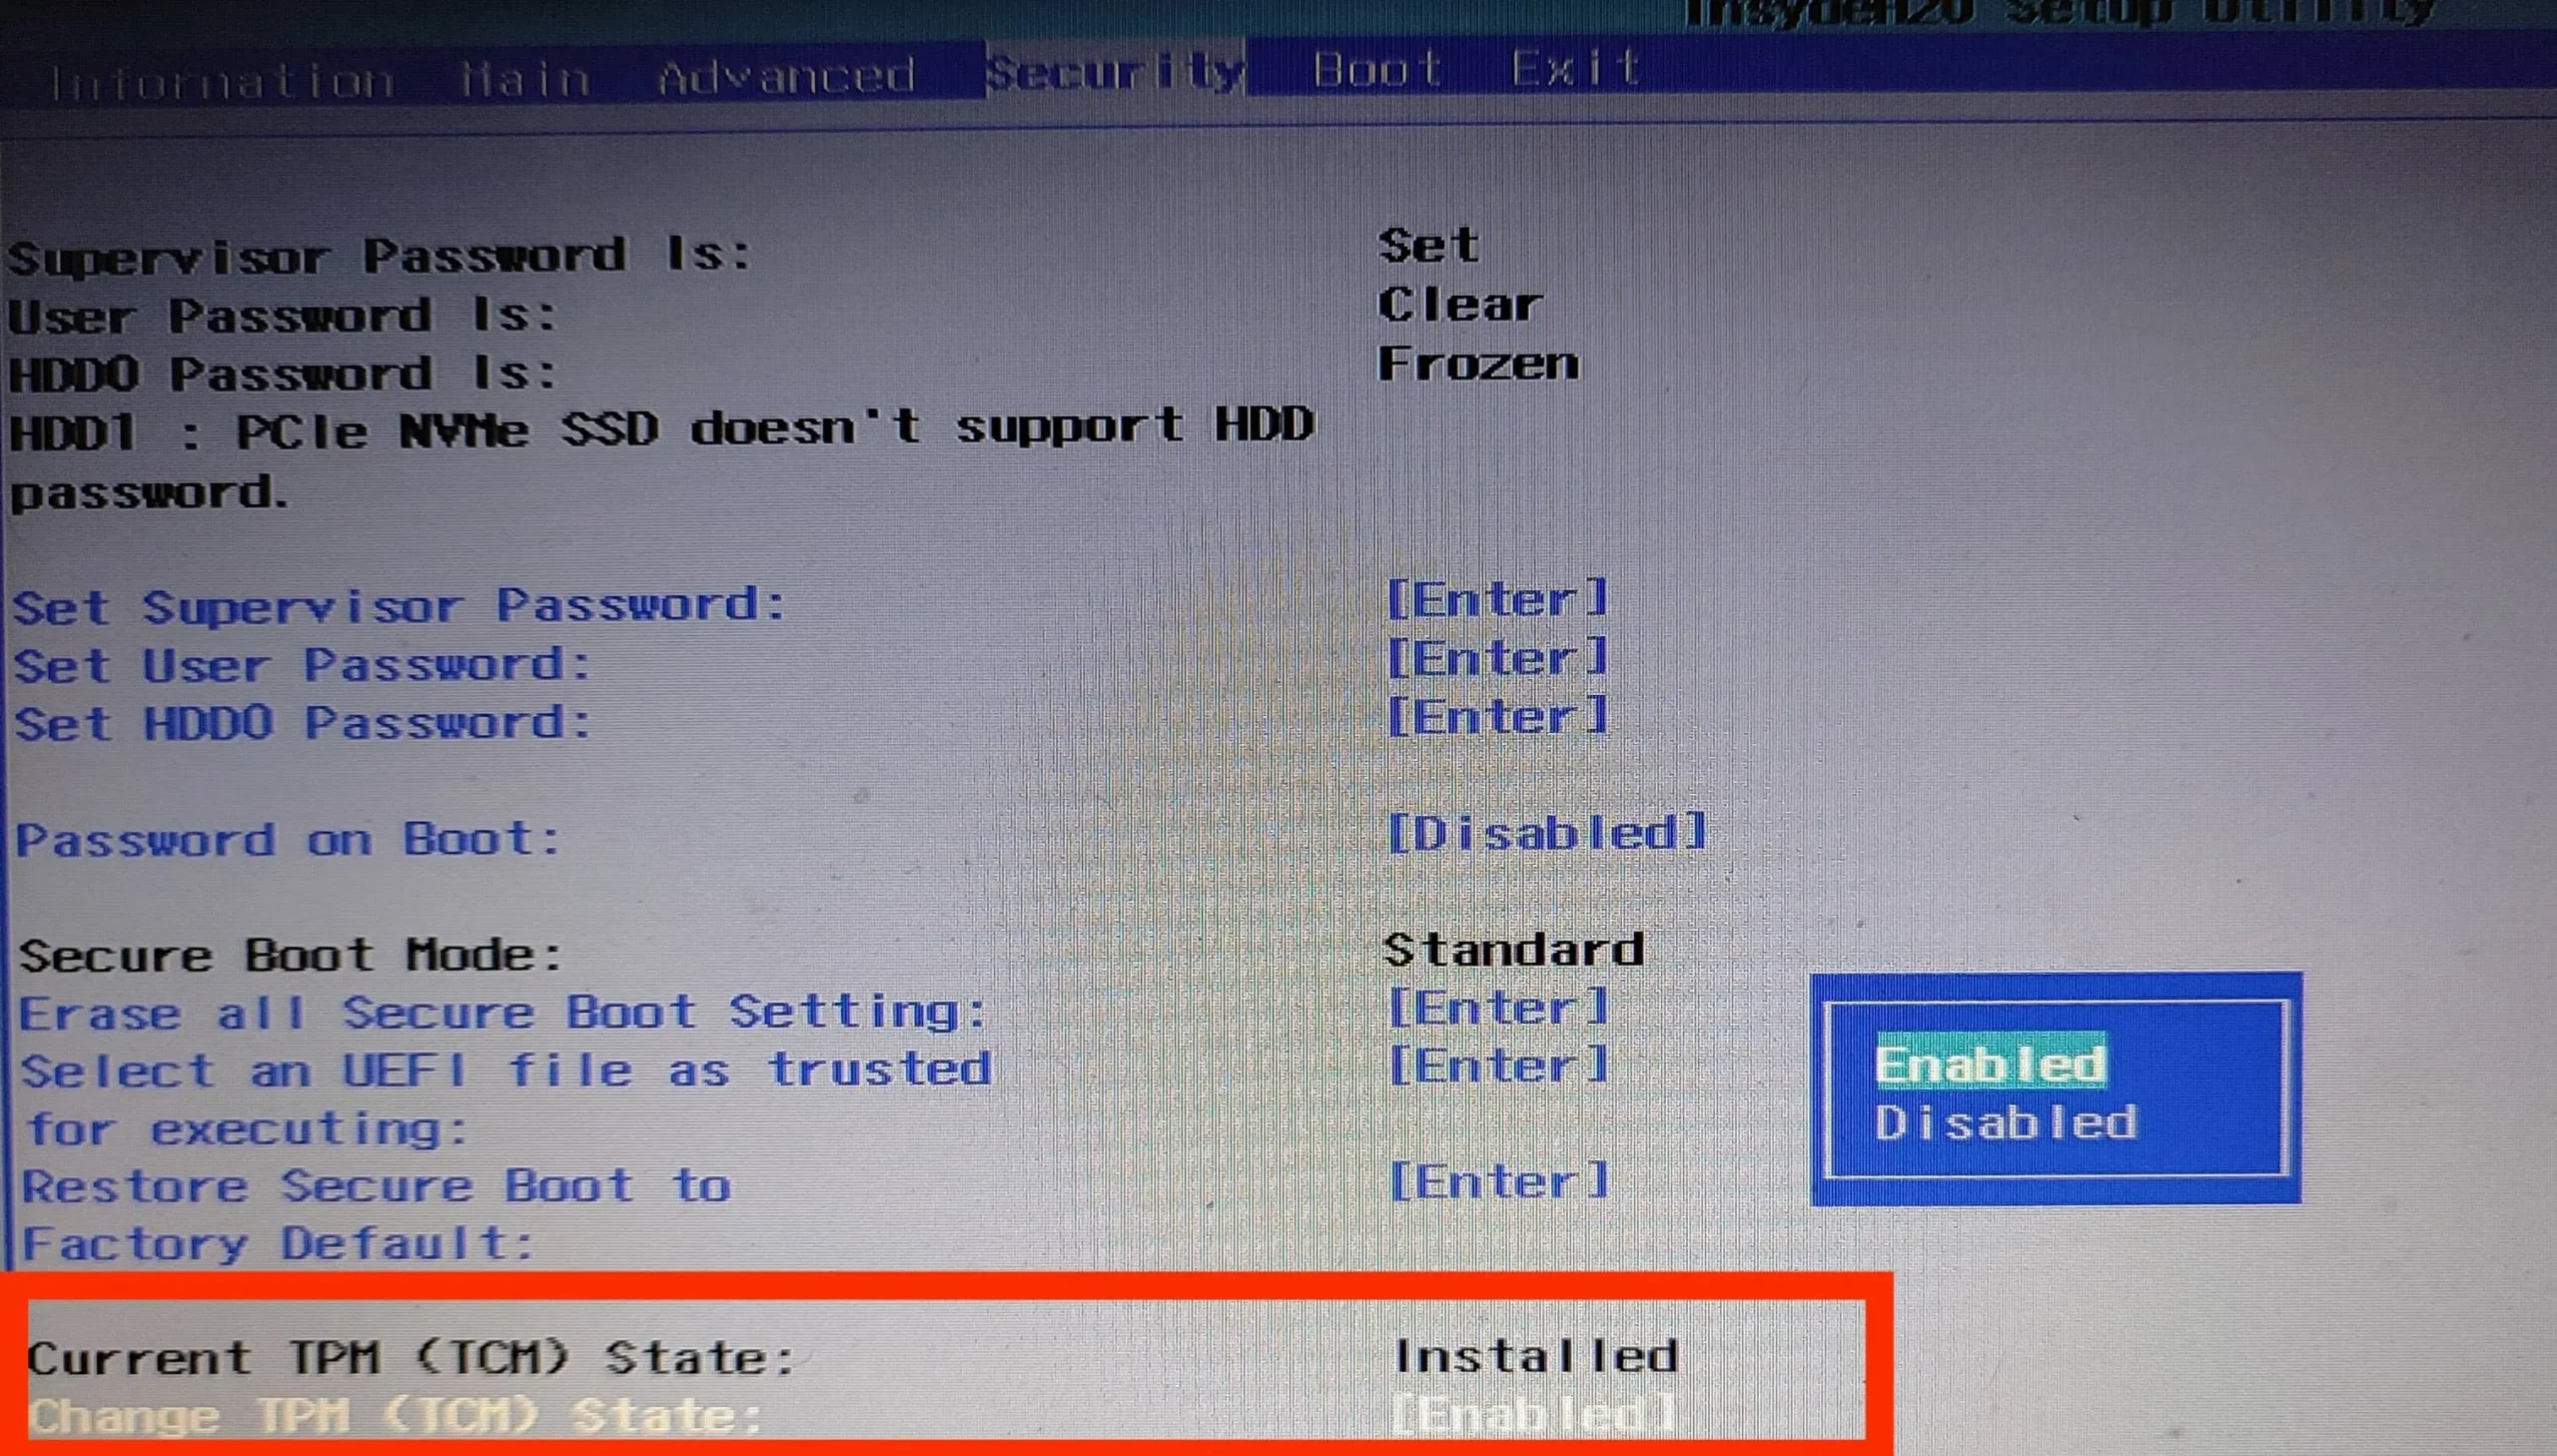
8. Go to the Change TPM State section and press Enter. Select Enabled.
In addition, you can access the motherboard firmware settings by pressing the F12 key several times once your computer starts up. This may be a different key to open the firmware settings depending on the manufacturer of the device.
Please note that the above may vary depending on the manufacturer of the device. But you’ll usually find TPM settings under the Advanced, Security, or Trusted Computing tab. The TPM switch option will be referred to as Security Appliance, Security Appliance Support, TPM Status, AMD fTPM Switch, AMD PSP fTPM, Intel PTT, or Intel Platform Trust Technology.
How to bypass the Windows 11 TPM 2.0 requirement
[For TPM 1.2 and above]
Microsoft offers an official registry hack for people who can’t install Windows 11 due to lack of a TPM 2.0 requirement. With this hack, you can install Windows 11 on unsupported computers that are running at least TPM 1.2. If you have TPM enabled on your device, but it’s not the specific version required to install Windows 11, you can use this registry hack.
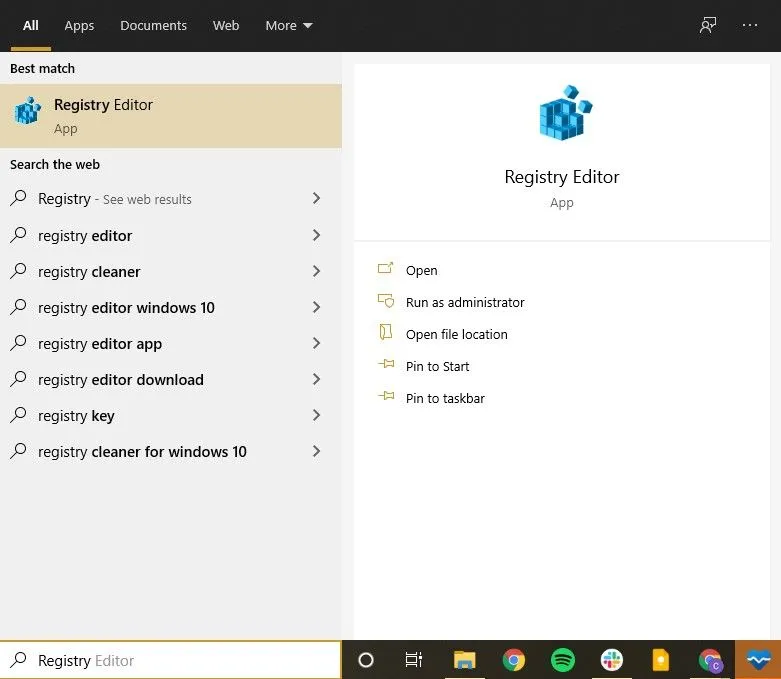
1. Click Start. Find and open Registry Editor.
2. Navigate to the HKEY_LOCAL_MACHINE\SYSTEM\Setup\MoSetup folder.
3. Right-click anywhere on the right pane.
4. Select New, and then select D-WORD (32-bit) from the drop-down menu.
5. Rename the key to “AllowUpgradesWithUnsupportedTPMOrCPU”.
6. Double click the key and set the value to 1.
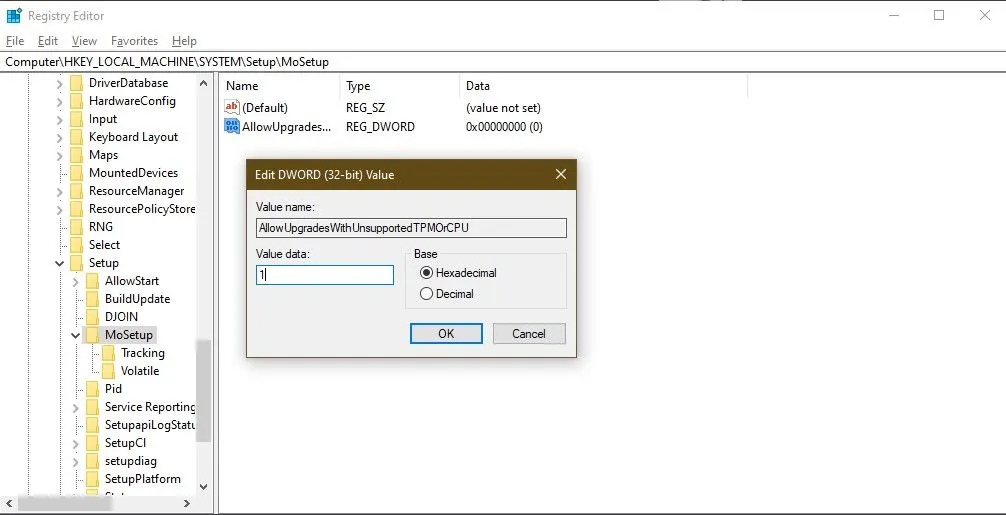
7. Click OK and restart your computer.
[For non-TPM]
If the TPM chip is missing from your Windows PC at all, the following method will work for you. In this case, we will be using a third-party media creation tool that will create a Windows 11 ISO file with TPM detection disabled. Since we are creating an ISO file, this method is useful if you are planning to perform a clean install of Windows 11. Now this is not a problem, here is what you need to do.
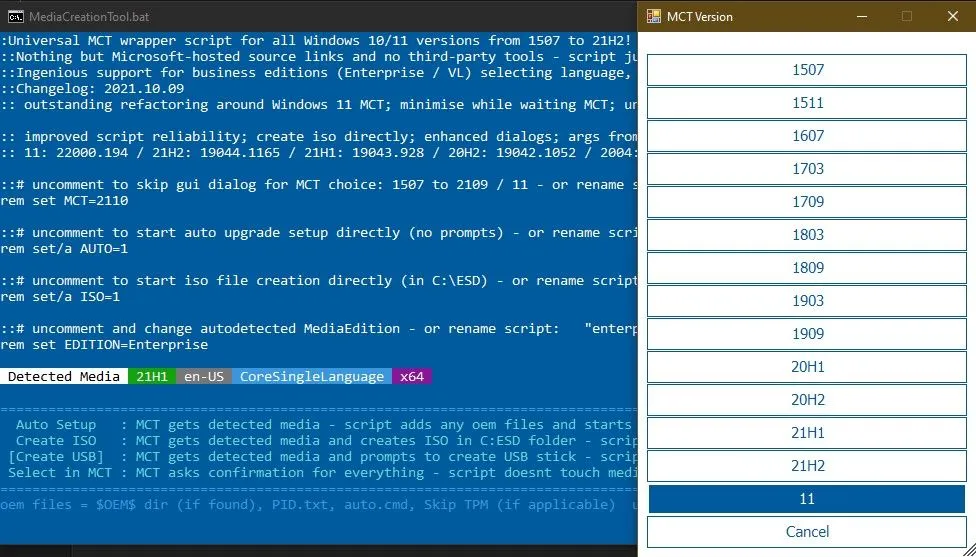
1. Go to the AveYo media creation tool Github page.
2. Click the green Code button and select Download ZIP Archive.
3. Unpack the ZIP file and run the MediaCreationTool bat file.
4. If you encounter a Windows Defender warning, click Details and then Run Anyway.
3. Select 11 in the MCT version.
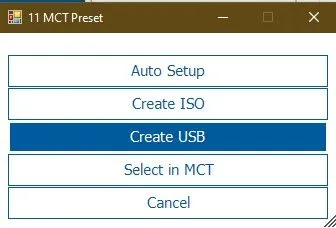
4. In the next window, select “Create USB”or “Create ISO”depending on whether you want to create a bootable Windows 11 USB file or a Windows 11 ISO file.
5. Click Yes to allow PowerShell to open the application.
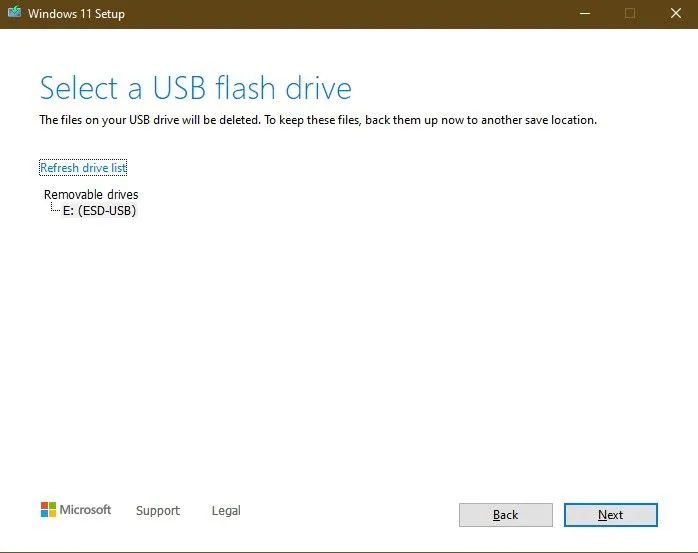
You will then be redirected to the Windows 11 setup program where you can install Windows 11 by creating a bootable USB drive.
Leave a Reply