How To: Easily Record Phone Calls From Your iPhone Or Android Phone With Google Voice For Free
Google Voice has a hidden feature that lets you record any phone call you’re in, and unlike other apps, it doesn’t cost a dime.
When it comes to recording phone conversations, you may think of the worst and associate it with something dark, like obsessive exes and stalkers. In fact, there are more mundane reasons for recording calls on your iPhone or Android phone.
For example, documenting verbal agreements, saving job interviews to discuss with colleagues, holding important meetings where it is imperative not to forget anything, and even accusing someone of a wrongdoing.
While there are a large selection of call recording apps on the App Store and Google Play, almost all of them require you to open your wallet and pay monthly or yearly to use their service. Thankfully, Google Voice is free, but it’s limited to recording incoming calls (not outgoing calls) and will alert the caller or group when you start recording.
Warning: Check Your State’s Consent Laws First
Federal law says that it is possible to record someone or a group of people without their knowledge, as long as you are participating in the conversation and have no criminal or tortious intent. If not, you only need one group member to give you permission. Similar laws exist in Washington DC and 38 states.
However, 12 states require the consent of all parties involved. These are California, Connecticut, Florida, Illinois, Maryland, Massachusetts, Michigan, Montana, Nevada, New Hampshire, Pennsylvania and Washington.
Step 1Install Google Voice (if you don’t already have it)
If you already have the Google Voice app and Google Voice phone number, skip to Step 3 to jump right into call recording. Otherwise, install the app using one of the links below, then skip to Step 2 to set up your Google Voice account.
Step 2: Get a voice number (if you don’t have one)
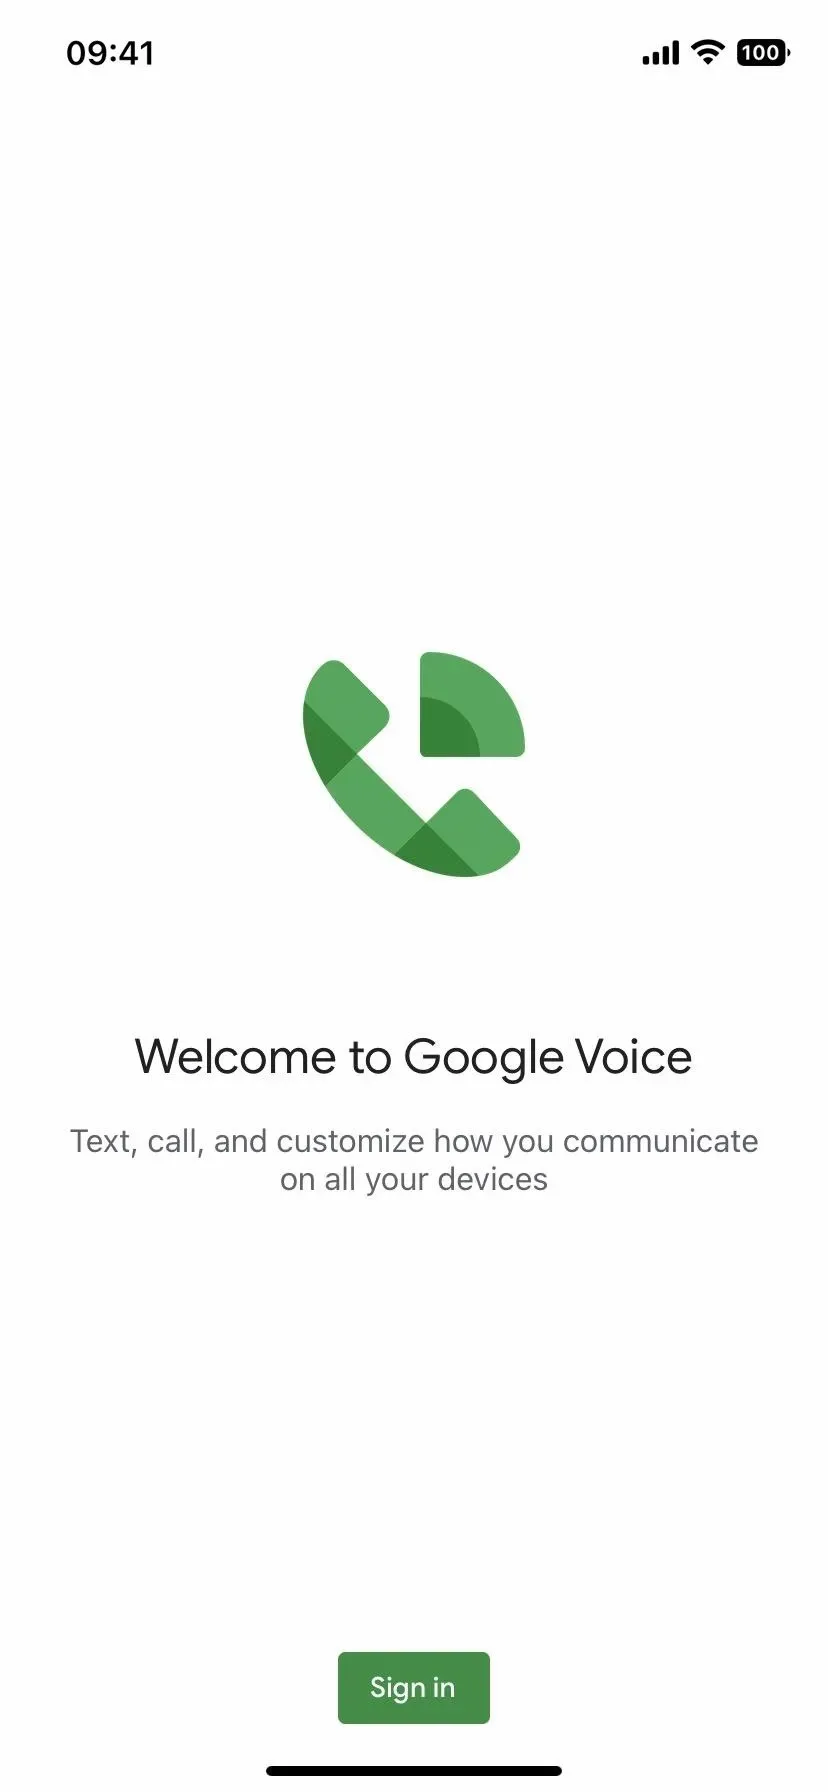
If you already have the Google Voice app and Google Voice phone number, skip to Step 3 to jump right into call recording. Otherwise, open the Google Voice app.
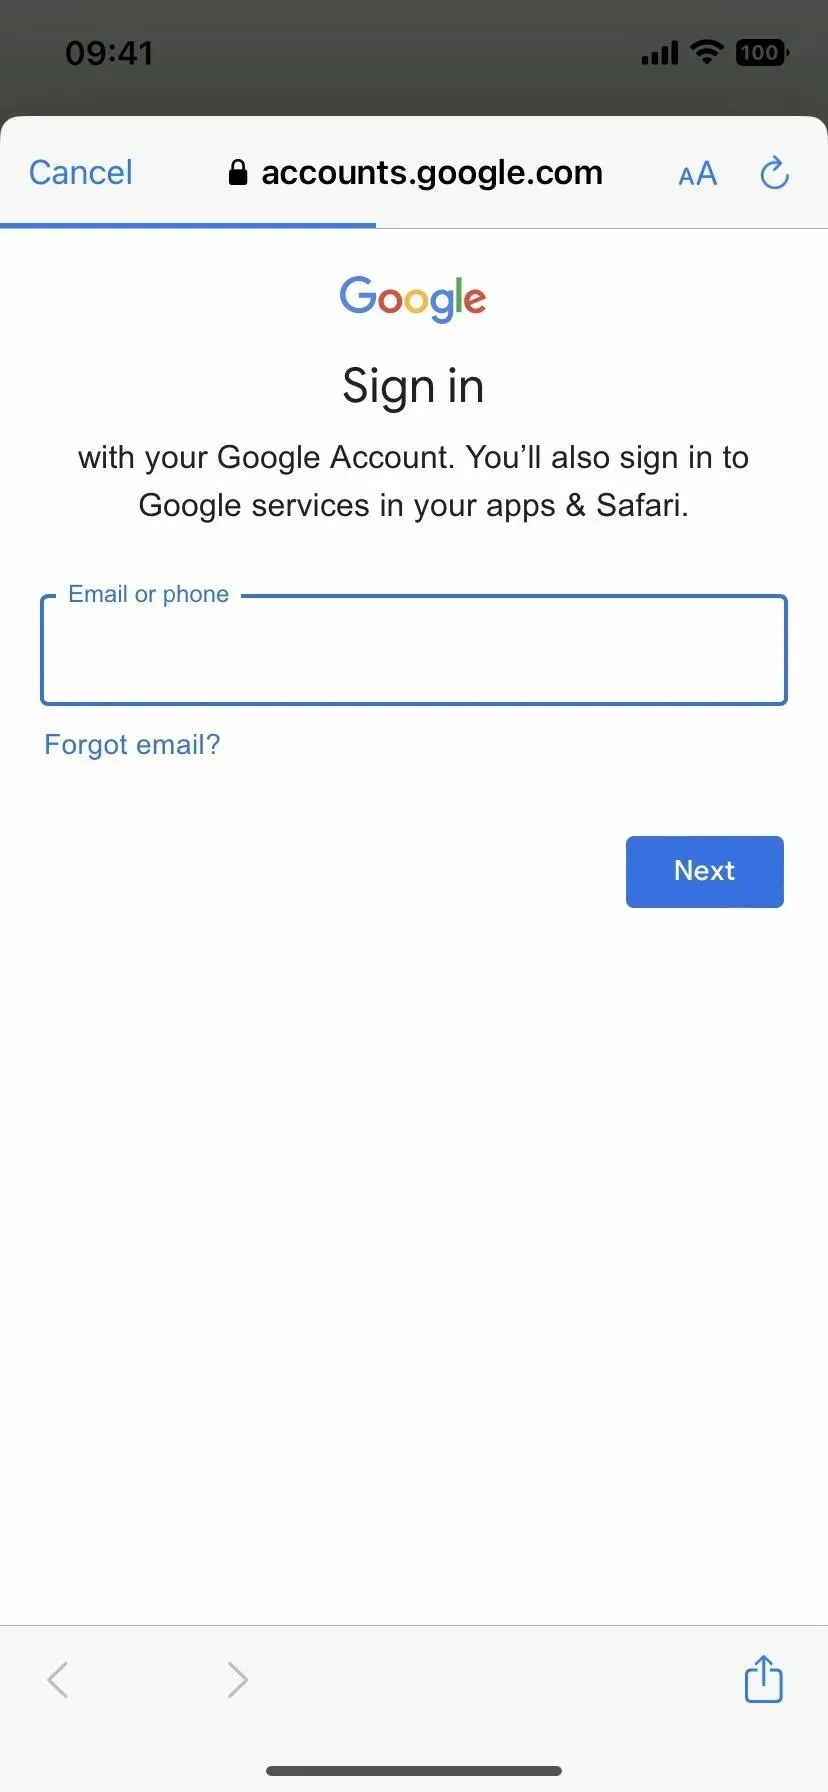
Click “Sign in”to sign in to your Google account just like you would with any Google app. If you’re already signed into your Google account on another Google app, it may automatically use that or ask you to select an account; you can choose “Add account”to change your account, or do it later using your profile icon.
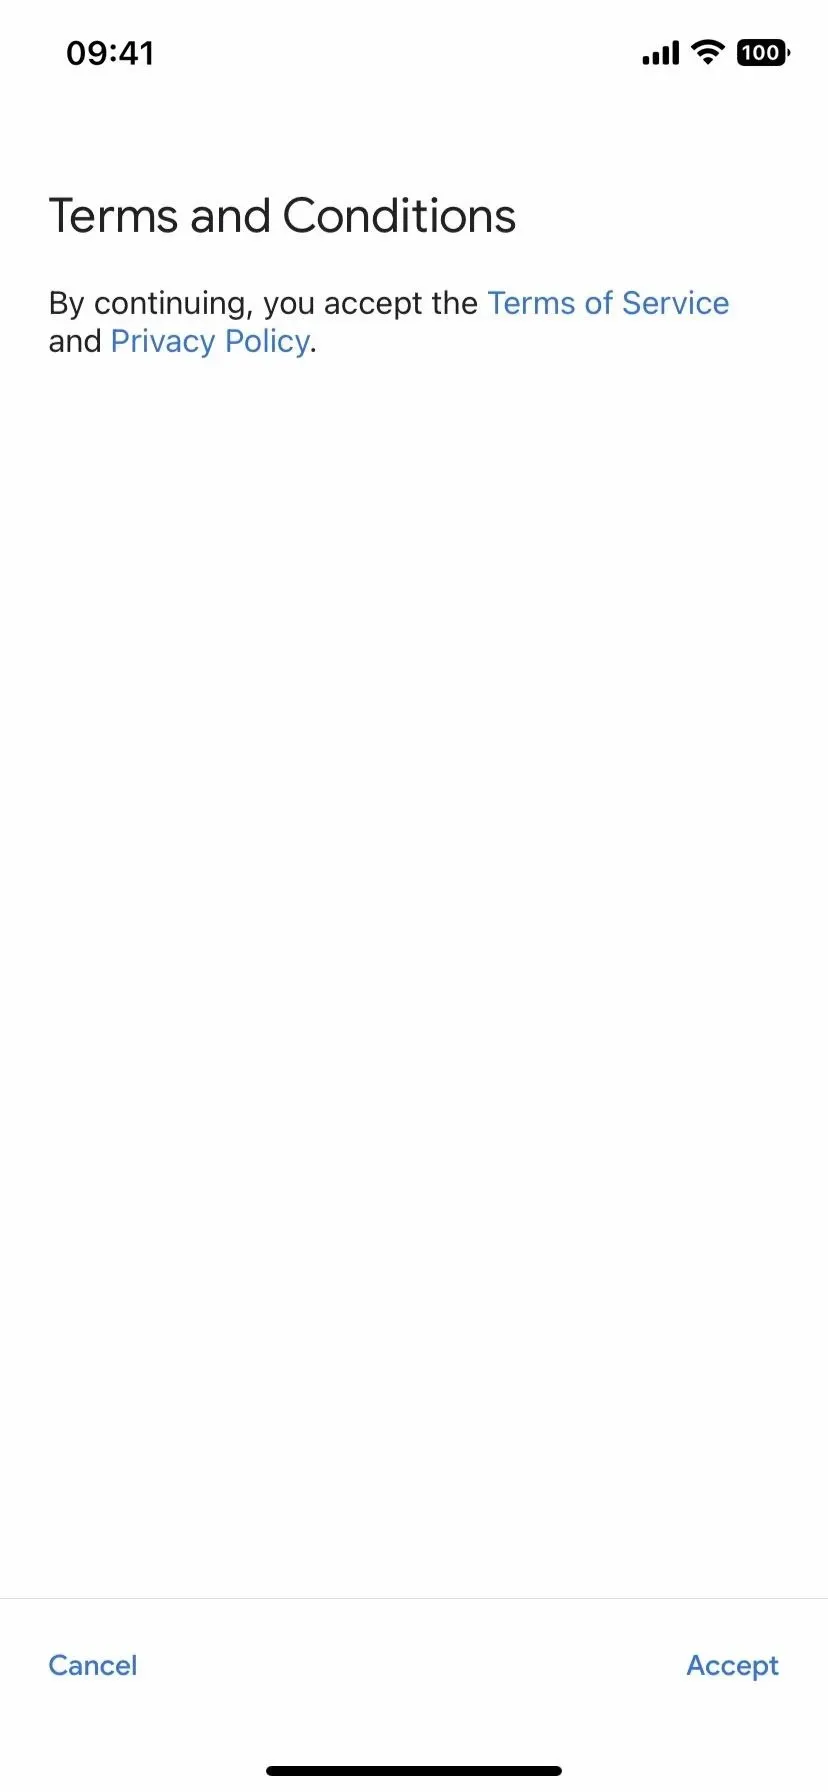
After signing in, read and accept the Google Voice terms of use if you see them by clicking “Accept”.
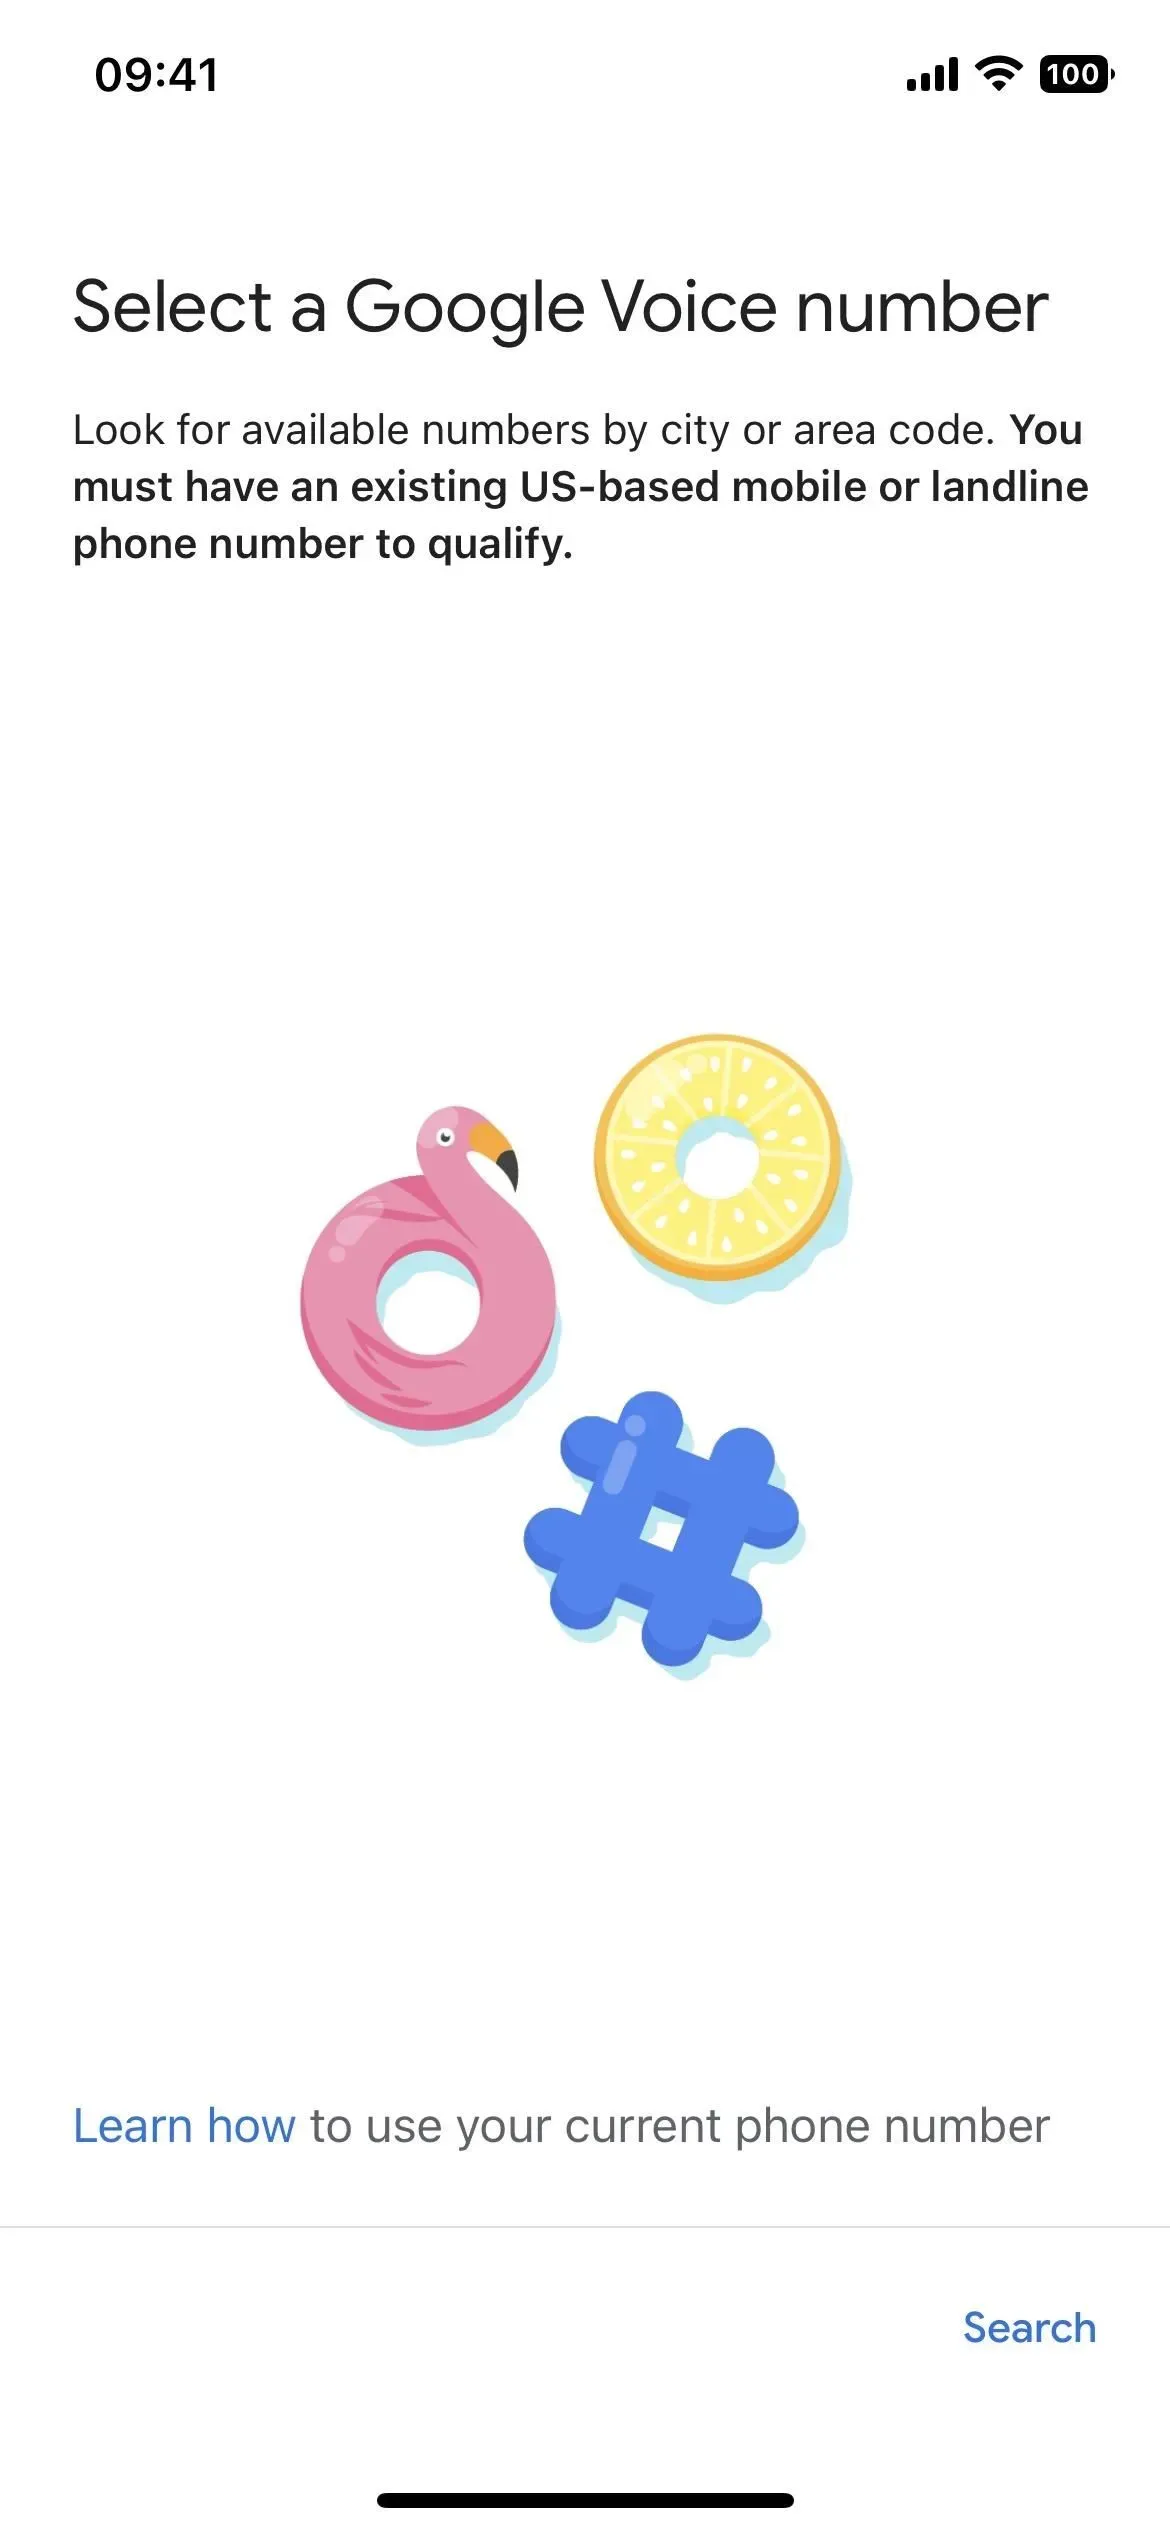
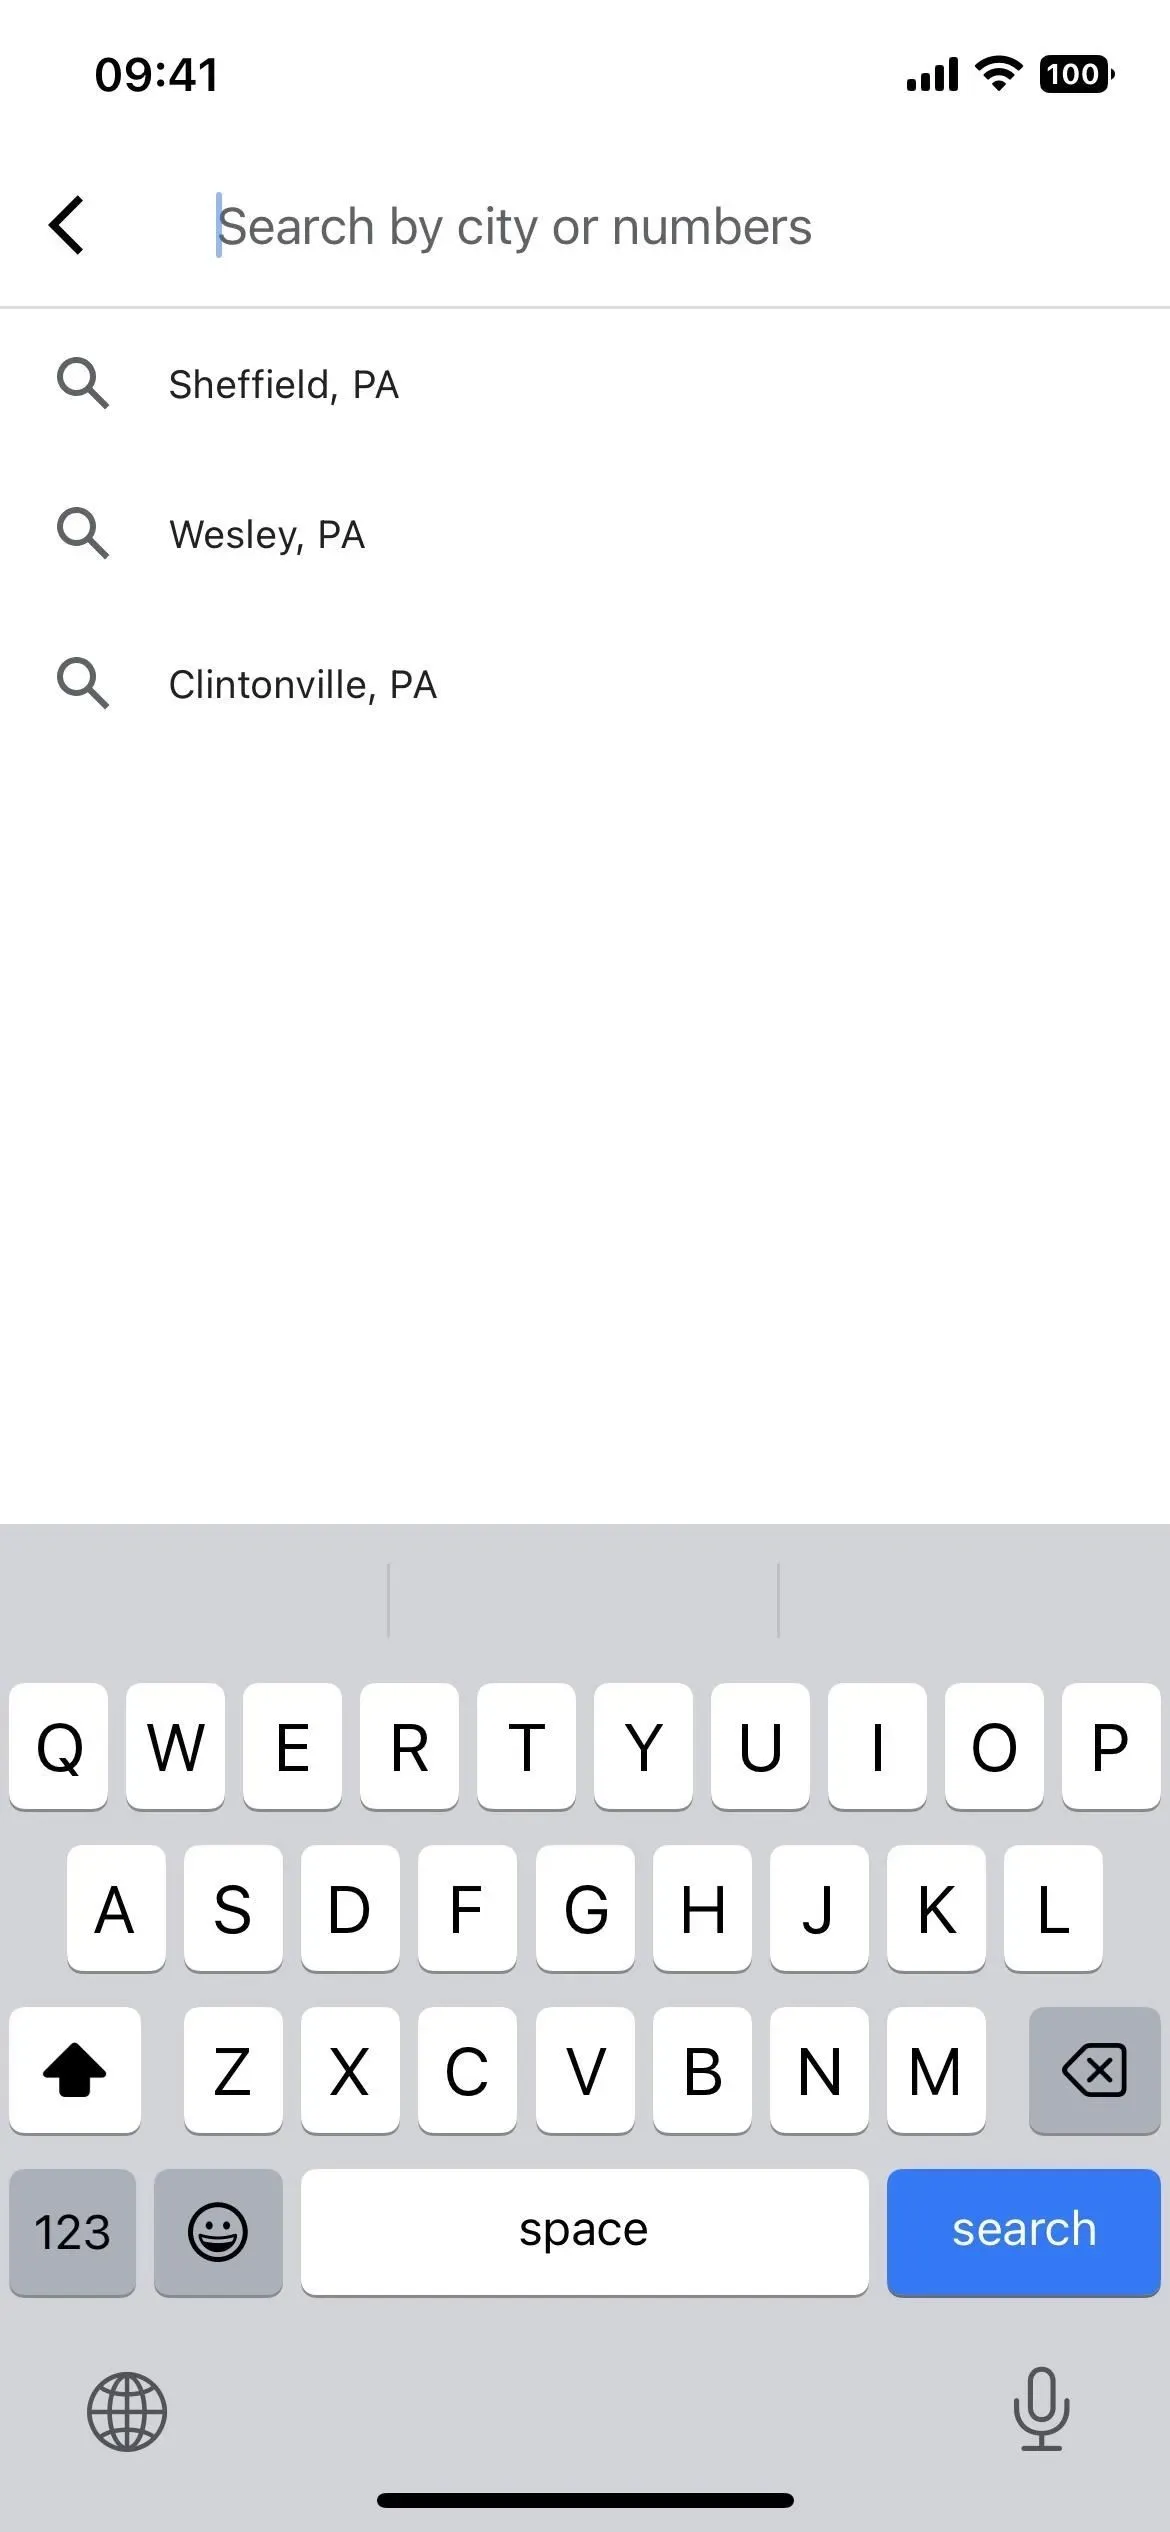
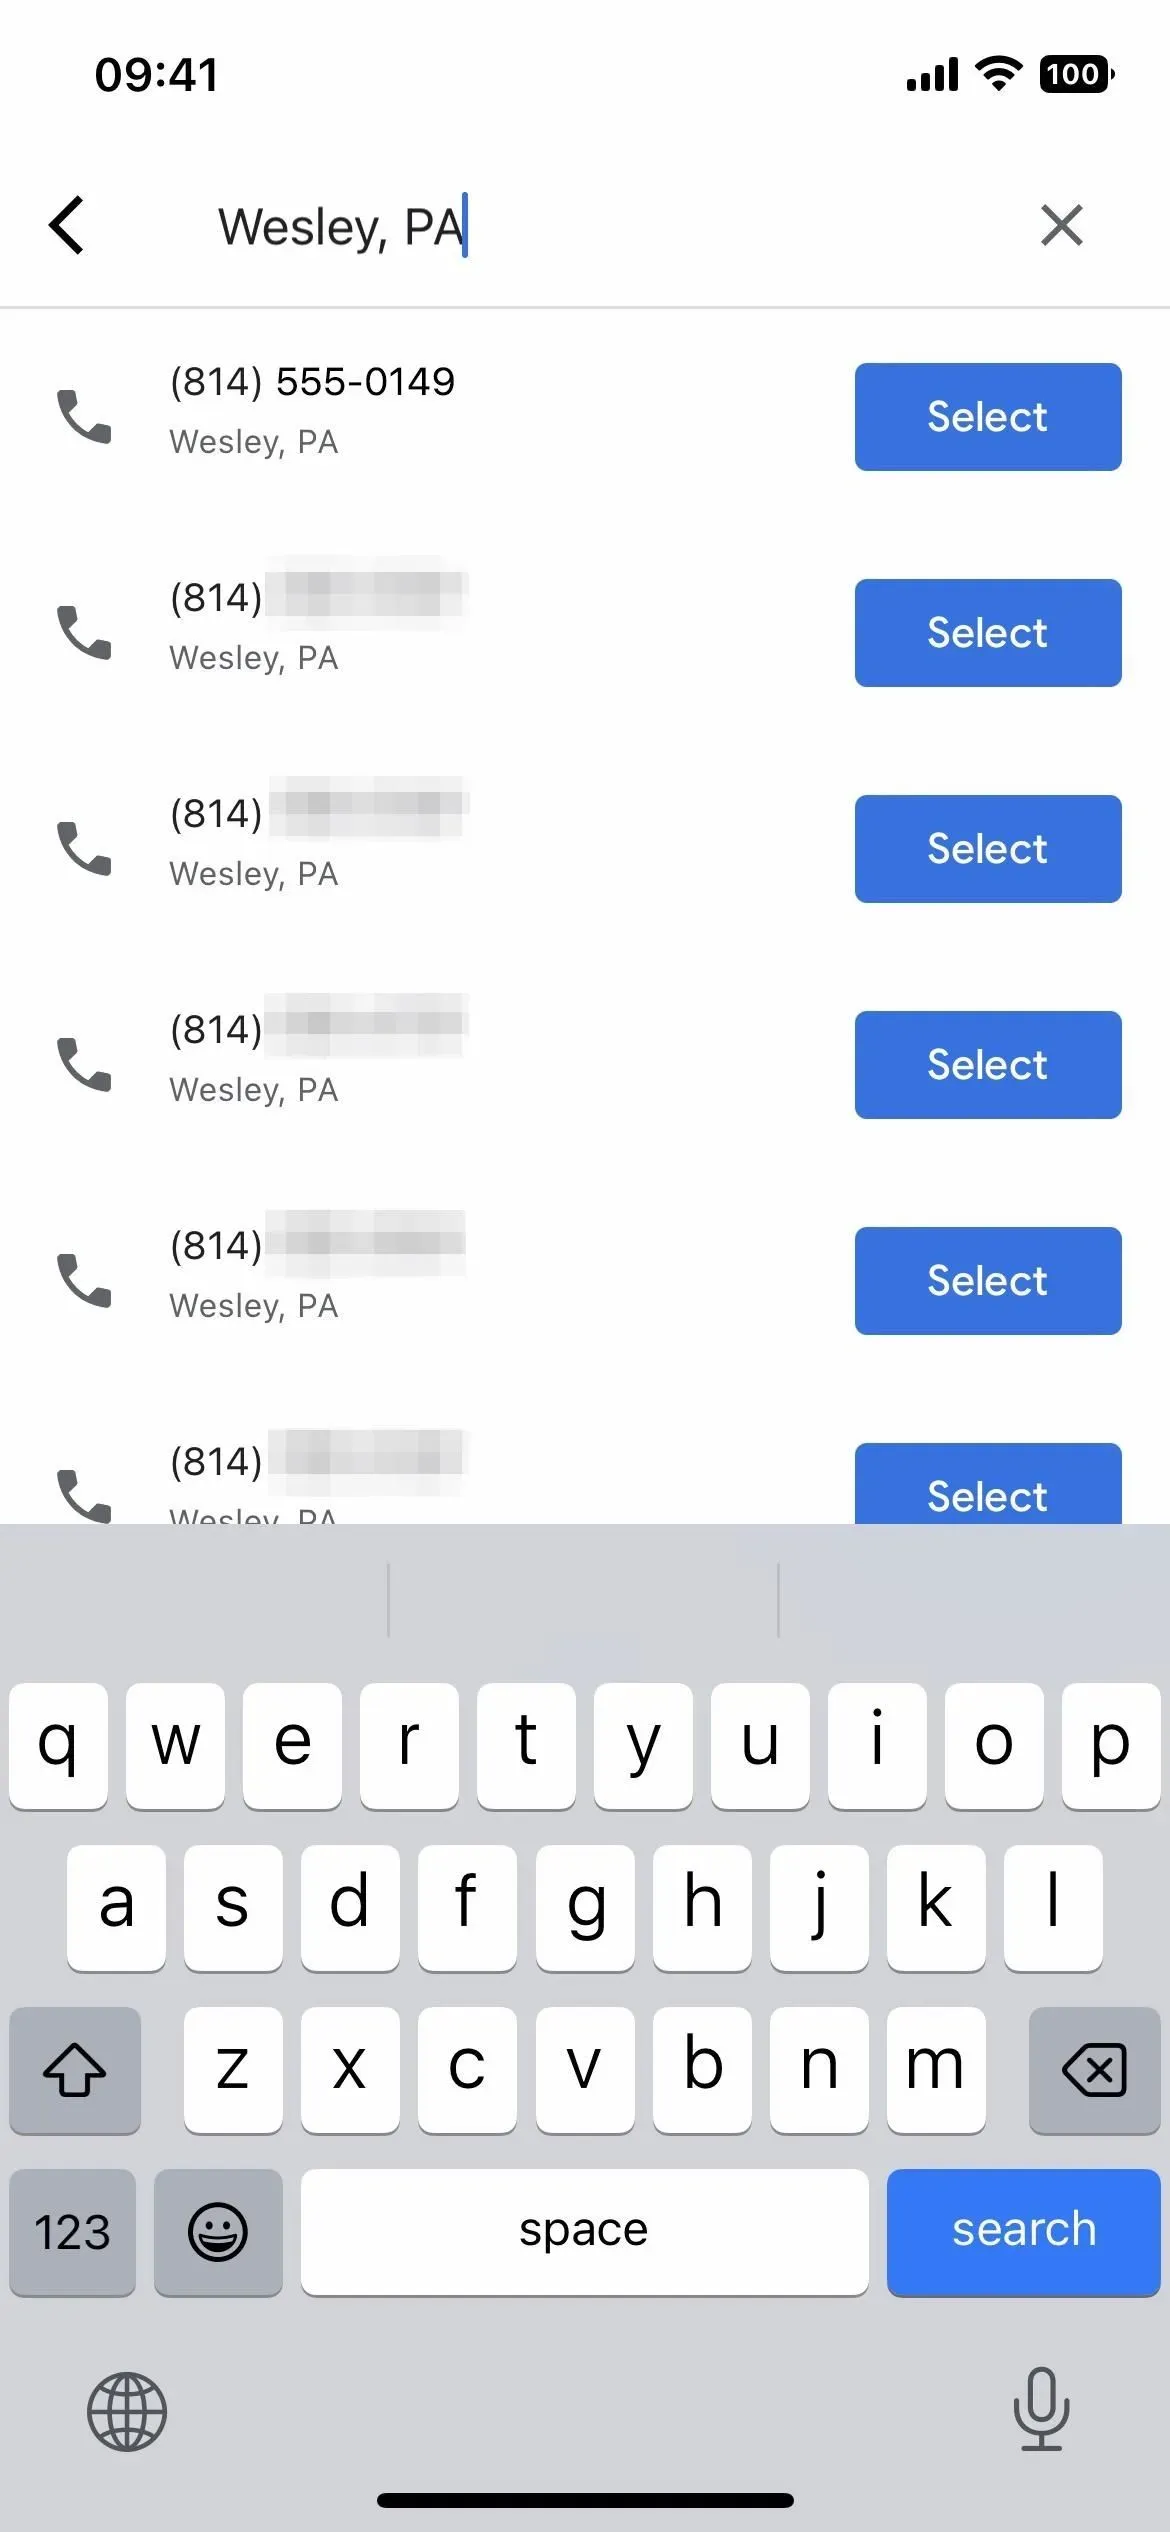
Now click “Search”to select a Google Voice number, search for a specific city in the search field, or select a suggested city and click the recommended number from the list. Once selected, the app will redirect you to a confirmation page.
Note. Google Voice provides a free number that you can use right away, although you can also port your existing number for a one-time fee. However, moving your number will cancel your current plan with your carrier and may result in early termination and other charges. For more information, see the Google Voice number porting help page.
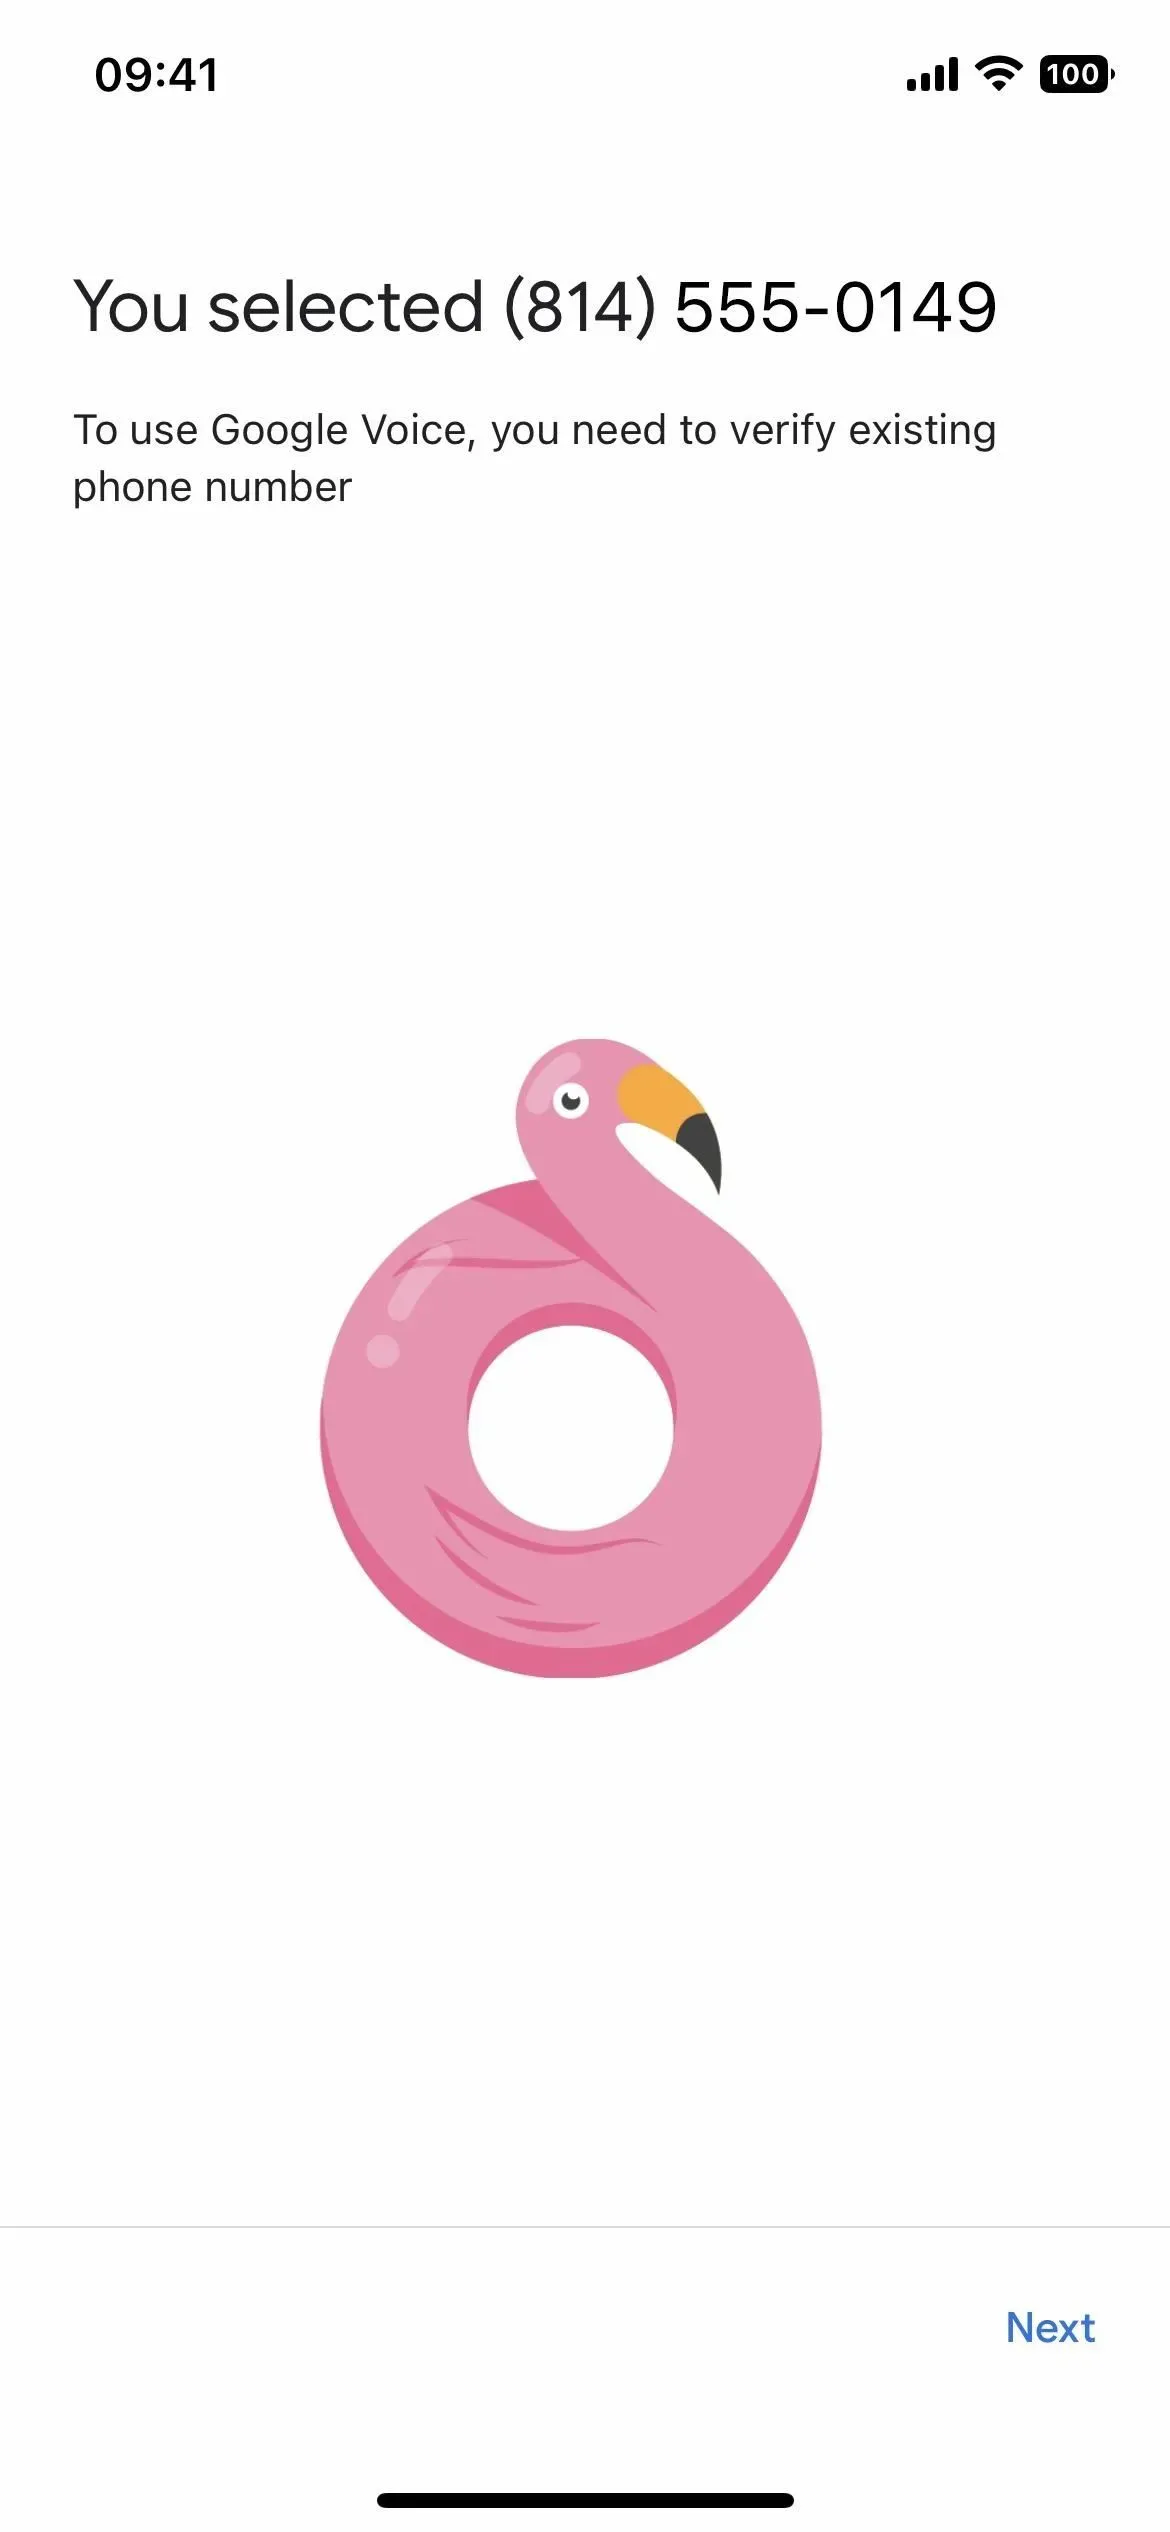
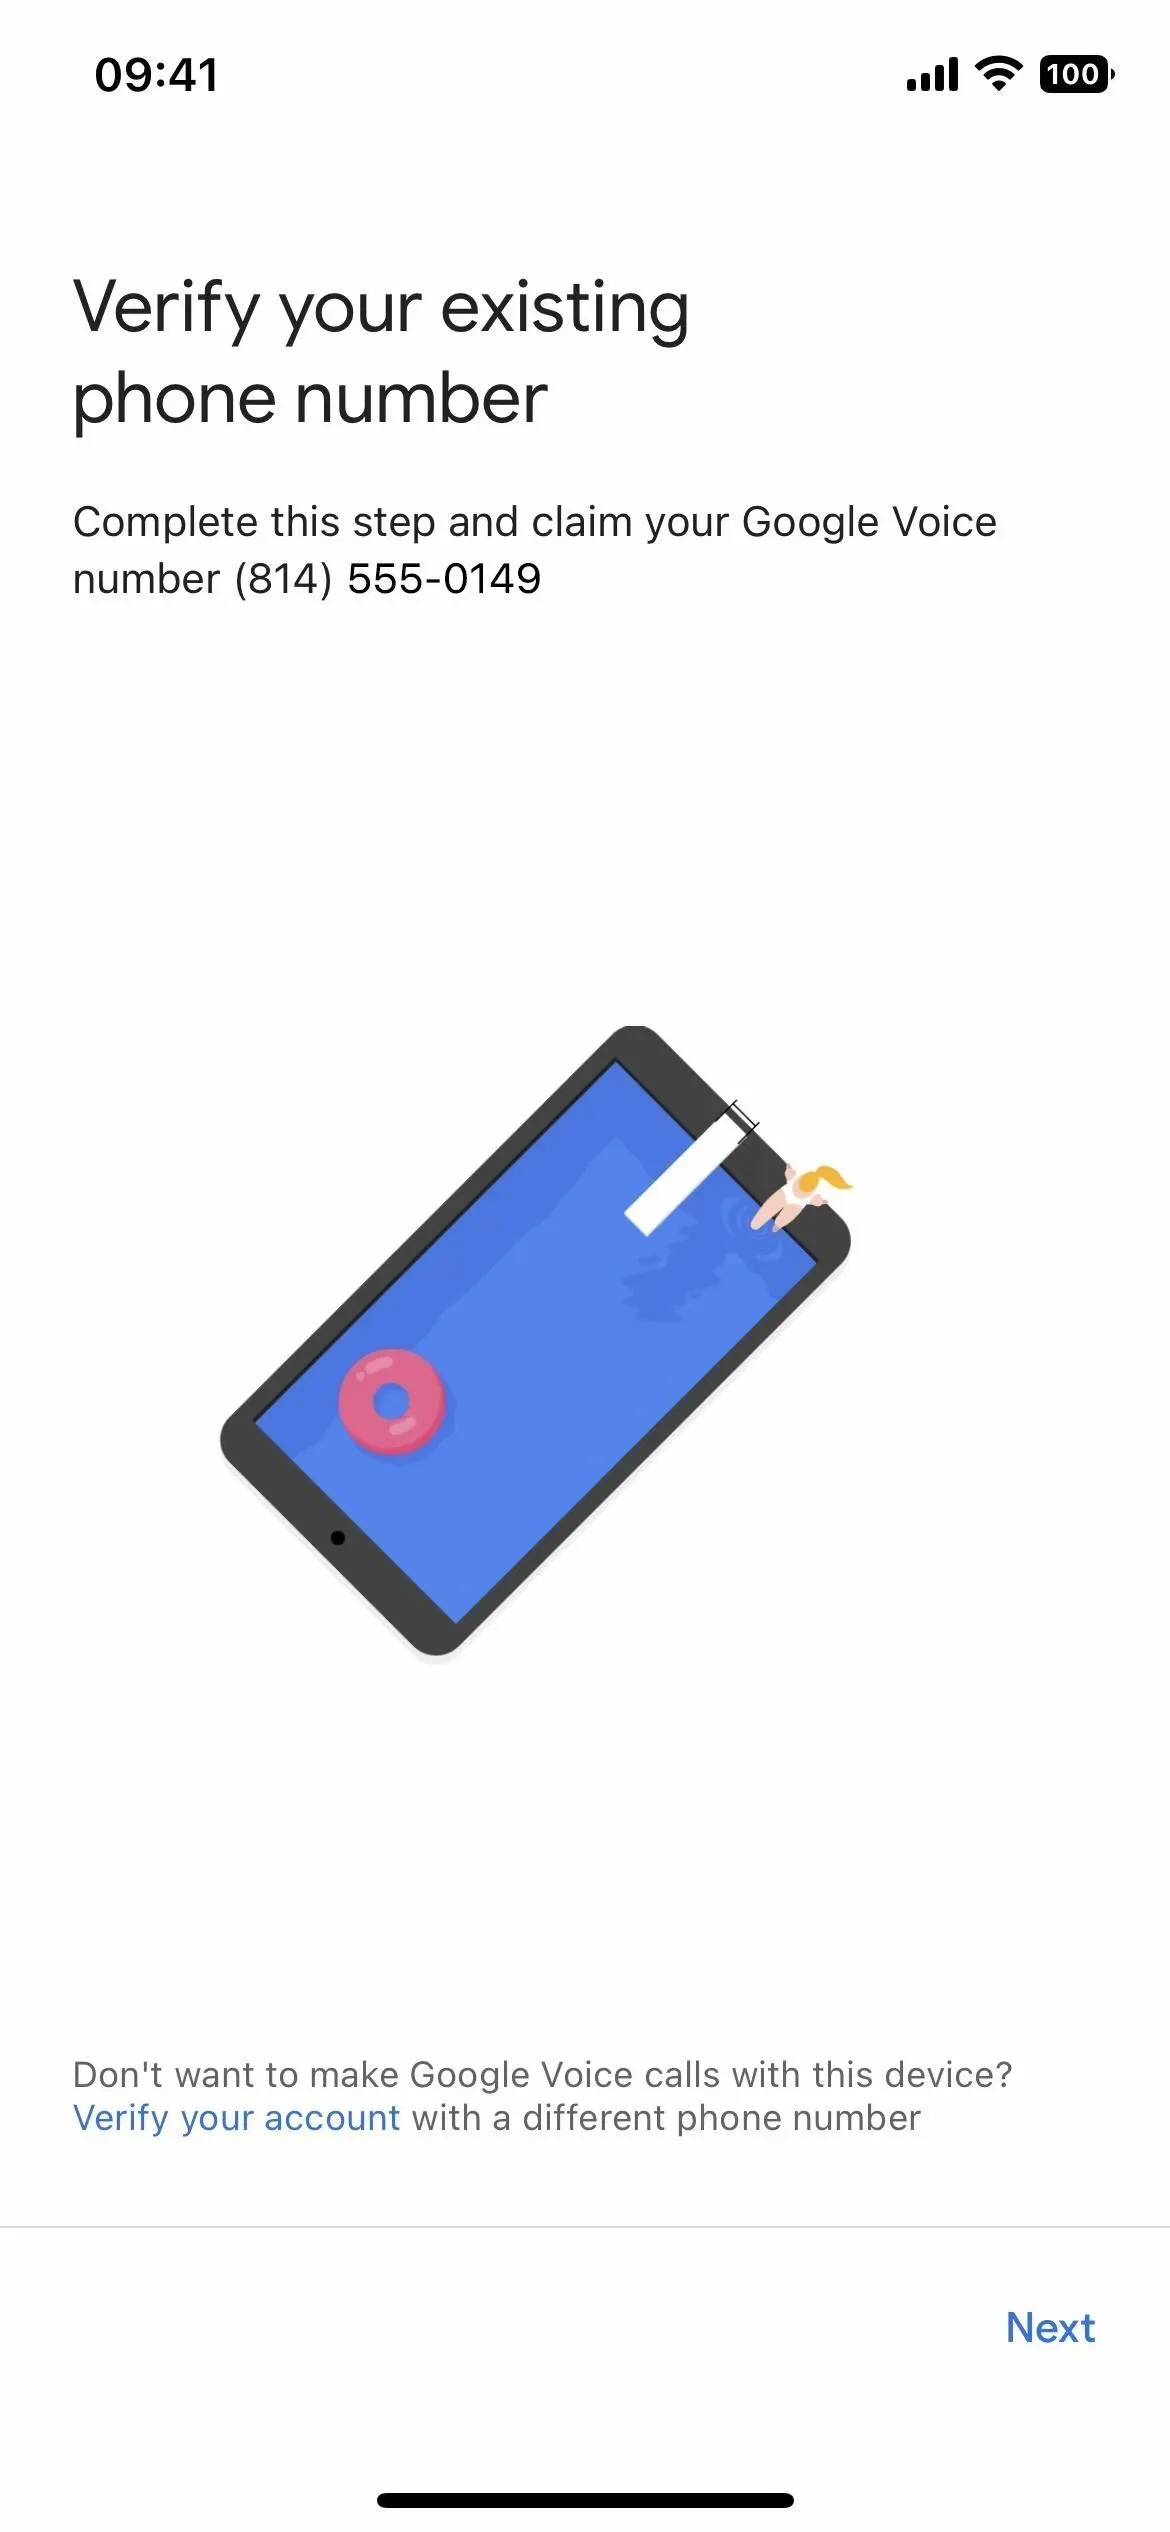
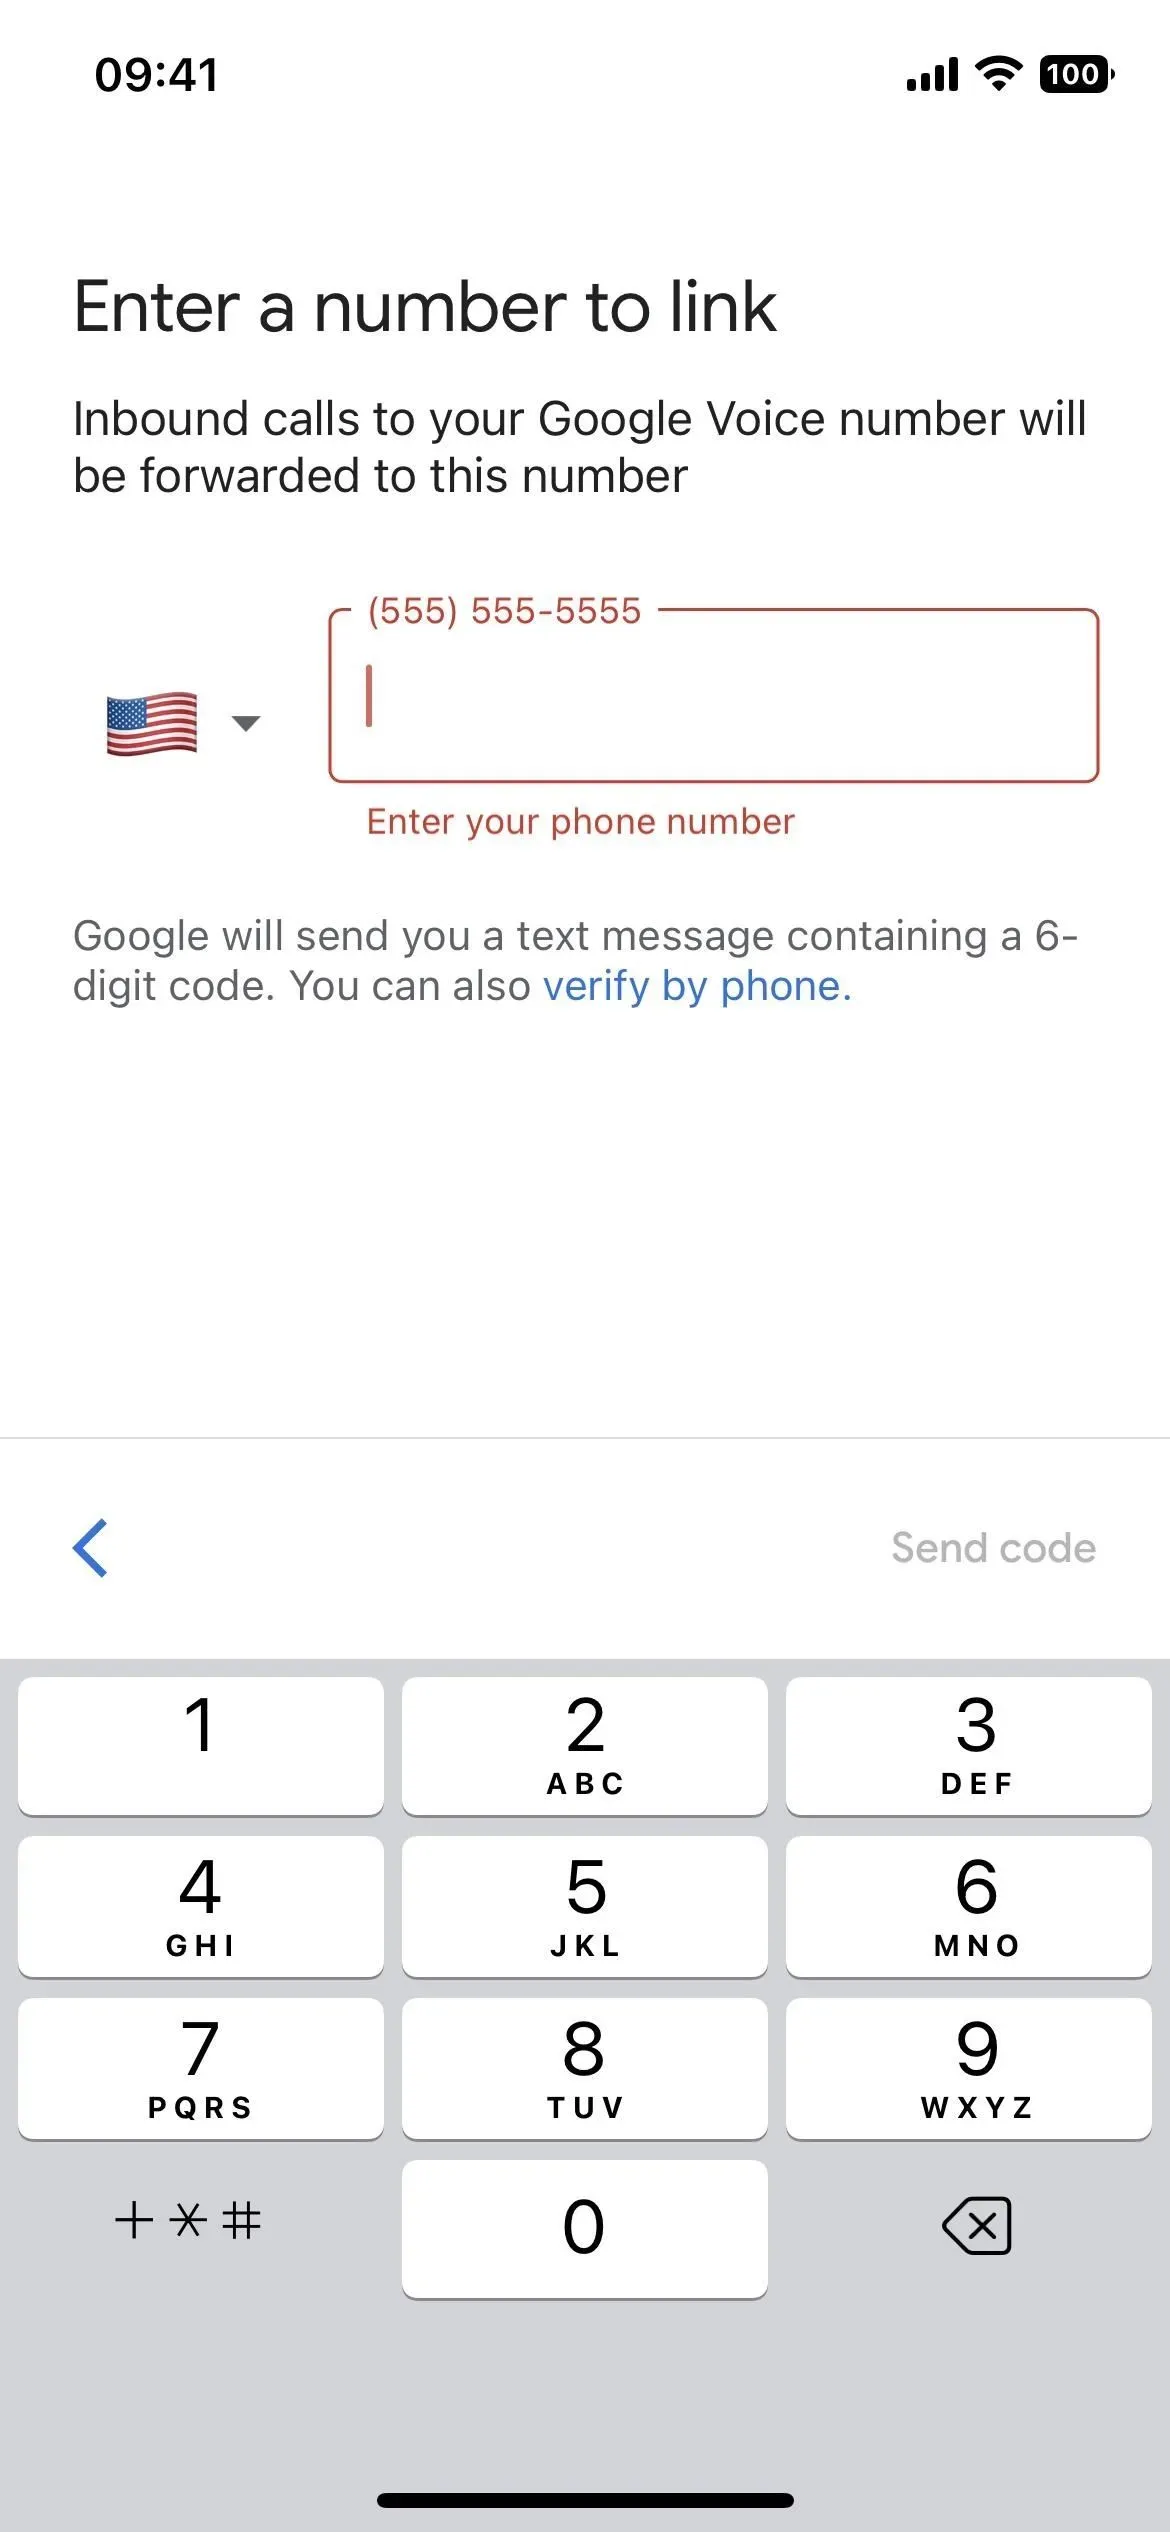
Click “Next”to confirm your number selection, then click “Next”again to begin verifying your account using your existing phone number. This could be your current smartphone number, or another phone number that you have access to that you can use to receive text messages or calls. Enter the number, then click Send Code.
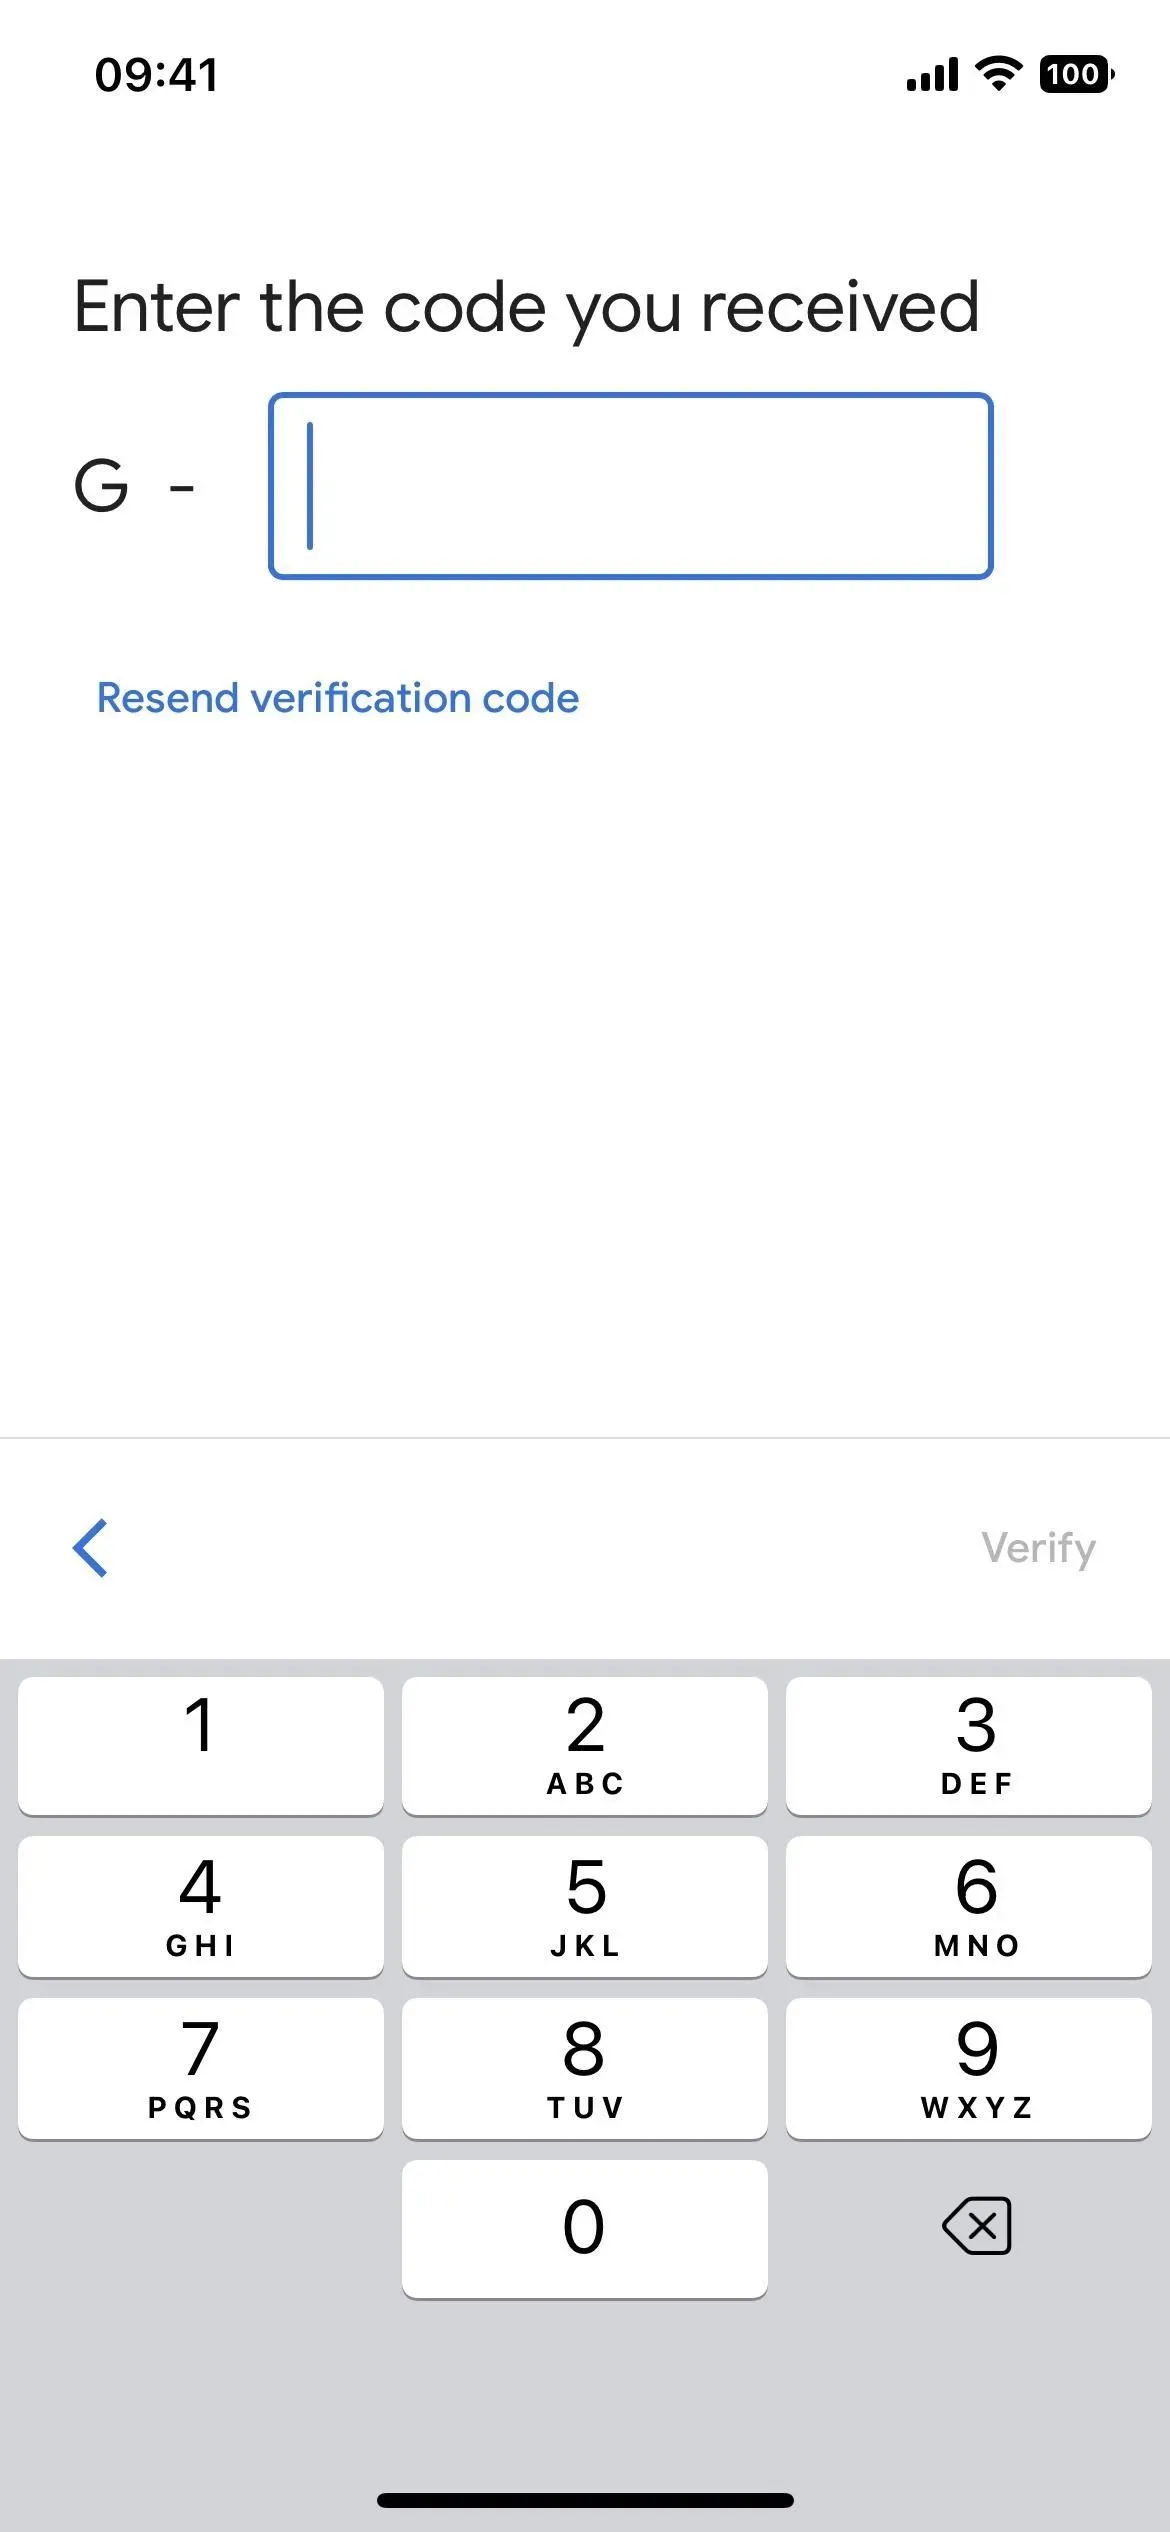
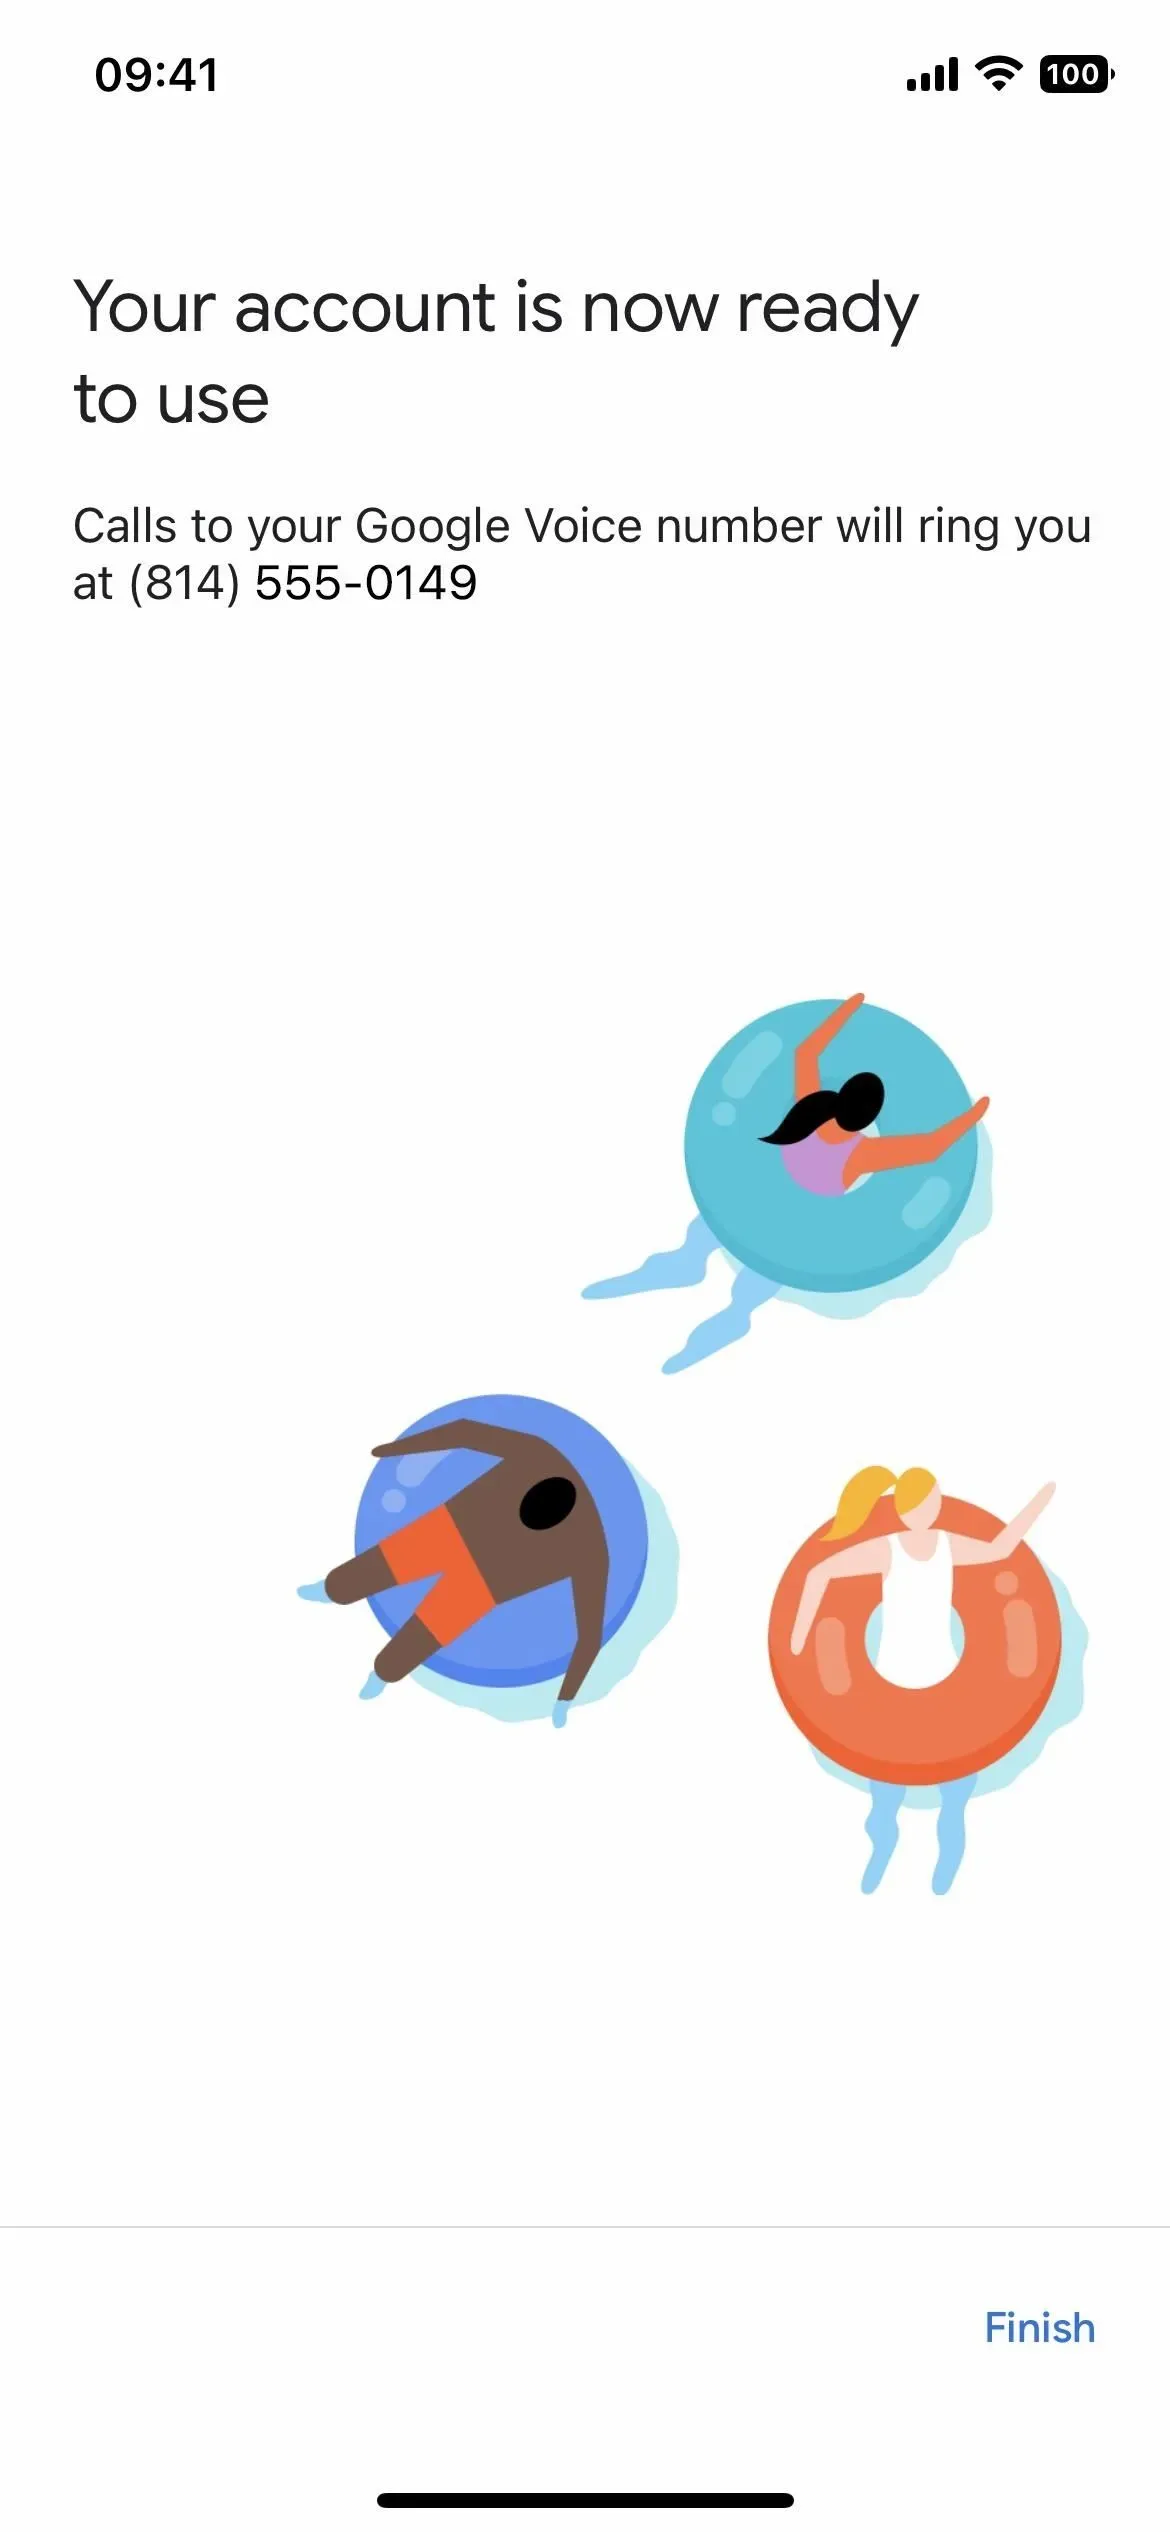
Enter the six-digit verification code that Google gives you, click “Verify”, then click “Done”to go to the main interface of the application.

Step 3: Set up incoming call recordings
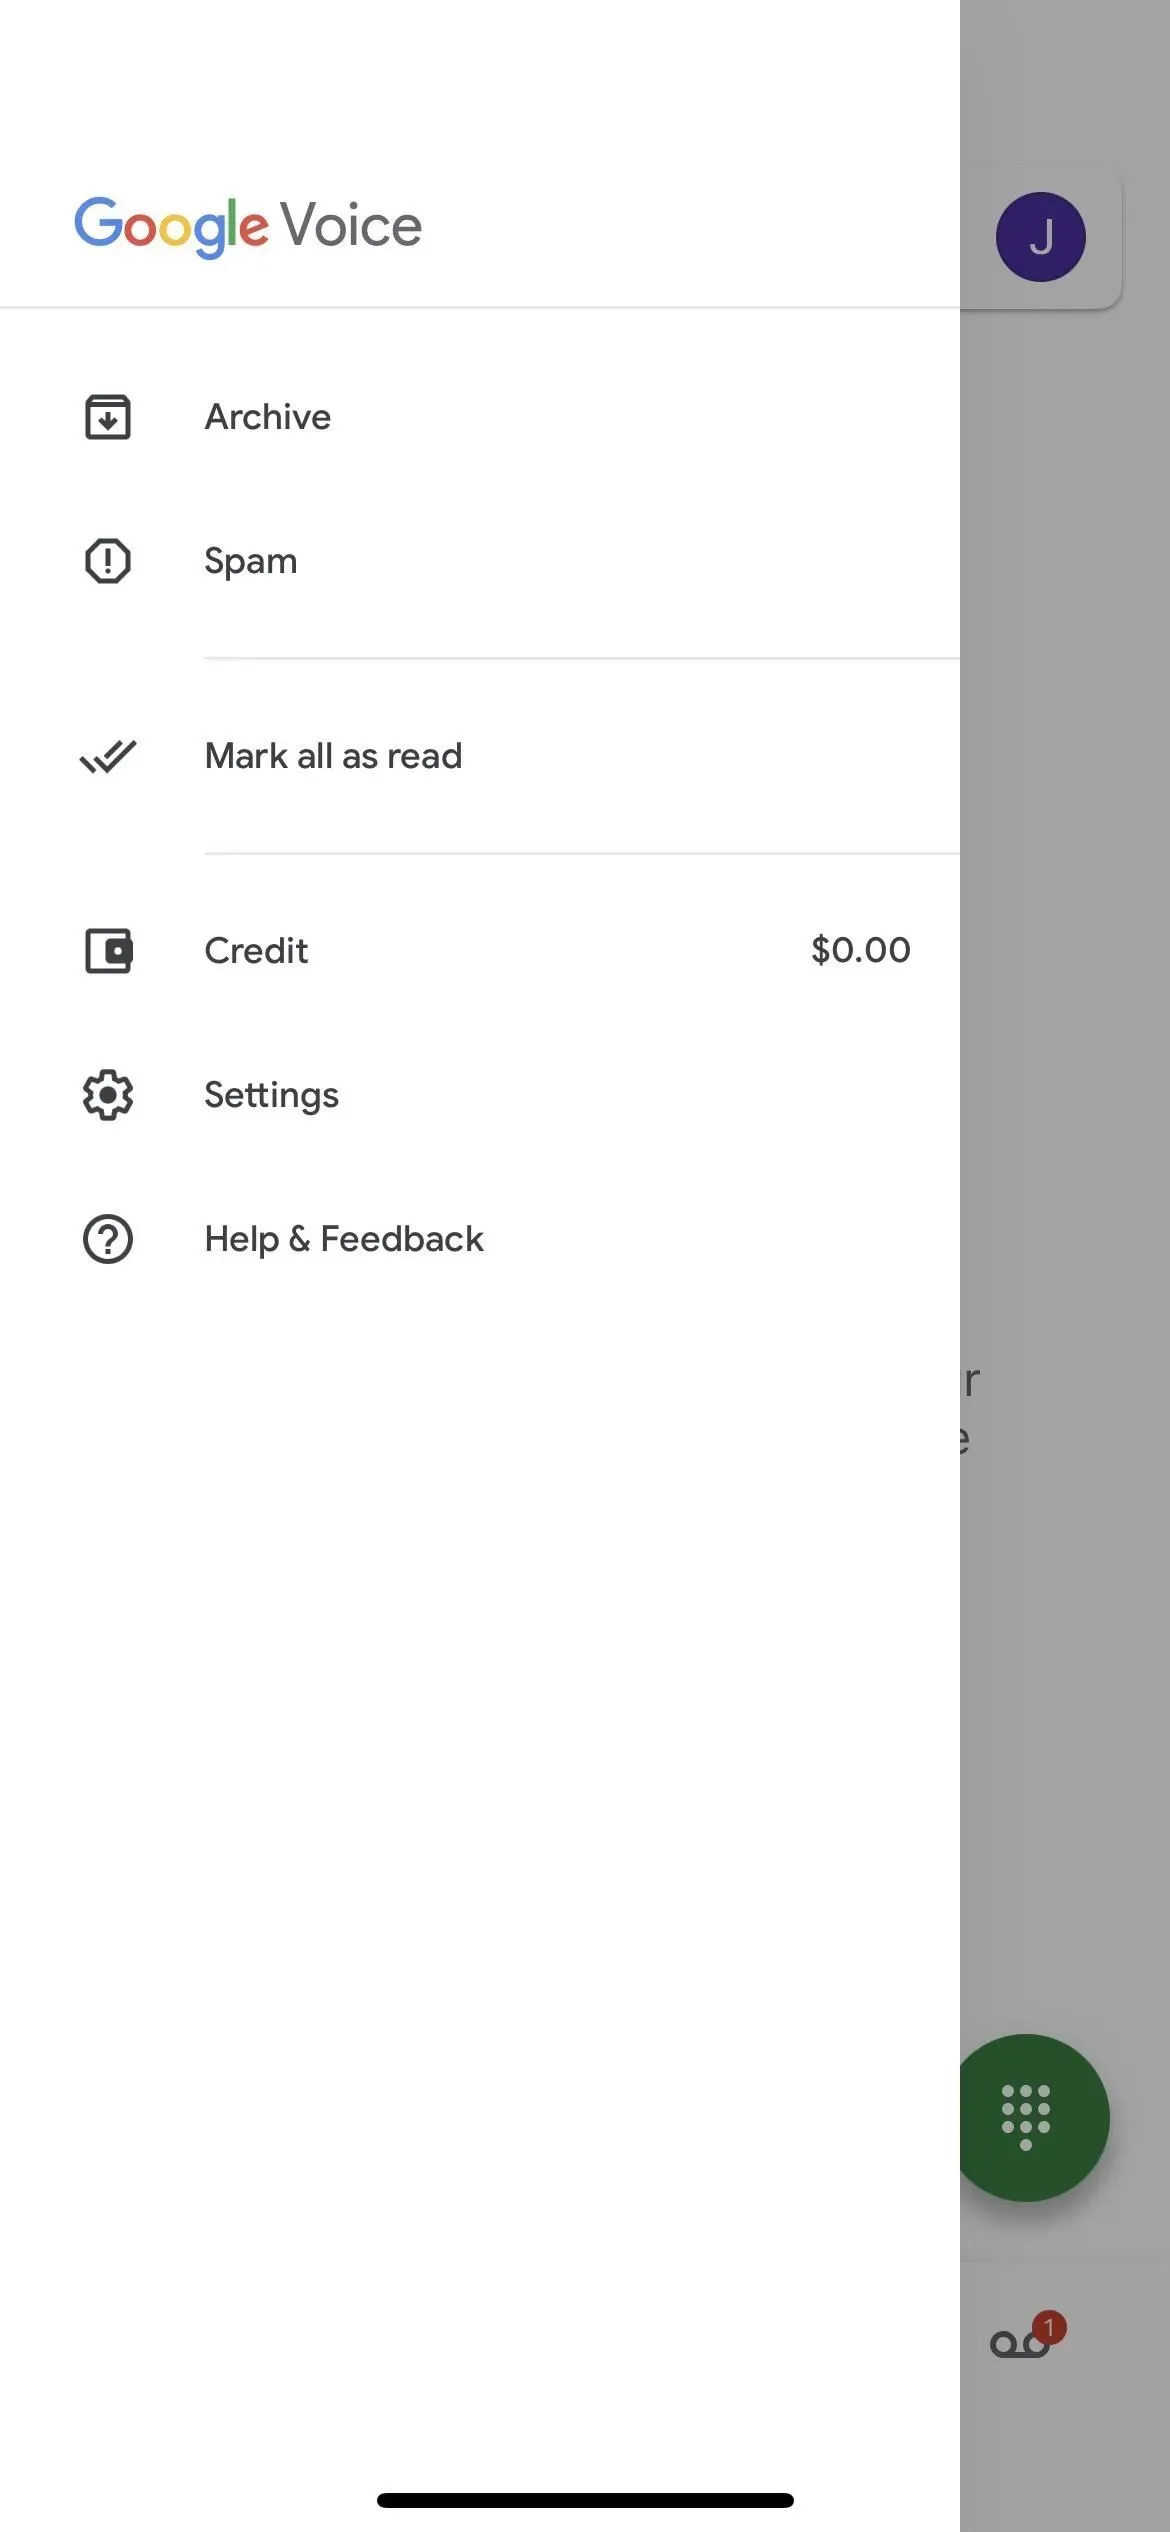
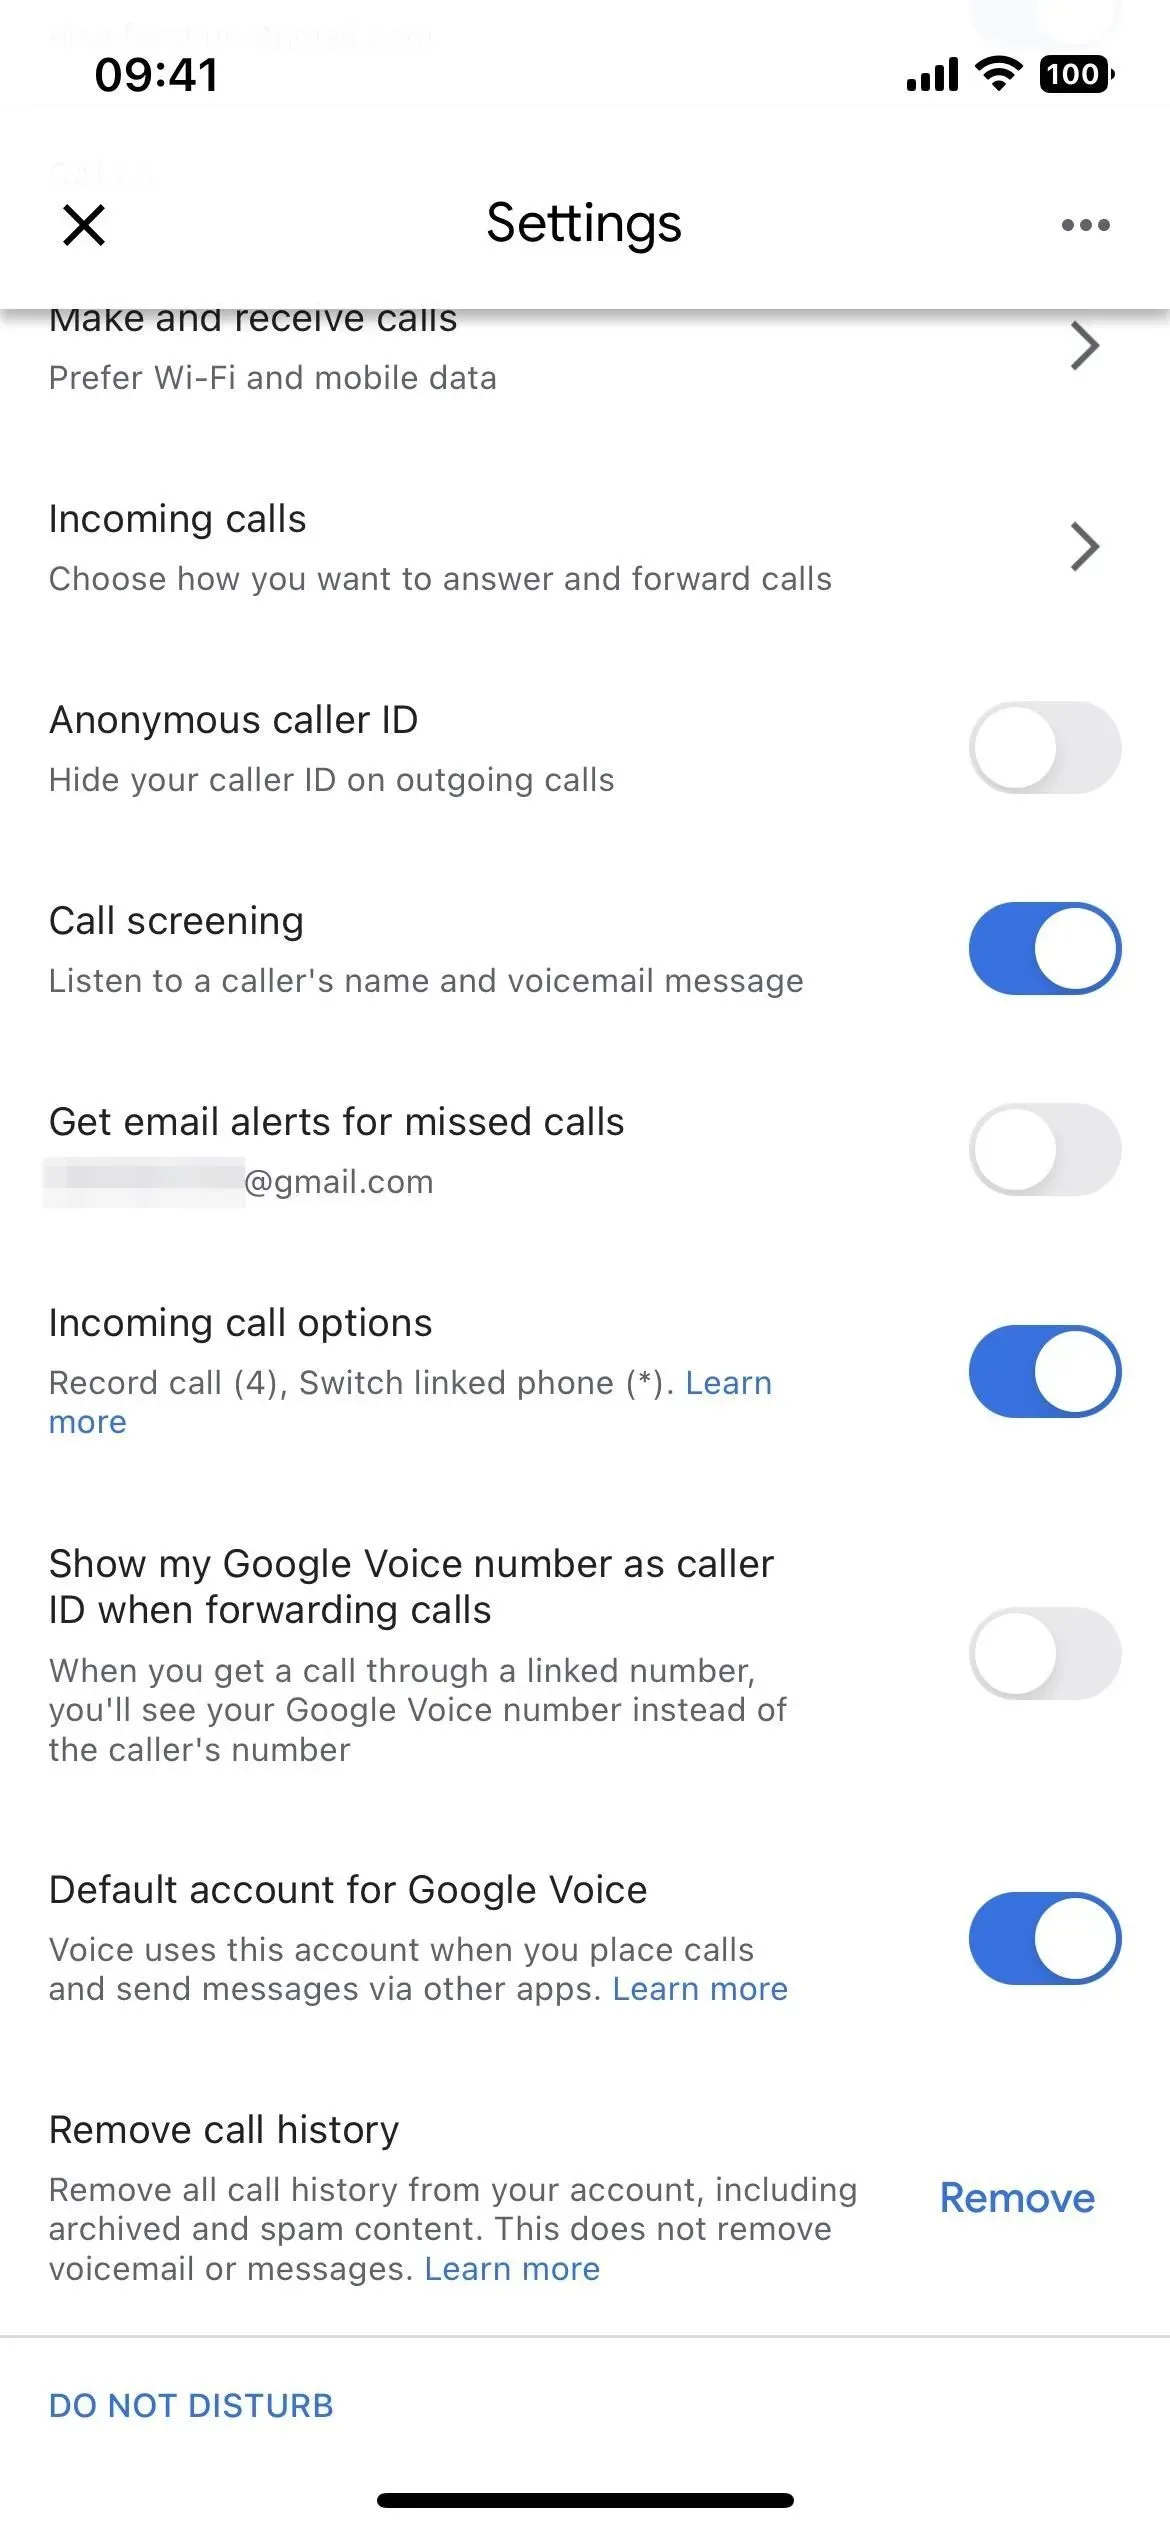
To turn on call recording for your Google Voice account, tap the menu icon in the top left, select Settings from the sidebar, and turn on the Incoming Call Options toggle.
Other settings you might want to change include the Make and Receive Calls setting to prefer Wi-Fi and mobile data to your carrier; turning on “Default account for Google Voice”if you want to use your Voice number to make calls and send texts in other apps; and turn off “Call Check”if you prefer to start talking as soon as you answer.
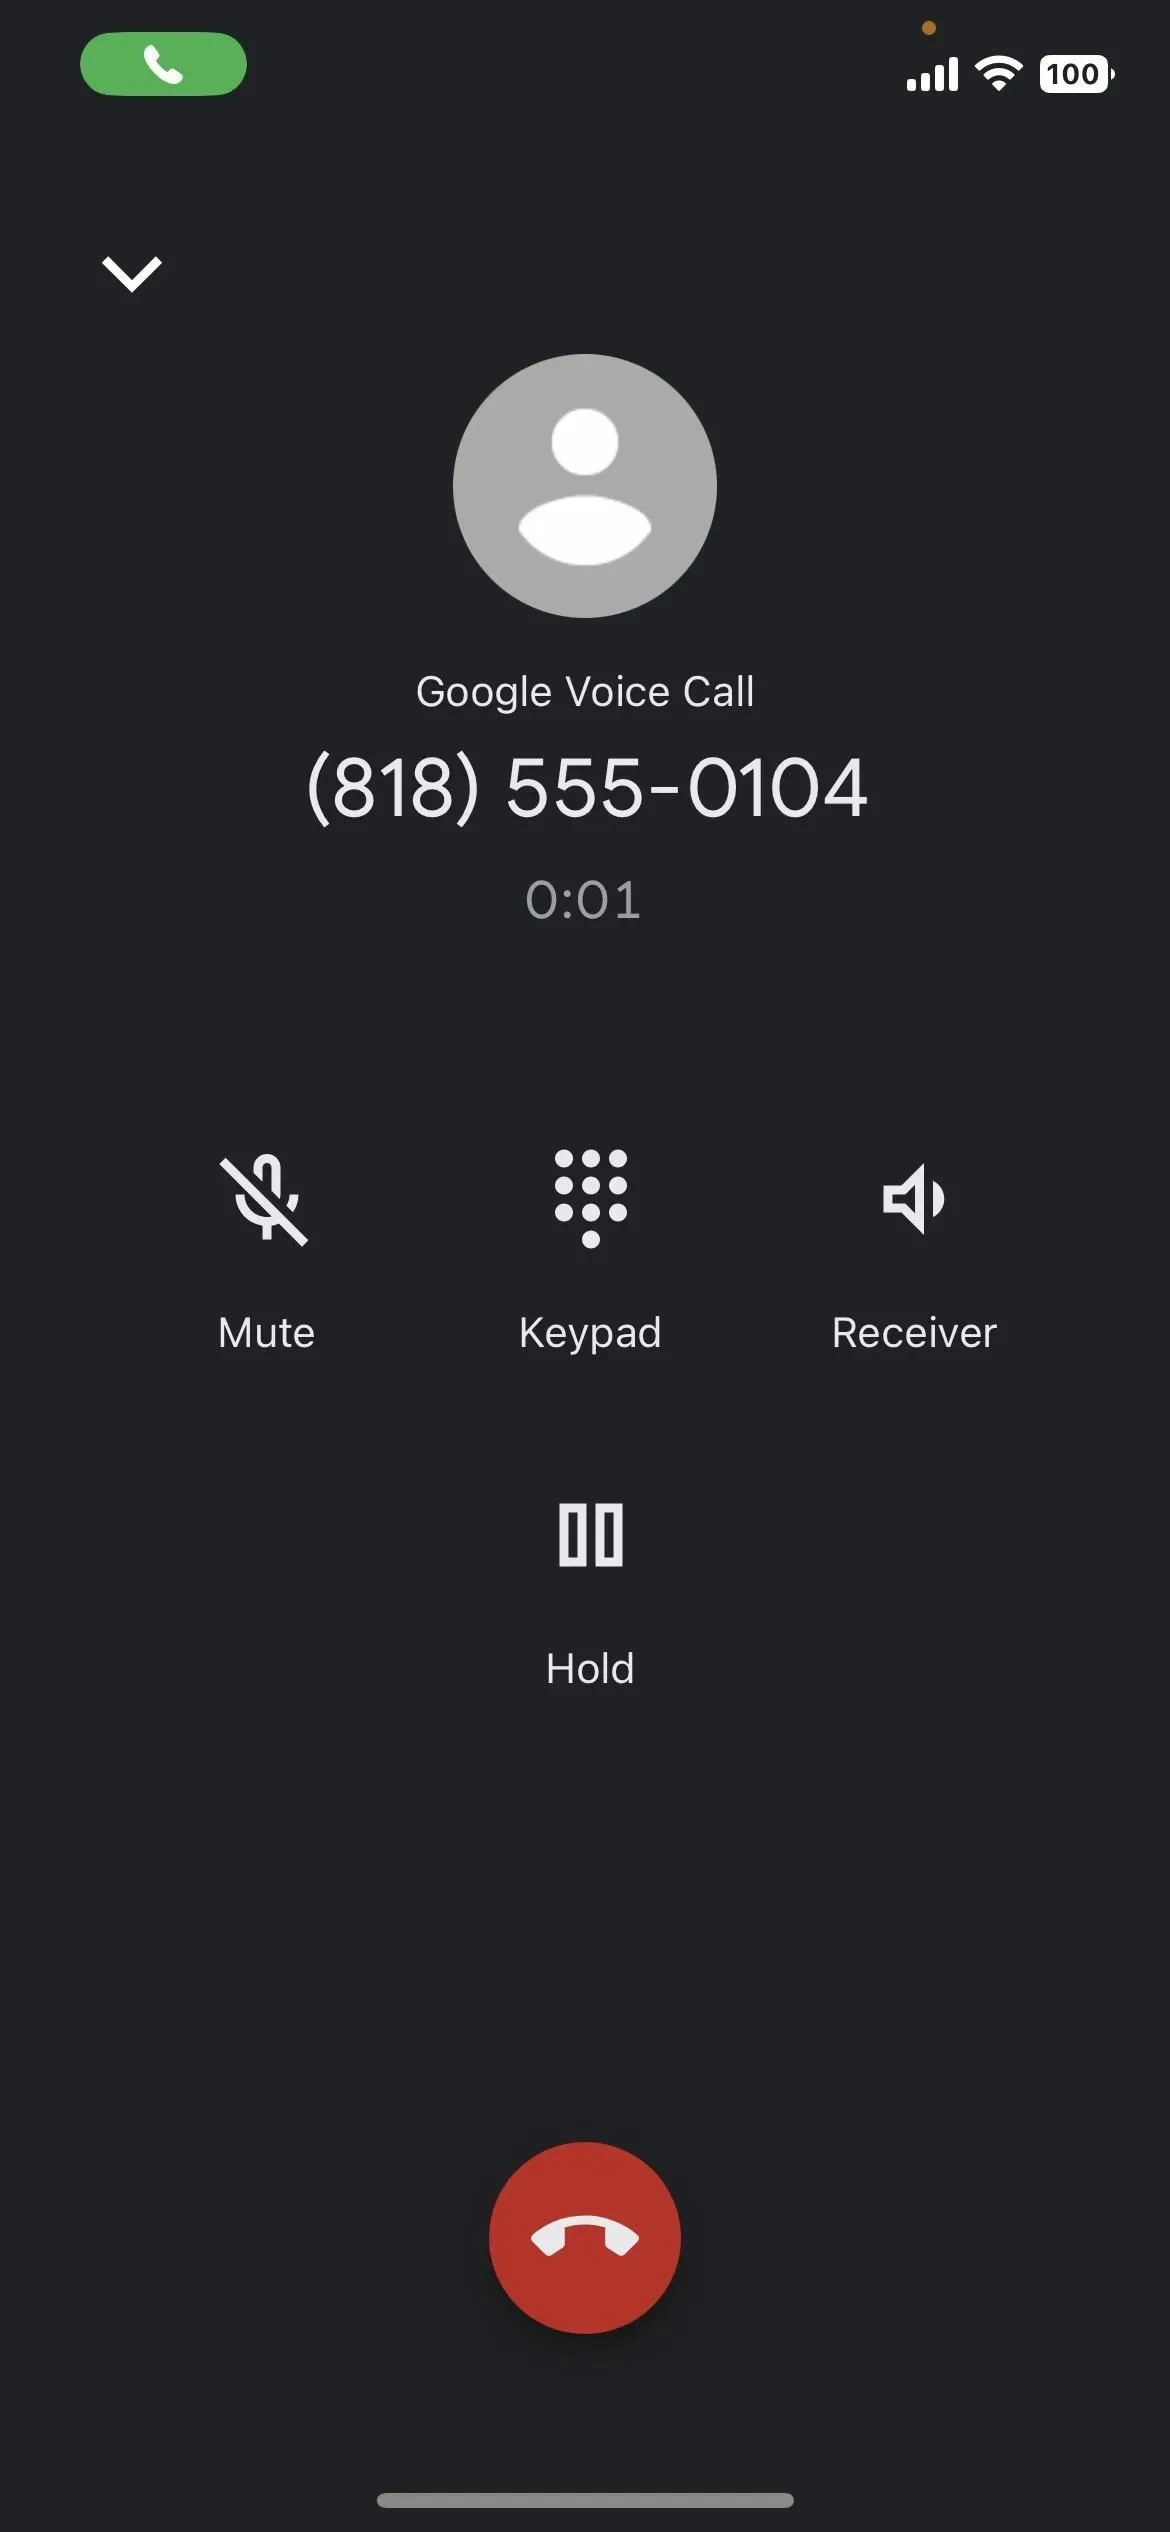
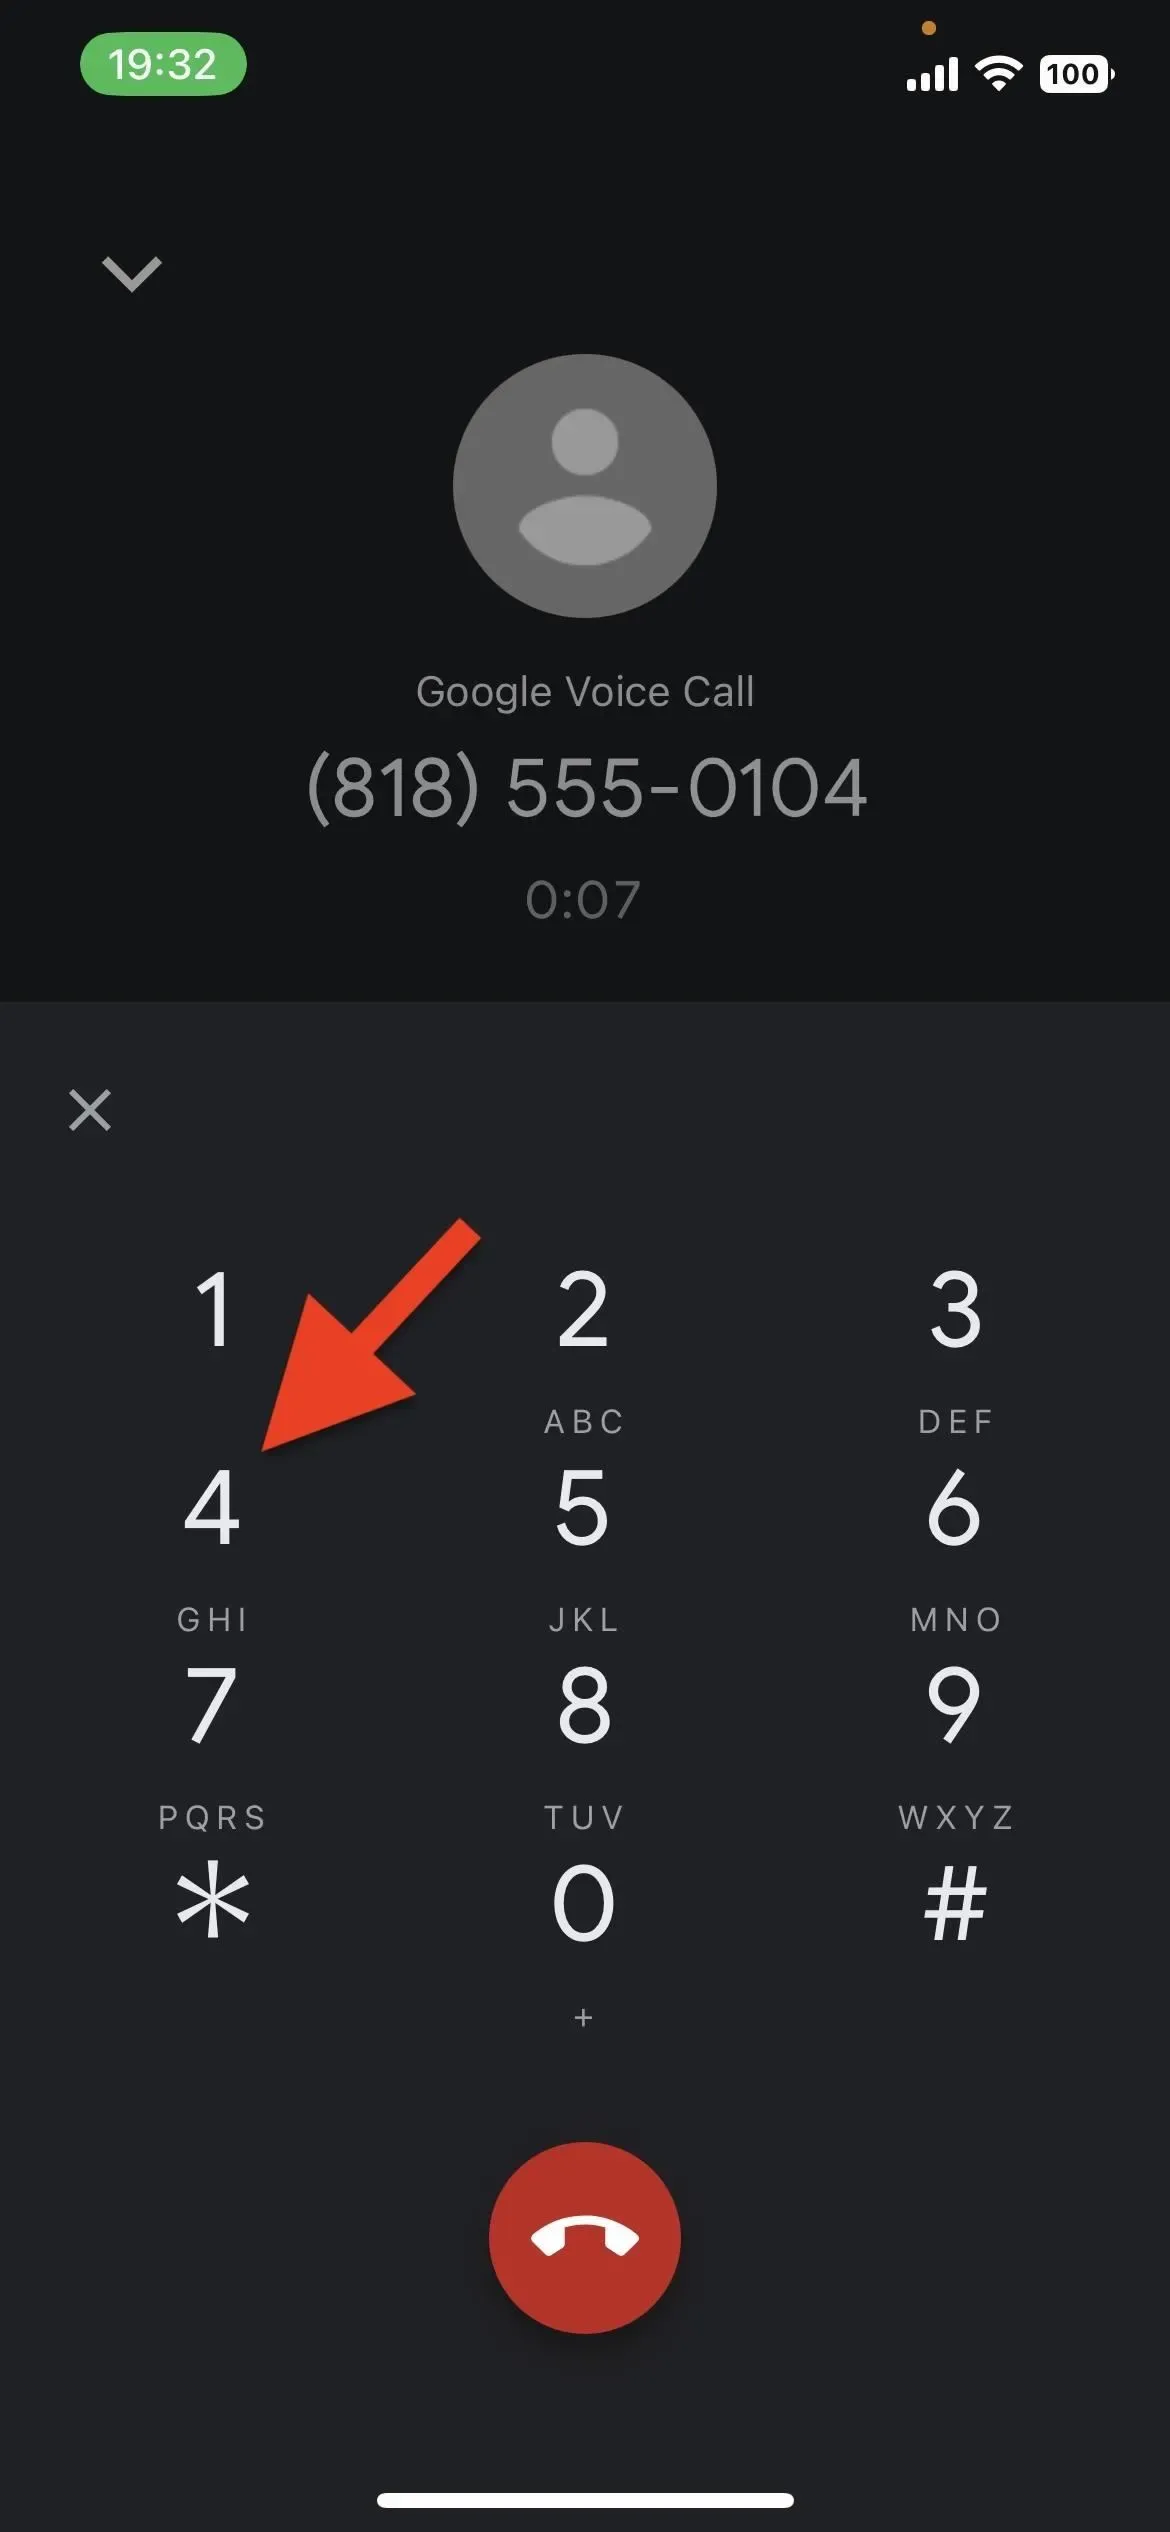
Step 4: Record Incoming Calls
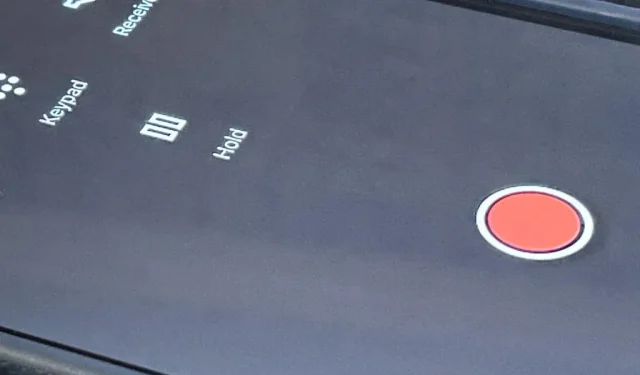
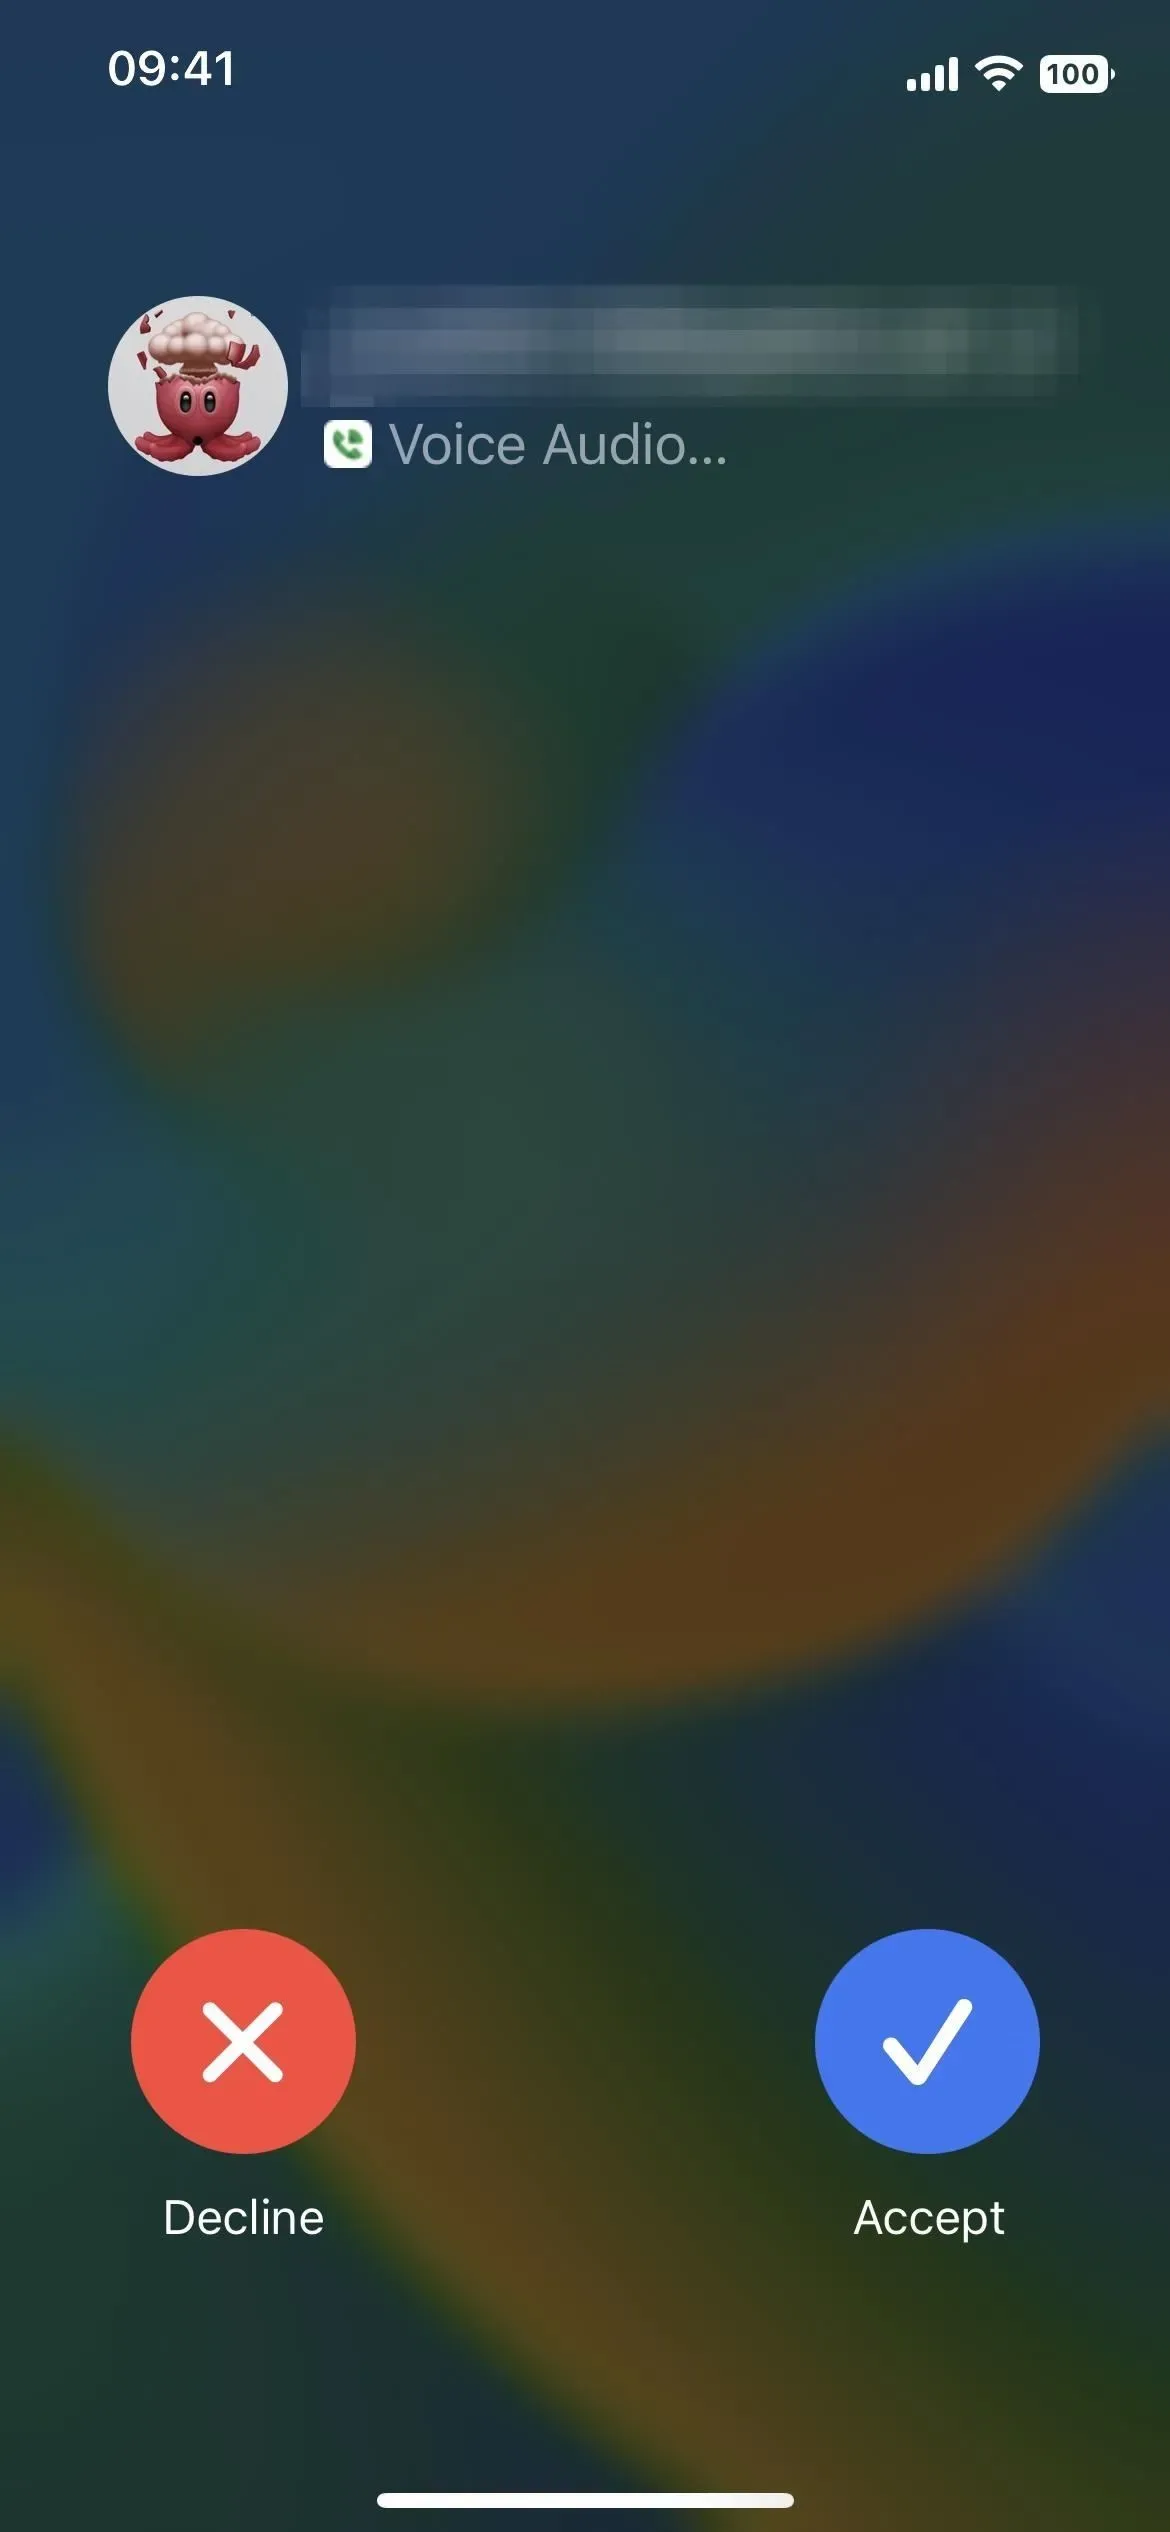
When you answer an incoming phone call, press “Keyboard”on the Google Voice call interface and press the “4”button to start recording. All parties on the phone call will hear a verbal alert saying “This call is being recorded”so everyone knows. To stop the recording, either press “4”again (which will also tell everyone that the recording has stopped), or simply hang up.
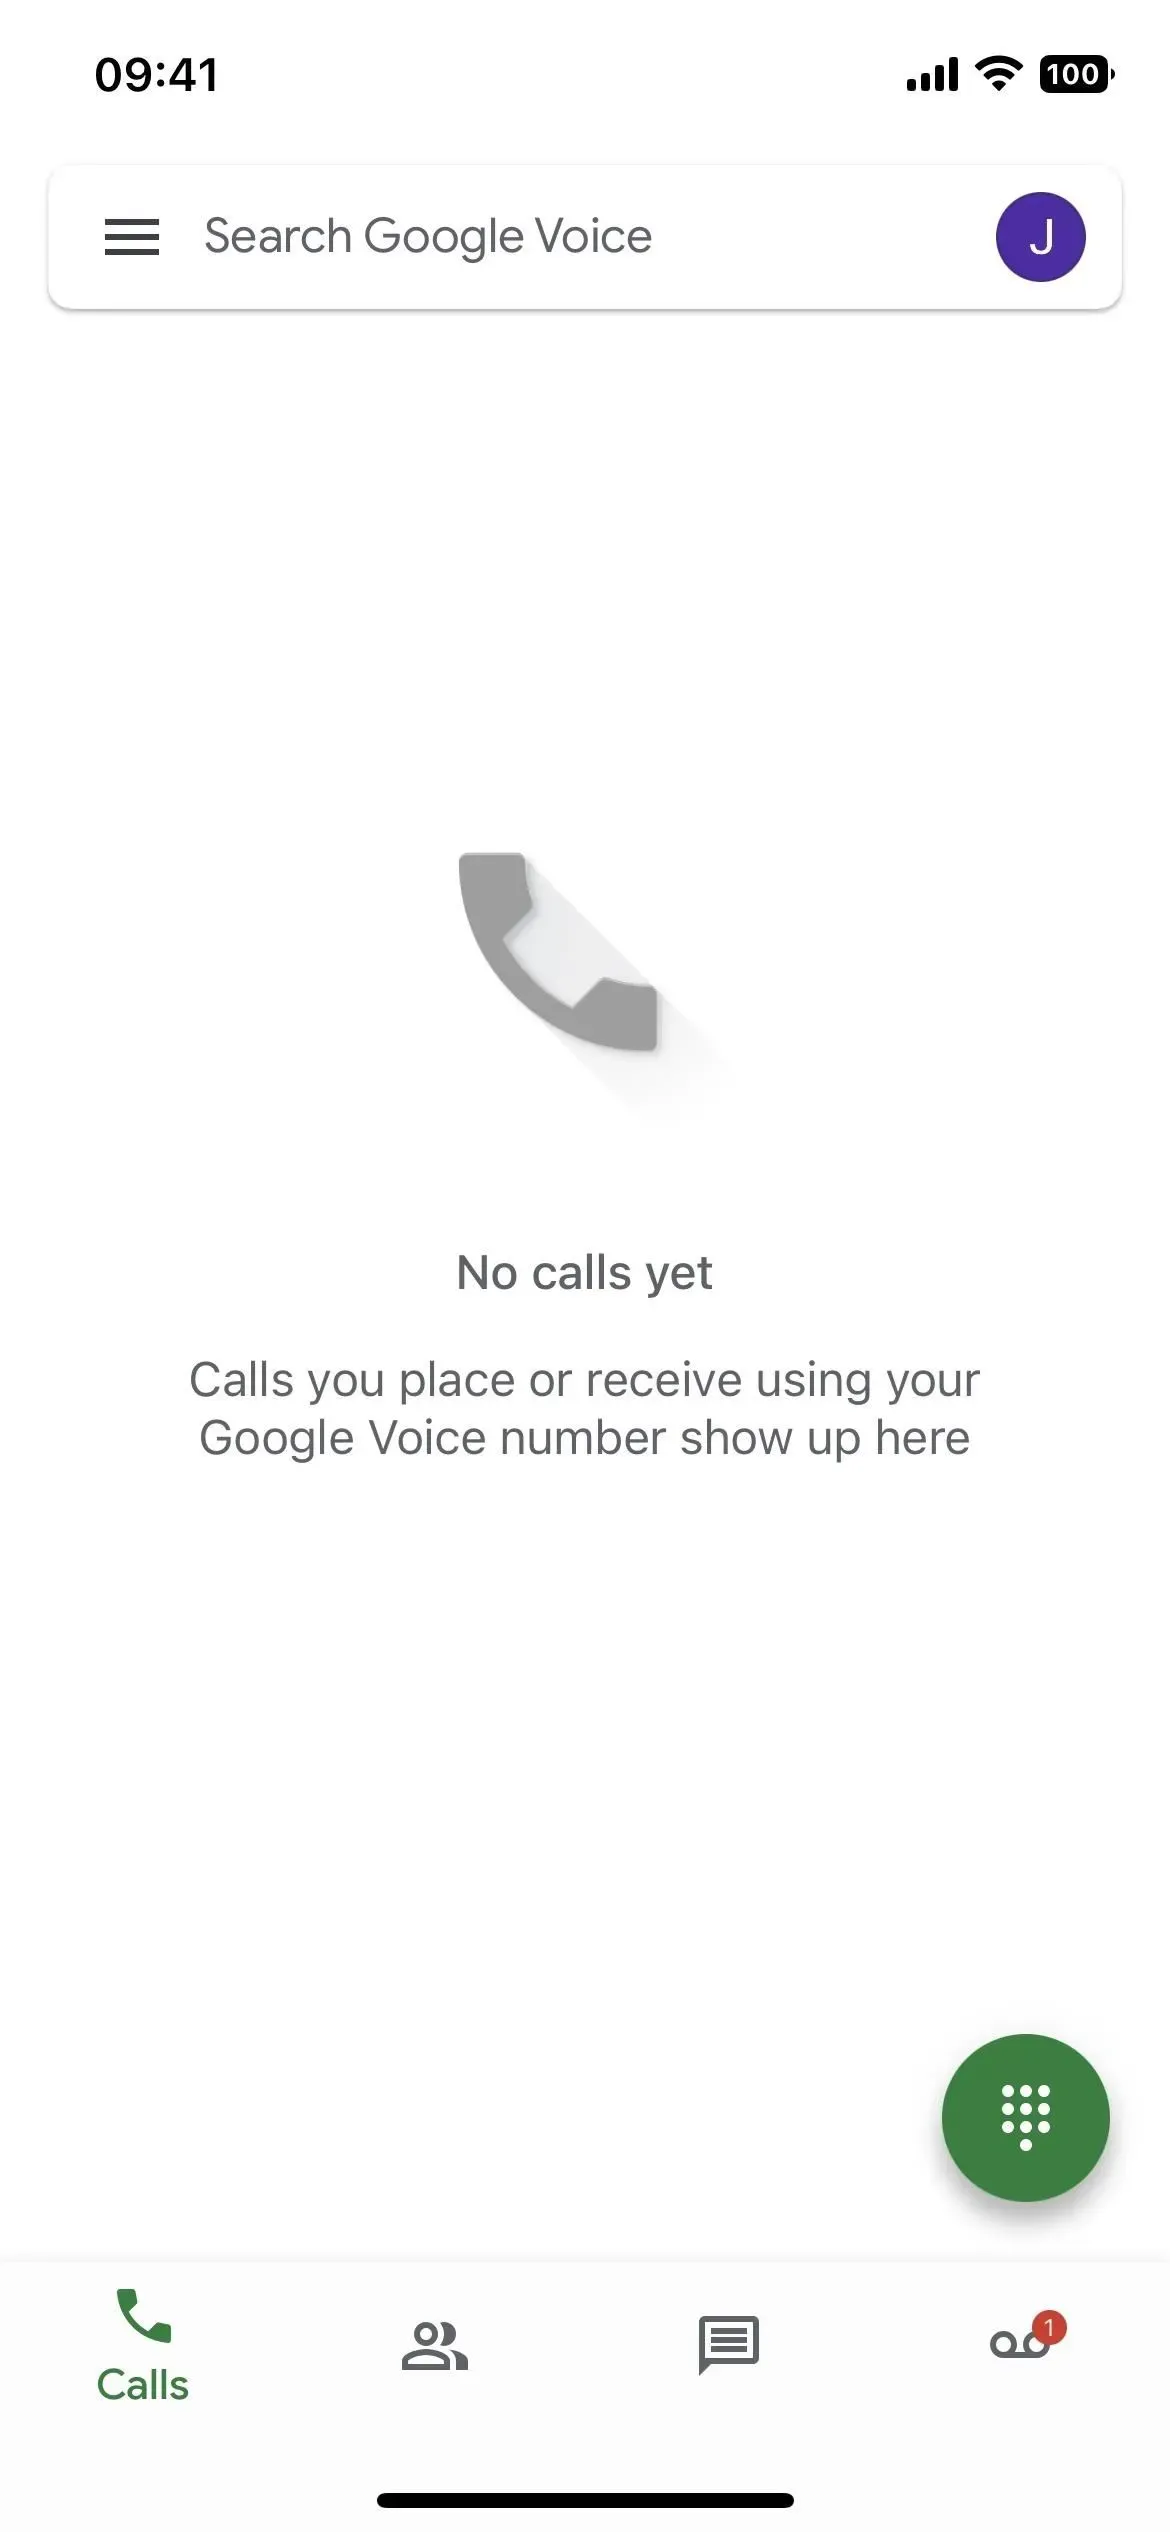
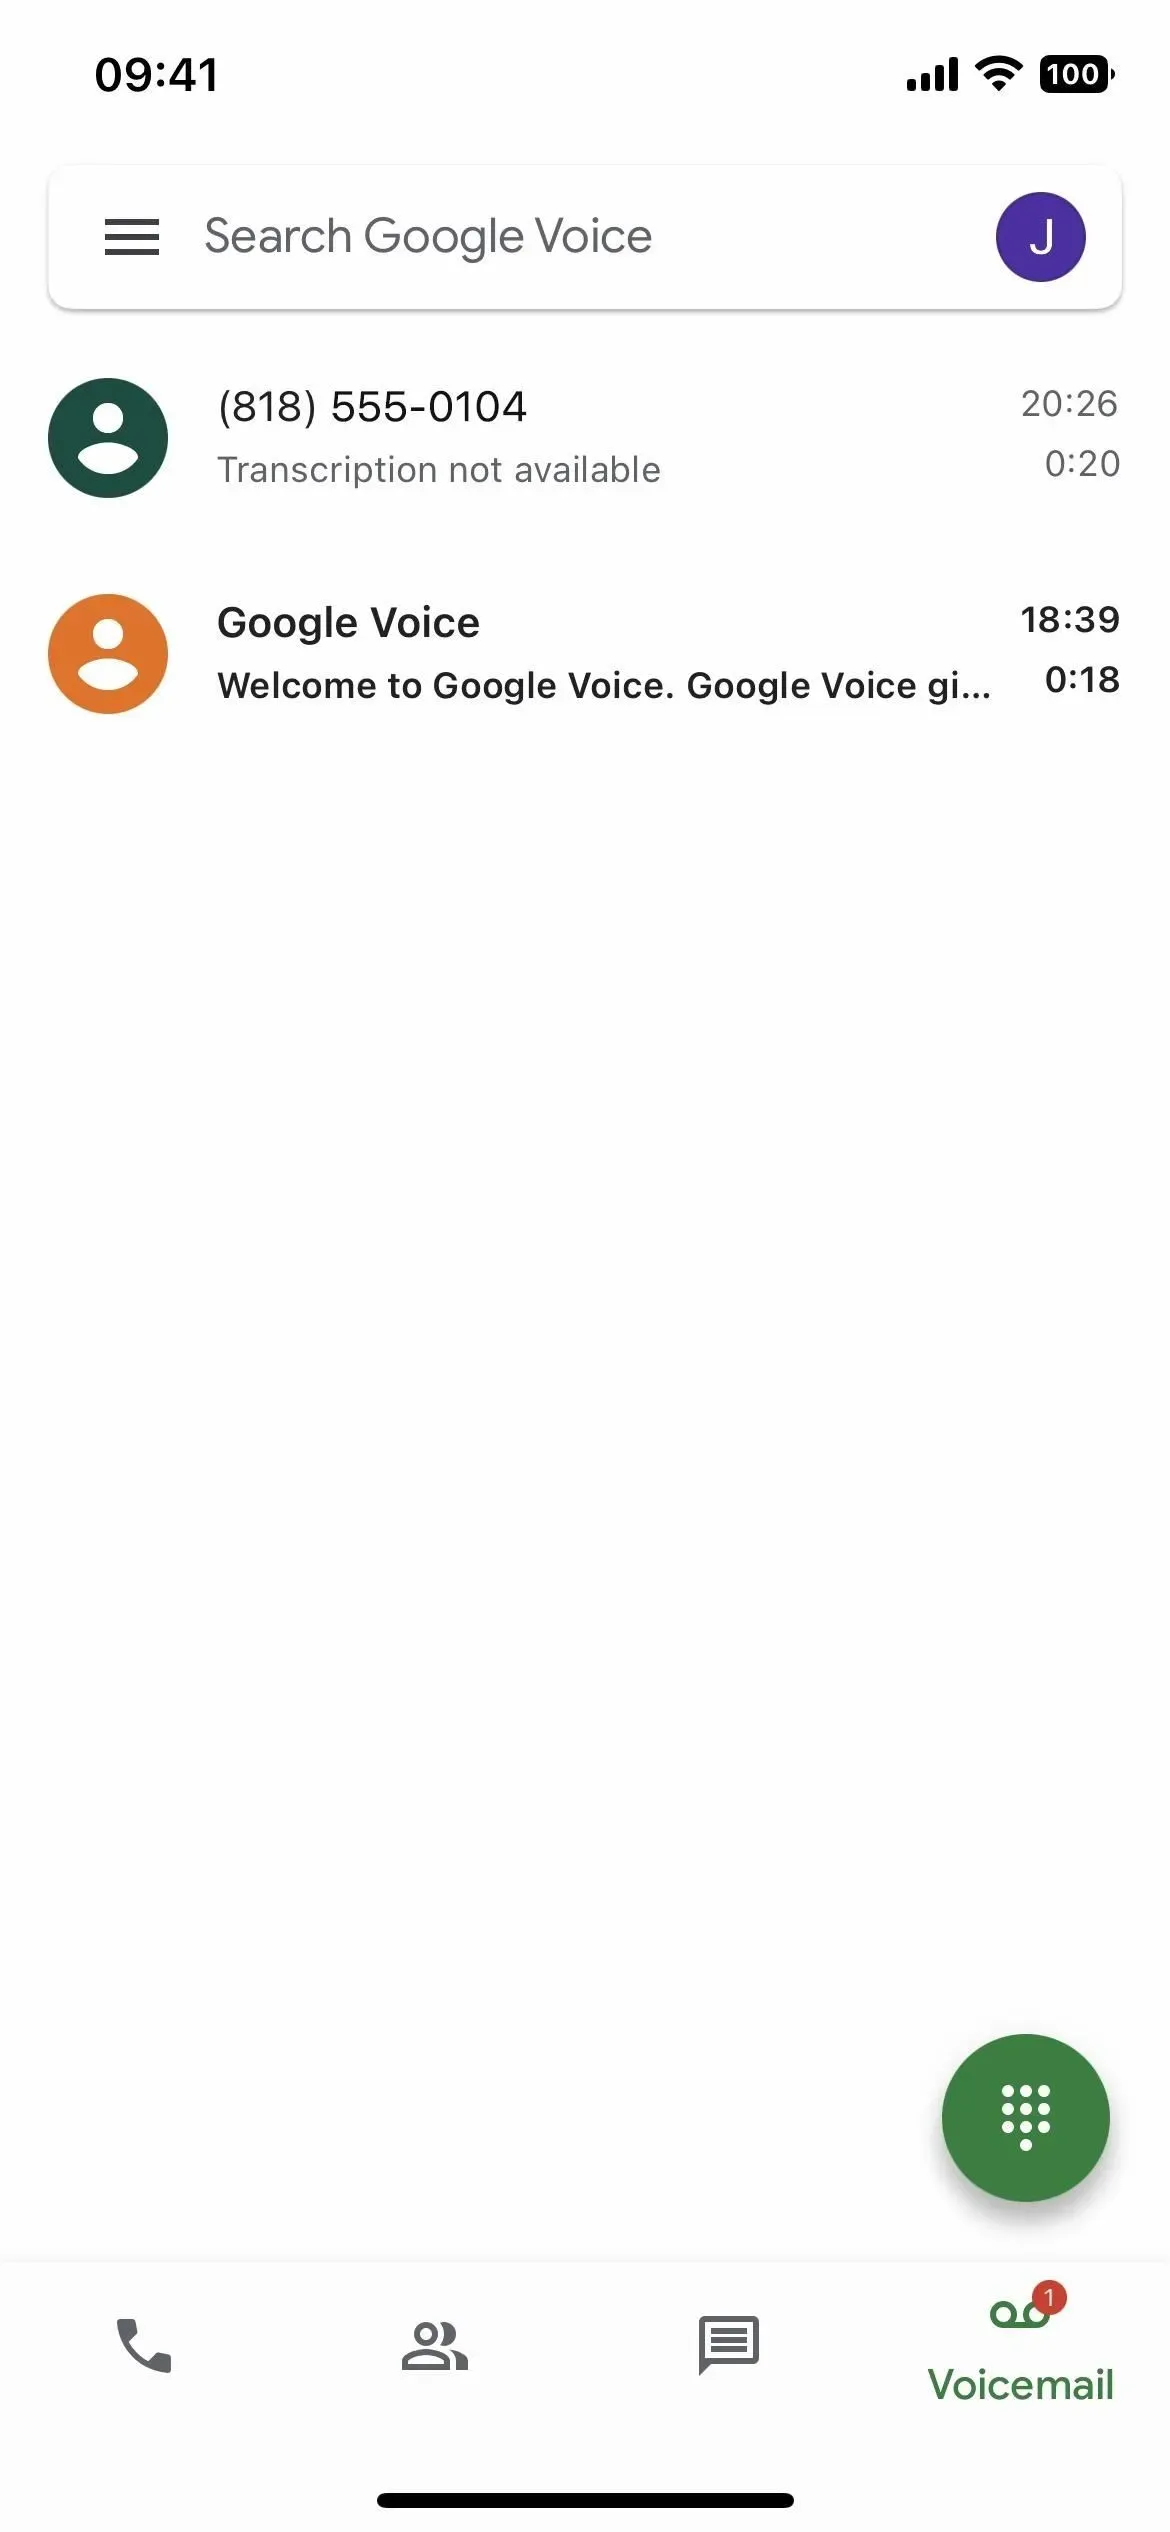
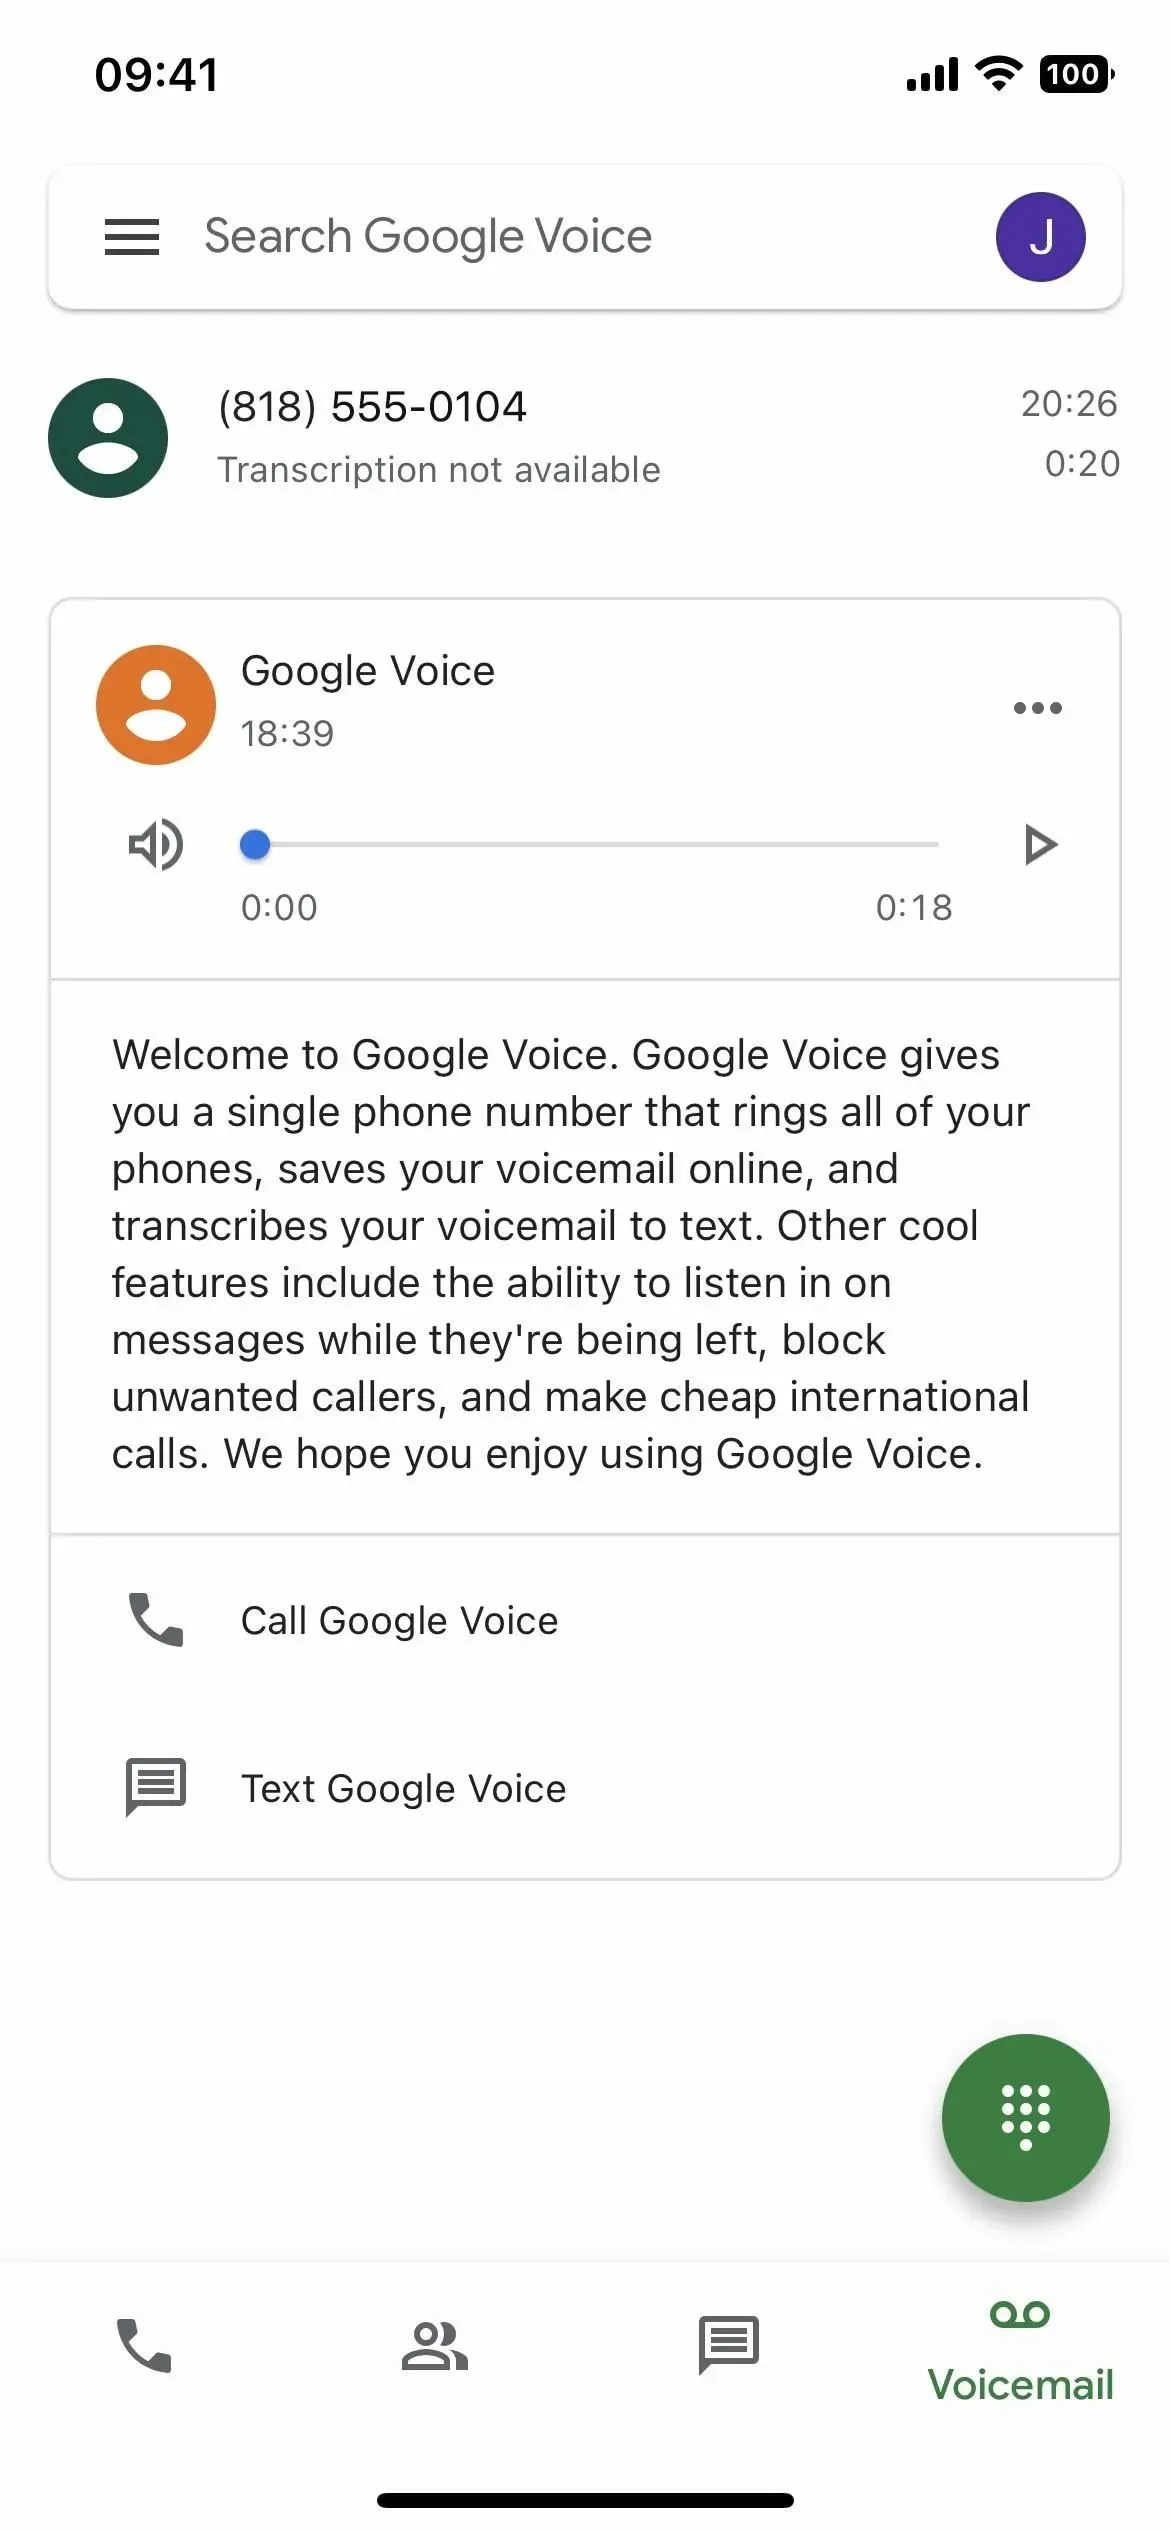
Step 5: Access Your Recordings
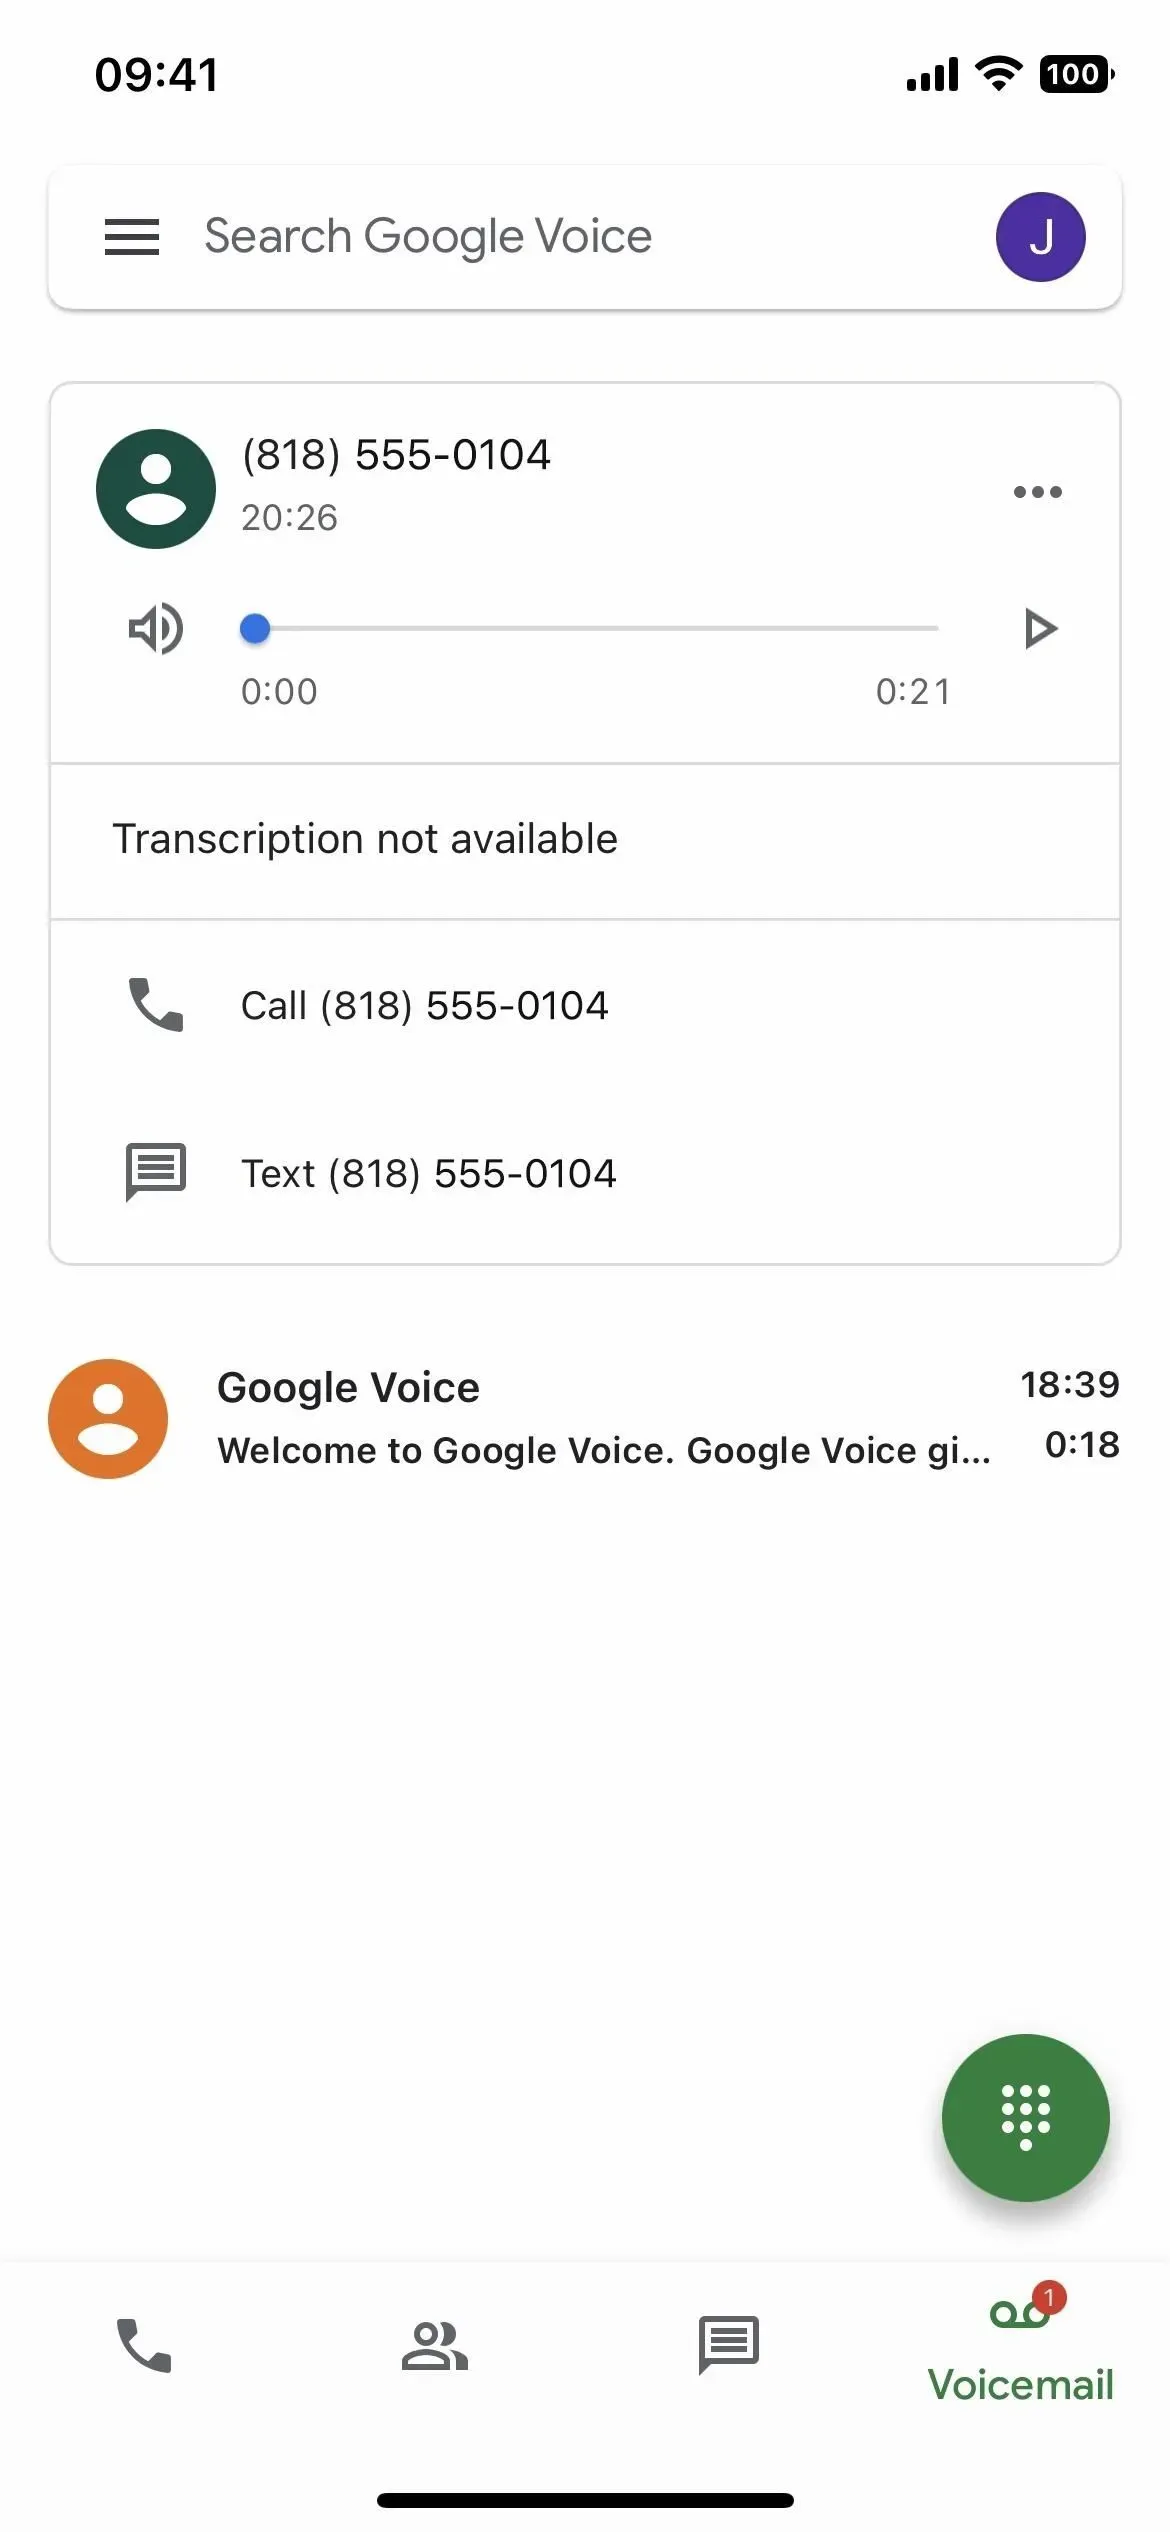
Accessing recorded conversations in Google Voice couldn’t be easier – just click on a recent call on the Voicemail page to expand it, then click on the play button to listen to the recording.
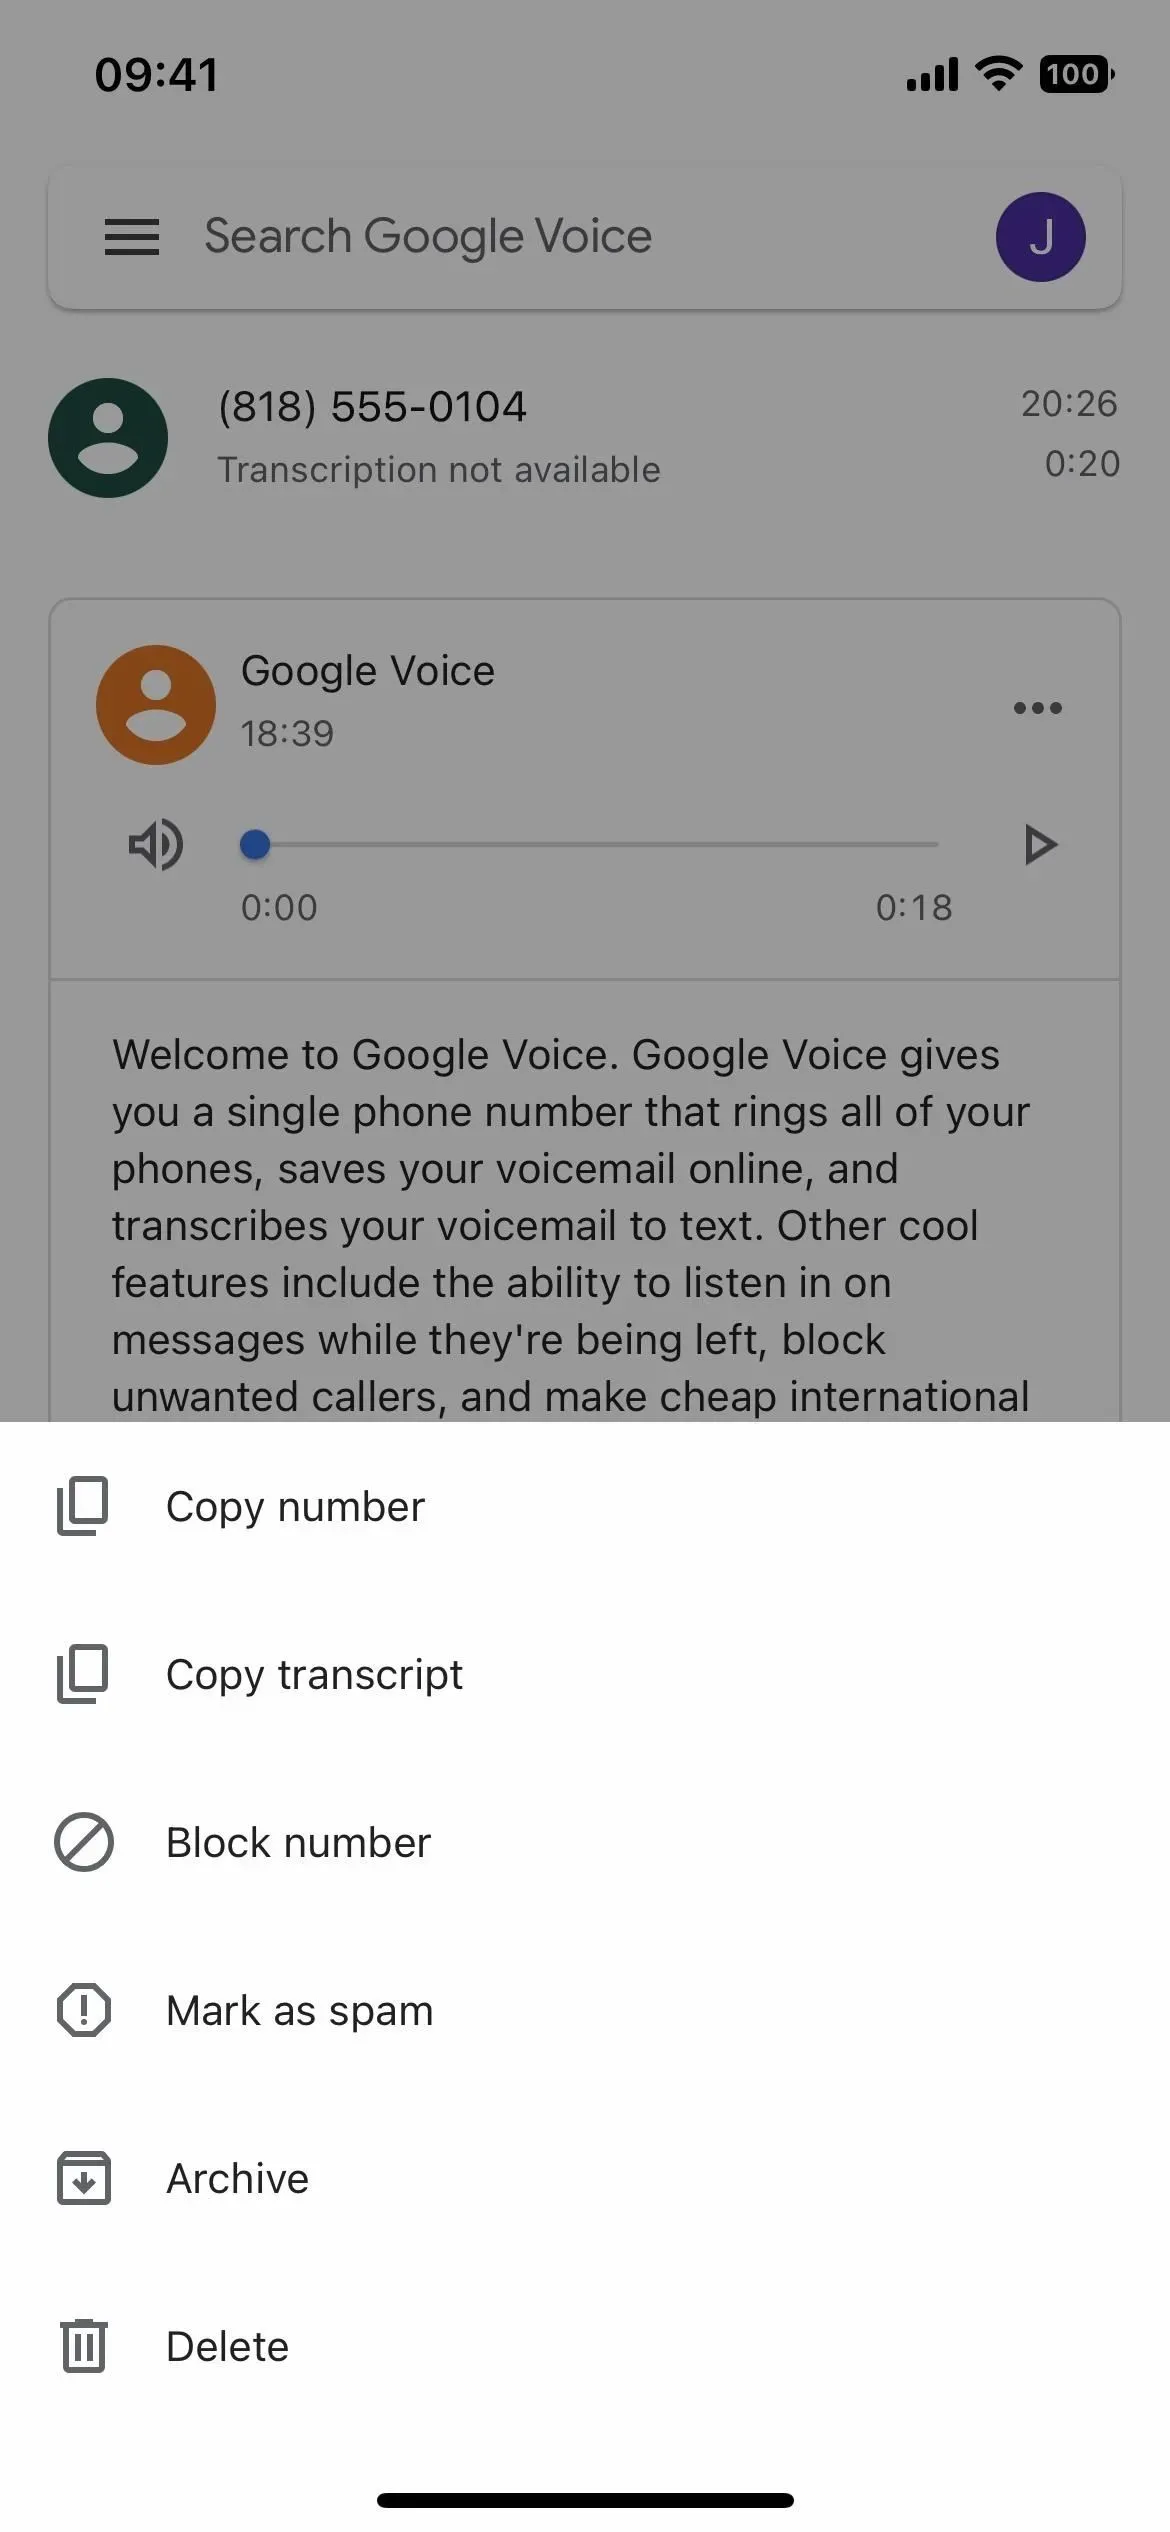
Step 6Save Transcripts of Recorded Calls
For recordings that Google Voice was able to transcribe, you can copy the transcript to save or share. To save, touch the ellipsis (•••) on the entry and click “Copy transcript”in the menu. From there, paste the transcript into any text field, such as Notes, to save it outside of Google Voice. You can then share the note or paste the transcription into a post or elsewhere.
If you want to also record outgoing calls, you will have to use another service. There are third party apps just for call recording, jailbreak and rooting that will give you the ability and even physical hardware you can buy to record things manually. See our overview of call recording options for more information.
Leave a Reply