How to Take a Screenshot on iPhone and iPad (All Models)
In many cases, you may need to take a screenshot on your iPhone or iPad. For example, while you can save all of your conversations, taking a screenshot can help you save only a certain part of a chat.
Also, it can help fix an error message you’re experiencing or some interesting information you find online.
Screen capture method varies by iPhone and iPad models with Face ID or Touch ID. Let’s take a closer look.
- How to Take a Screenshot on iPhone 14, 13, 12, 11 and iPhone X Series
- How to take a screenshot on iPhone SE 2022, iPhone 8 and earlier
- Take a screenshot on iPad with Face ID
- How to take a screenshot on iPad with Touch ID
- View screenshots on iPhone and iPad
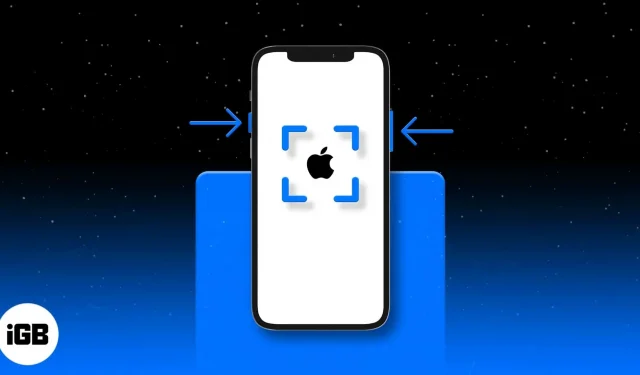
How to Take a Screenshot on iPhone 14, 13, 12, 11 and iPhone X Series
- Start with the screen you want to take as a screenshot. It can be any application or even the home screen.
- Press the side button on the right and the volume up button on the left at the same time.
- Quickly release both buttons together.
- Your iPhone screen will flash white and you will also hear a sound similar to a camera click if silent mode is turned off.
- You will then see a screenshot thumbnail in the lower left corner of the screen. You can swipe left (or ignore) to close it. Or you can click on it to apply changes, markup, etc. If you do nothing, it will automatically disappear after a few seconds. The screenshot is saved in Photos in the Screenshots album.
How to take a screenshot on iPhone SE 2022, iPhone 8 and earlier
The third generation iPhone SE, iPhone 8, and all earlier models such as the iPhone 7, 6, 5, etc. have a home button on the front. Here’s how to take a screenshot on these devices:
- Open the screen you want to take as a screenshot. It can be any application or even the home screen.
- Press the home button and the right side button (or top button) at the same time.
- Release both buttons quickly. The iPhone screen will flash white and you will also hear the camera shutter sound if silent mode is not turned on.
- Optional: Tap the thumbnail in the bottom right corner to edit the screenshot. If you do nothing, the screenshot will be automatically saved to Photos.
How to take a screenshot on iPad with Face ID
Modern high-end iPads have Face ID. These devices have thin edge-to-edge bezels and therefore lack a home button. Therefore, the way to take a screenshot is almost the same as on an iPhone with Face ID.
- Press the button on the top and the volume up button on the right on the iPad at the same time.
- Release both buttons quickly.
- The screen will flash and you will hear a shutter sound. A screenshot thumbnail will appear in the lower left corner. You can click on it to make changes or annotations. Swipe left to close it immediately.
How to take a screenshot on iPad with Touch ID
The way to take a screenshot on an iPad using the Home button is the same as on an iPhone with a Home button. Here are the steps:
- Press the top button and the home button at the same time.
- Release both buttons quickly.
- The iPad screen will flash and you will hear the camera shutter sound. You can click on it or swipe left to close it.
View screenshots on iPhone and iPad
Screenshots you take on iPhone and iPad are automatically saved in Photos as PNG format.
If you’re using iCloud Photos on your iOS and iPadOS devices, you’ll find these screenshots under All Photos. If you’re not using iCloud Photos, it’s called Recent.
When you scroll down to the Albums section, you will also see the Screenshots option. It collects all screenshots and displays them to you in one convenient place.
Advice. You can also ask Siri to “Show all my screenshots.”
Video: How to take a screenshot on iPhone and iPad
Summarizing…
Here’s how you can take screenshots on your iPhone and iPad, no matter what model you have. For an iPod Touch, the process is the same as for an iPad with a Home button.
Next, you can learn how to take a screenshot on iPhone and iPad without using the Home button and Power button. If you have any other questions, please contact us using the comments section below. We will do our best to help you!
Leave a Reply