Minecraft Create Mod: how to get and install it

Minecraft is an amazing sandbox game that brings the aesthetic of 2D pixels to a 3D game. You can play in single player and build amazing builds like monuments, various Realms, Redstone Machines, etc. To help the player create these builds, the community has created a lot of mods. Some of them are decorations, some are new blocks, and some change the way you play. One such mod that we will be discussing here is the Create Mod. In this guide, I will show you how to get and install the Create mod in Minecraft.
How to get and install the Create mod in Minecraft
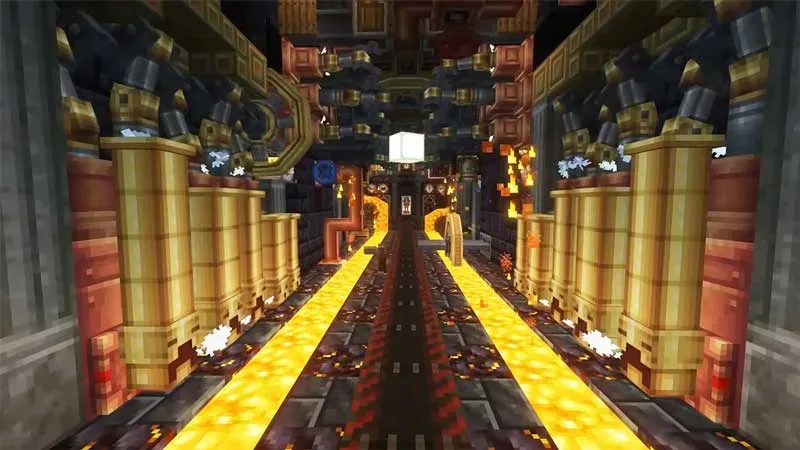
The Create mod in Minecraft is a Redstone mod. The mod introduces new blocks, parts and mechanics into the game. The Create Mod has a very steampunk aesthetic with a bit of modern flavor. To get the Create Mod, you will need to first install the Mod Loader i.e. CurseForge. You can also use Fabric, but it’s easier with CurseForge. To download and install CurseForge for your PC, go to their official website. Follow the instructions and you can easily set up CurseForge. You can also check out our guide on how to download and install Minecraft Forge in Minecraft. Follow the instructions and install the latest version. Once this is done, you will need to download the Creat Mod files.
Click on the link to go to the mod creation page. Here you can download the mod. Once downloaded, you can launch Minecraft and then open your CurseForge profile. Before launching Minecraft, click “Settings”above and then click the “Folder”icon in CurseForge. This will take you to the CurseForge files. There will be a Mods folder, open it. Now paste the Create Mod files here. Now you have successfully installed Create Mod. Now all you have to do is restart Minecraft and then start the server on your CurseForge profile.
This is all about how to get and install the Create mod in Minecraft. I hope this guide has helped you.
Leave a Reply