How to customize colors for all apps on your iPhone to match how you use them most (or just for fun)
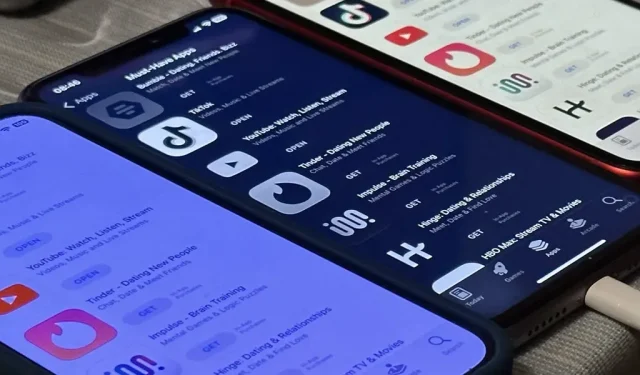
There aren’t many iPhone apps that let you change the color theme other than light and dark. They don’t really need to, because iOS has a few hidden tricks that will help you customize the colors of any app, either during a specific session or every time you use the app.
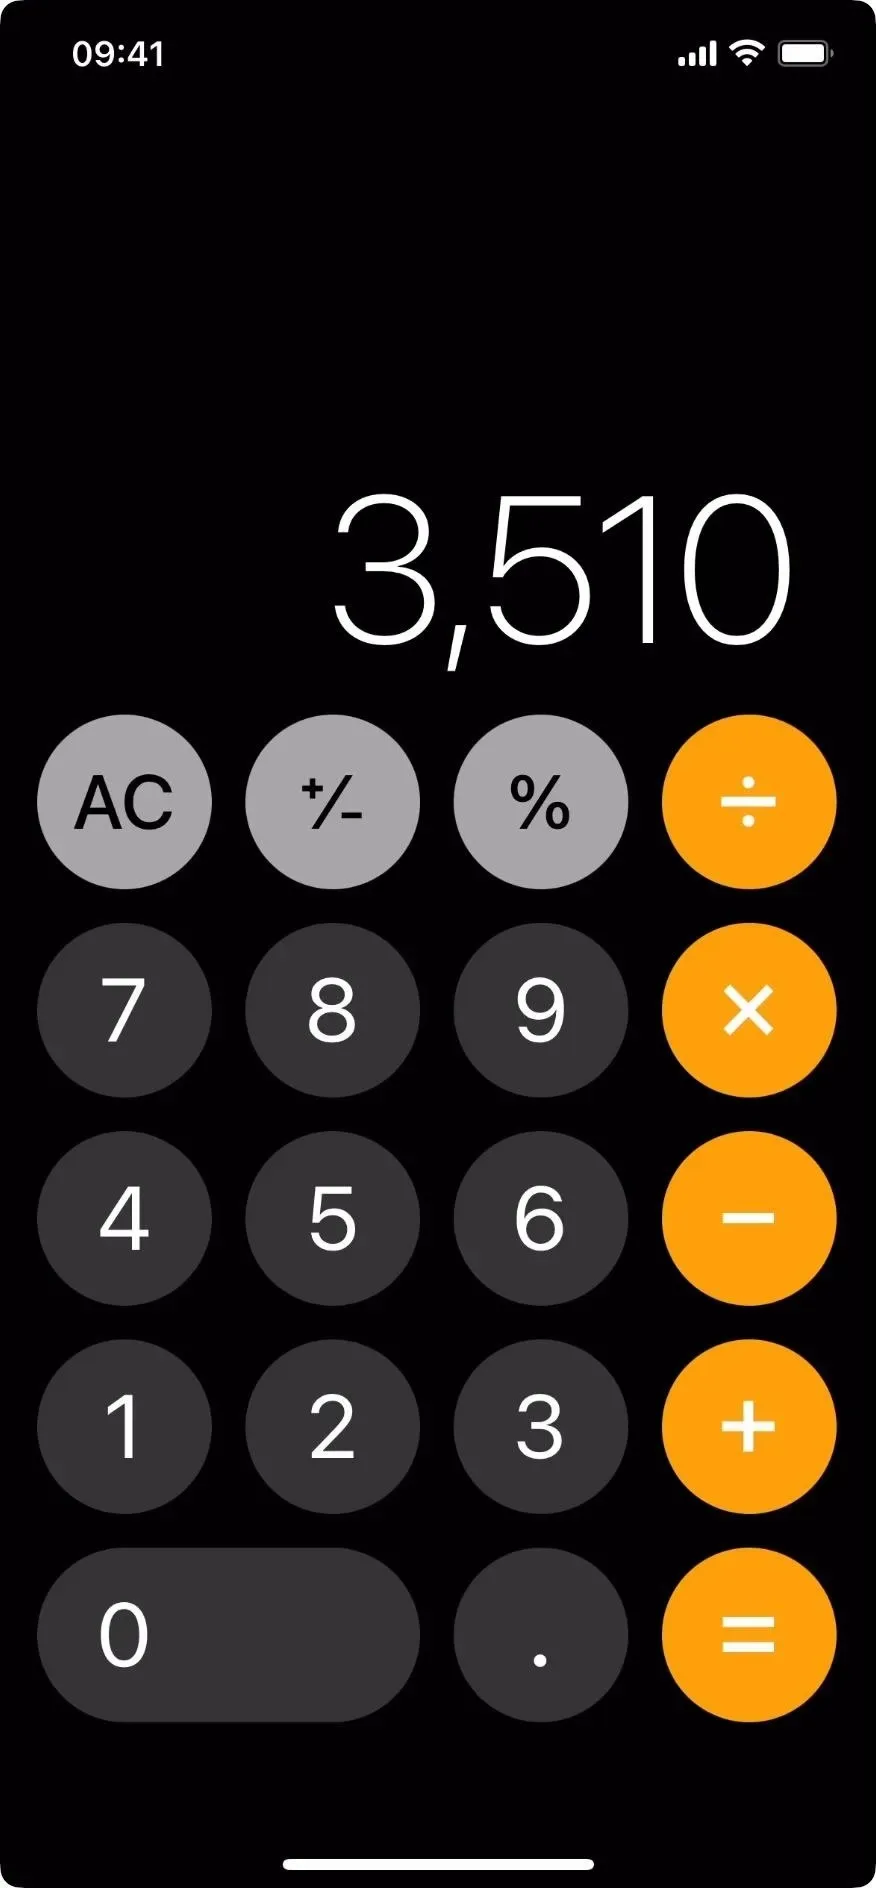
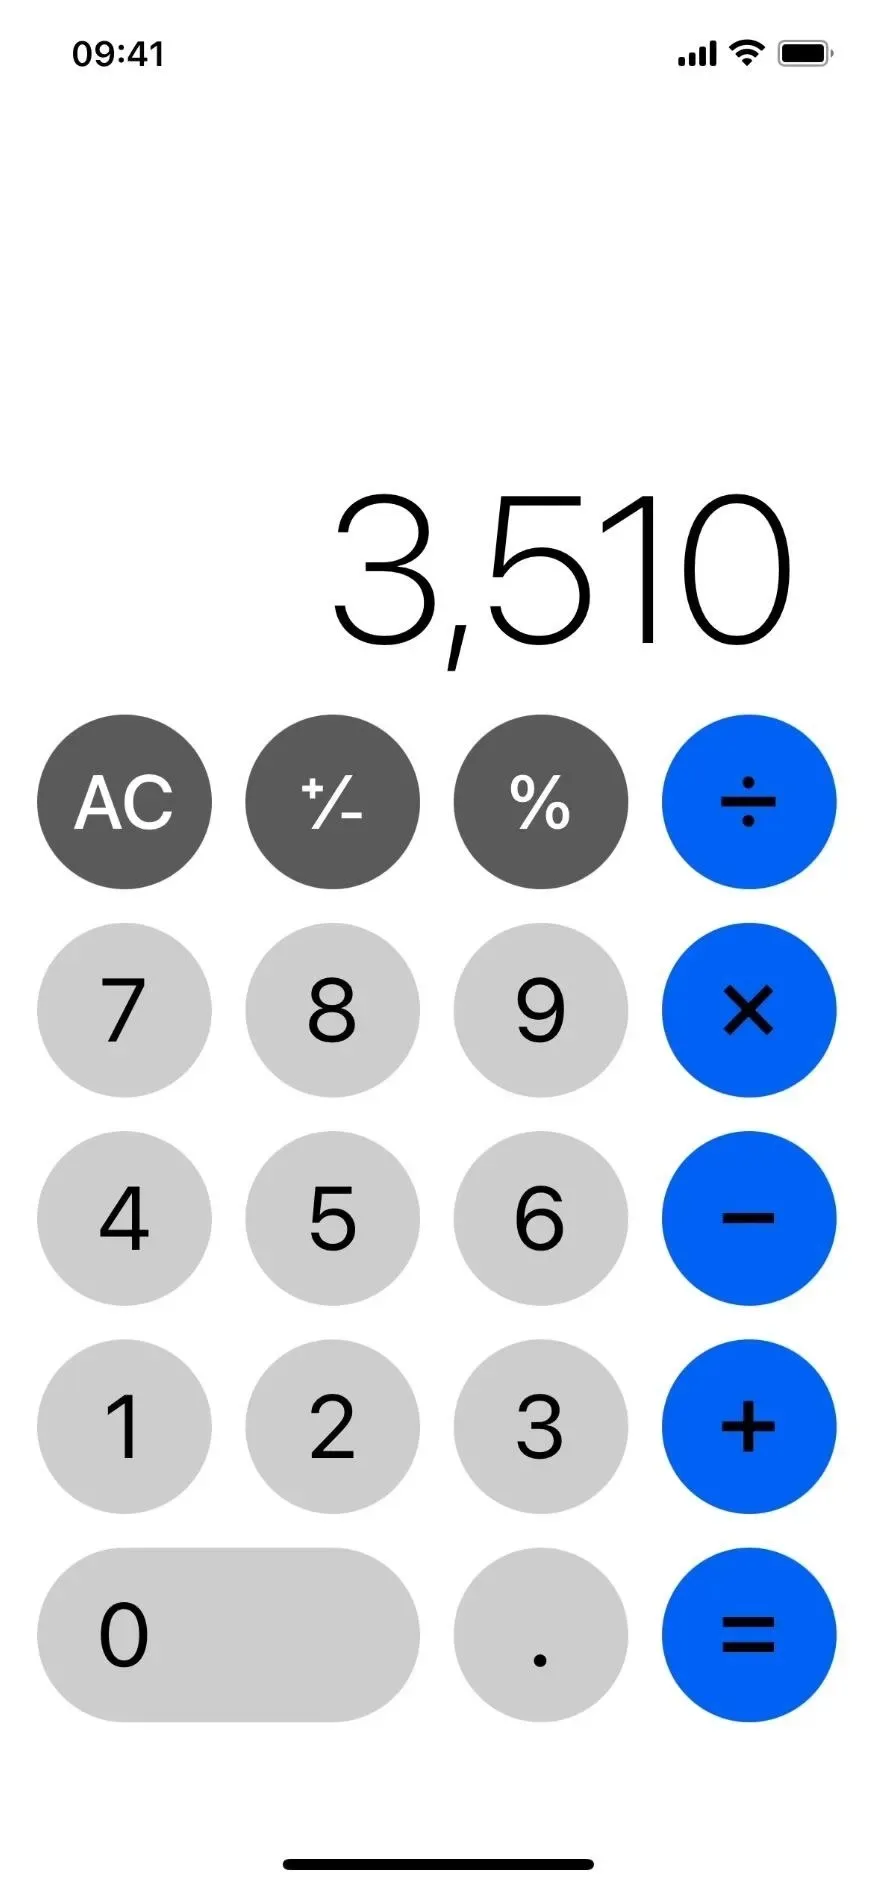
For example, if you’re tired of the dark theme that the stock Apple Calculator app has been using since iOS 11, and it’s pretty much the same color scheme that’s been in use since its inception, give it a new look. Instead of black and orange, you can use white and blue. If you don’t like the orange buttons, you can tweak them to match the light gray ones. And these are just a few options.
This is made possible by several different iOS features.
First, there are settings for each application. Second, you can use the automations in the Shortcuts app to automatically apply one or more system filters to an app when you open it, and then turn them off when you close it. You can even assign the same look to a group of apps on your iPhone. Thirdly, you can use Back Tap or accessibility shortcuts to launch or disable a particular theme in the app whenever you want.
Before we get into that, let’s see all the visual changes we can make. While some of these options change colors directly, others change other aspects of the user interface that directly affect the appearance of applications, including colors.
Go to effect
- Dark mode
- Classic inverted
- Smart Inversion
- Color filters
- increase the contrast
- Reduce transparency
- Reduce white point
- Increase
- Night shift
- true tone
- Brightness
Go to Method
- Method 1: Configuring Per-App Settings
- Method 2: Automate color changes in apps
- Option 1: Switch filters
- Option 2. Enable/disable filters
- Method 3: Manually Change Colors in Apps
- Option 1: Accessibility Quick Access
- Option 2: Accessibility shortcuts in the Control Center
- Option 3: Click “Back”
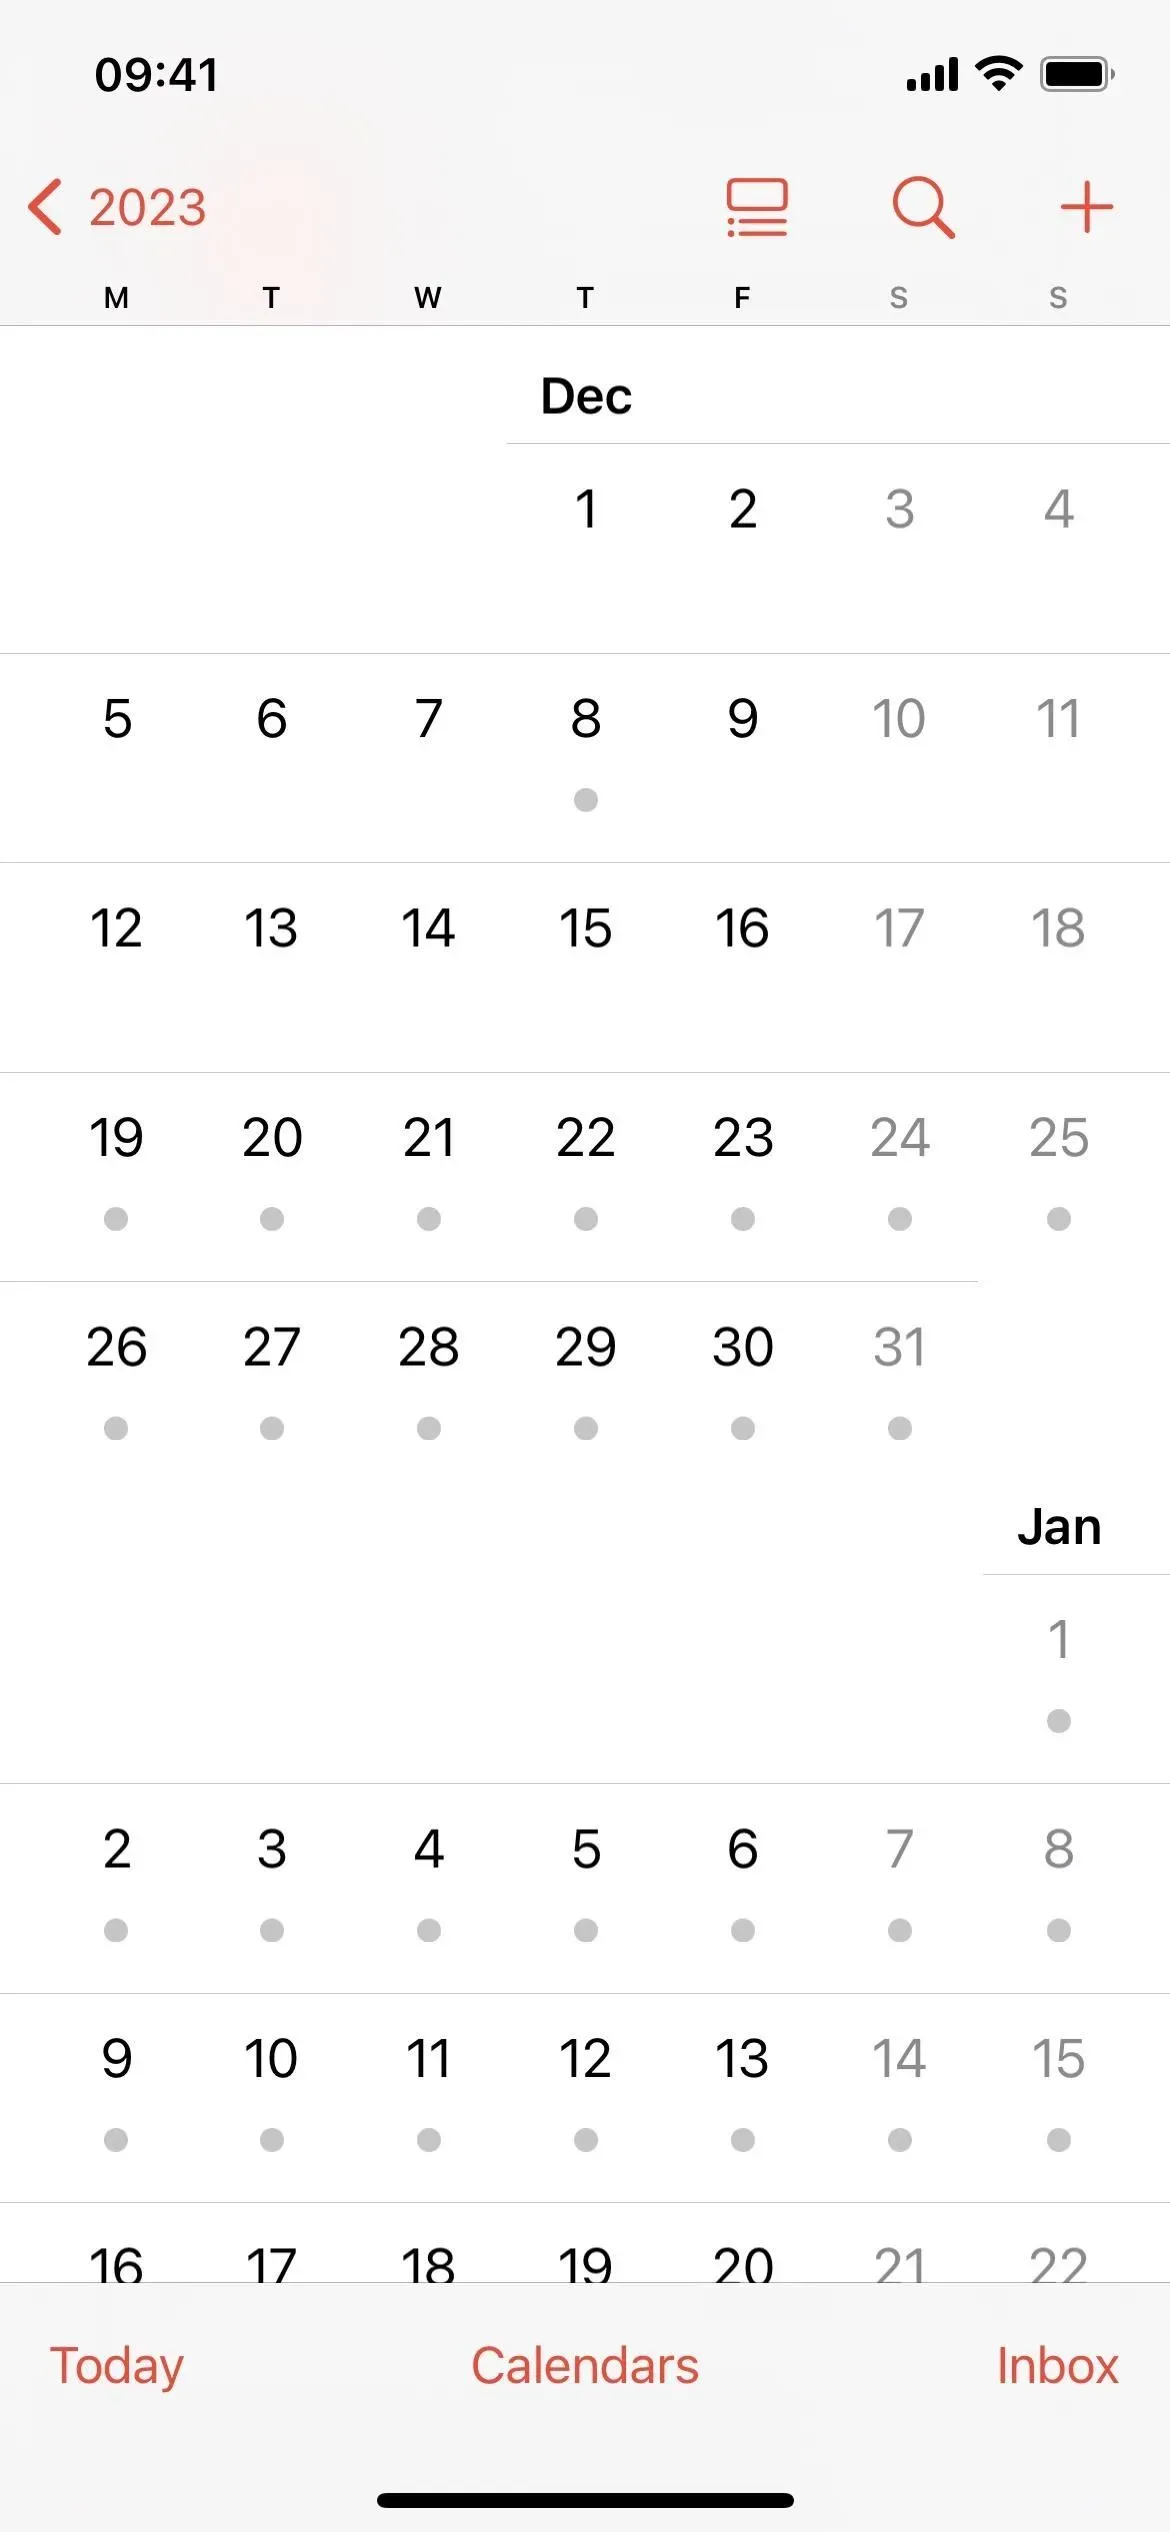
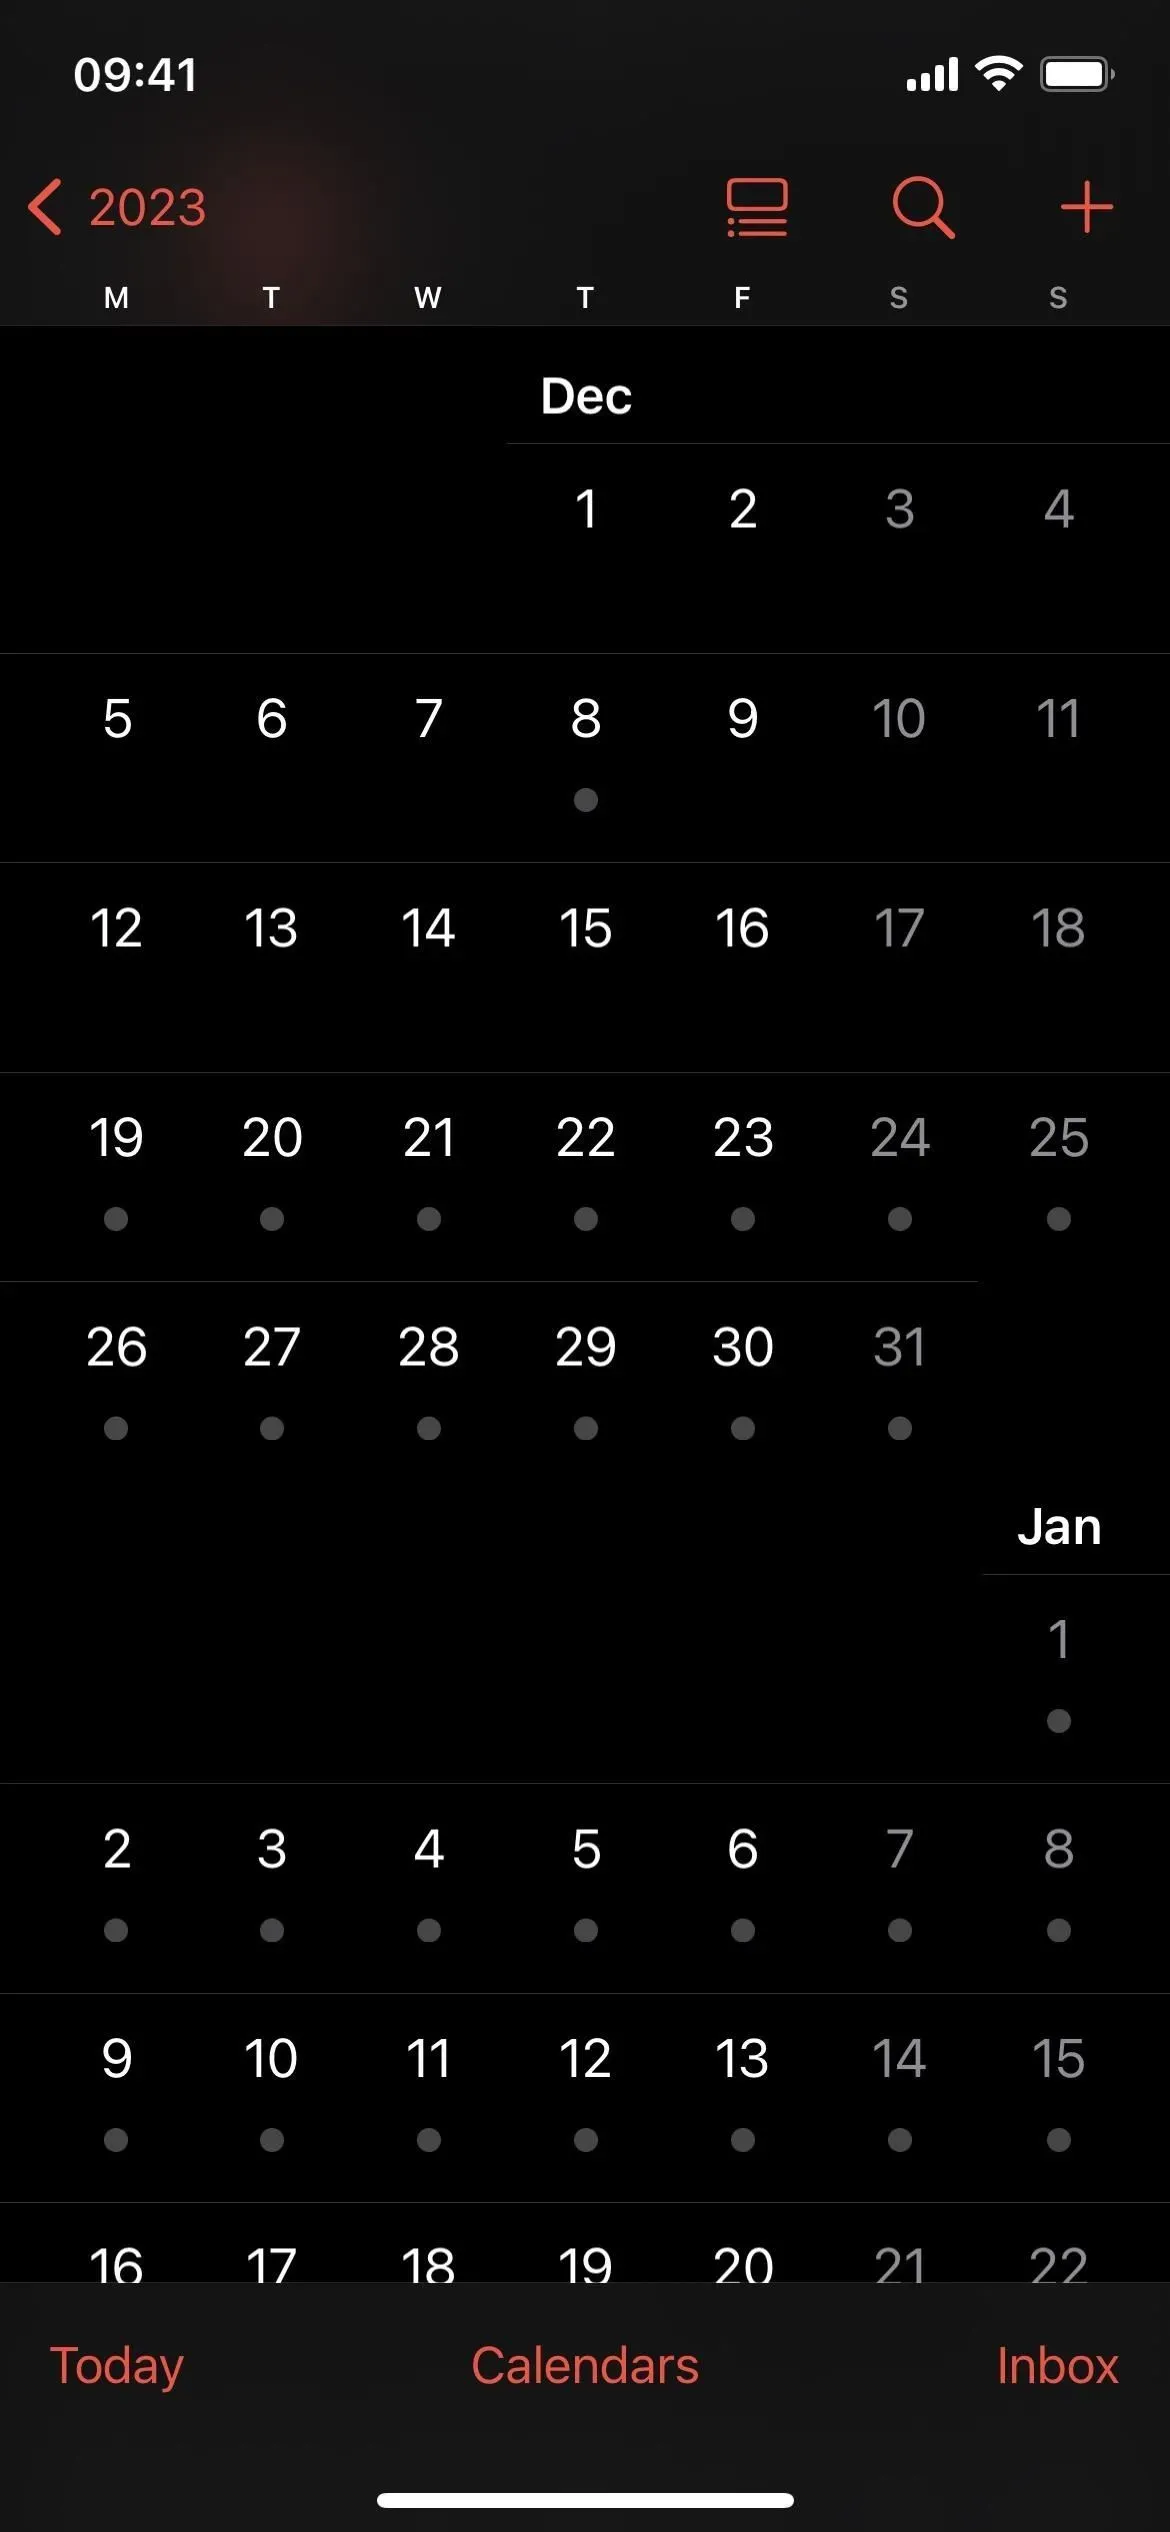
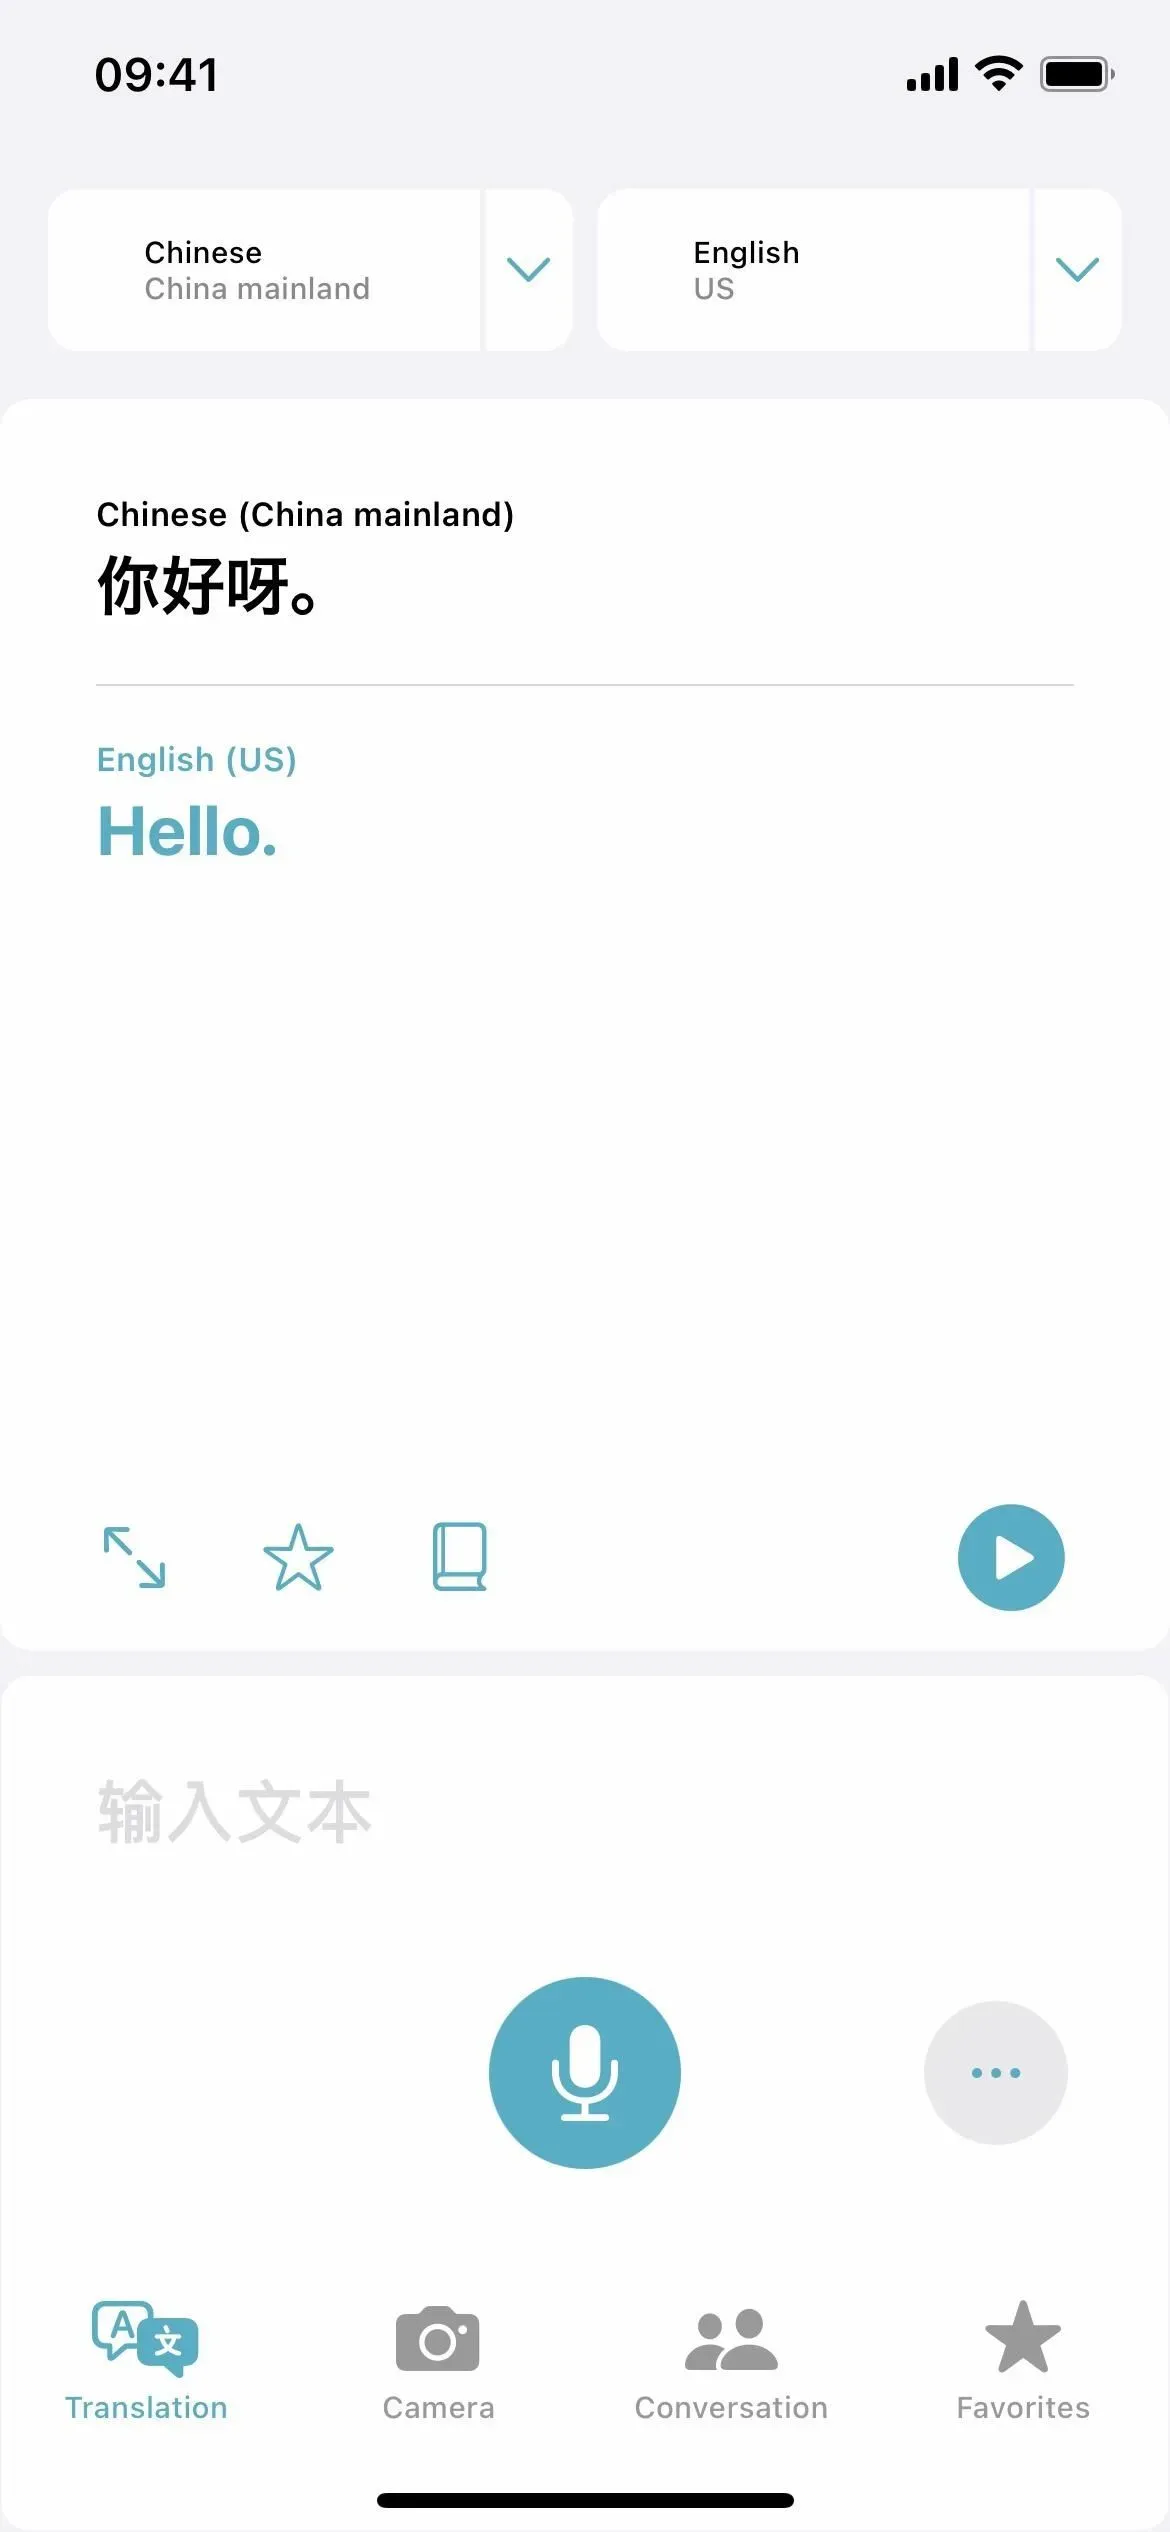
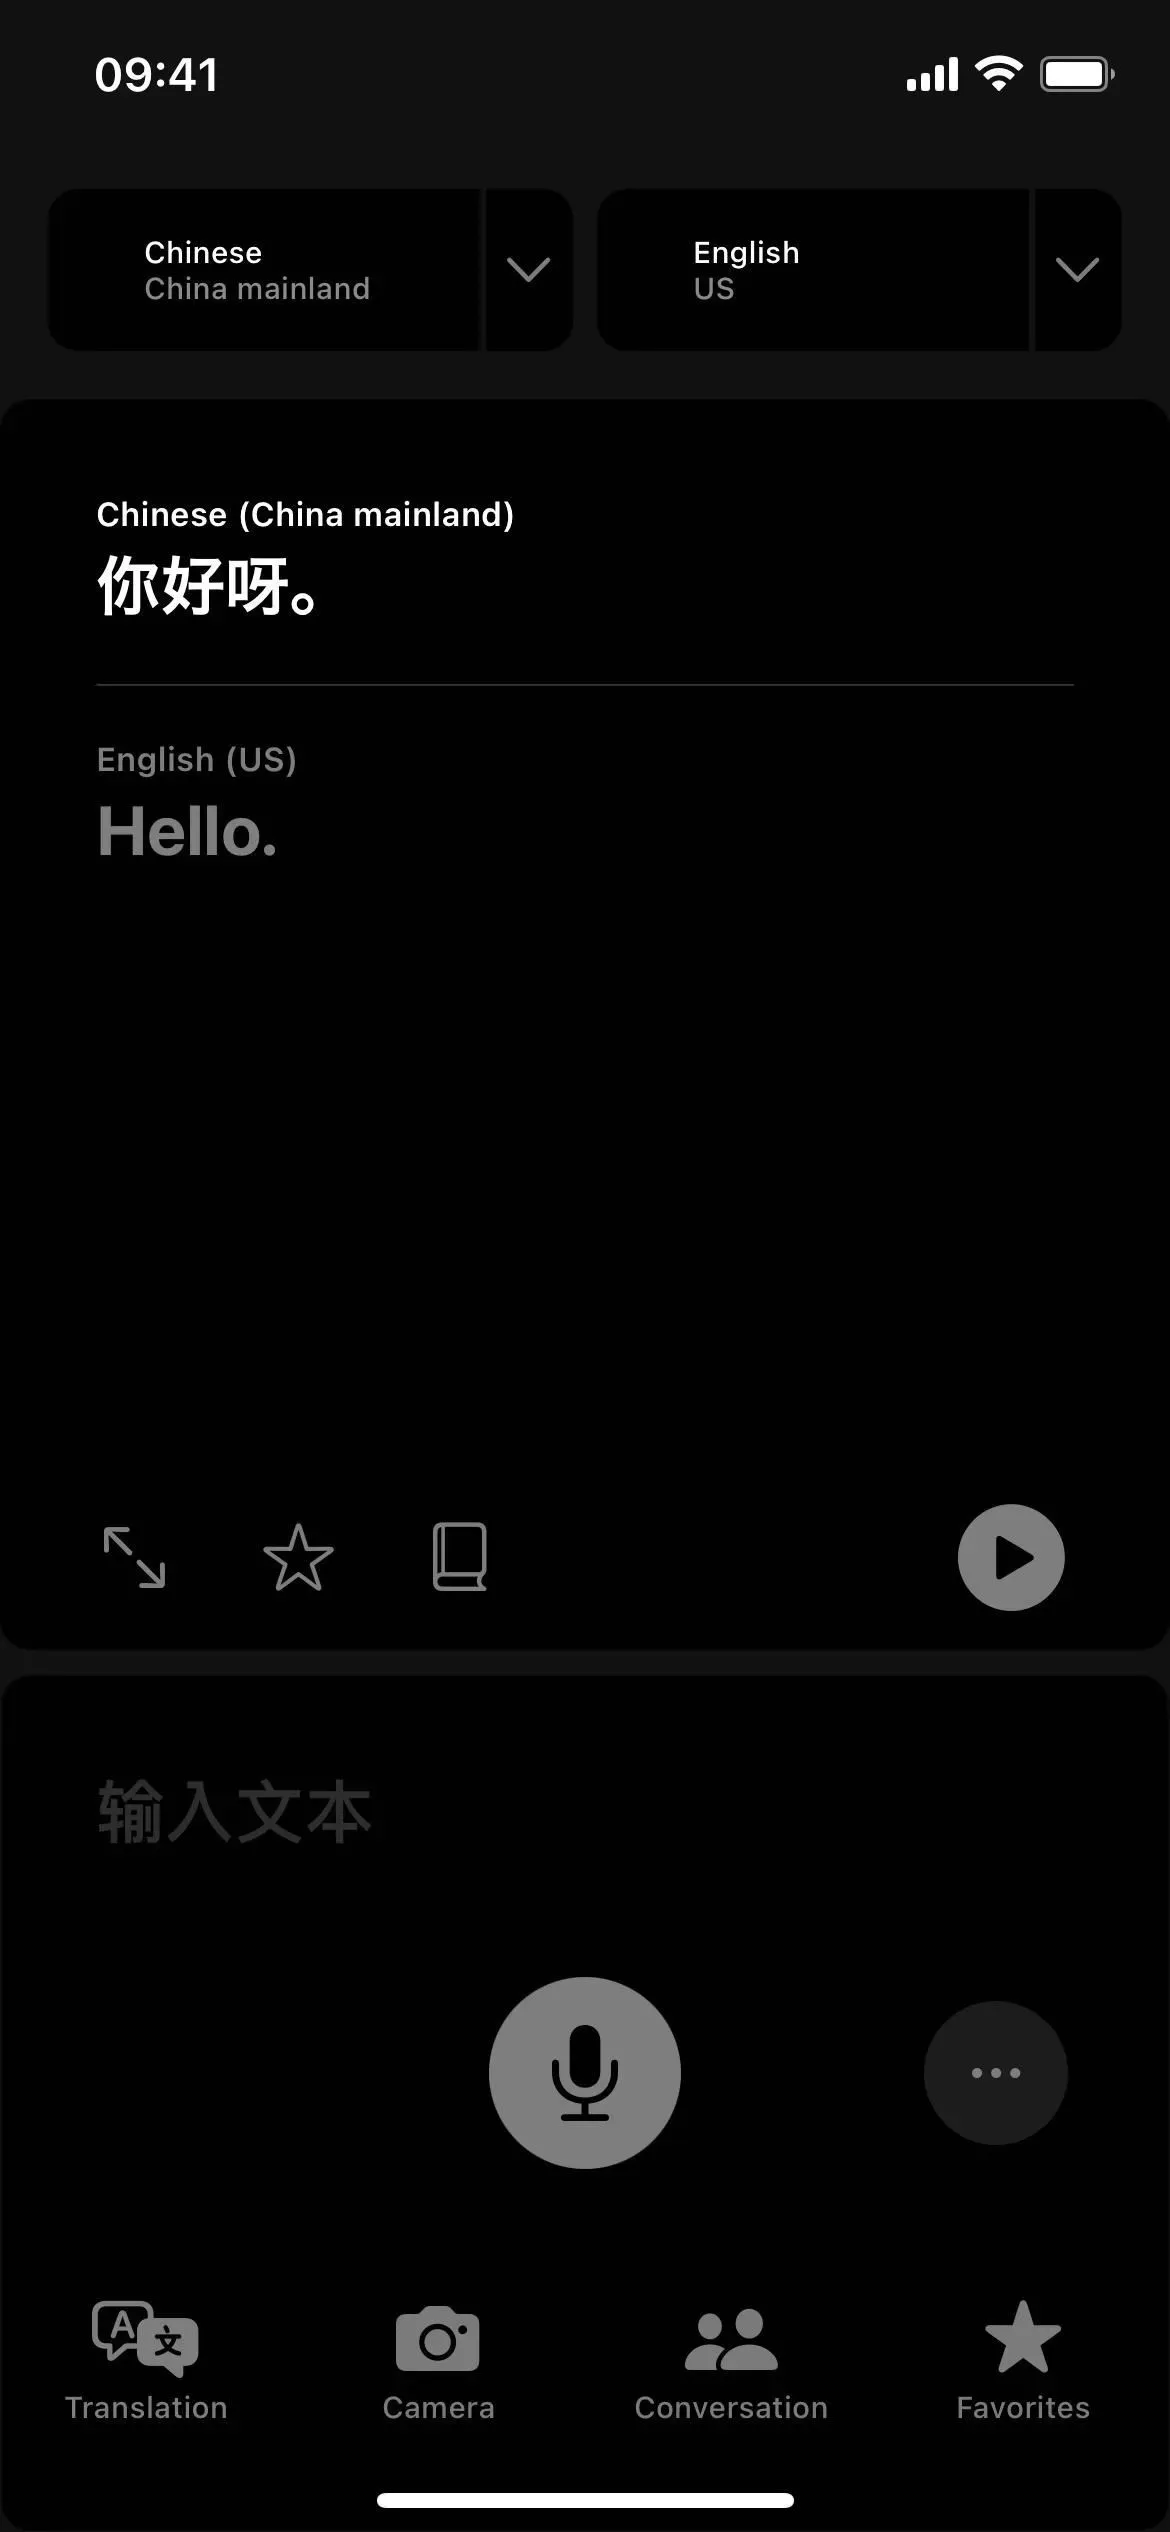
1. Dark mode
Dark Mode on your iPhone uses a darker color palette to change the normal system-wide look to a darker look that’s great for low-light environments. You will notice dimmer background colors and brighter foreground colors in applications. Many elements are inverted, but some of them have their own adaptive colors set by the application developers, so screens, views, menus, and controls may vary slightly between applications.
Fun Fact from Apple: “[Dark Mode] uses two sets of background colors — base and advanced — to improve depth perception when one dark interface is layered on top of another. Base colors are dimmer, so background interfaces appear to be receding, and boosted colors are brighter, making foreground interfaces more developed.”
You can activate dark mode manually in Settings -> Display & Brightness, using the Brightness slider in Control Center, or using the Dark Mode control in Control Center (if added). Siri works too. You can also set it to automatically switch to dark mode for night and light mode for daytime. Please note that dark mode affects screenshots, screen recordings, and screen mirroring.
2. Classic invert
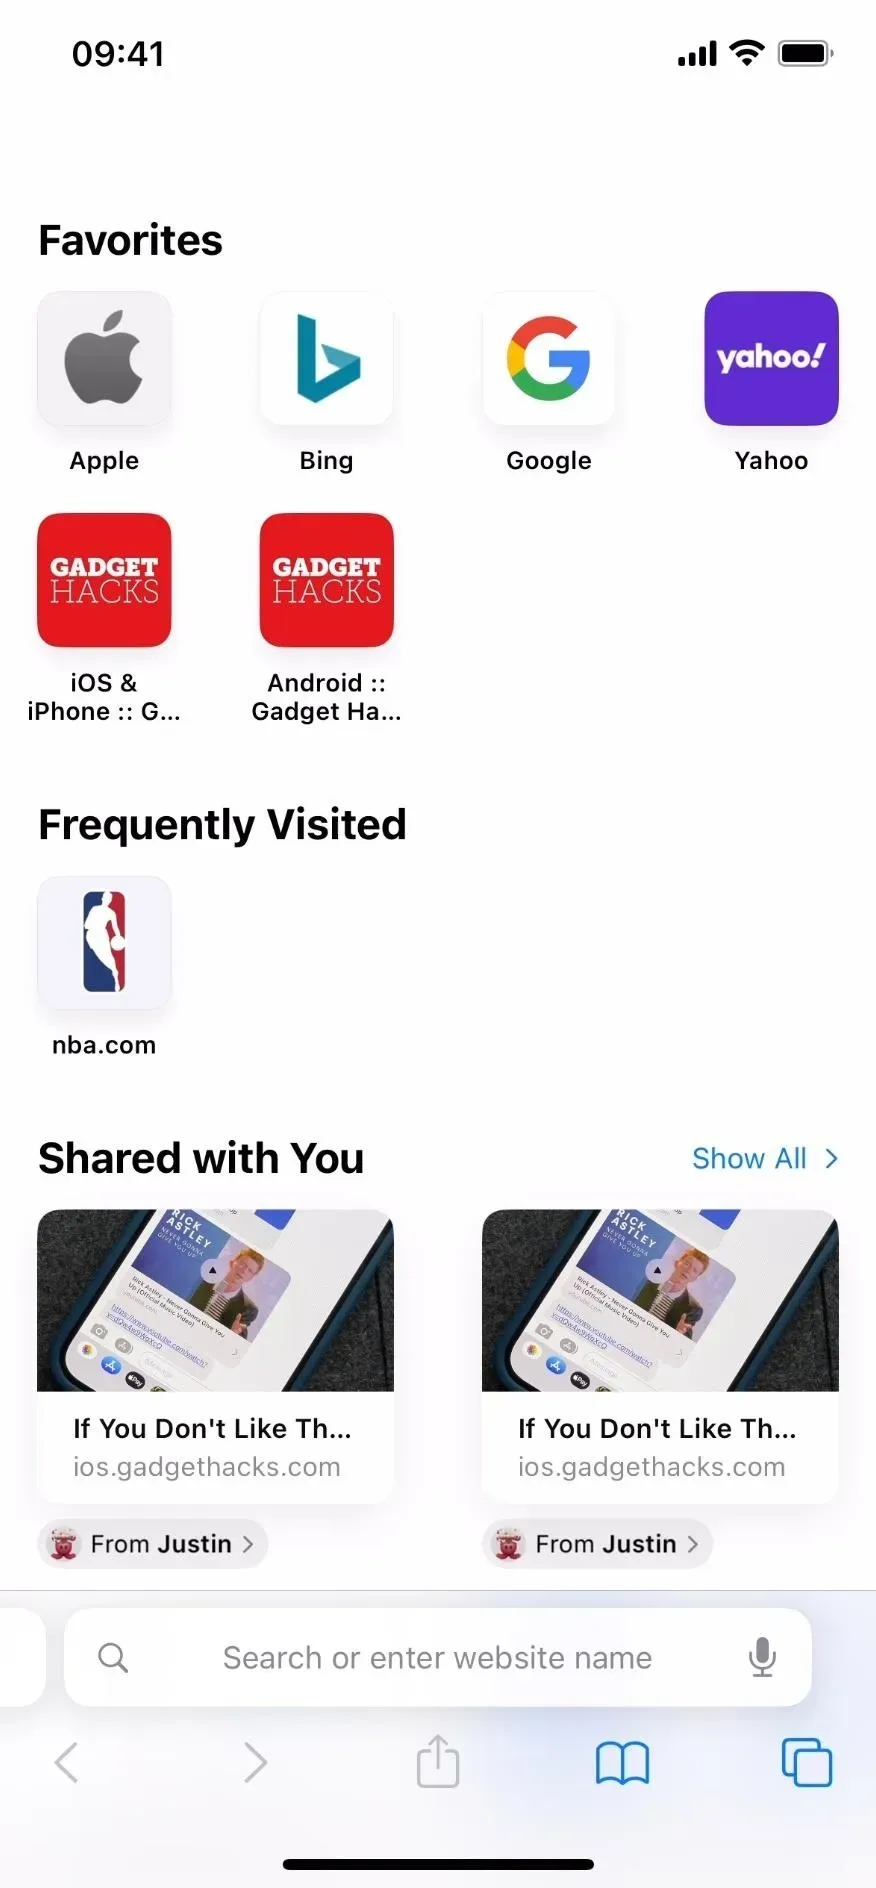
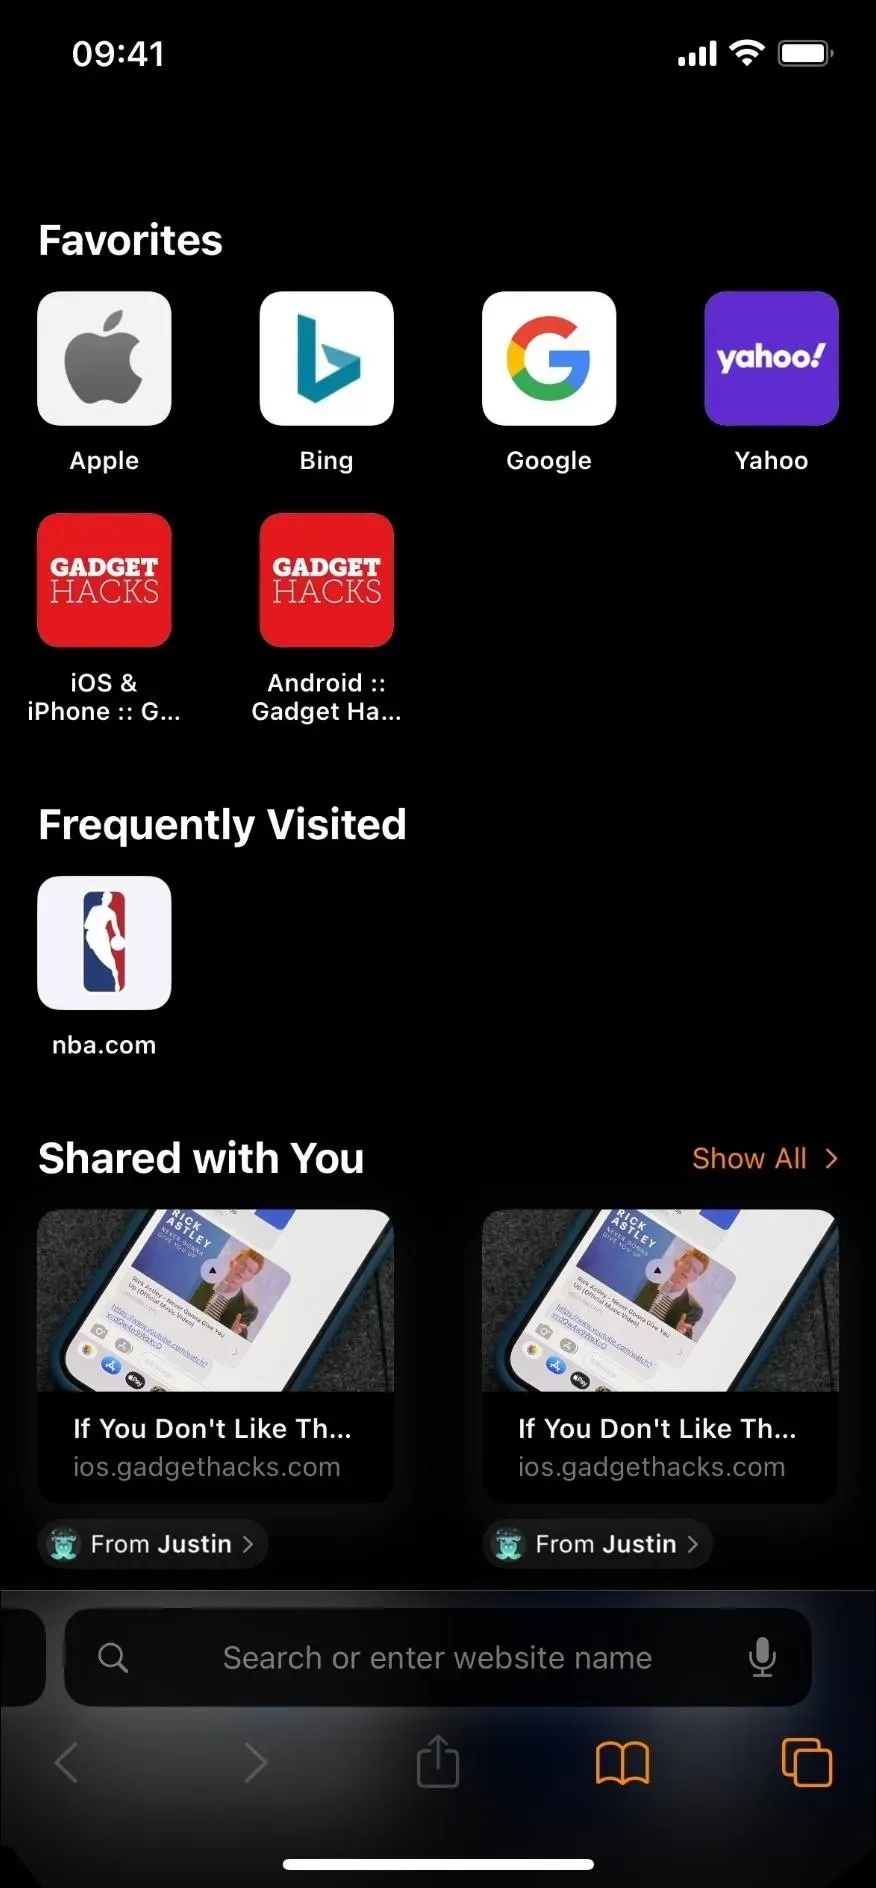
Classic Invert inverts all colors on the display: black becomes white, green becomes red, orange becomes blue, light gray becomes dark gray, and so on. Even images and media are upside down – nothing is immune to color inversion. As you can see below, the Calculator’s black background turns white, its orange buttons turn blue, white text turns black, and the grayscale is reversed.
You can turn Classic Invert on or off in Settings -> Accessibility -> Text Display and Size. Siri works too. Note that Classic Invert does not affect screenshots, but it does affect screen recording and screen mirroring.
3. Smart inversion
Smart Invert works similarly to Classic Invert in that it inverts the colors on the display. However, it does not invert most images, most media, and some applications that use dark color styles. So if you’re in an app that uses a dark color palette, like the Clock app, you won’t see much, if anything, change. Smart Invert may seem very similar to Dark Mode, but it uses much deeper blacks in many areas.
You can turn Smart Invert on or off in Settings -> Accessibility -> Text Display and Size. Siri works too. Note that Smart Invert does not affect screenshots, but it does affect screen recording and screen mirroring.
4. Color filters
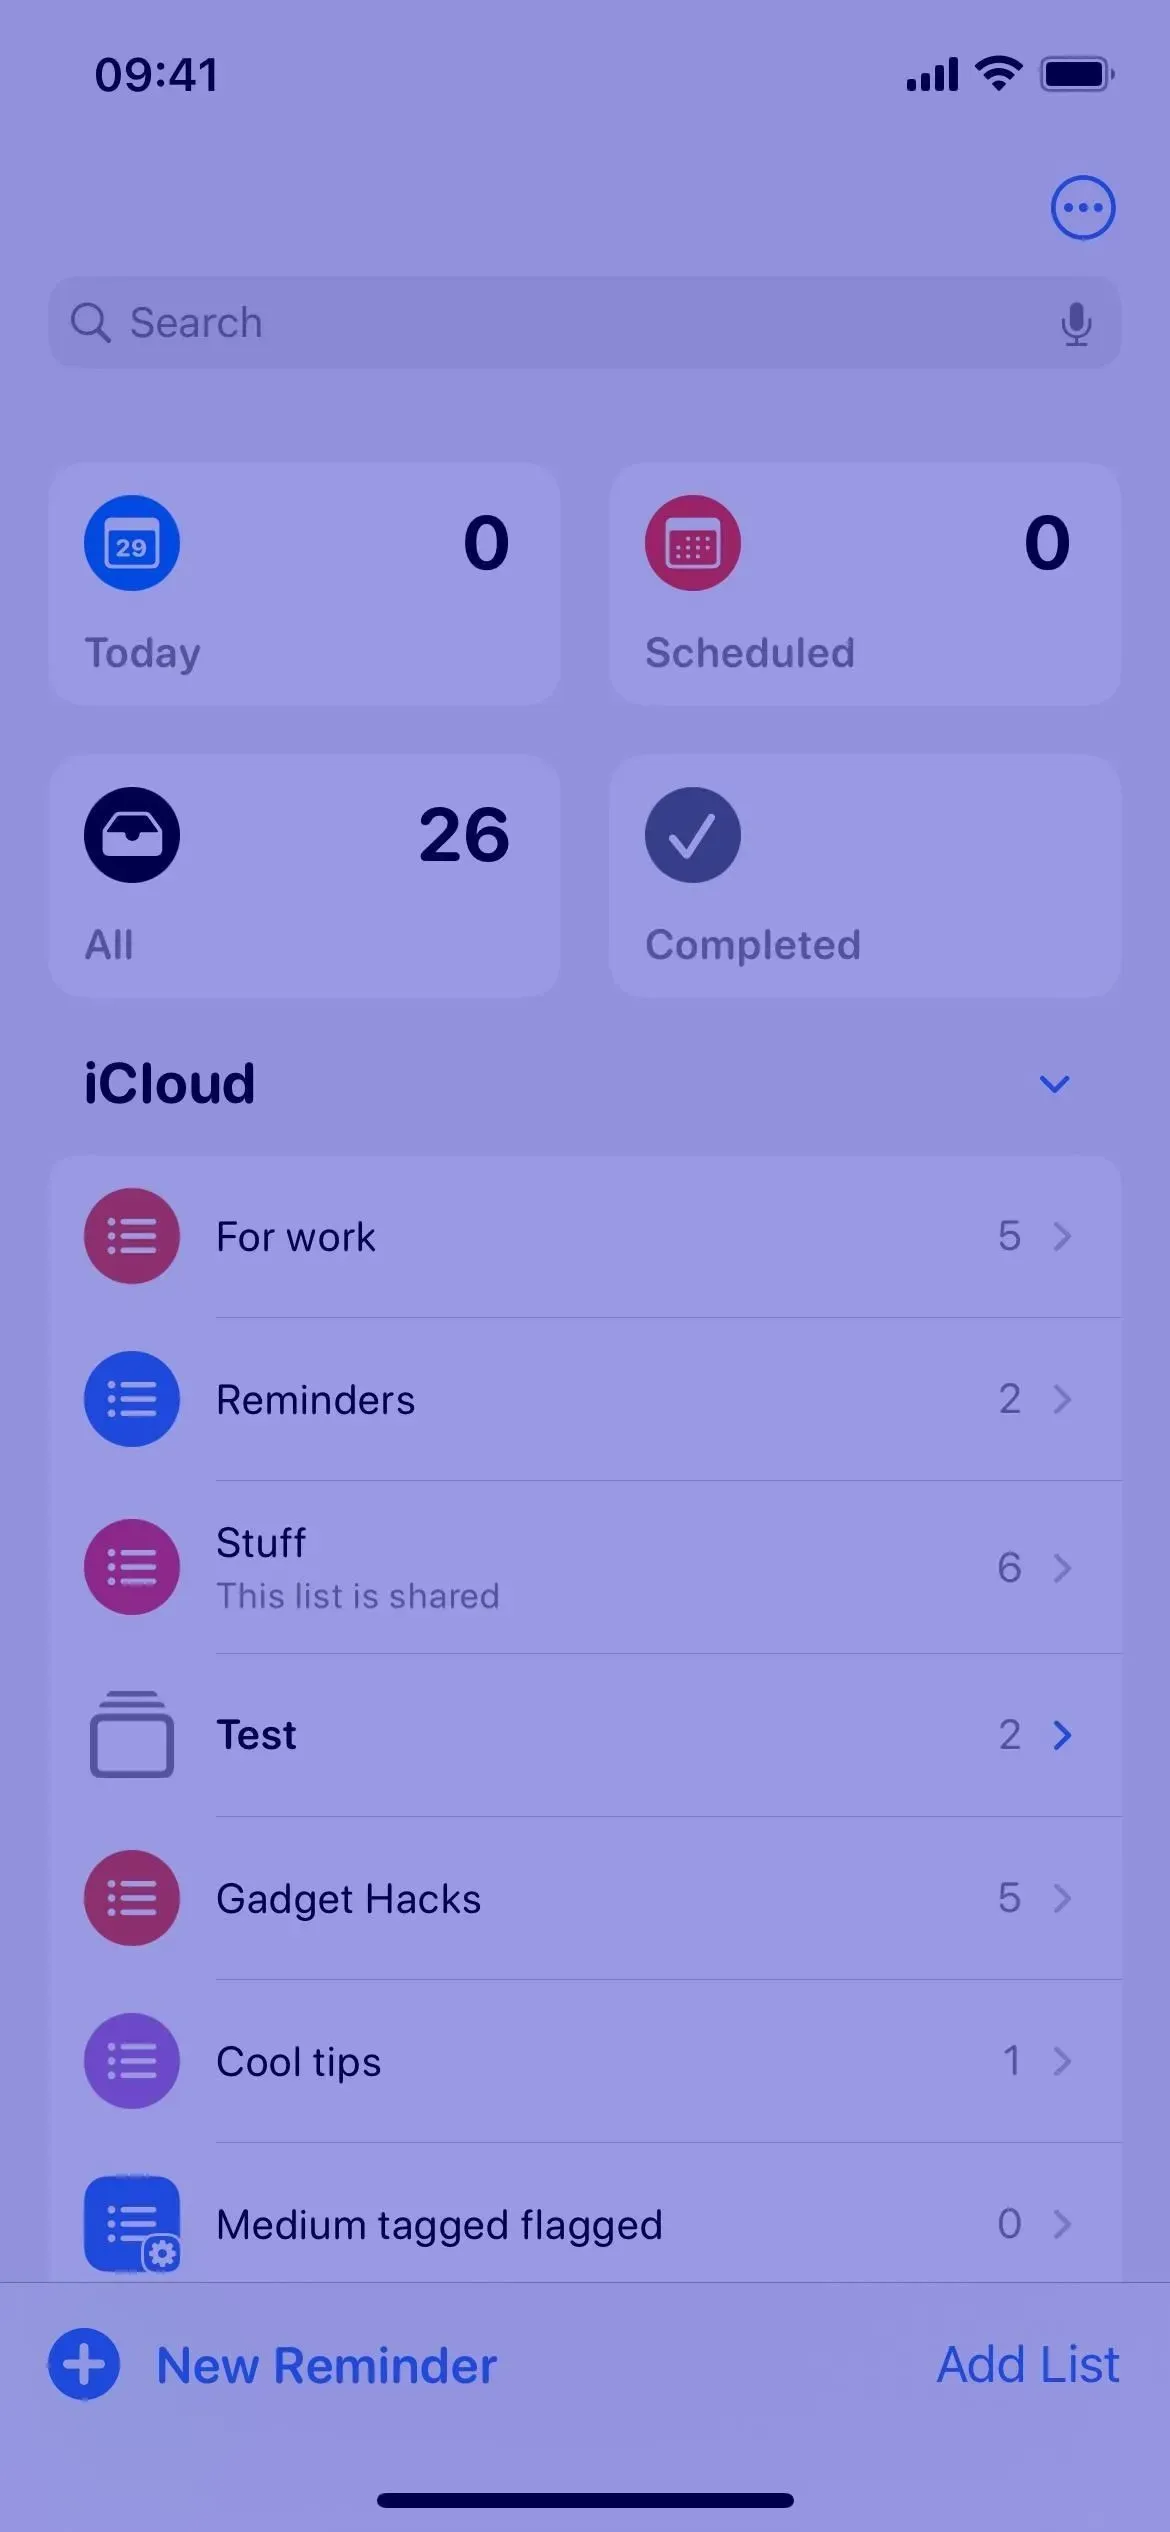
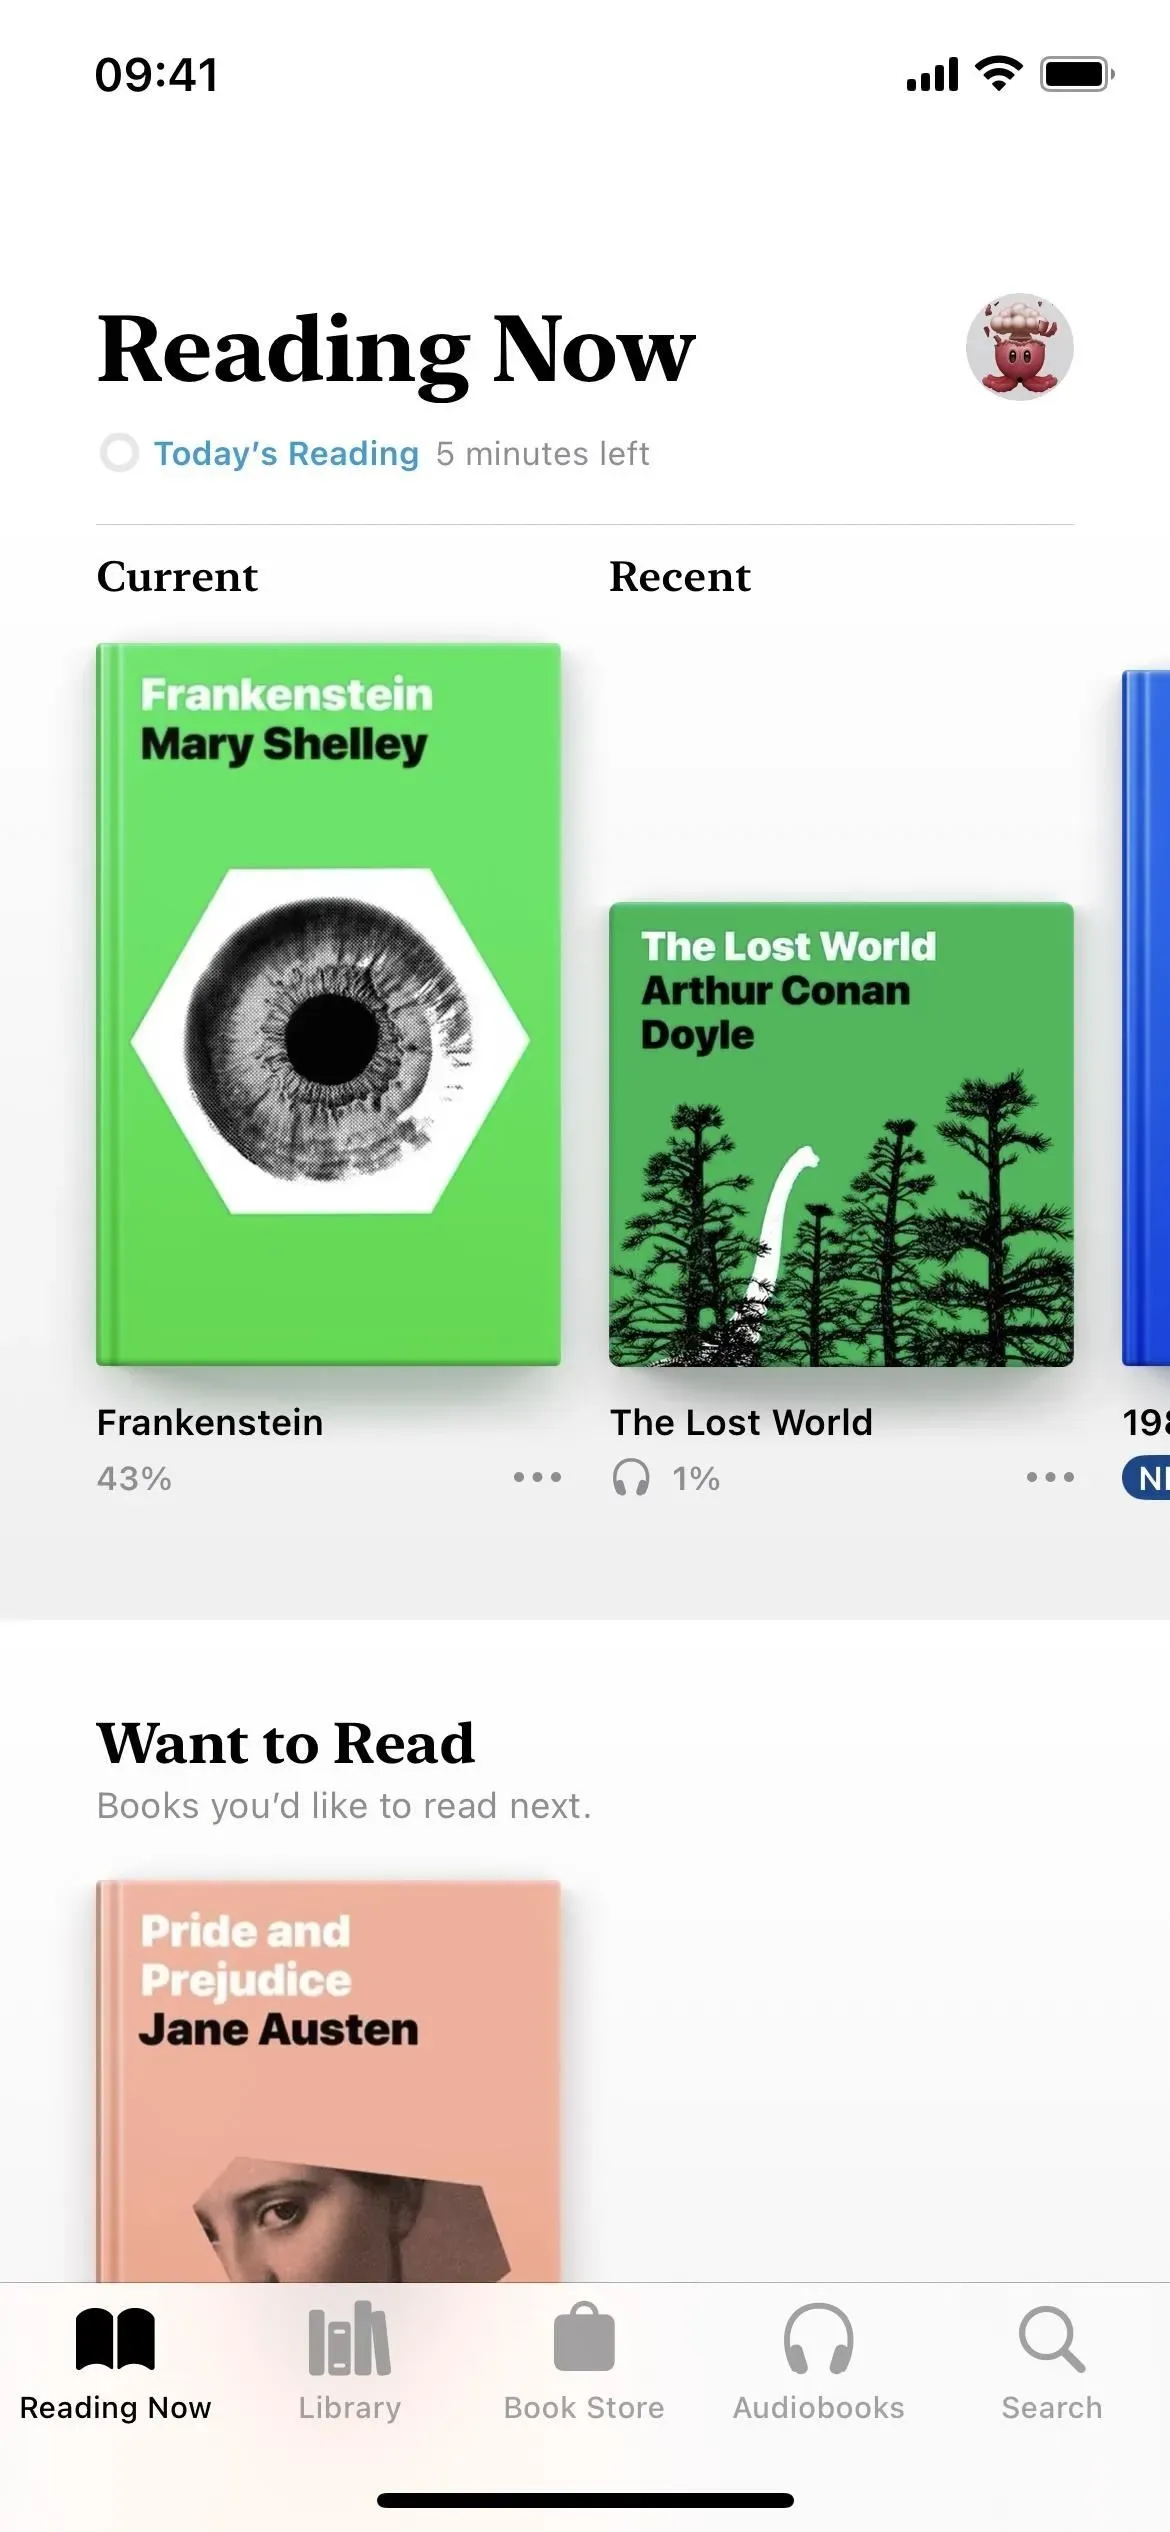
The Color Filters feature is very useful for users with color blindness and other vision problems, but it’s also very useful for changing the colors of the app as a whole. For example, you can use a red tint in apps if you want your eyes to adjust faster between the display and the dark environment around you, such as when stargazing at night.
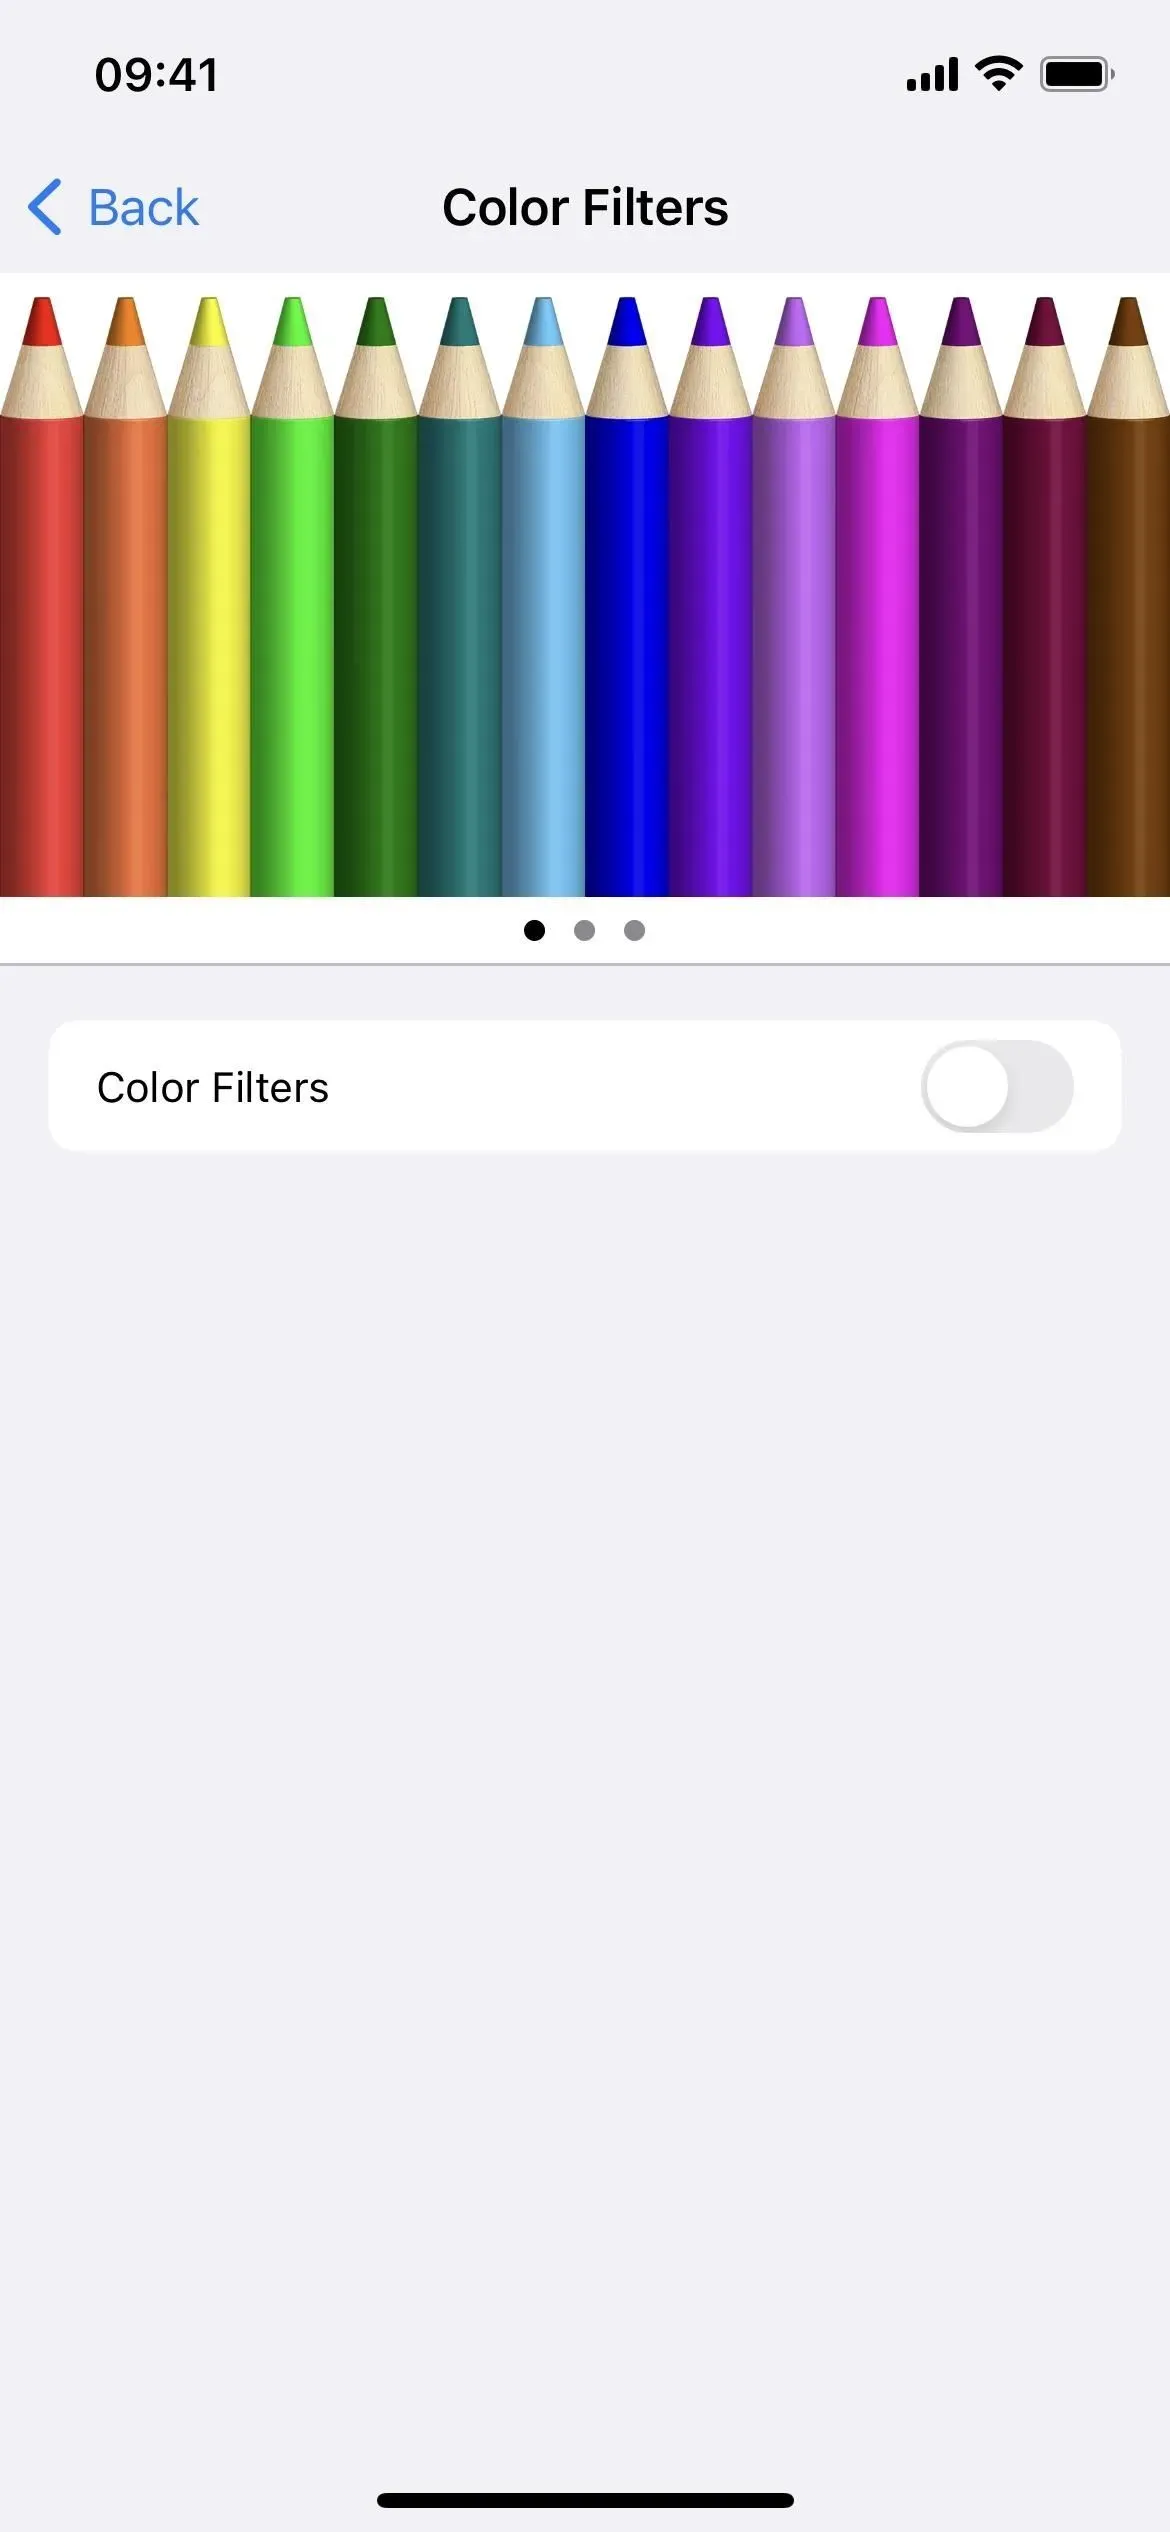
You can enable or disable color filters in Settings -> Accessibility -> Text Display and Size -> Color Filters. Siri works too. Note that color filters do not affect screenshots, screen recordings, and screen mirroring.
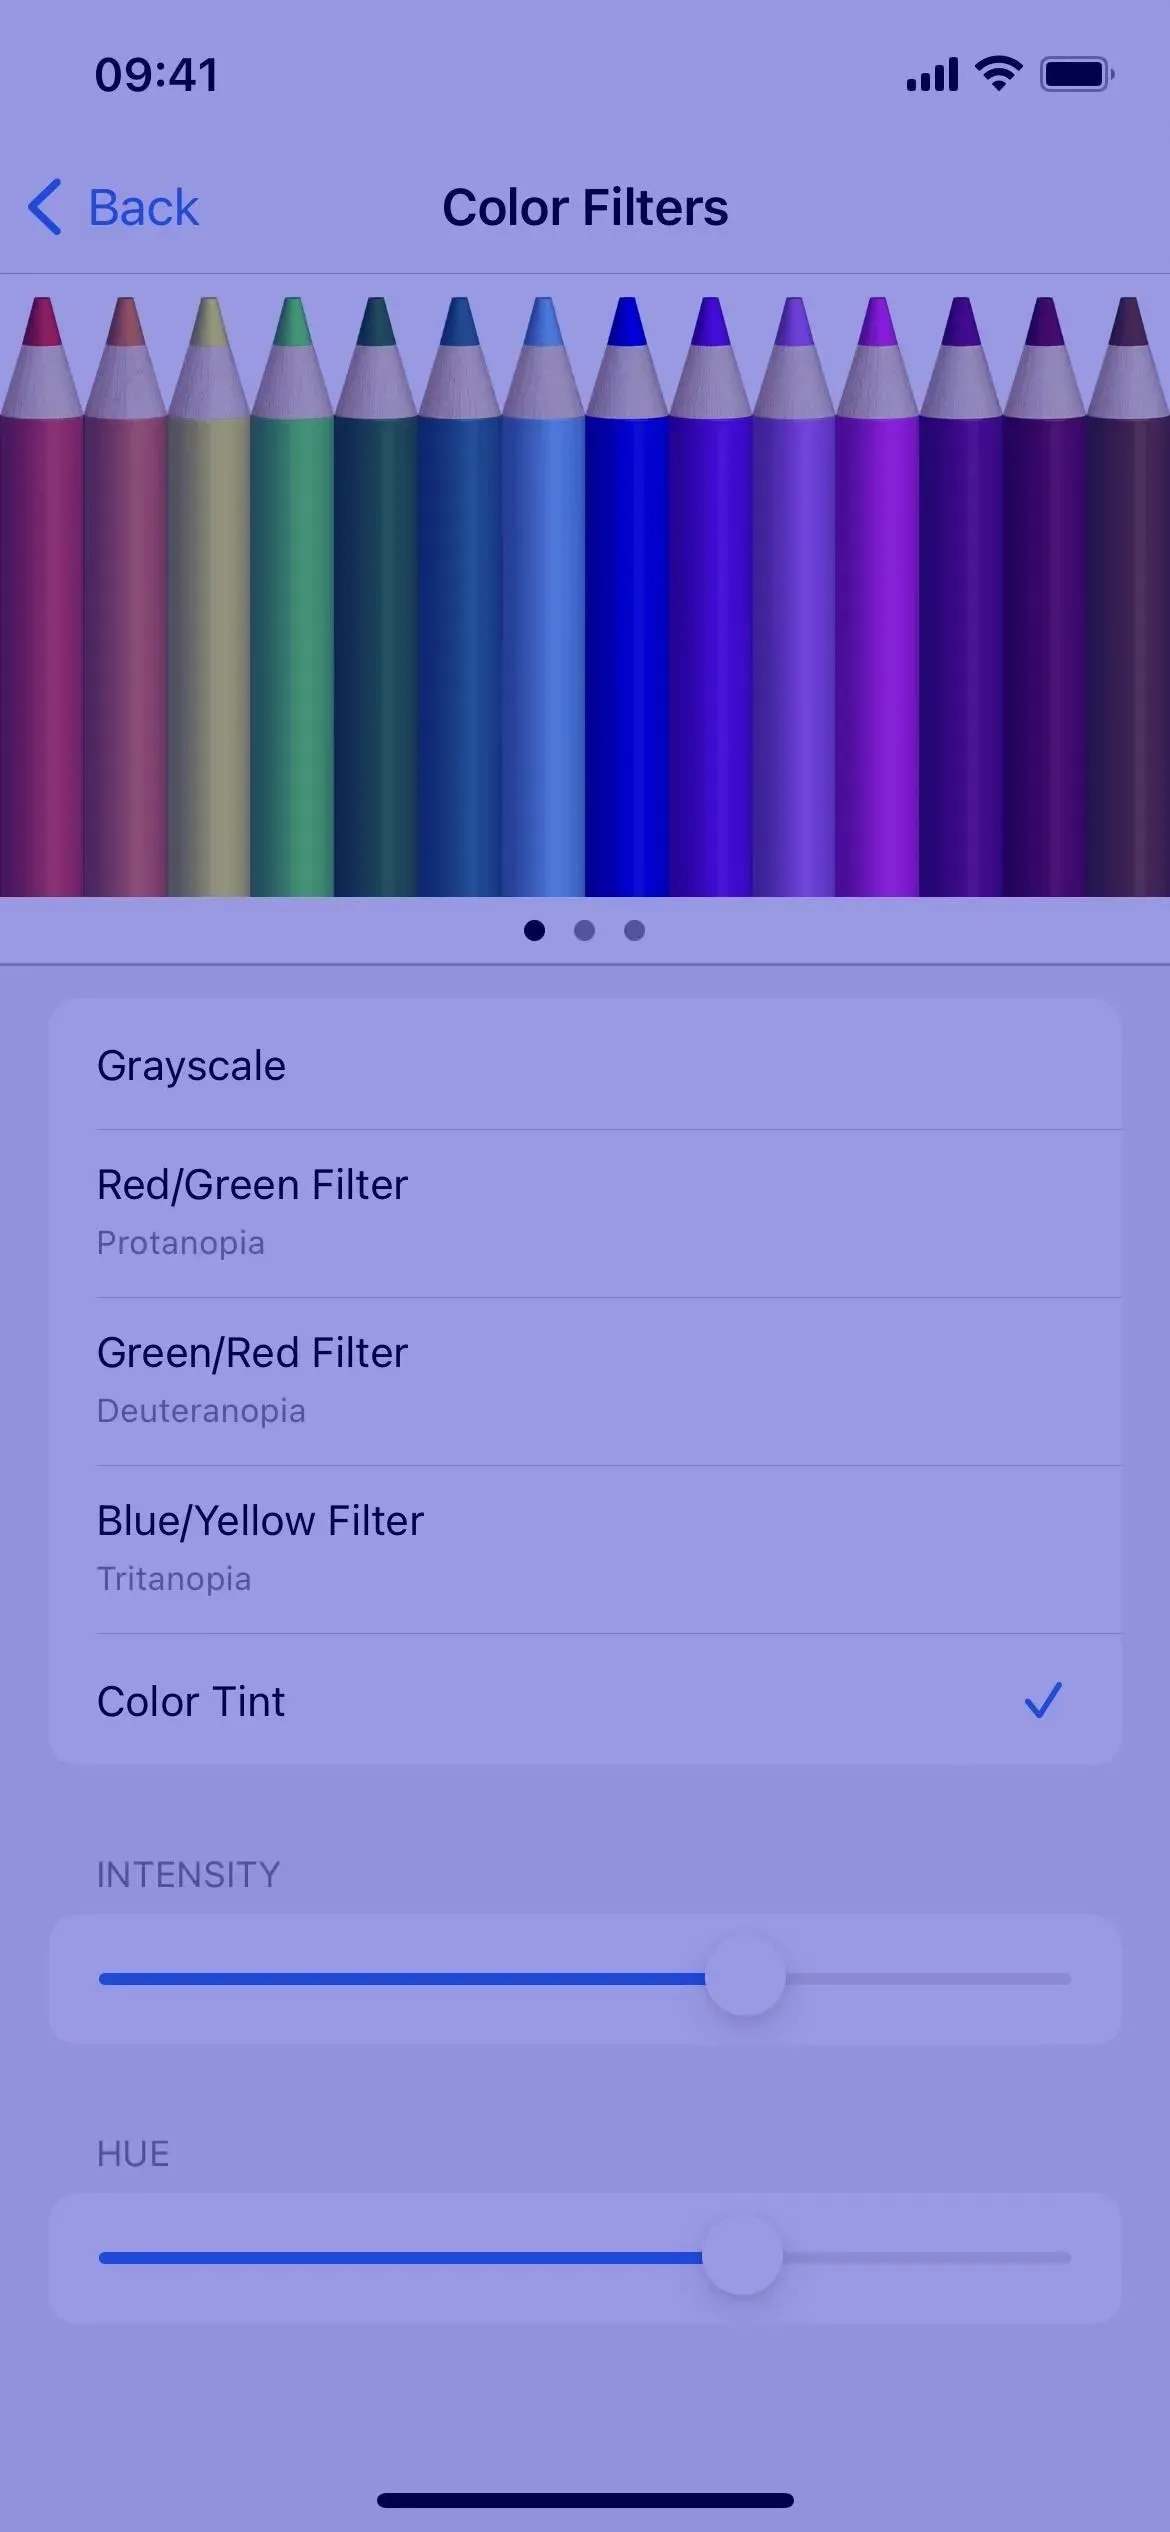
When you enable color filters, you may not notice much difference depending on the filter set. Whichever filter or tint you choose, it will be used by the color filters when turned on. You can choose between shades of grey, red/green (for protanopia), green/red (for deuteranopia), or blue/yellow (for tritanopia). If you want a more personal look, choose “Color Tint”instead, and then adjust “Intensity”and “Hue”to match your desired color palette.
5. Increase contrast
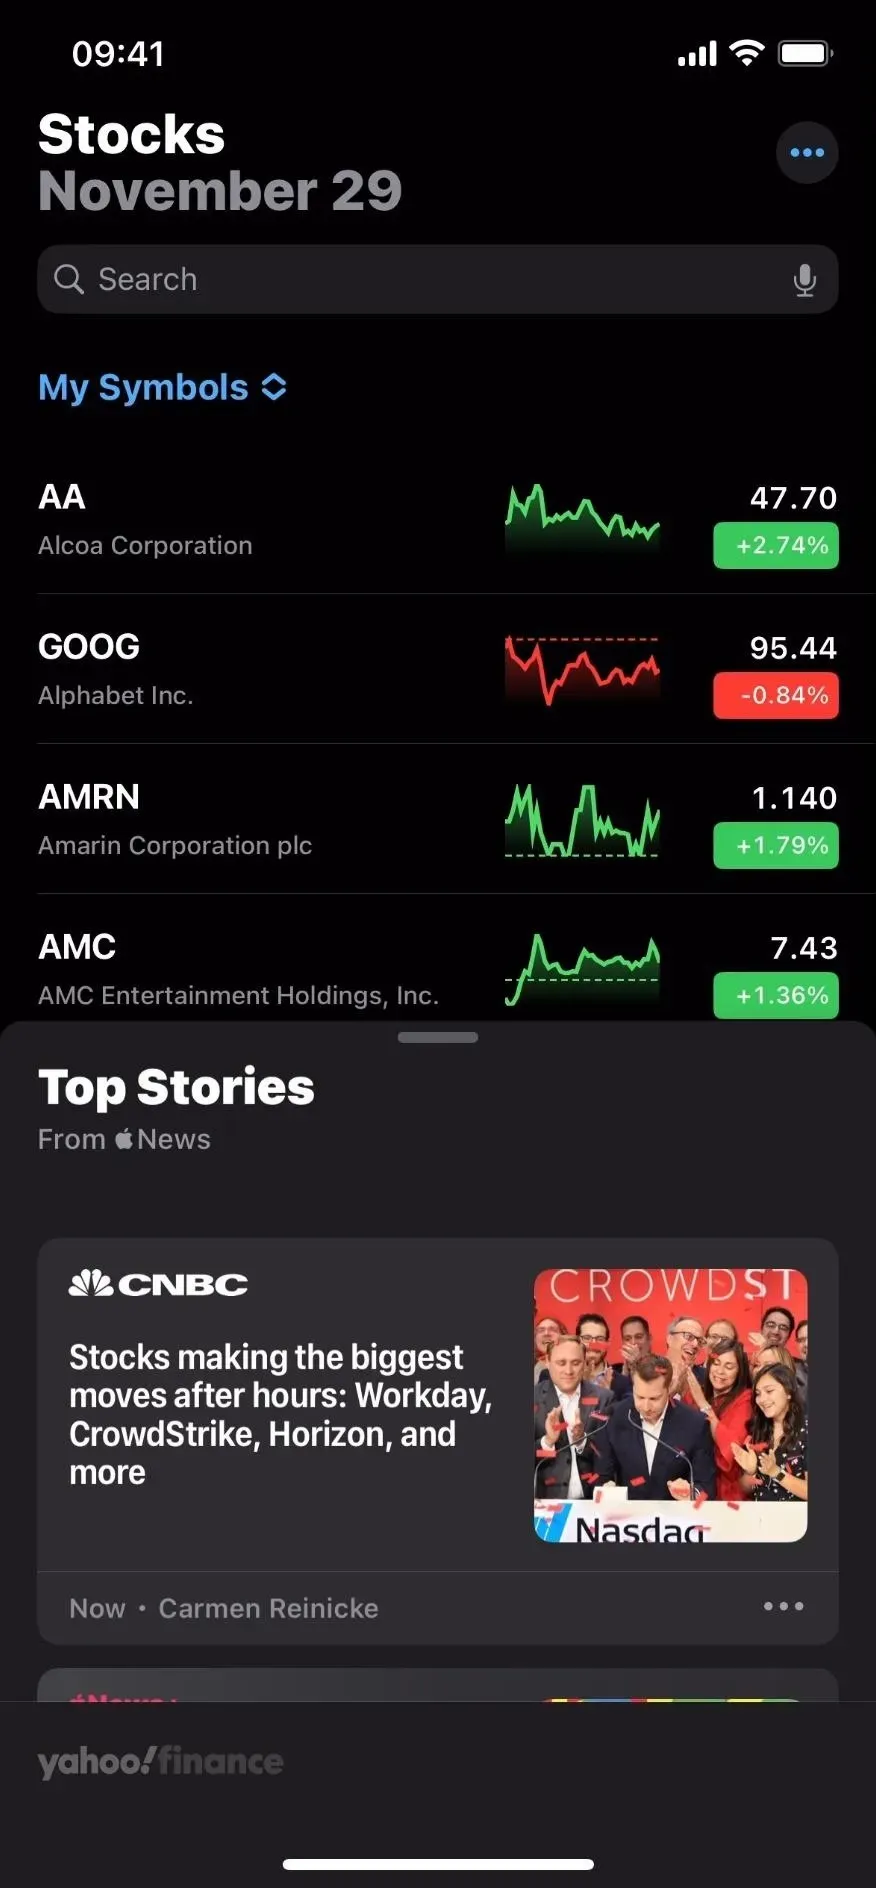
The “Increase Contrast”toggle, if enabled, improves the color contrast between foreground and background colors in an application. In some applications, the difference may not be significant. In the Stocks app as shown below, you can see a slight difference between news articles and the background, as well as a line chart and price change, percentage change, or market cap bubbles under each price.

You can turn contrast enhancement on or off in Settings -> Accessibility -> Text Display and Size. Siri works too. Note that “Contrast Increase”affects screenshots, screen recordings, and screen mirroring.
6. Reduce transparency
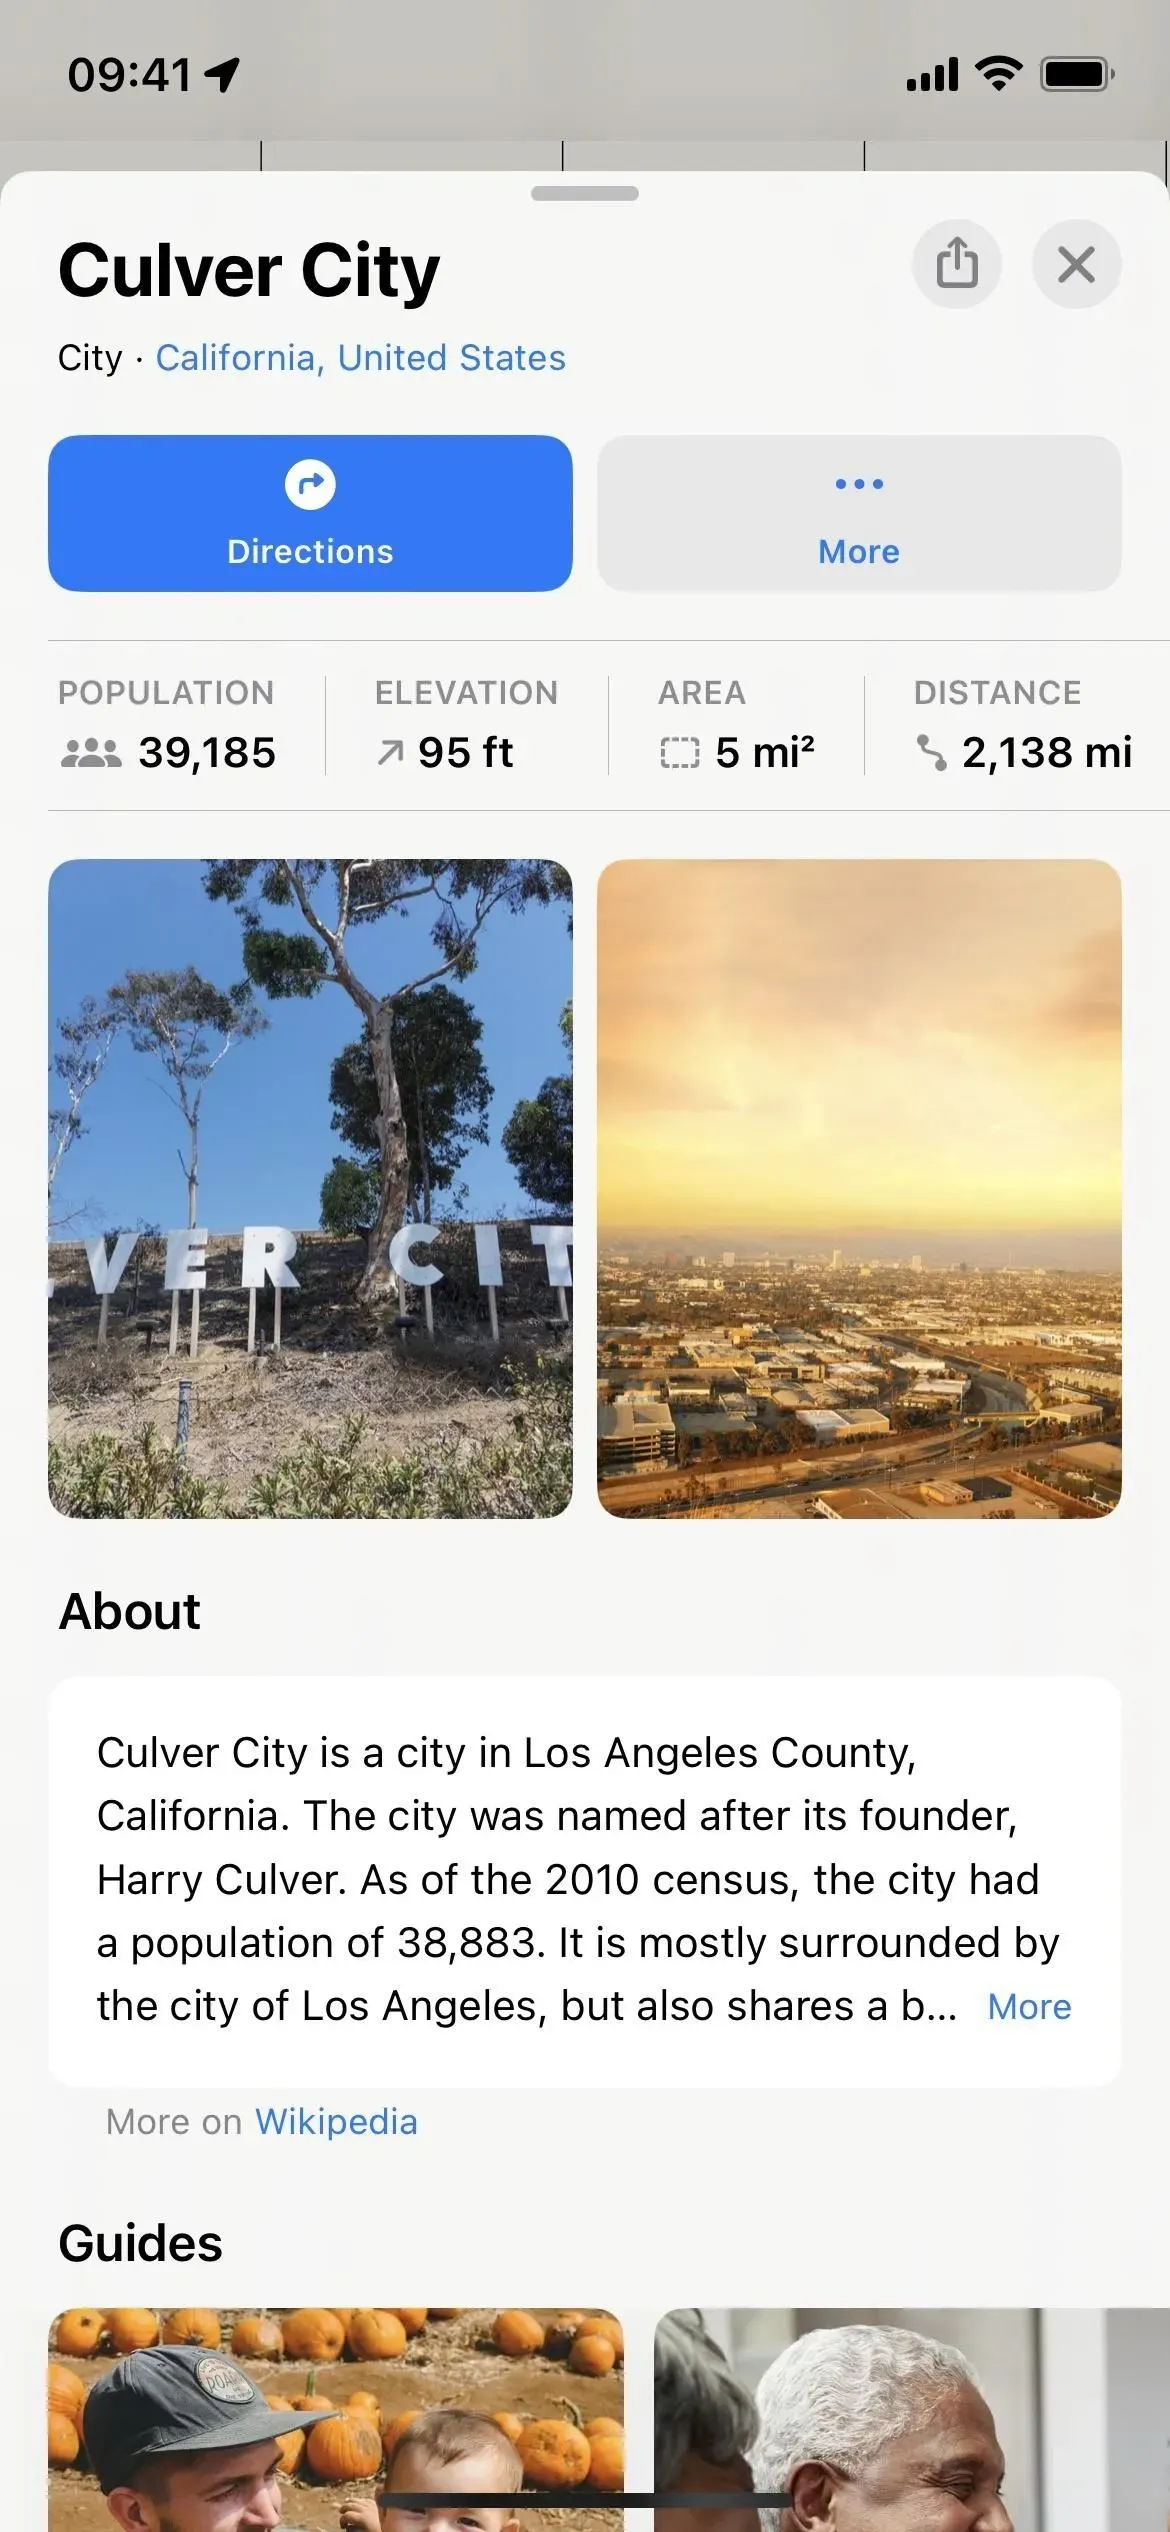
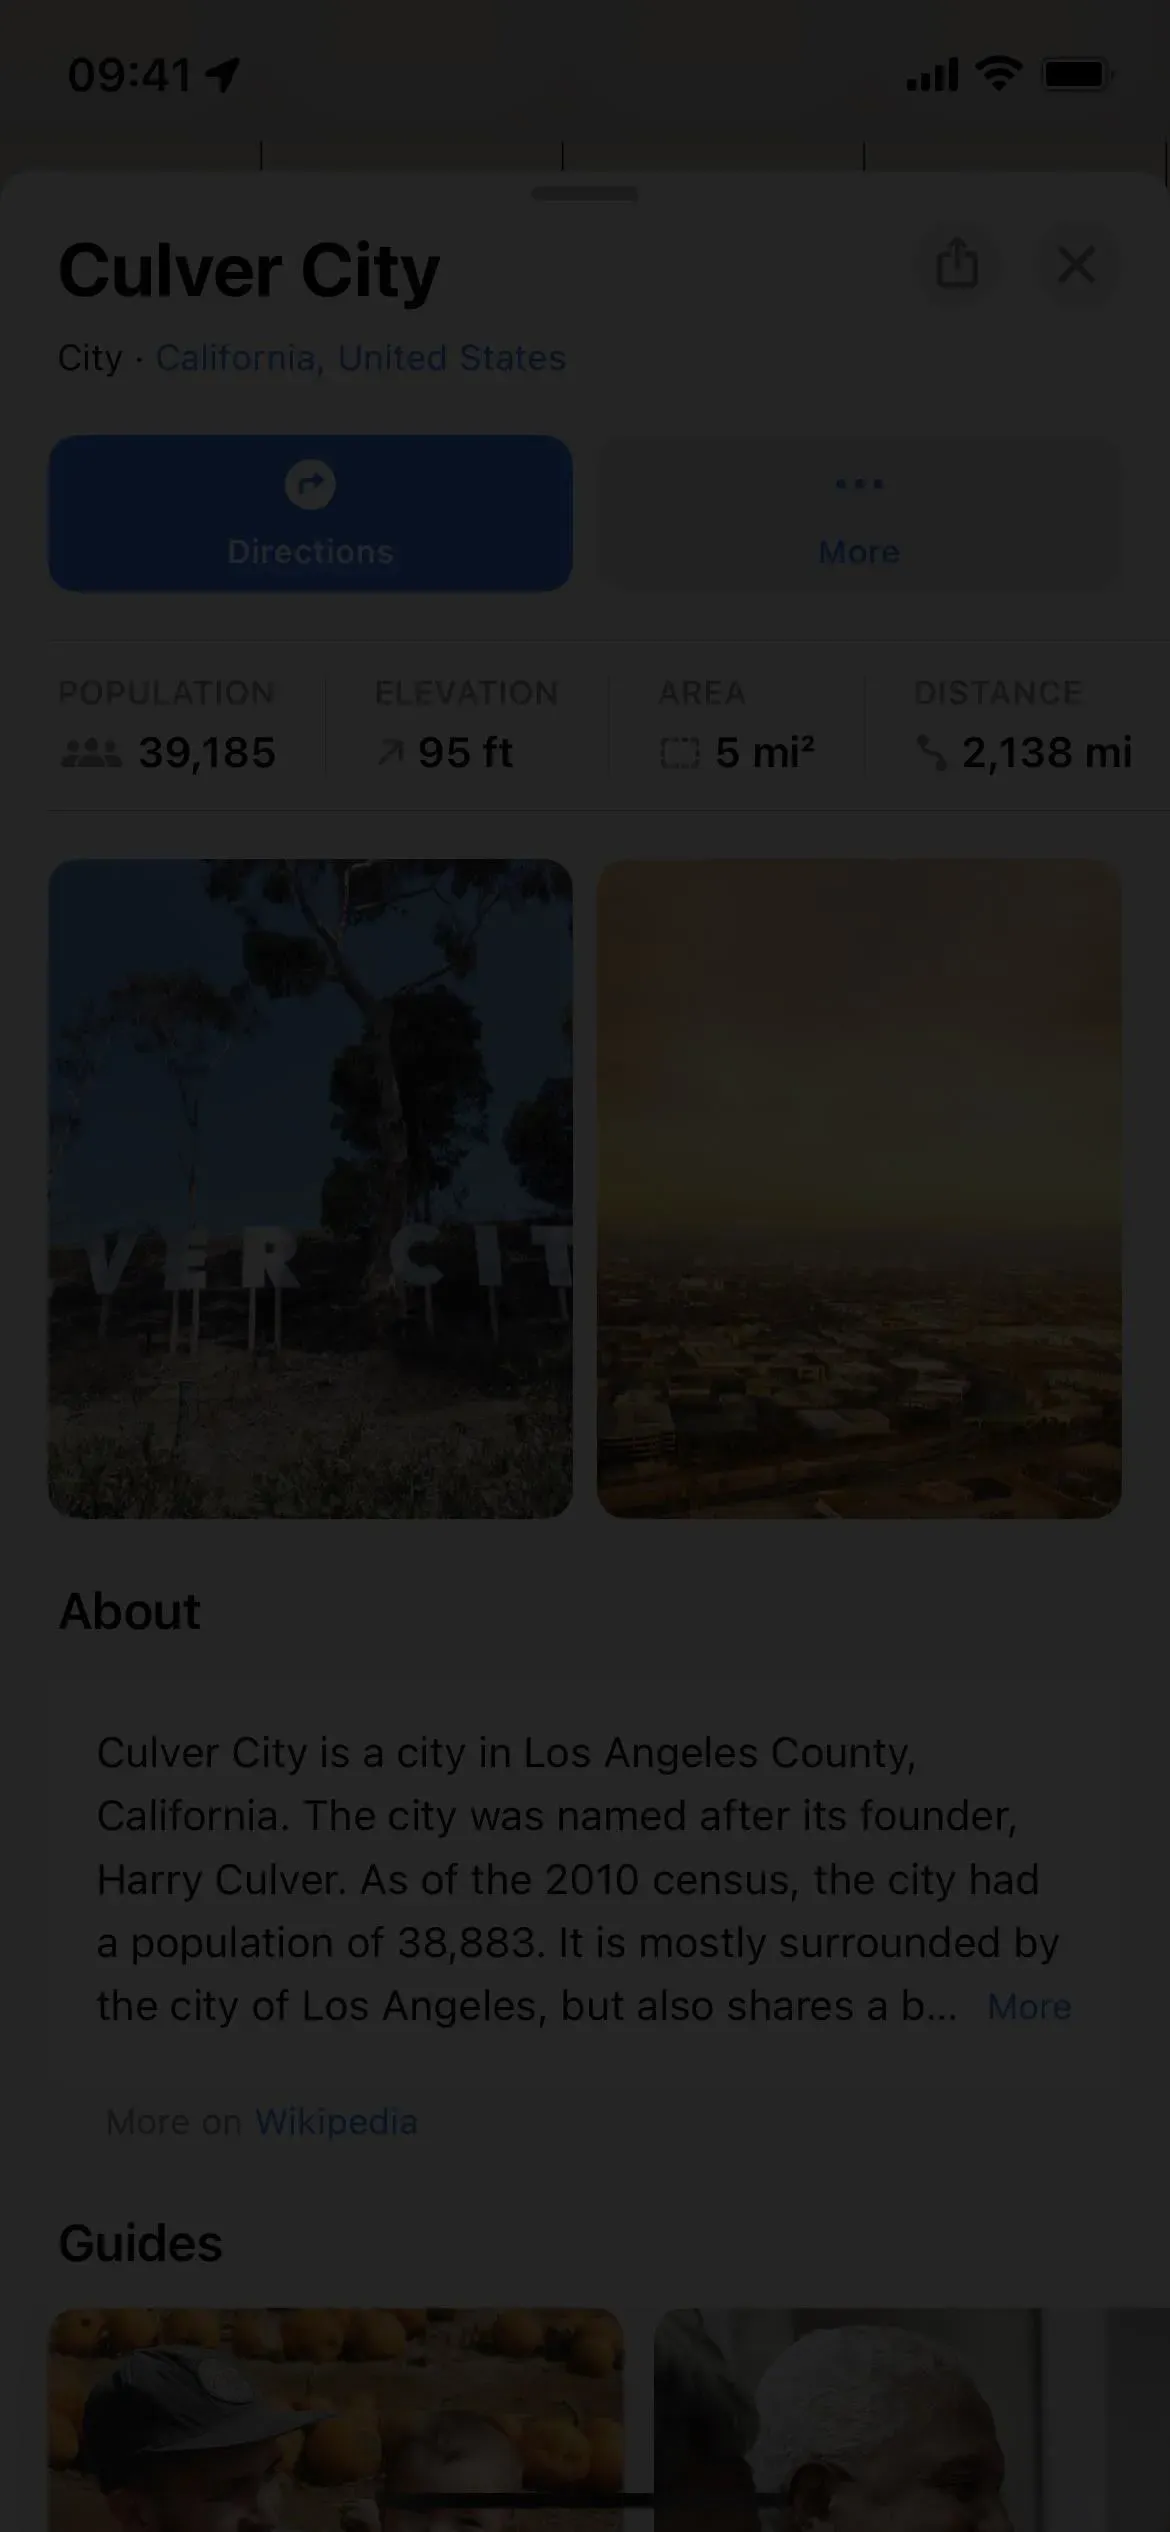
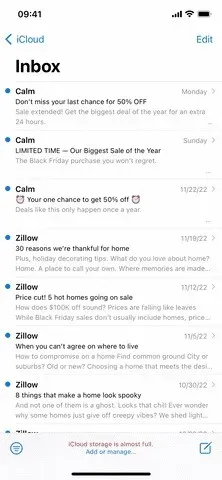
When activated, Reduce Transparency reduces transparency and blurs some backgrounds, increasing overall contrast. This is a great addition to the contrast boost switch. In the Weather app, as you can see below, the boxes prevent the weather background animation from showing up in their usual translucent, blurry form.
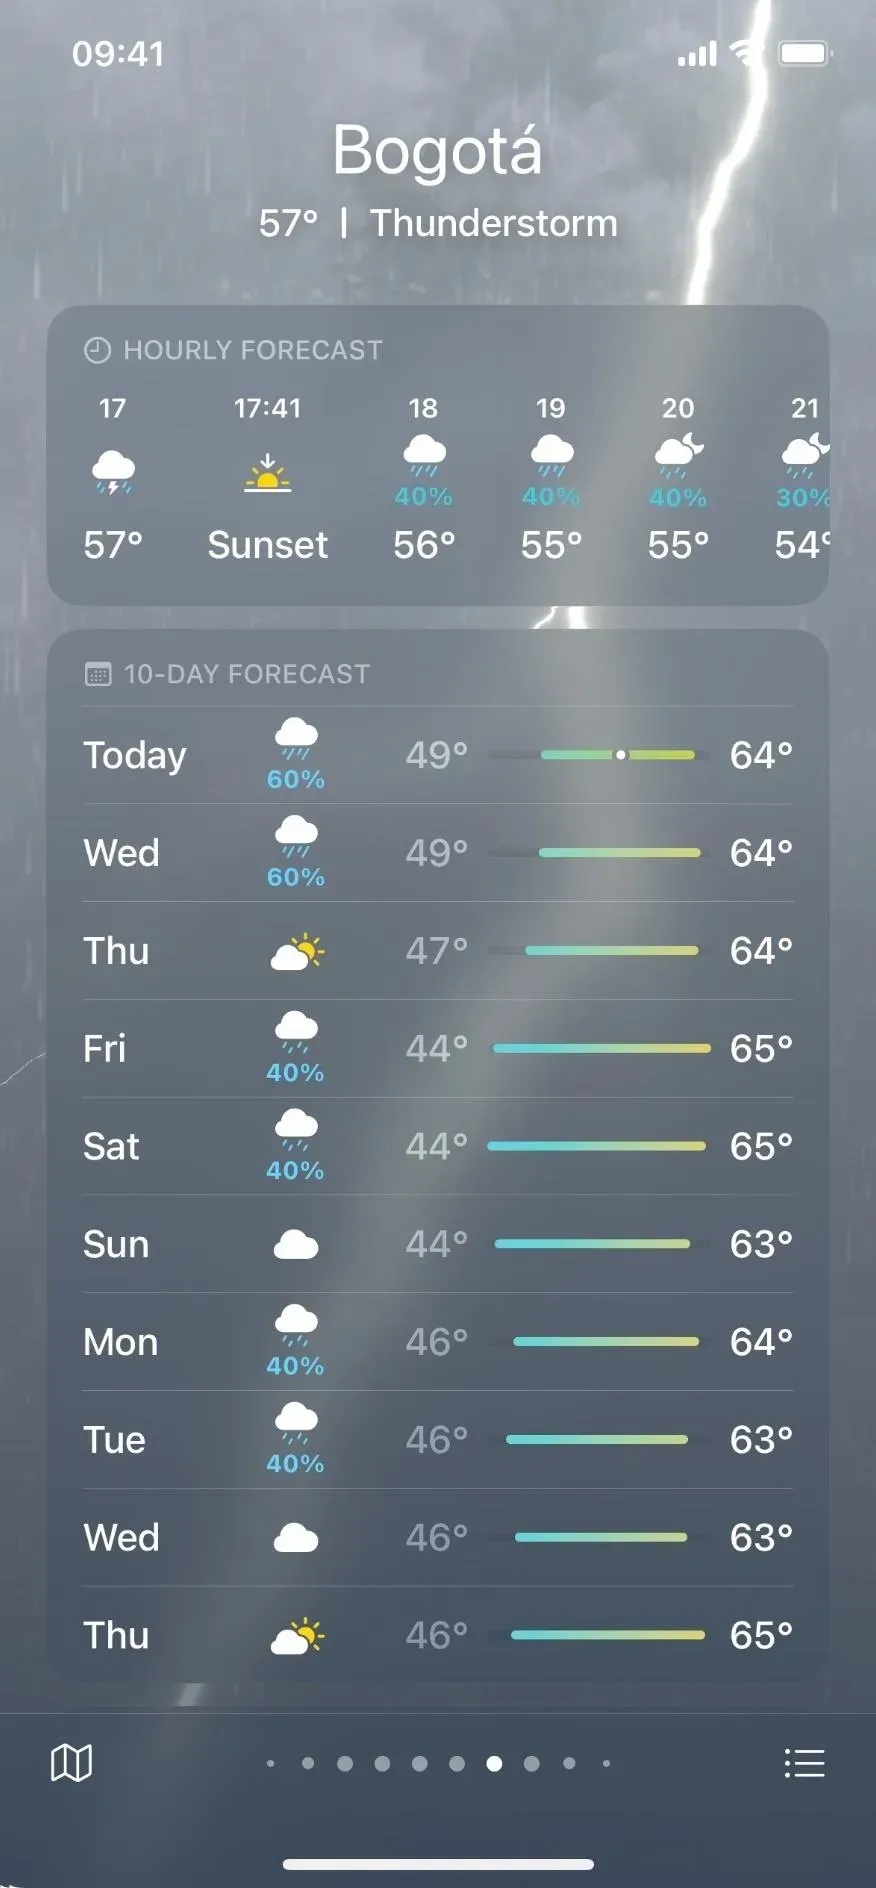
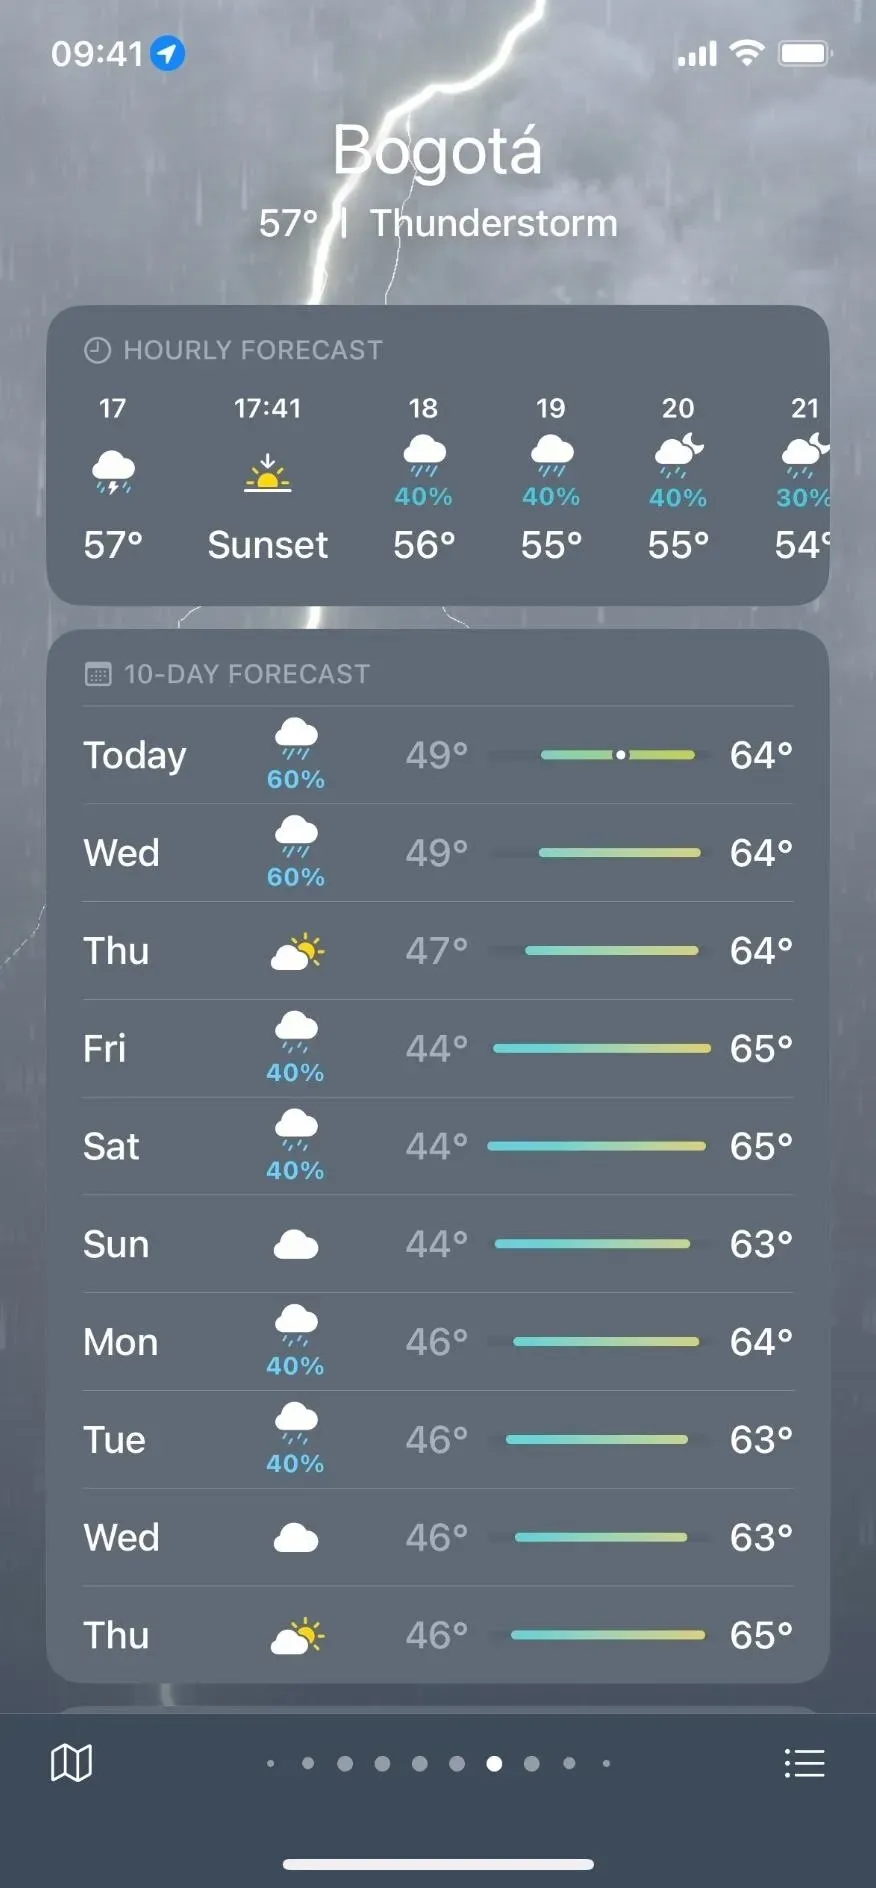
You can enable or disable transparency reduction in Settings -> Accessibility -> Text Display and Size. Siri works too. Note that the Reduce Transparency option affects screenshots, screen recordings, and screen mirroring.
7. Reduce white point
If the application as a whole seems too bright, you can try reducing the white point to reduce the intensity of bright colors. When enabled, you can reduce the white point by 25 to 100 percent, which looks like a dimming of the screen. In fact, this is one way to reduce the screen brightness below the minimum value.
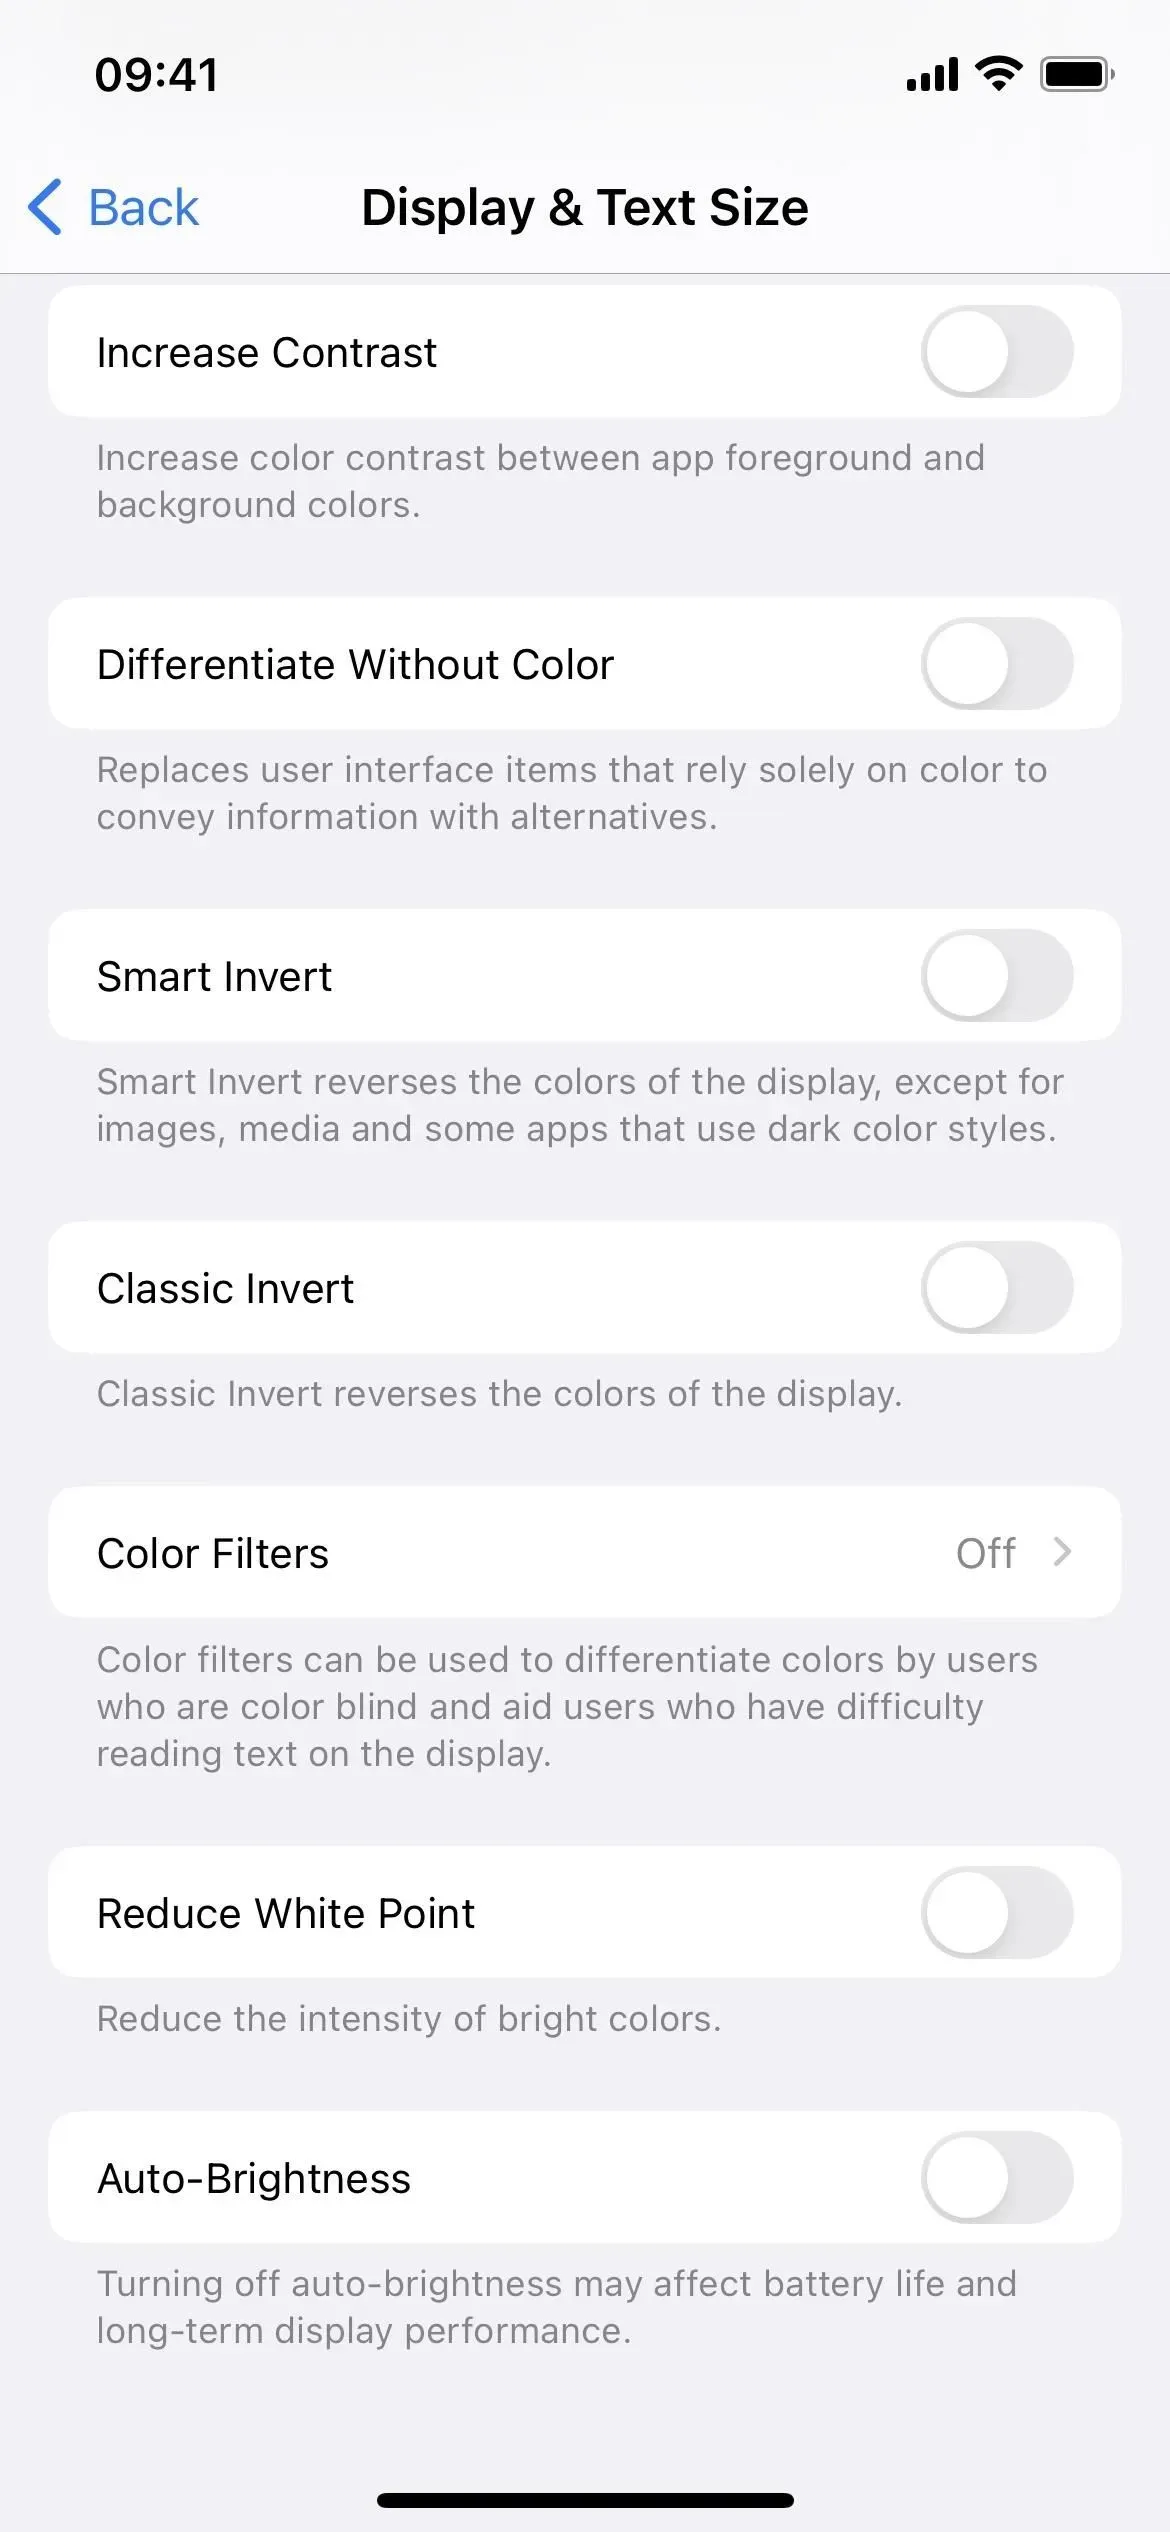
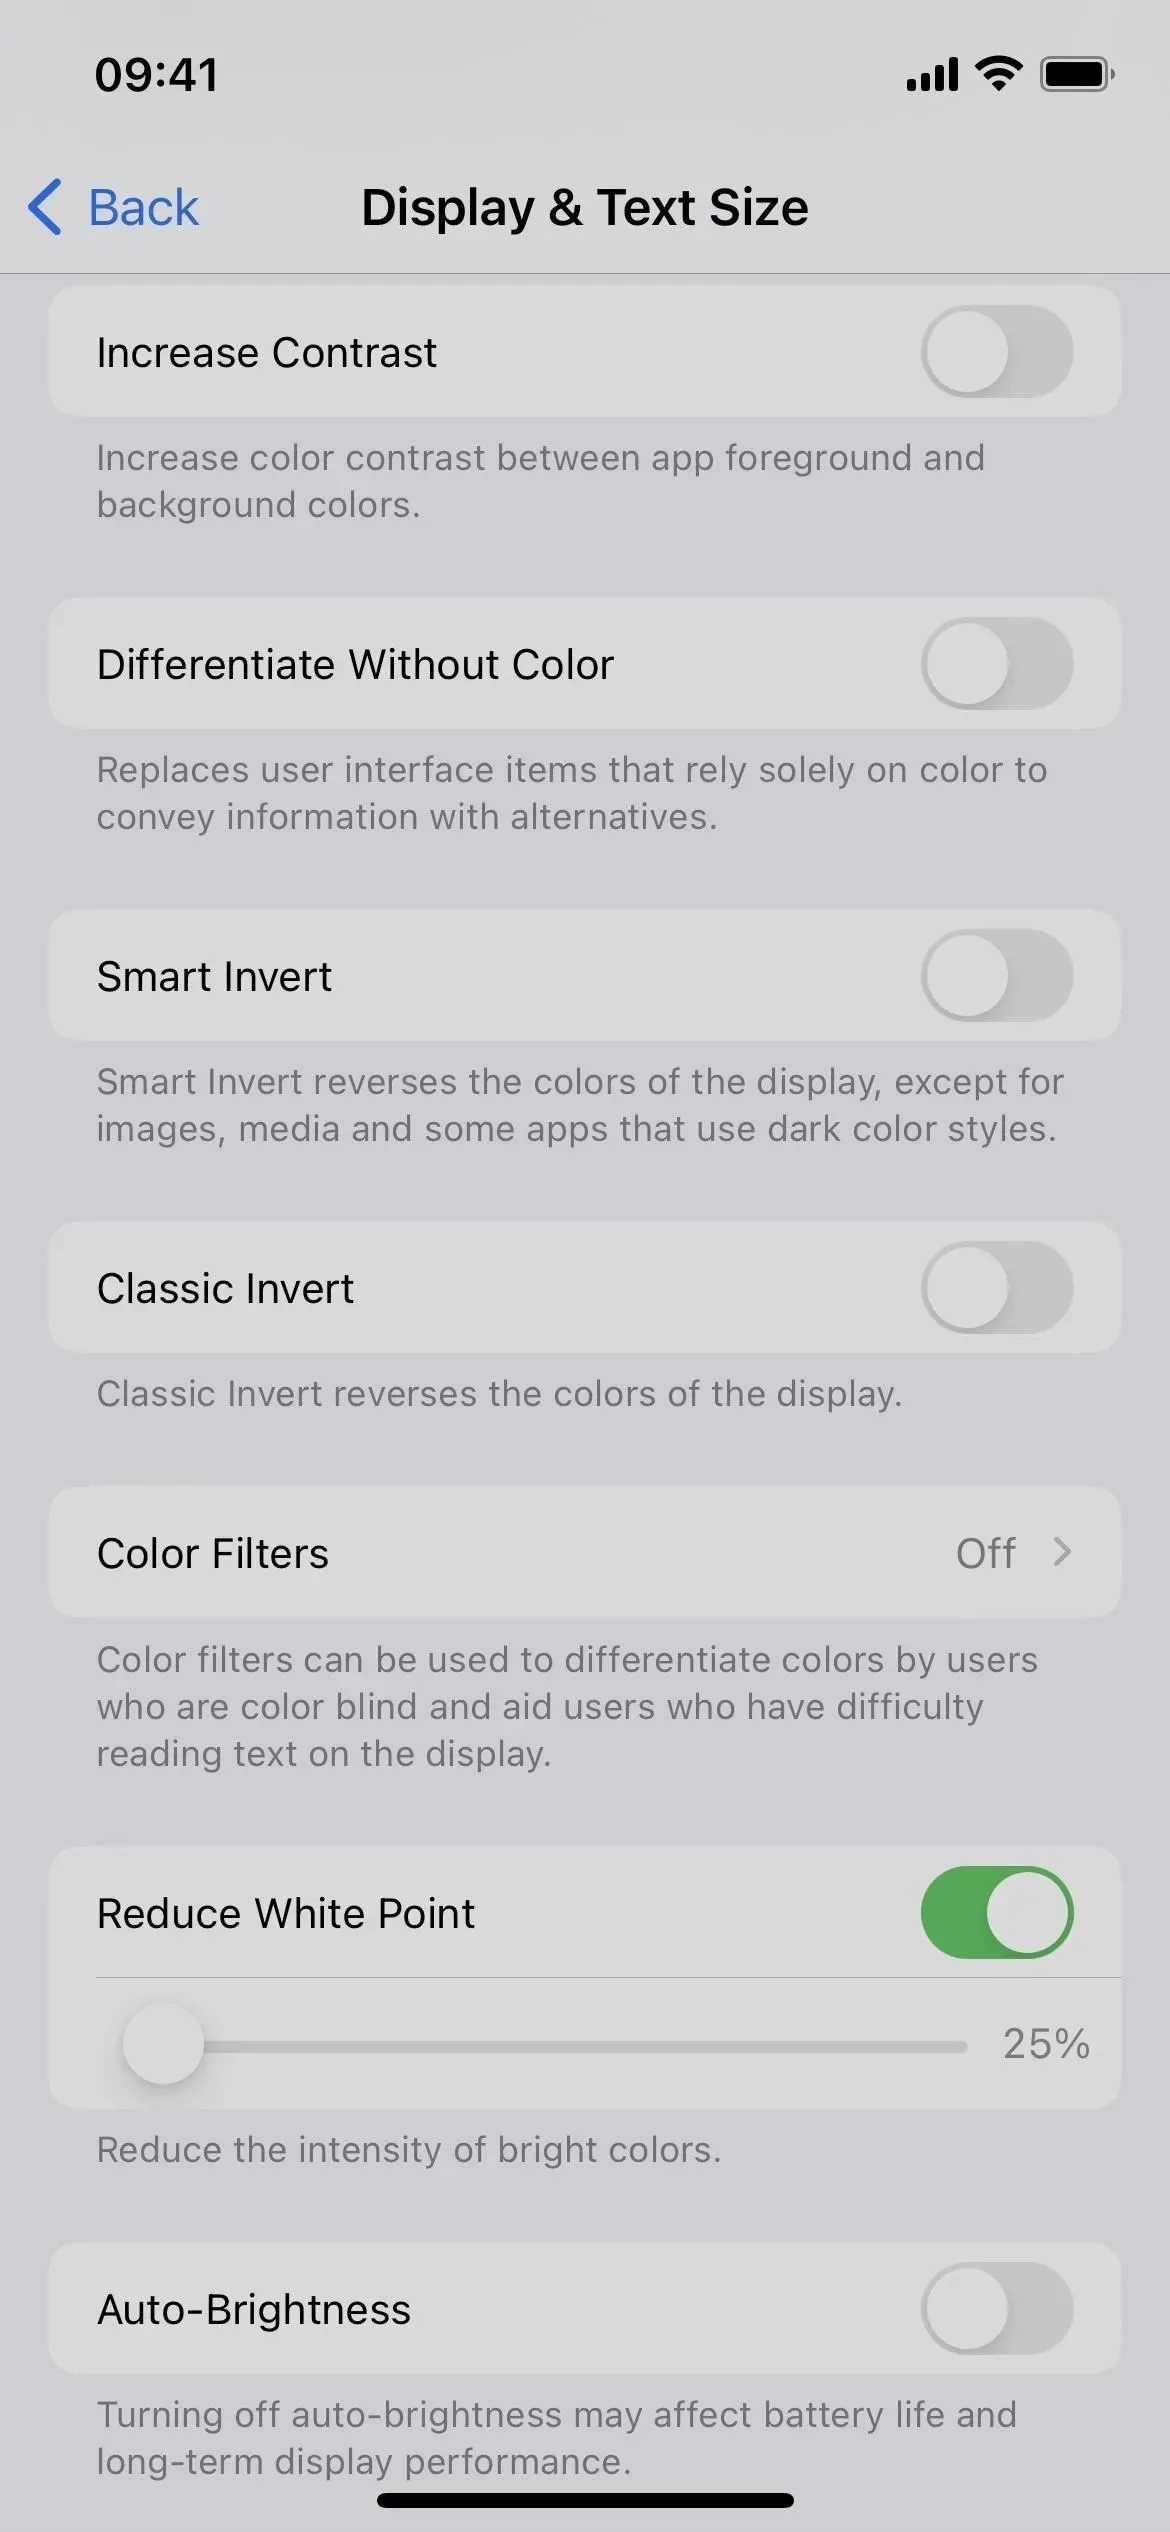
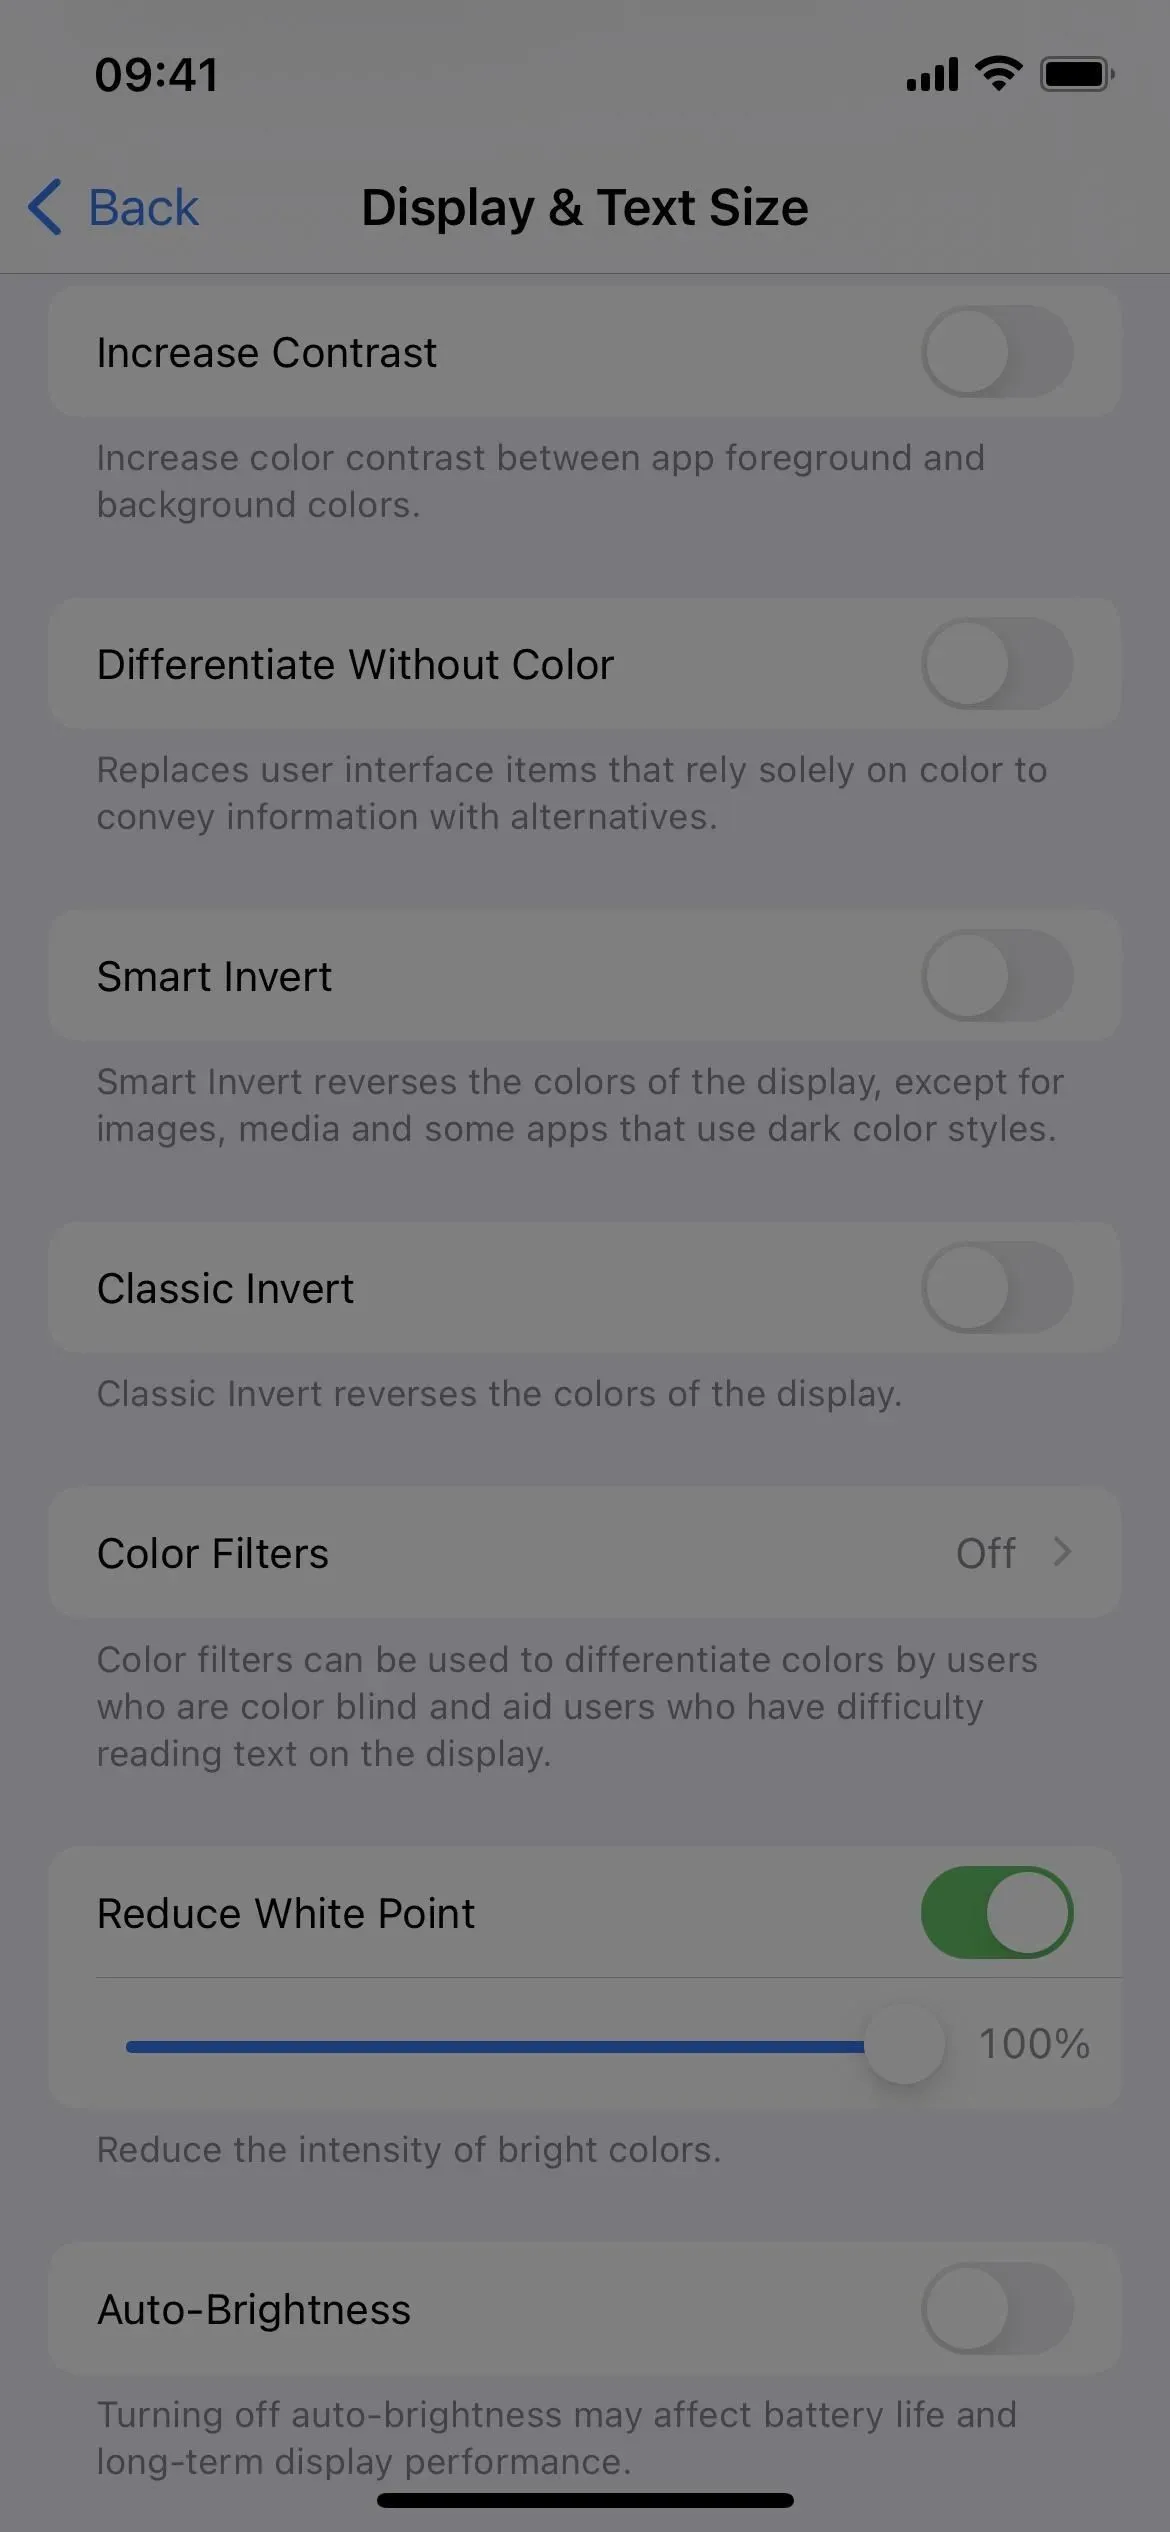
You can enable or disable the Reduce White Point feature in Settings -> Accessibility -> Text Display and Size. Siri works too. Please note that White Point Reduction does not affect screenshots, screen recordings, and screen mirroring.
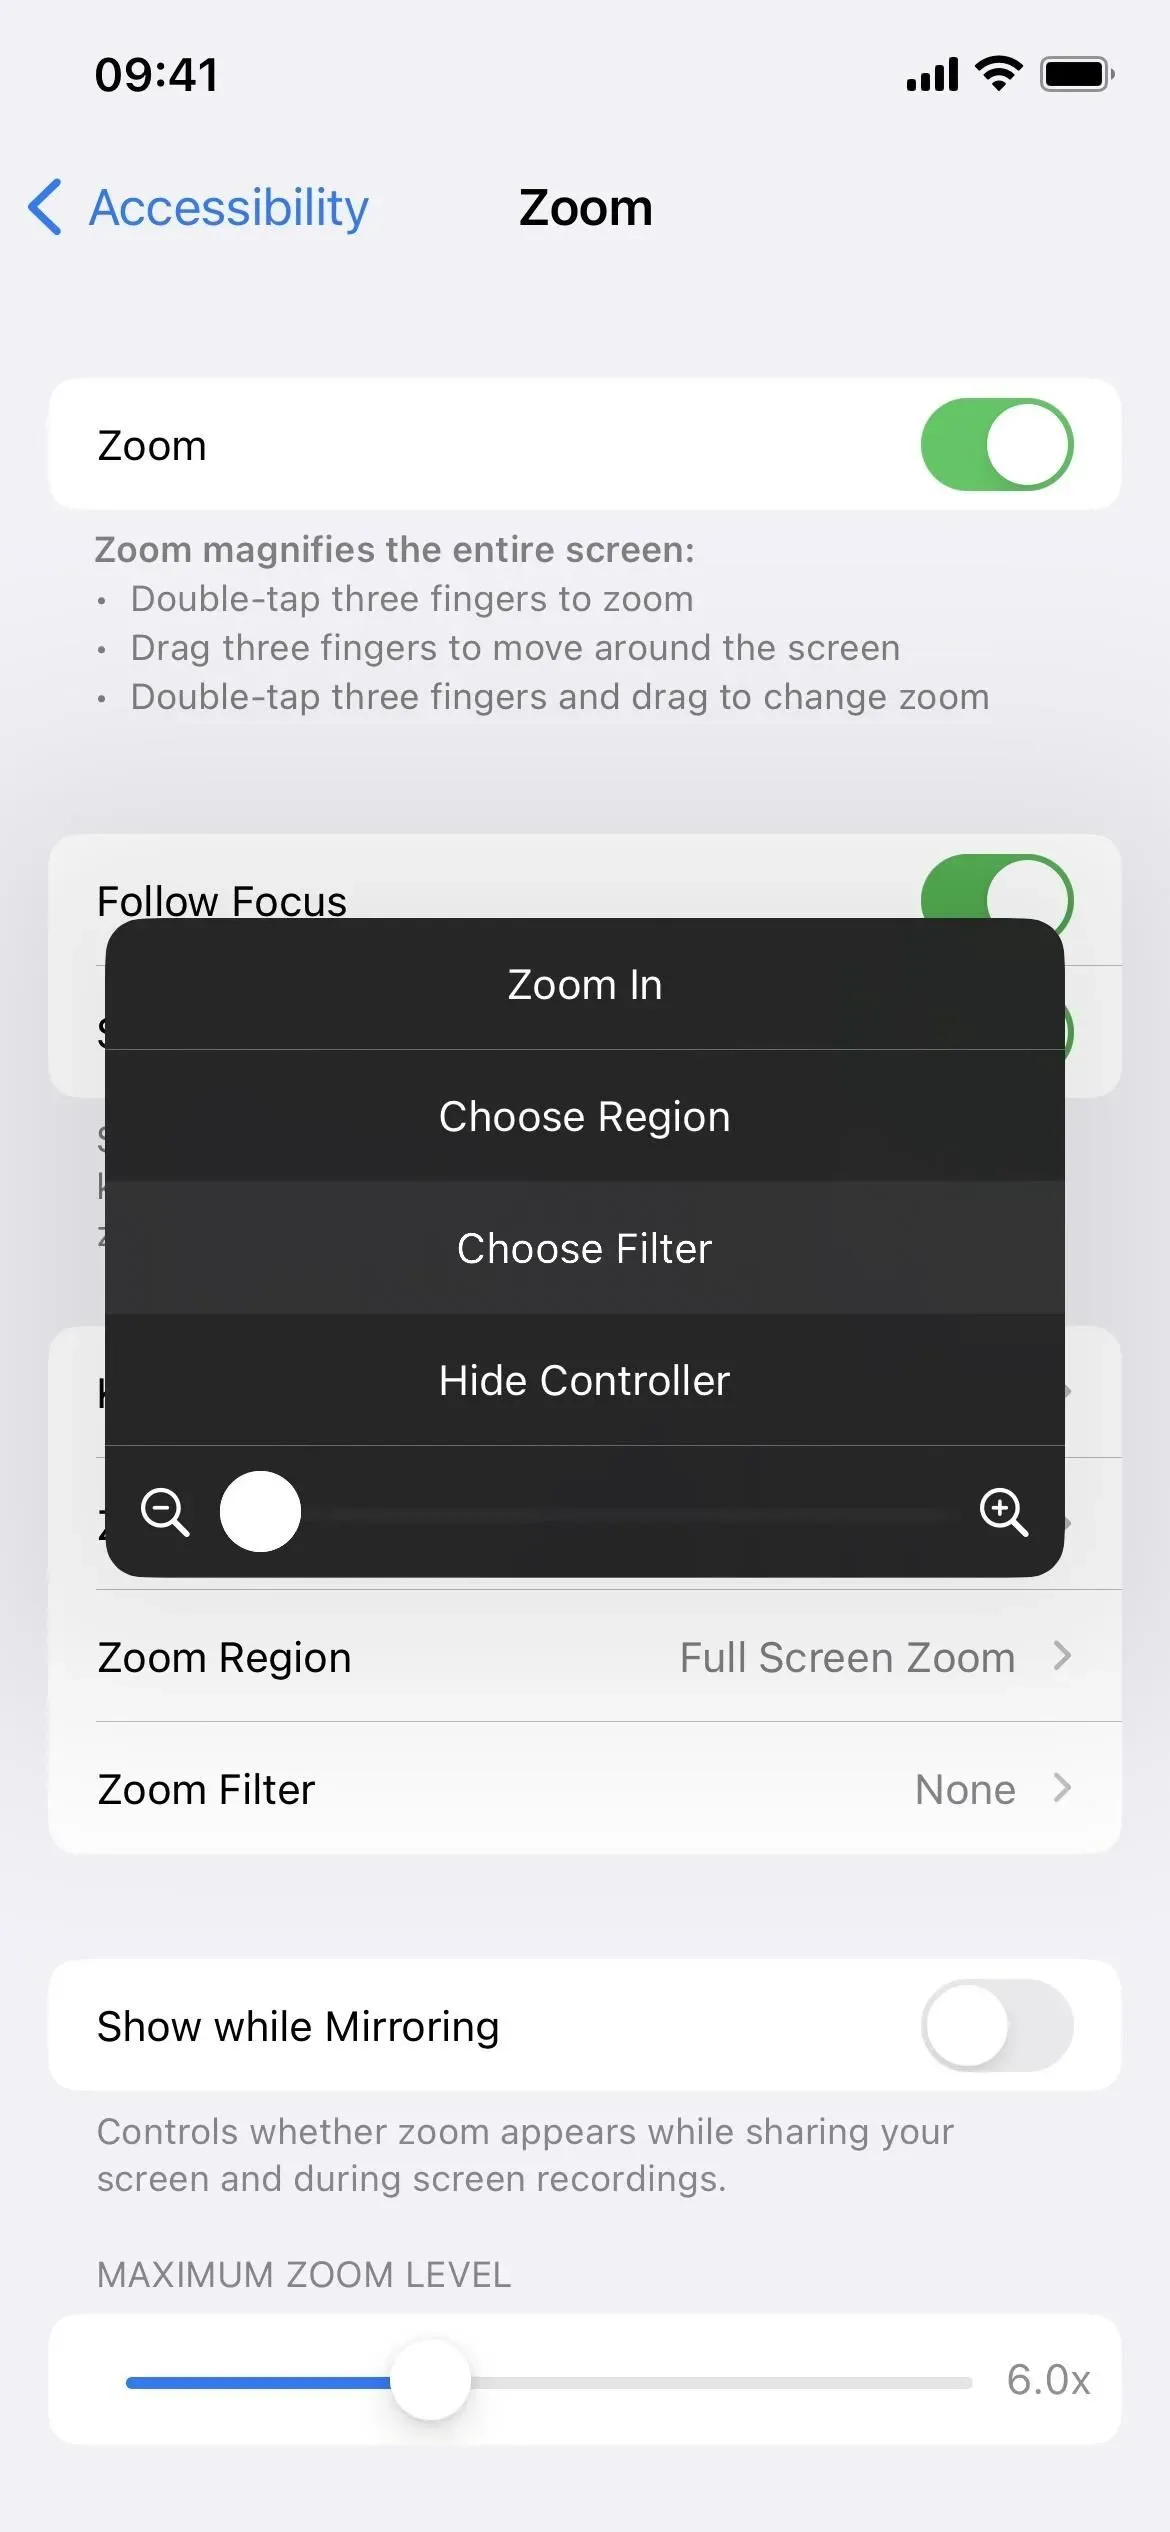
8. Scale
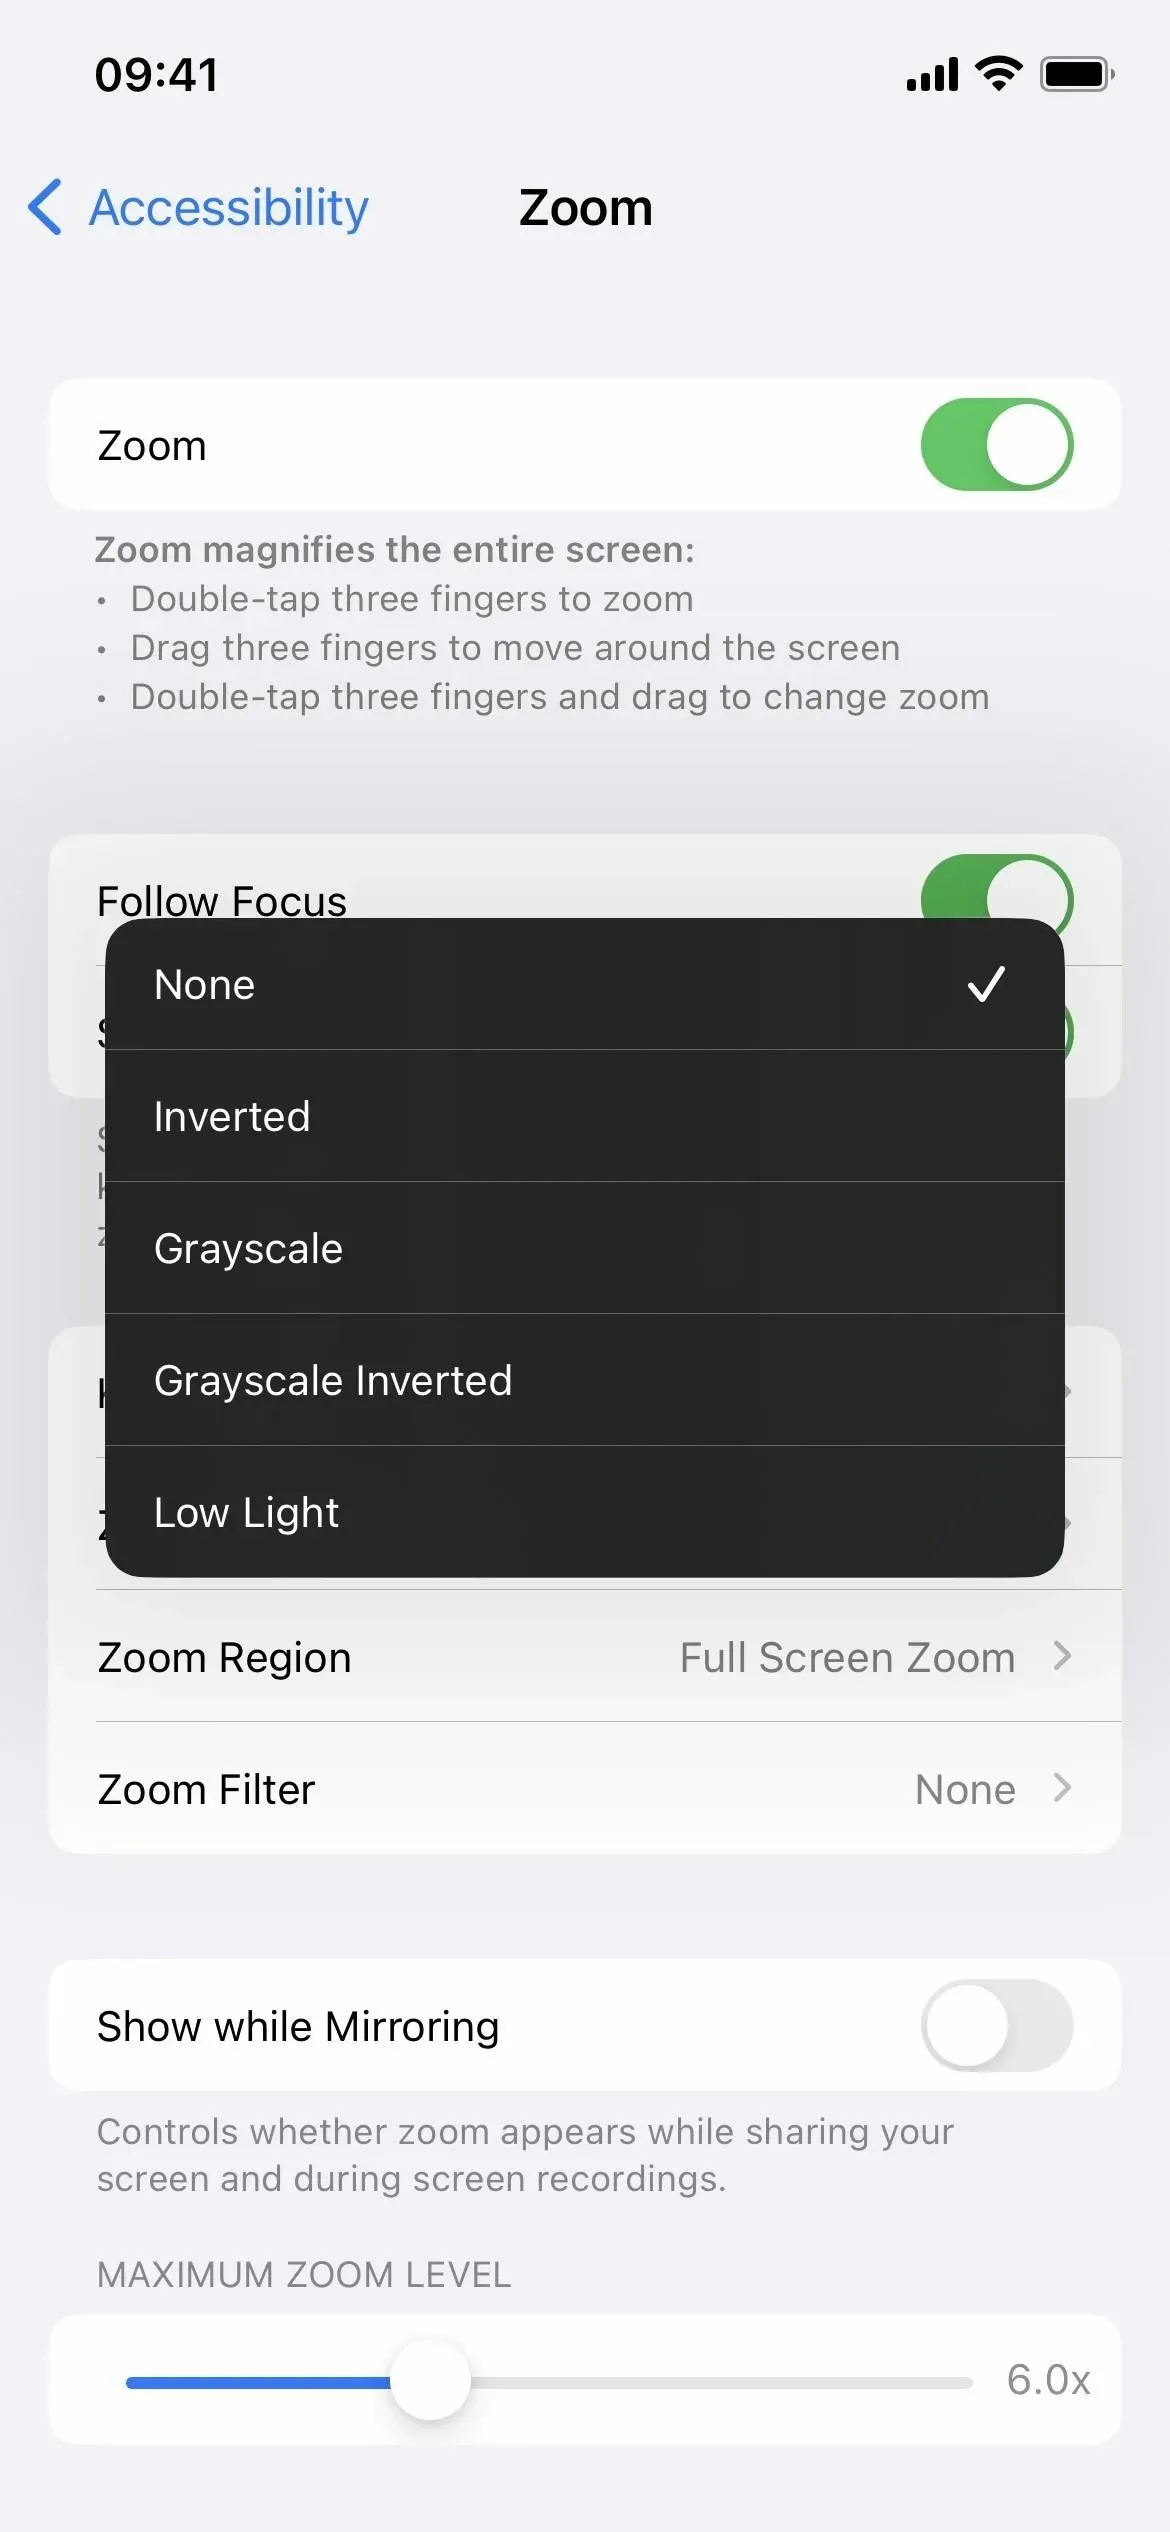
Zoom is not something you usually use unless you have vision problems, and even then, increasing the text size on the screen is usually everyone’s choice when something is too small to see on the screen. However, Zoom is not just for zooming. It also has a filter feature that allows you to apply the following filters:
- Inverted, that is, classical inverted.
- Grayscale that is almost identical to the Color Filter’s grayscale, except for deeper dark areas.
- A grayscale inversion that uses the classic inversion in the Grayscale filter.
- Low light that works similar to white point reduction, but without a slider to adjust the effect. This works great with the Reduce White Point feature if you’re trying to lower the minimum screen brightness for dark environments.
You can turn zoom on or off in Settings -> Accessibility -> Zoom. Please note that Zoom does not affect screenshots. By default, this also doesn’t affect screen recording and mirroring, but you can enable “Show while mirroring”in your Zoom settings to change this.
When you enable zoom, you can select a filter from “Zoom Filter”in the zoom settings or “Select Filter”in the zoom controller.
9. Night shift
Night shift, which has been around since iOS 9.3, is a color overlay that drowns out all blue light, which negatively impacts your circadian rhythm, makes it harder to fall asleep, and hurts your eyes when using your iPhone at night.
This feature moves everything on the screen from the colder end of the color spectrum to the warmer end. It won’t help you pass out faster than if you weren’t using your iPhone, but it’s a lot easier on your eyes and brain before bed.
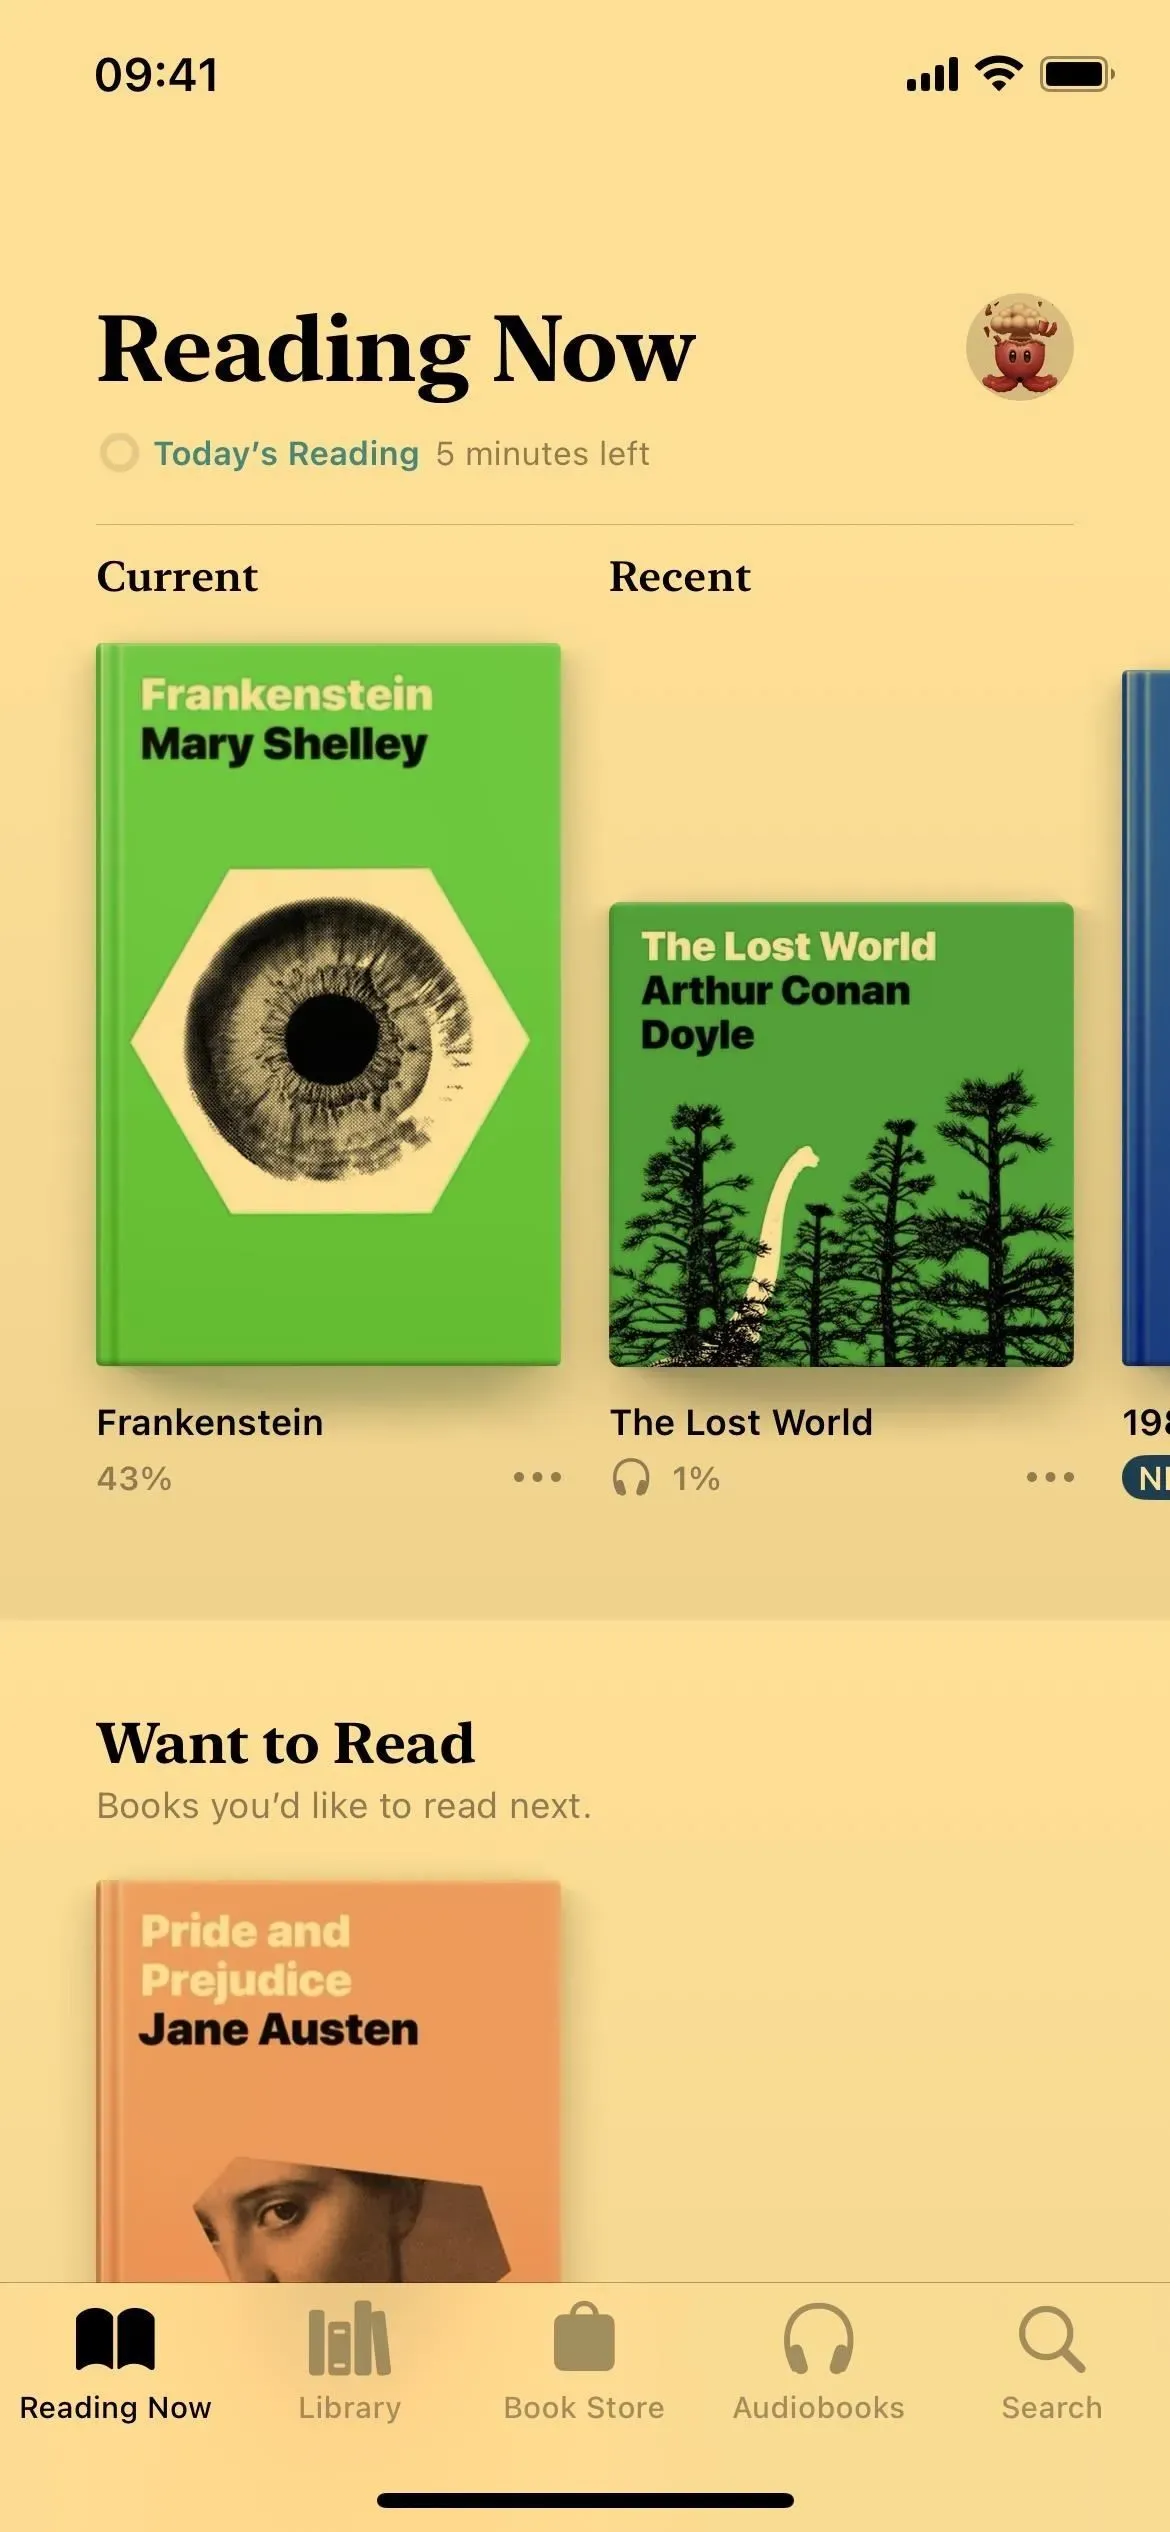
You can turn Night Shift on or off in Settings -> Display & Brightness -> Night Shift or using the Brightness menu in the Control Center. Siri works too. You can put it on a schedule and use the color temperature slider to adjust the look from less warm to warmer. Please note that Night Shift does not affect screenshots, screen recordings, and screen mirroring.
10. True tone
You may not even realize it, but True Tone is enabled on iPhone 8 and newer by default. Your iPhone’s sensors measure the ambient light around you and then True Tone adjusts the color and intensity on your display to make content look more natural.
Some of the color settings in this article may automatically disable True Tone, such as classic invert, smart invert, grayscale filters, and contrast boost. You can also turn it off yourself, which will keep the color and intensity consistent on your display.

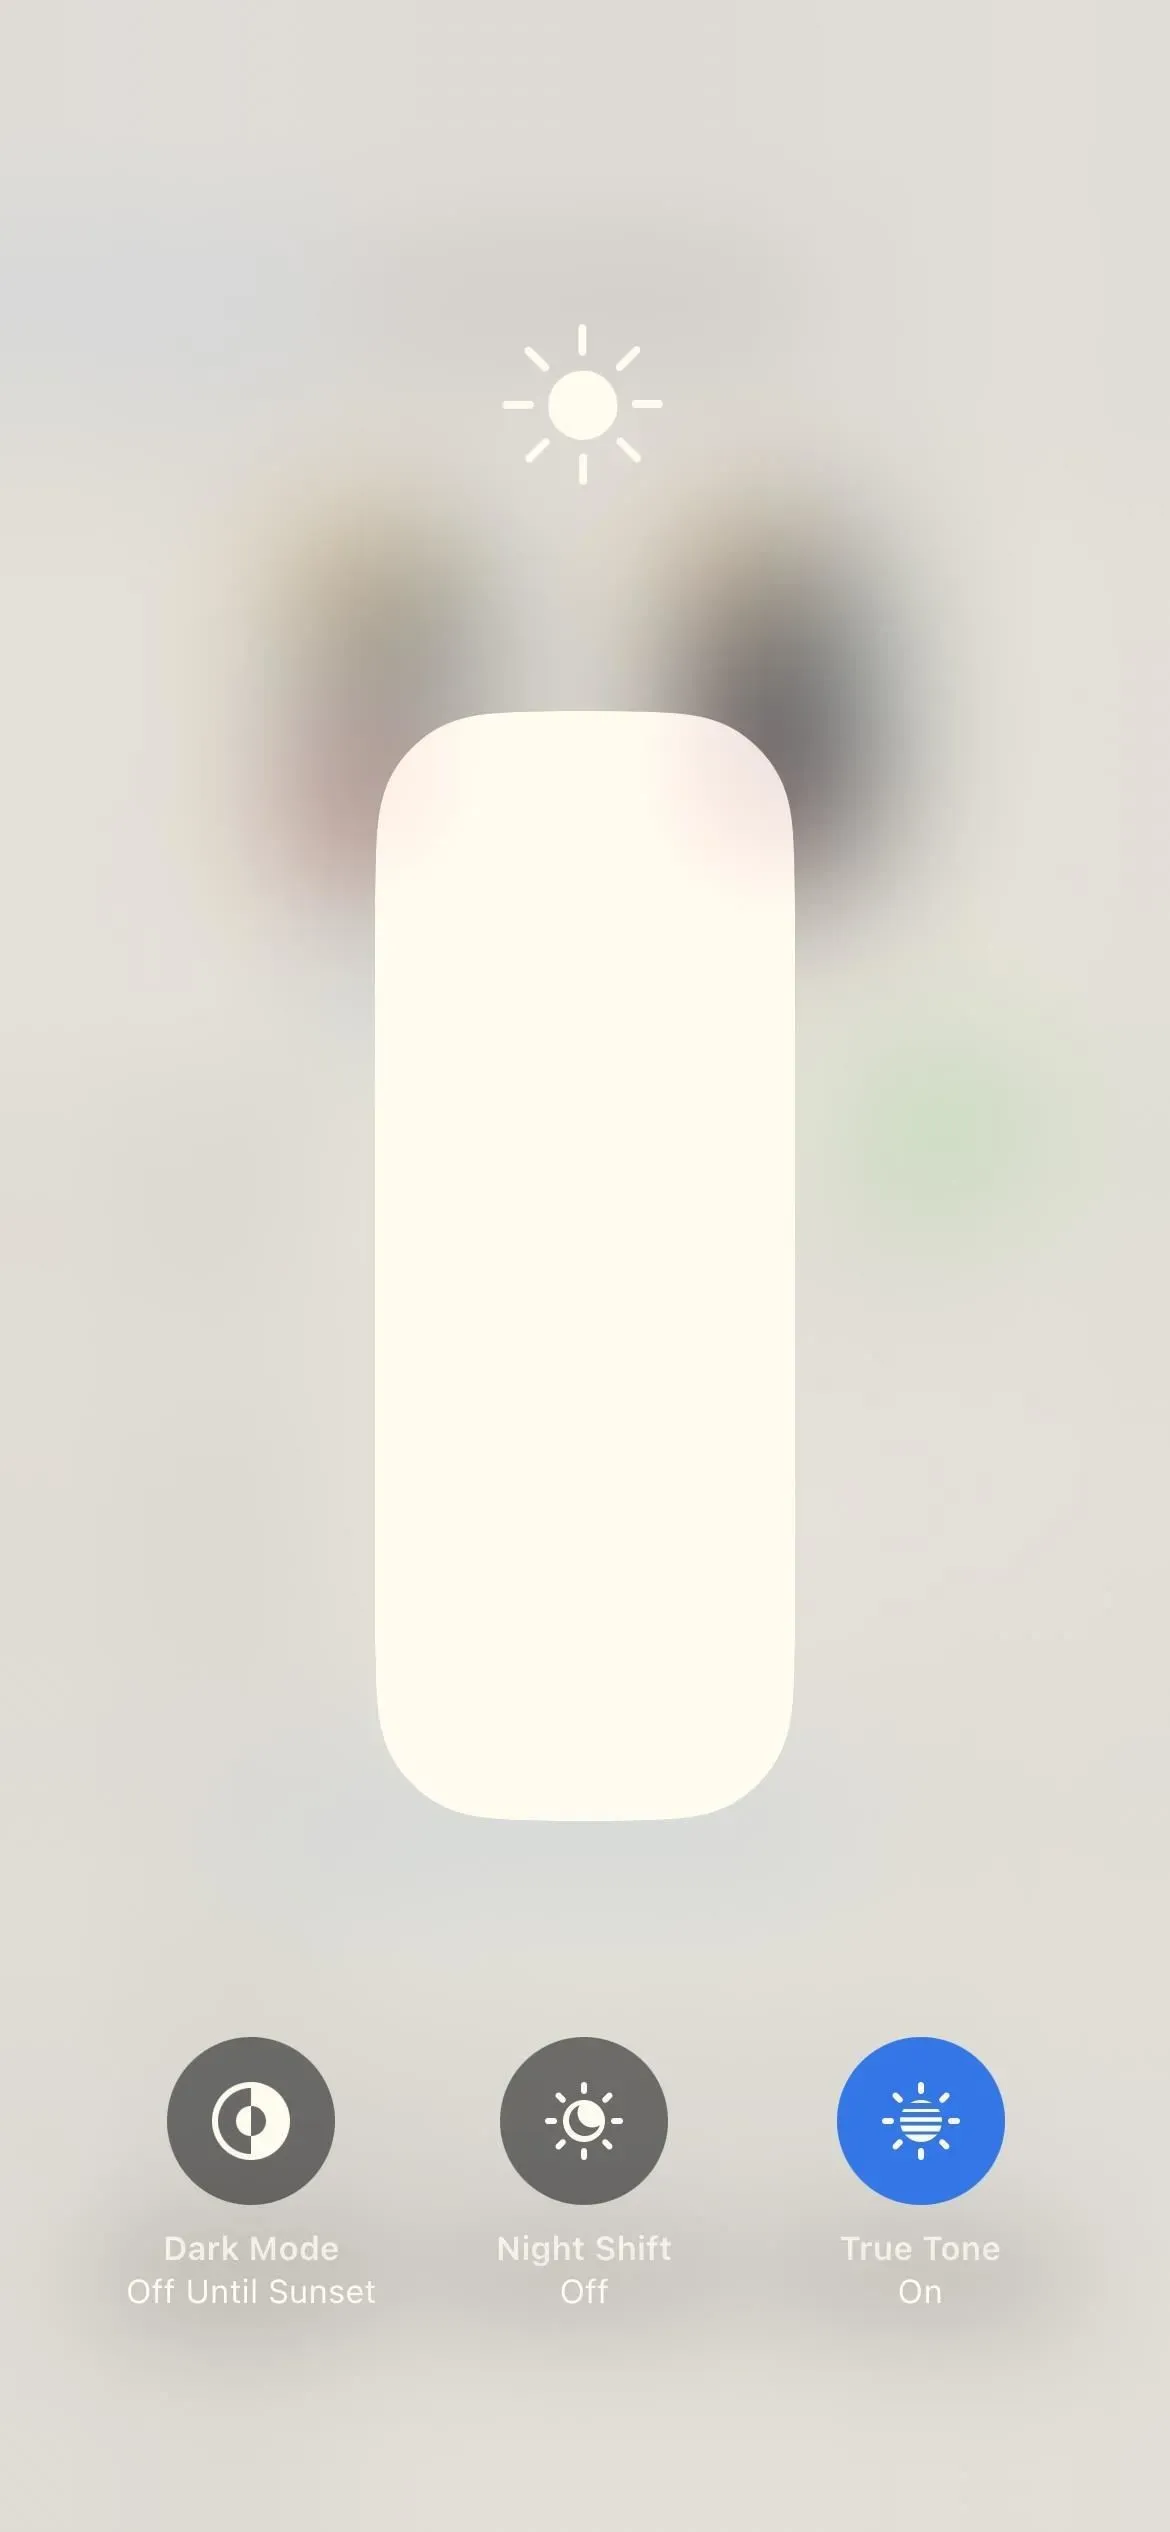
You can turn True Tone on or off in Settings -> Display & Brightness -> True Tone or using the Brightness menu in Control Center. Please note that True Tone does not affect screenshots, screen recordings, and screen mirroring.
11. Brightness
You should already know how to adjust the brightness on your iPhone, whether you do it manually or set it to adjust automatically. When auto brightness is enabled (the default setting), your iPhone uses the ambient light sensor to measure the lighting conditions around you. The brightness of your display is adjusted accordingly, dimming in dark areas and brightening up in well-lit areas.
You can turn auto-brightness on or off in Settings -> Accessibility -> Display & Text Size. Siri works too. You can adjust the brightness manually using the Brightness control in Control Center or Settings -> Display & Brightness. Please note that brightness does not affect screenshots, screen recordings, and screen mirroring.
Method 1: Configuring Per-App Settings
Apple introduced per-app settings in iOS 15, and three of the color-affecting features listed above can be adjusted this way. If you’re going to use any of the supported features for your apps, it’s much better to configure them in the per-app settings than using the other two methods below.
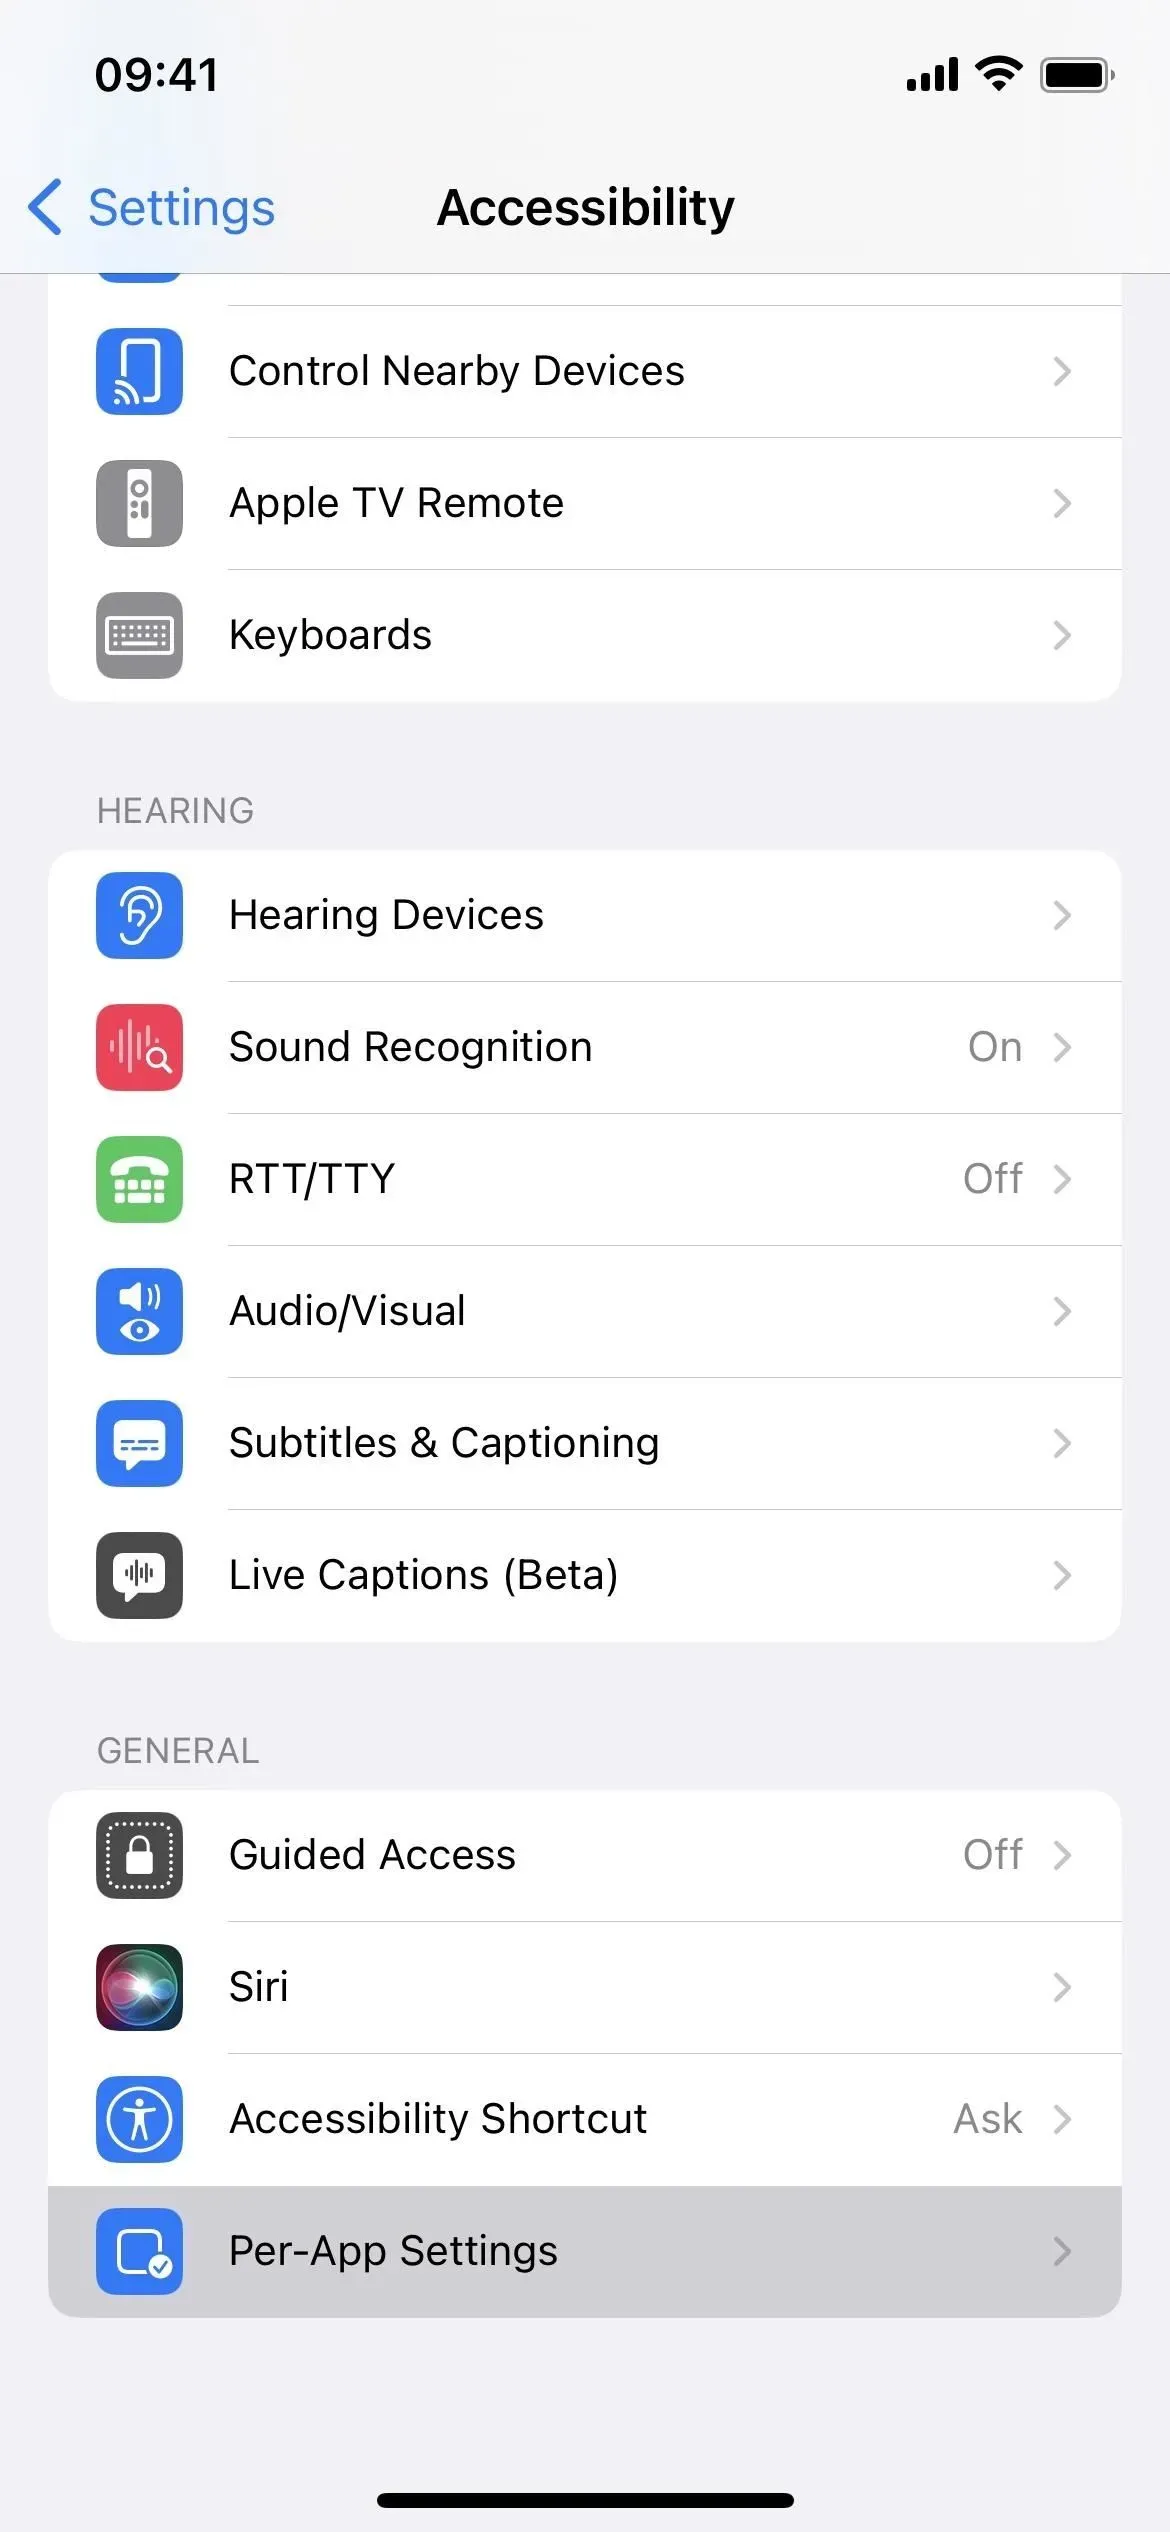
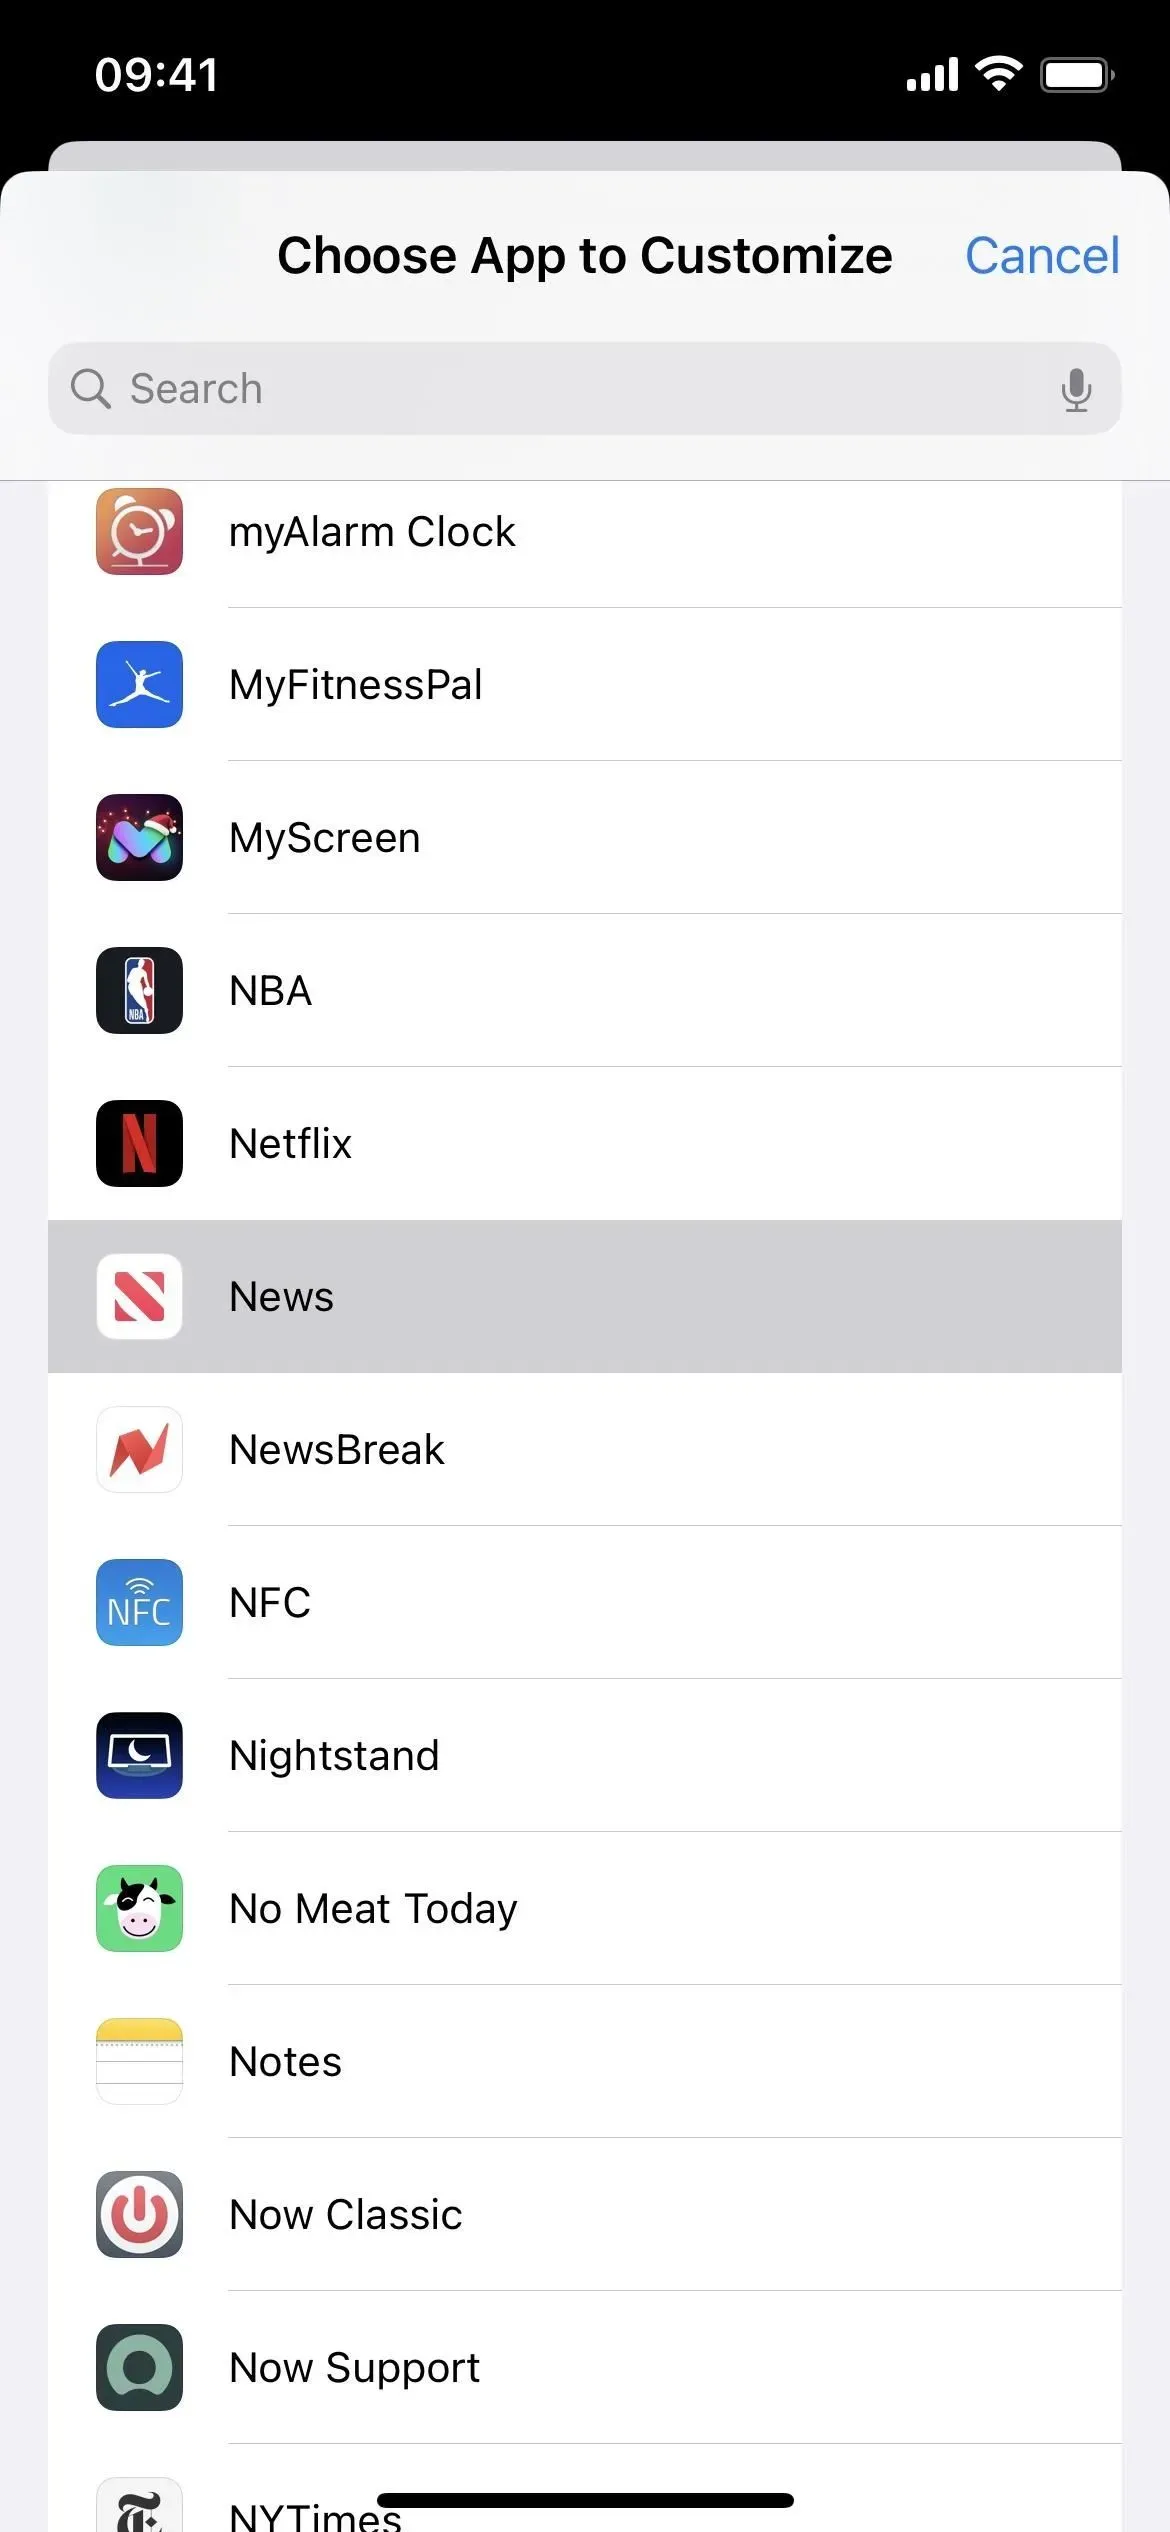
Go to Settings -> Accessibility -> Per App Settings, click Add App if the app you want to customize is not listed, then select the app.
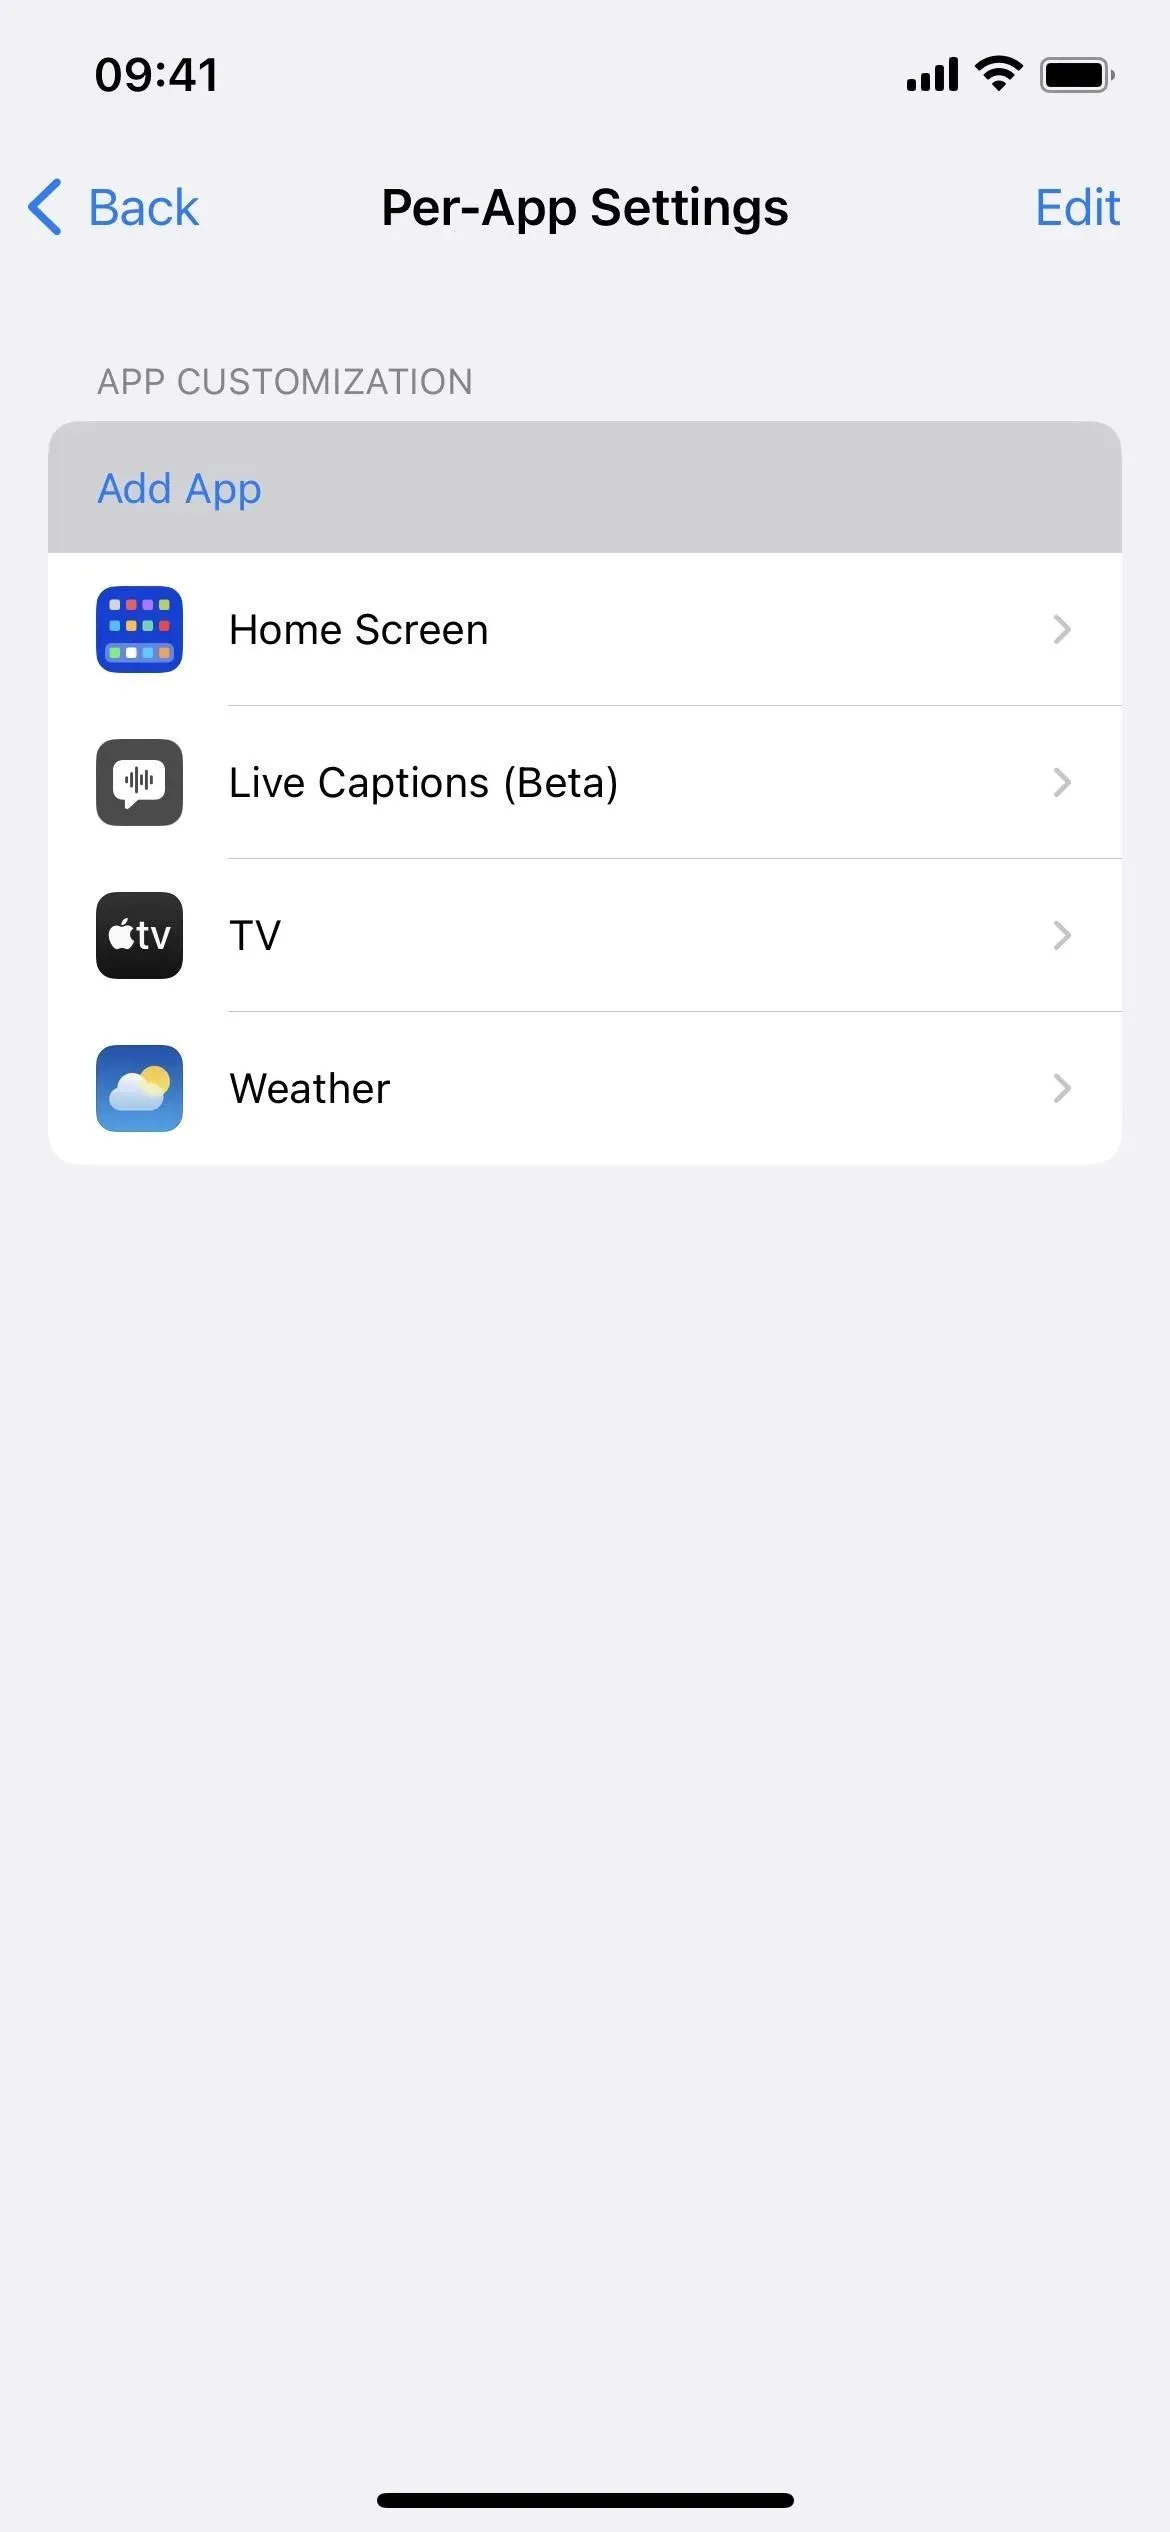
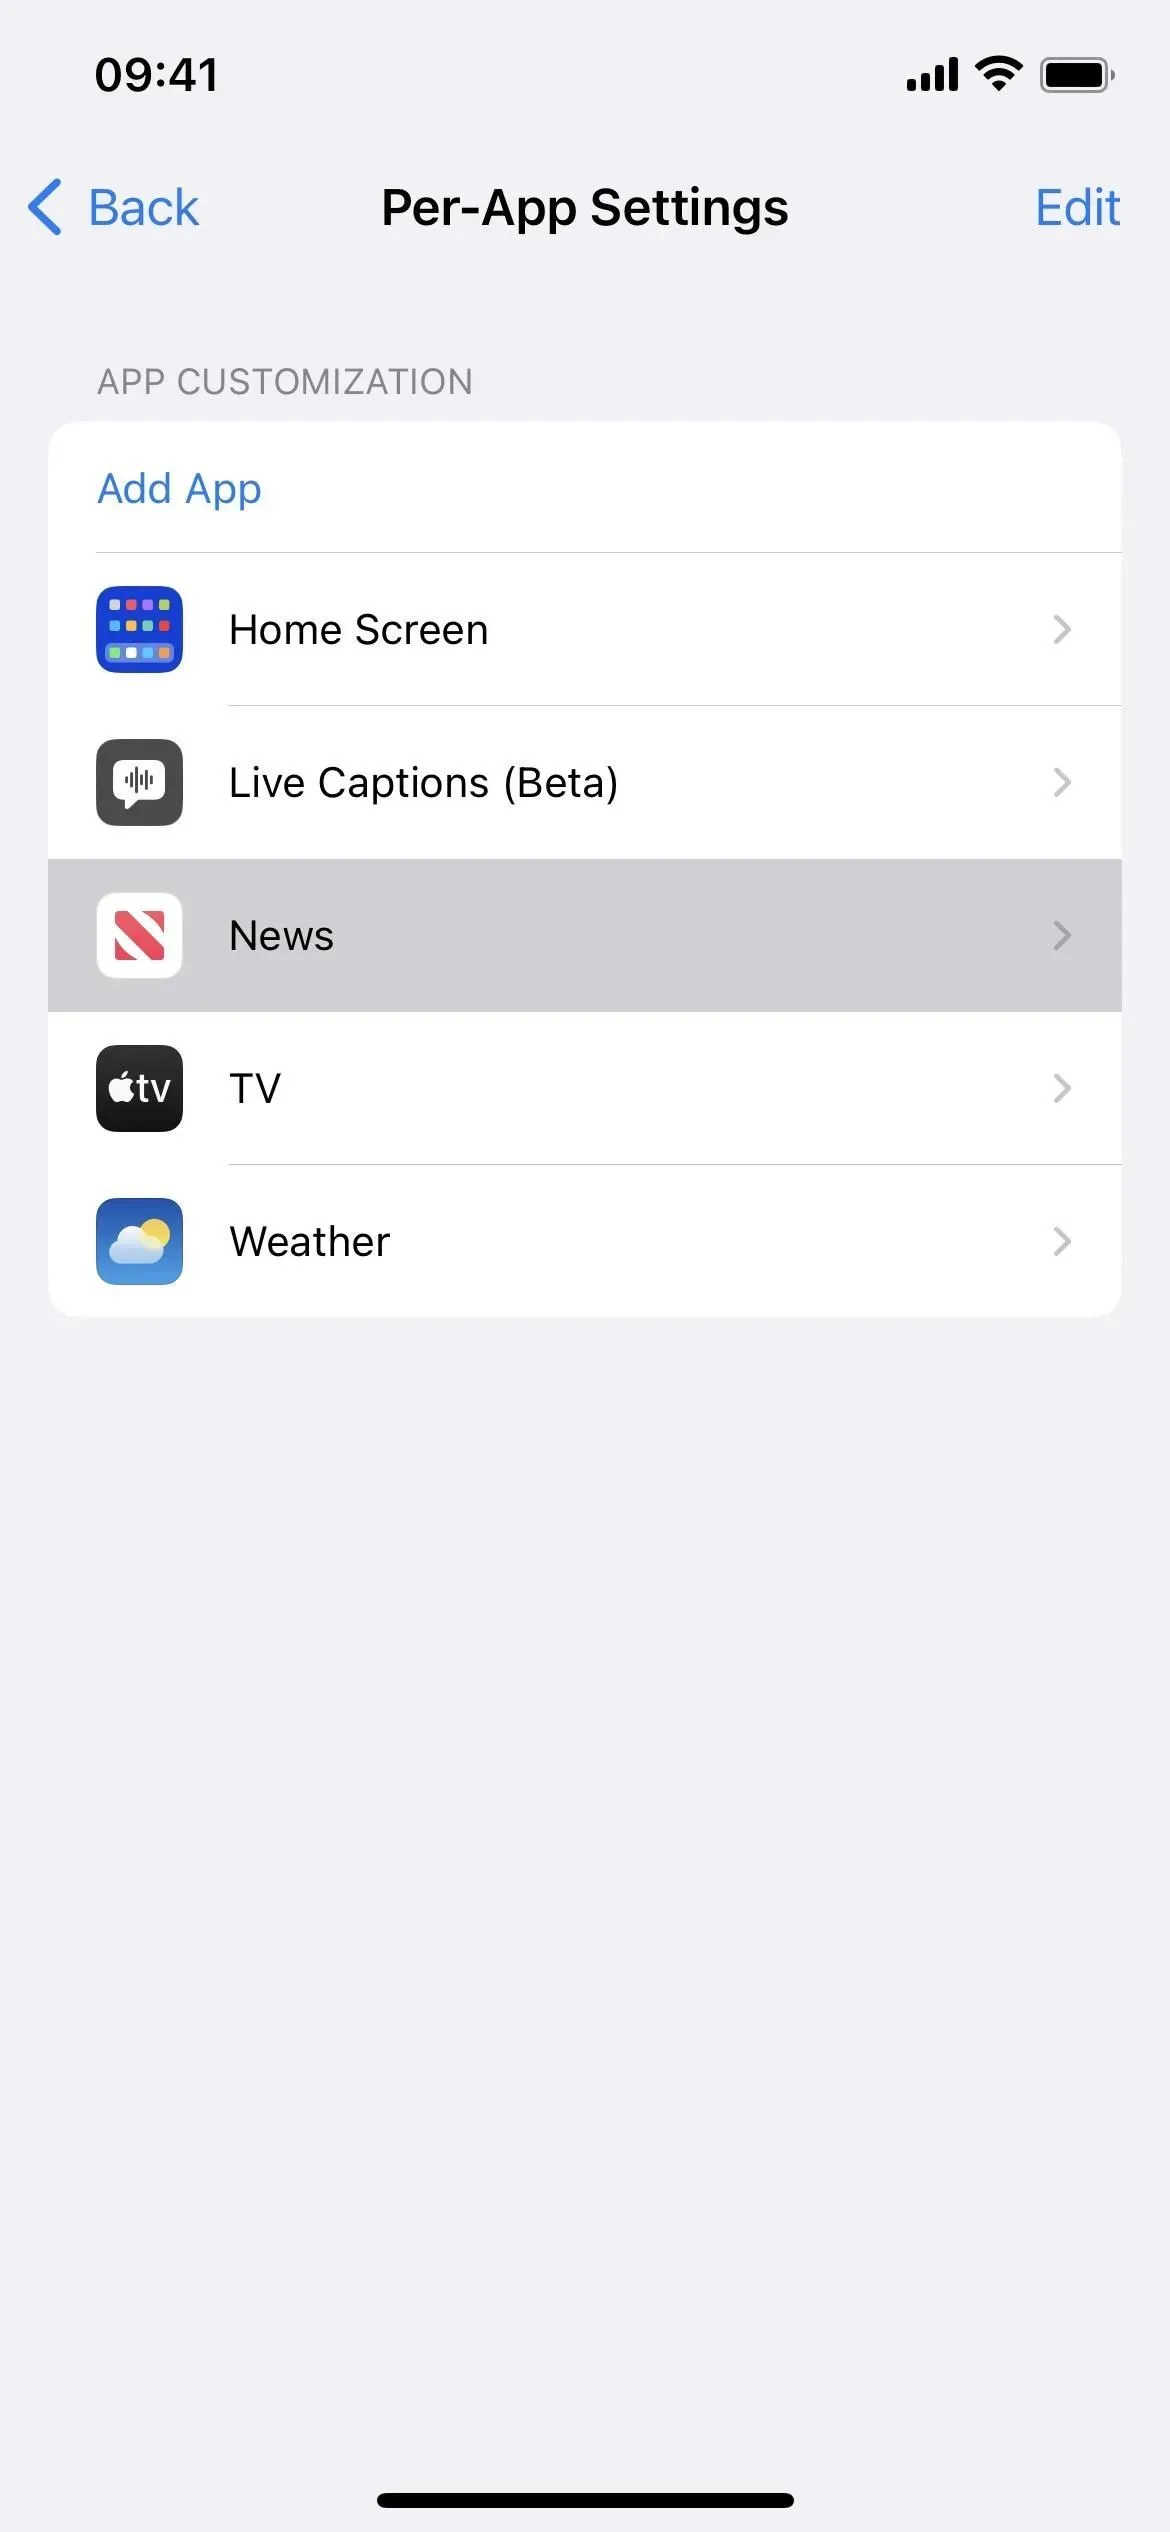
Back in the list of settings for each app, select an app. You can even choose a home screen; its settings can affect your iPhone’s status bar outside of the home screen pages.
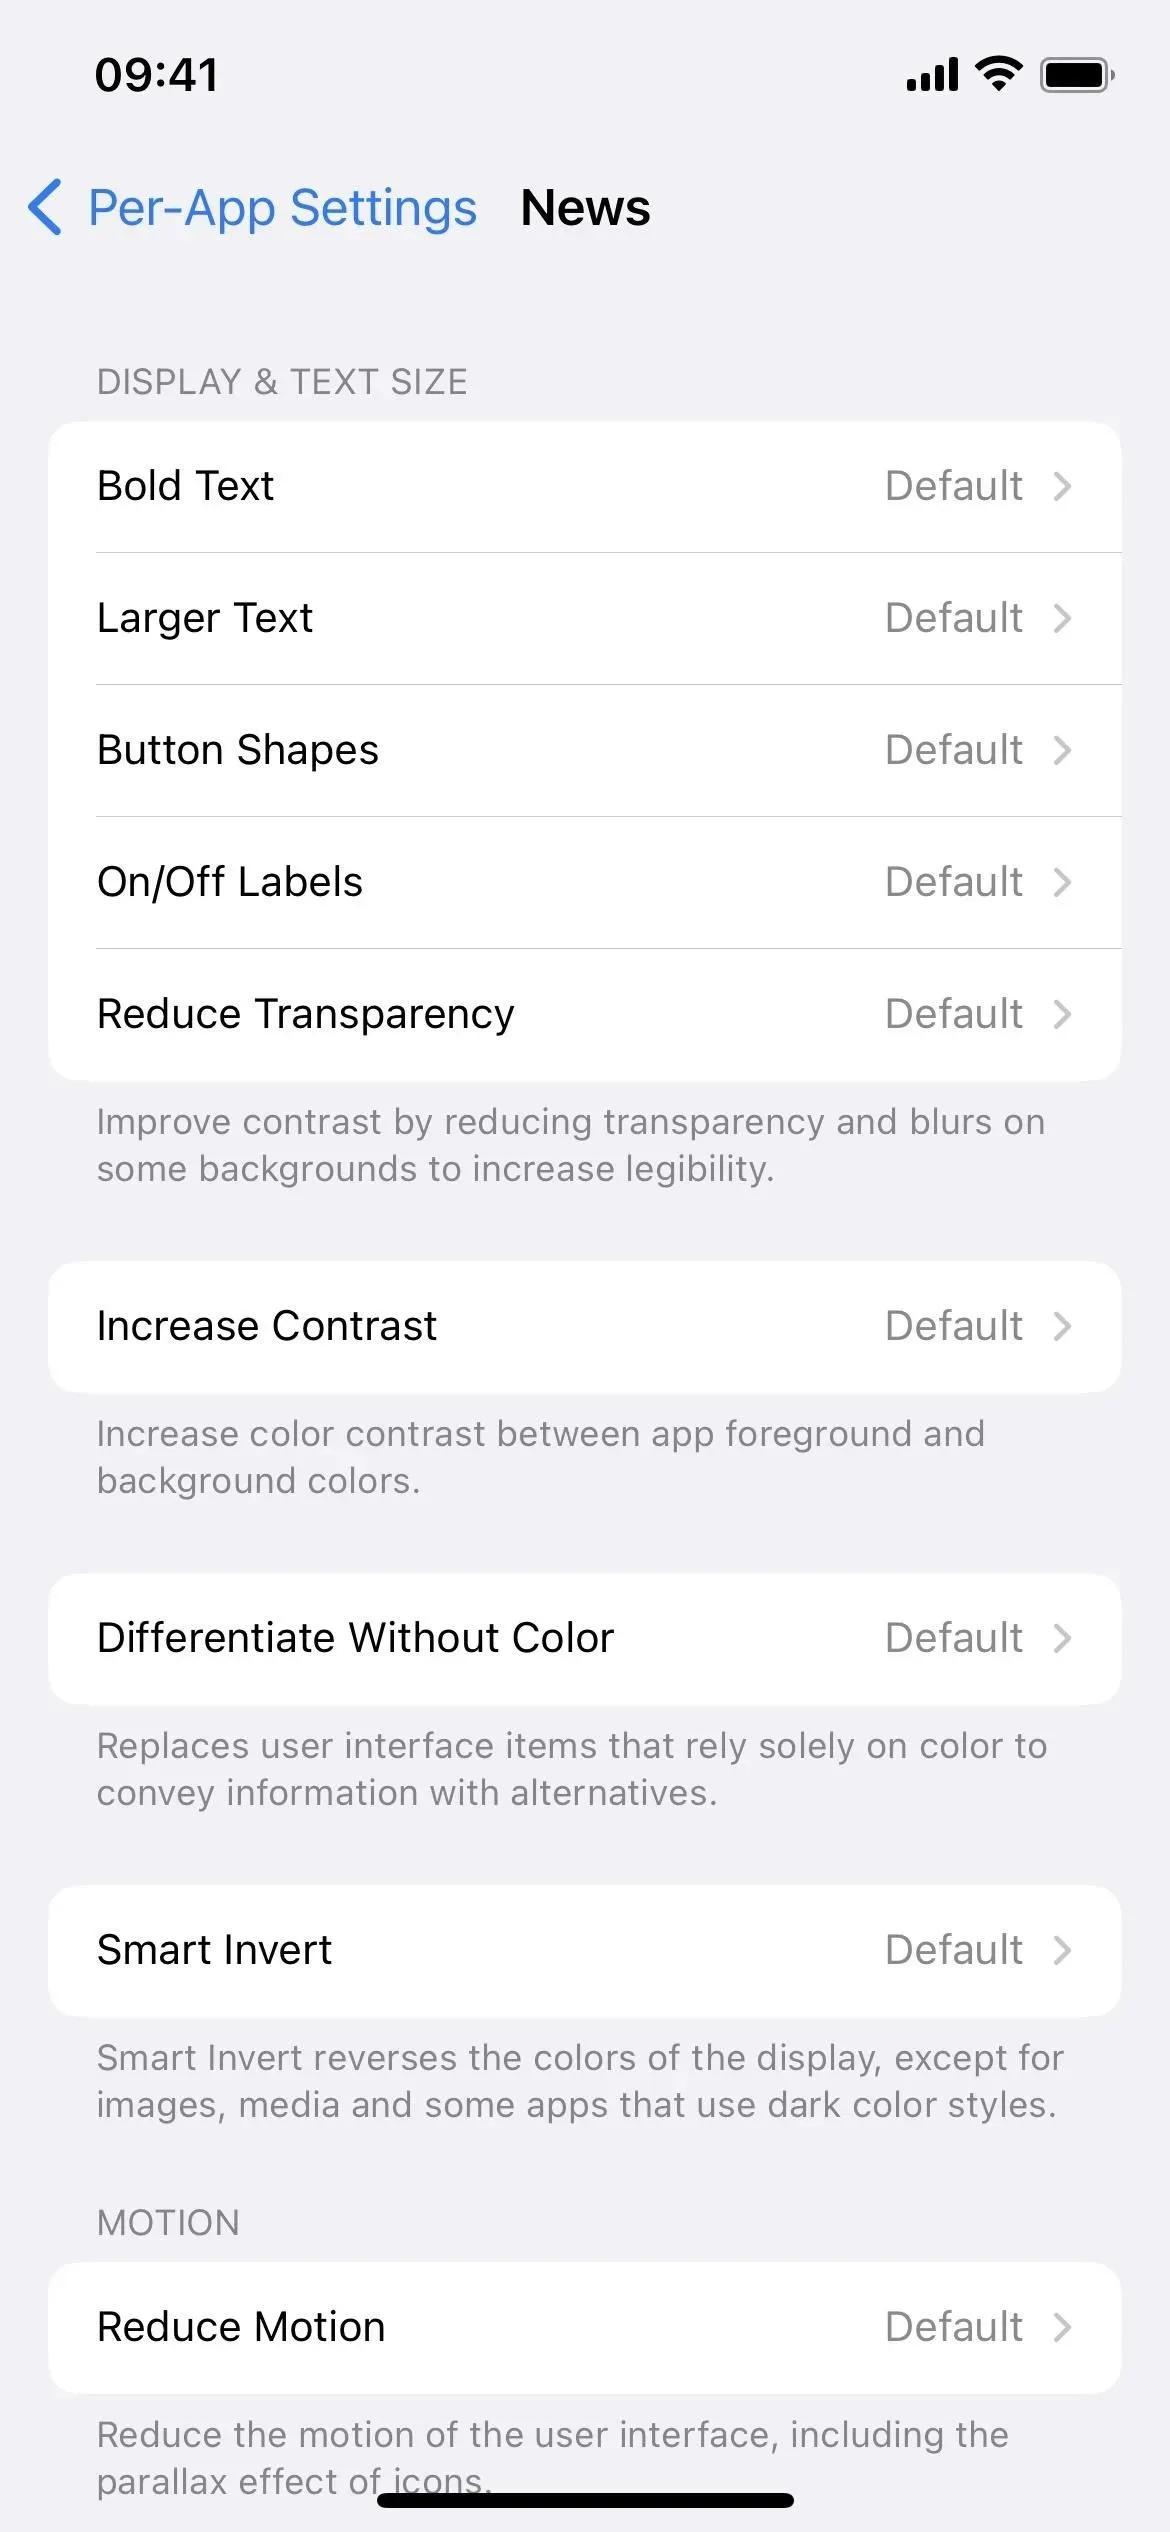
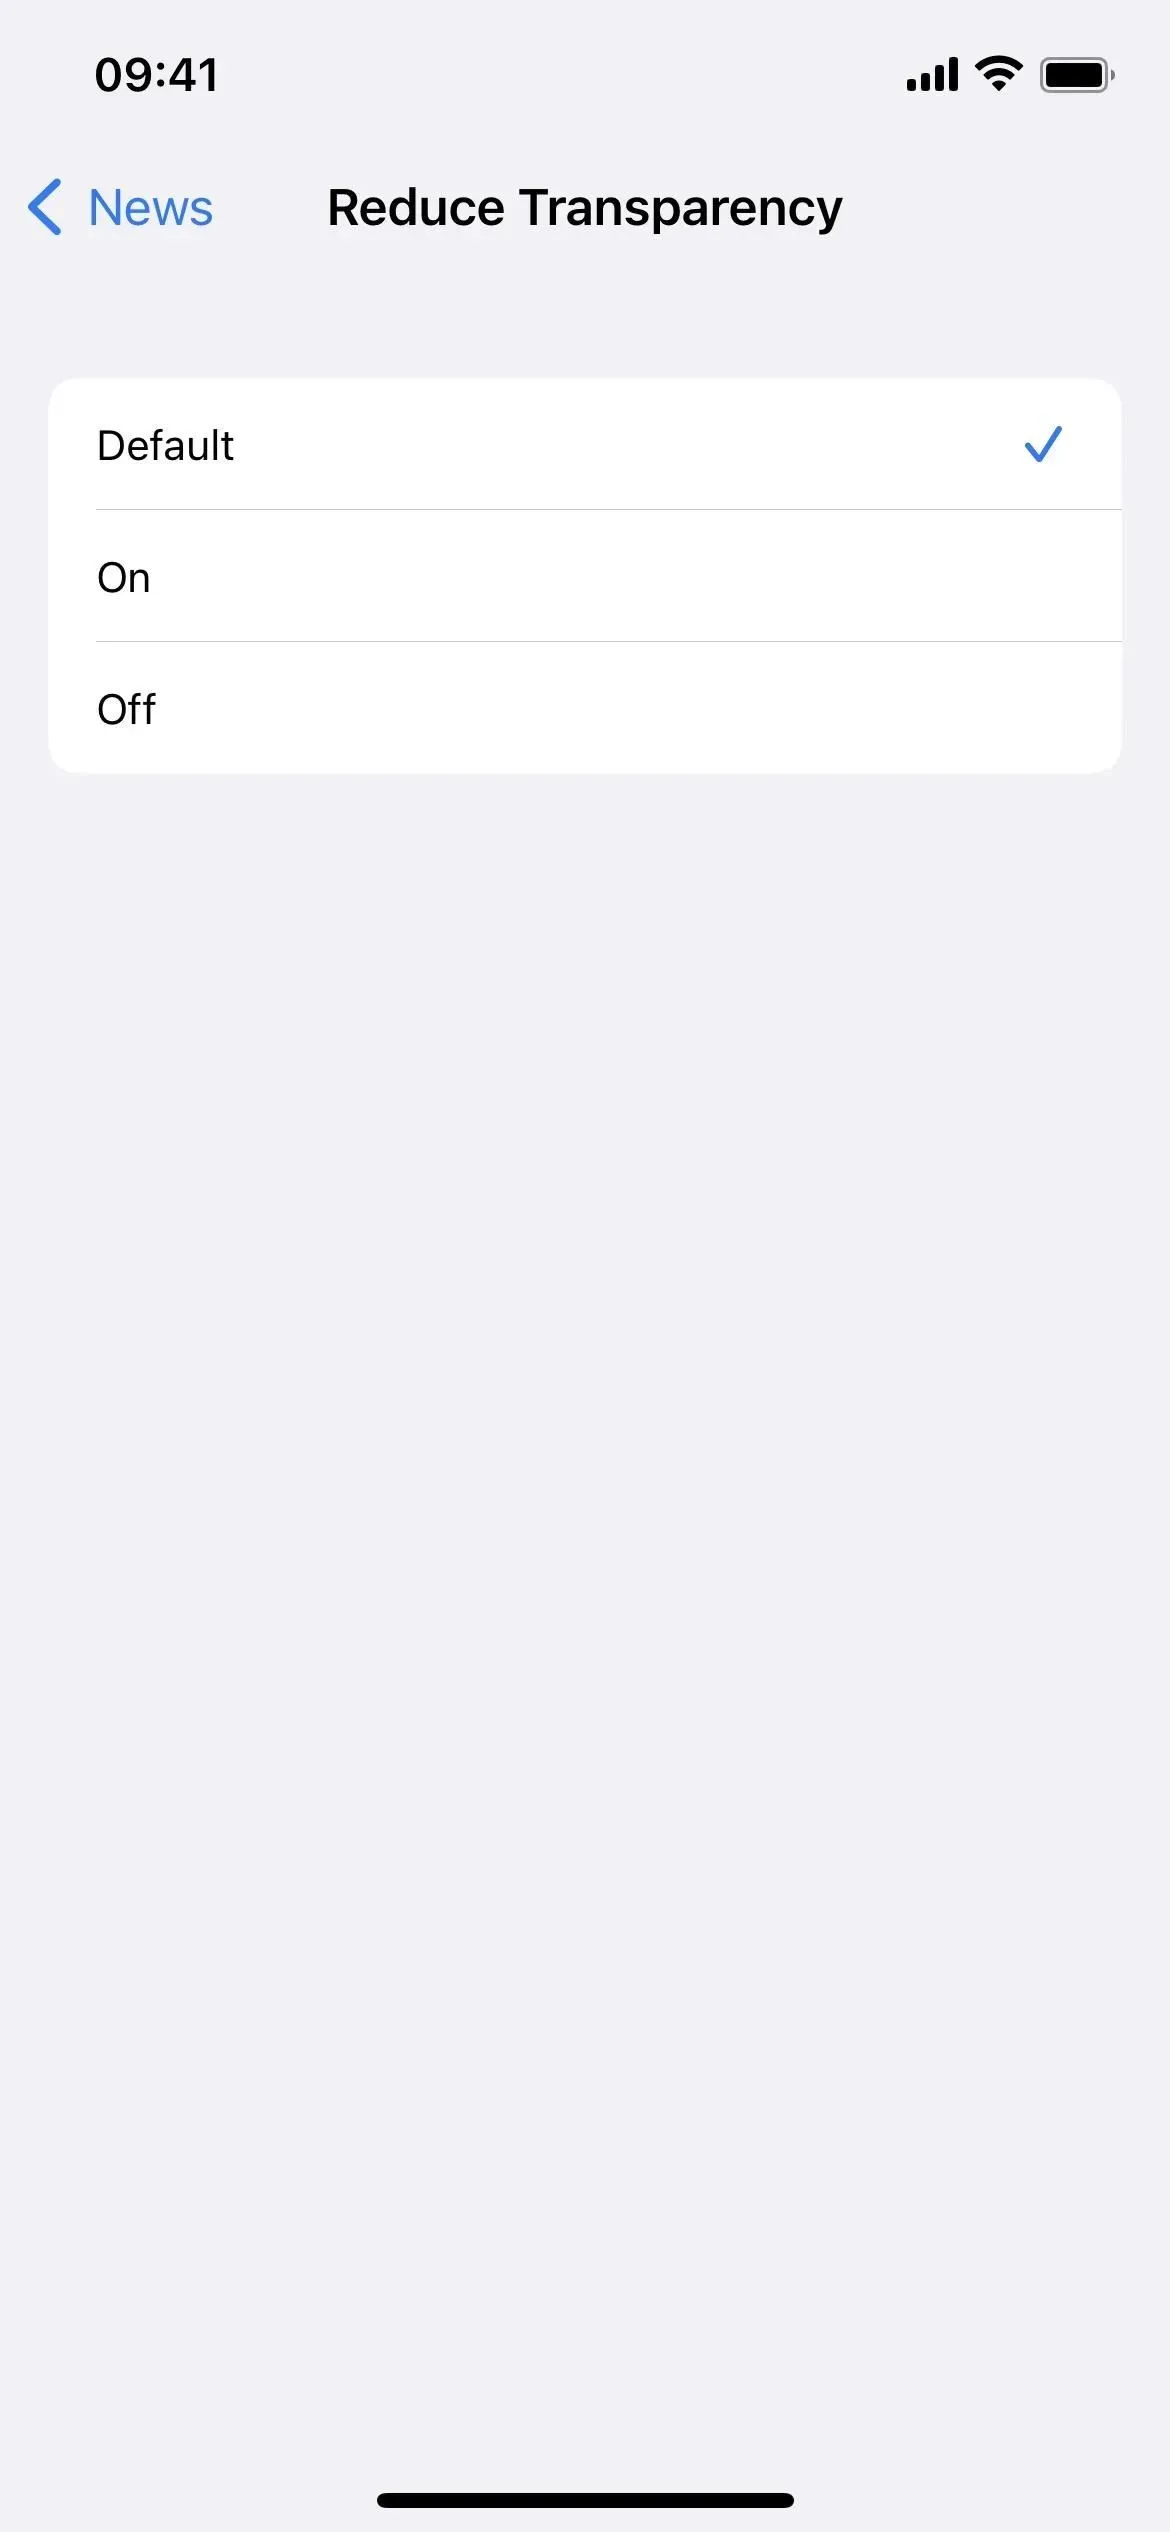
Enable or disable the following three features from “Default”.
- Smart Inversion
- increase the contrast
- Reduce transparency
For most other filters and effects, you’ll need method 2 or 3 below.
Method 2: Automate color changes in apps
With the automation feature in the Shortcuts app, you can automatically change the app’s colors so that no action is required other than the initial setup. The automation runs whenever you open the app, applying all your iOS filters. Then when you close the app everything goes back to normal.
Most of the color effects listed above can be used in keyboard shortcuts and are listed below as the names of their shortcut actions. You cannot automate Night Shift or True Tone.
- Set appearance (dark mode)
- Install classic inversion
- Install Smart Invert (method 1 is best for this)
- Set color filters
- Set Increase Contrast (Method 1 is best for this)
- Set Reduce transparency (method 1 is best for this)
- Set White Point (Reduce White Point)
- Set scale
- Set brightness
There are actually two ways to build color change automation.
Option 1: Switch filters when opening and closing the application
This is the easiest way. When you open the app, the automation turns on or off any filters you’ve added. When you close the app, the automation does the same thing: it switches all the filters.
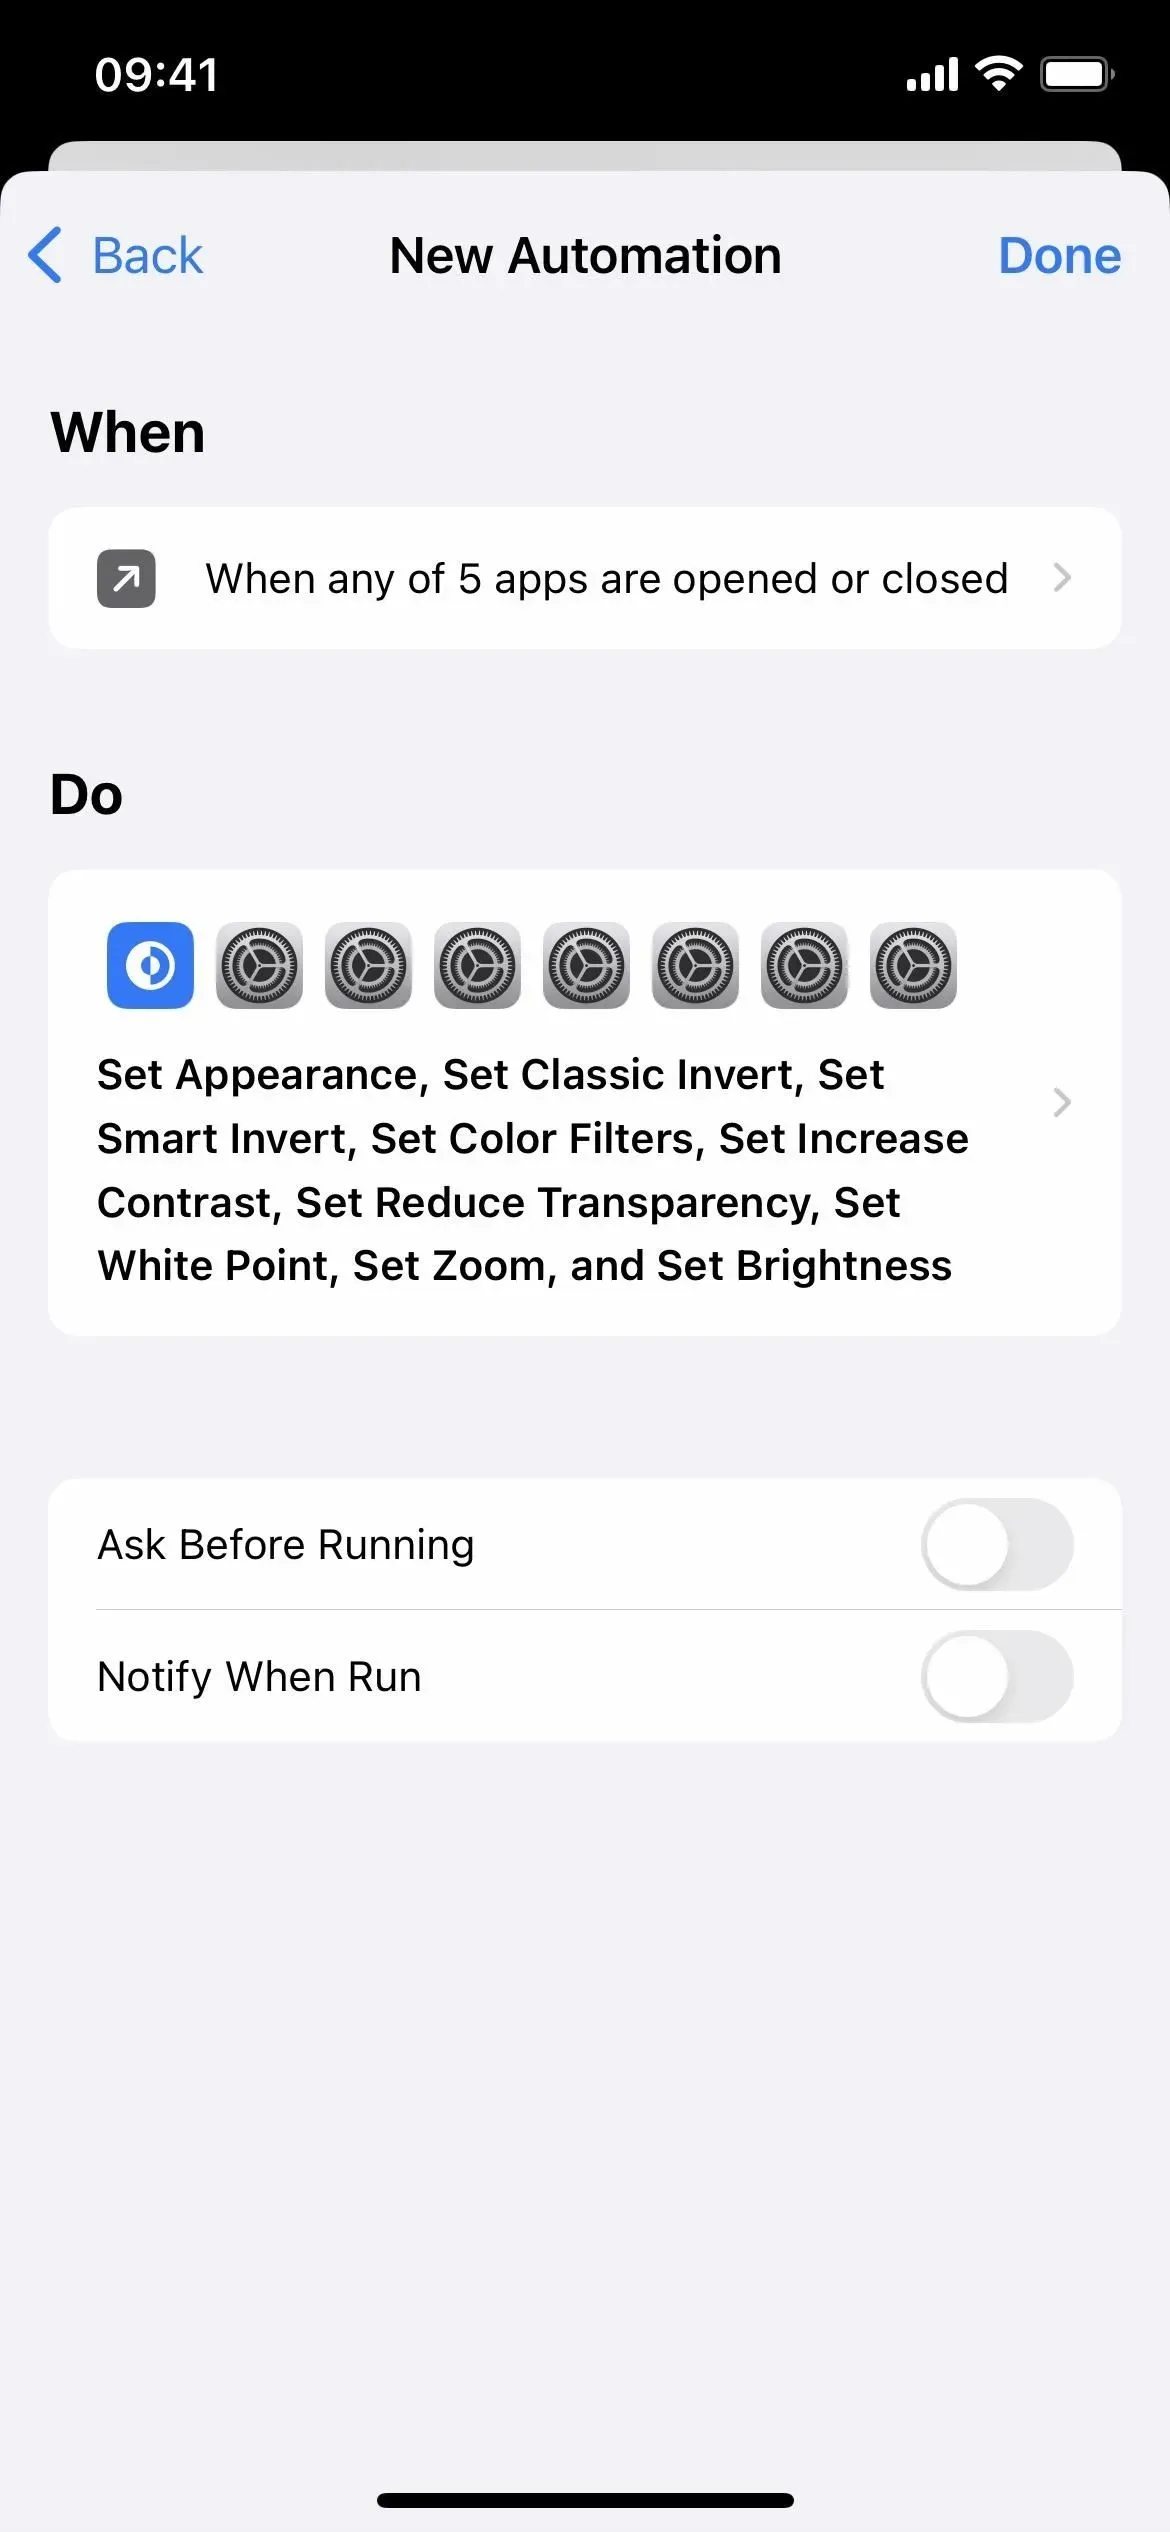
- Launch the new personal automation in the Shortcuts app.
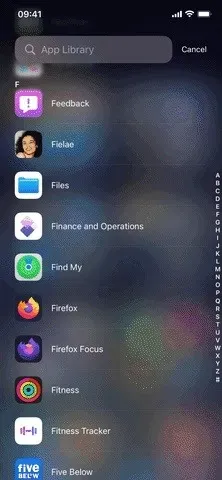
- Select Application from the list.
- Click “Select”next to the application.
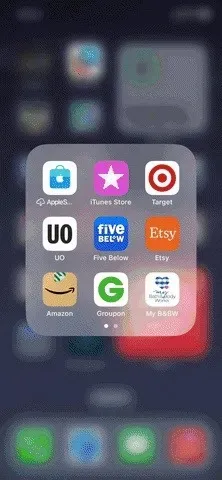
- Select the app or apps you want to assign and click Done.
- Enable “Open”and “Closed”and click “Next”.
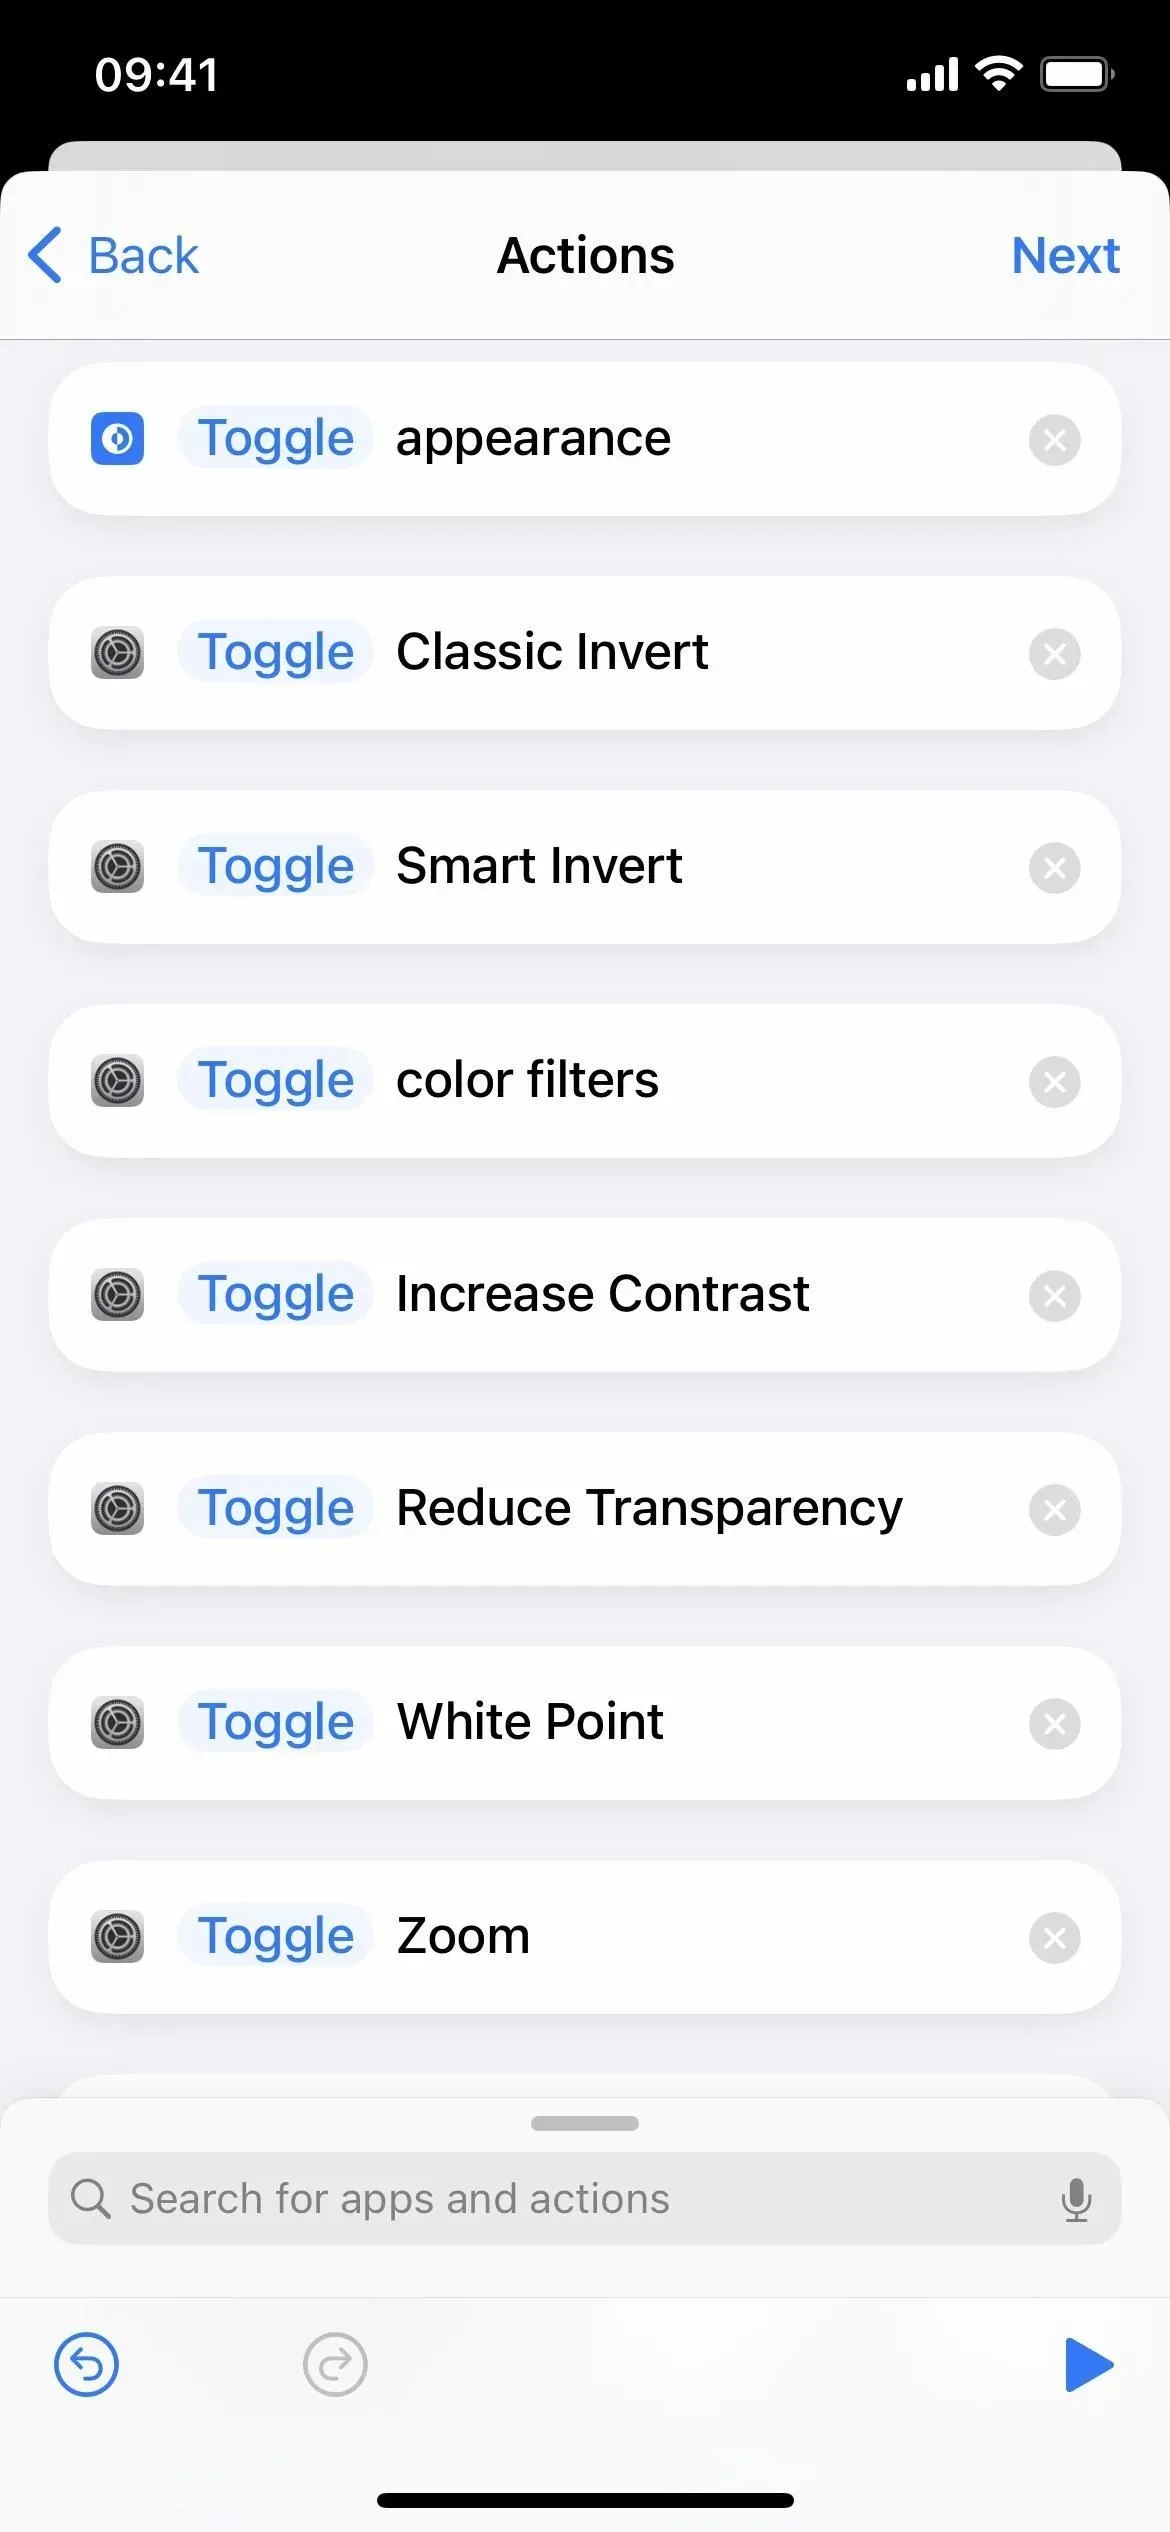
- Add the action or actions you want to assign to the app or apps.
- Click “Rotate”if it starts the action, then toggle it to “Toggle”. If you’re using “Set Brightness”, adjust the brightness level as a percentage.
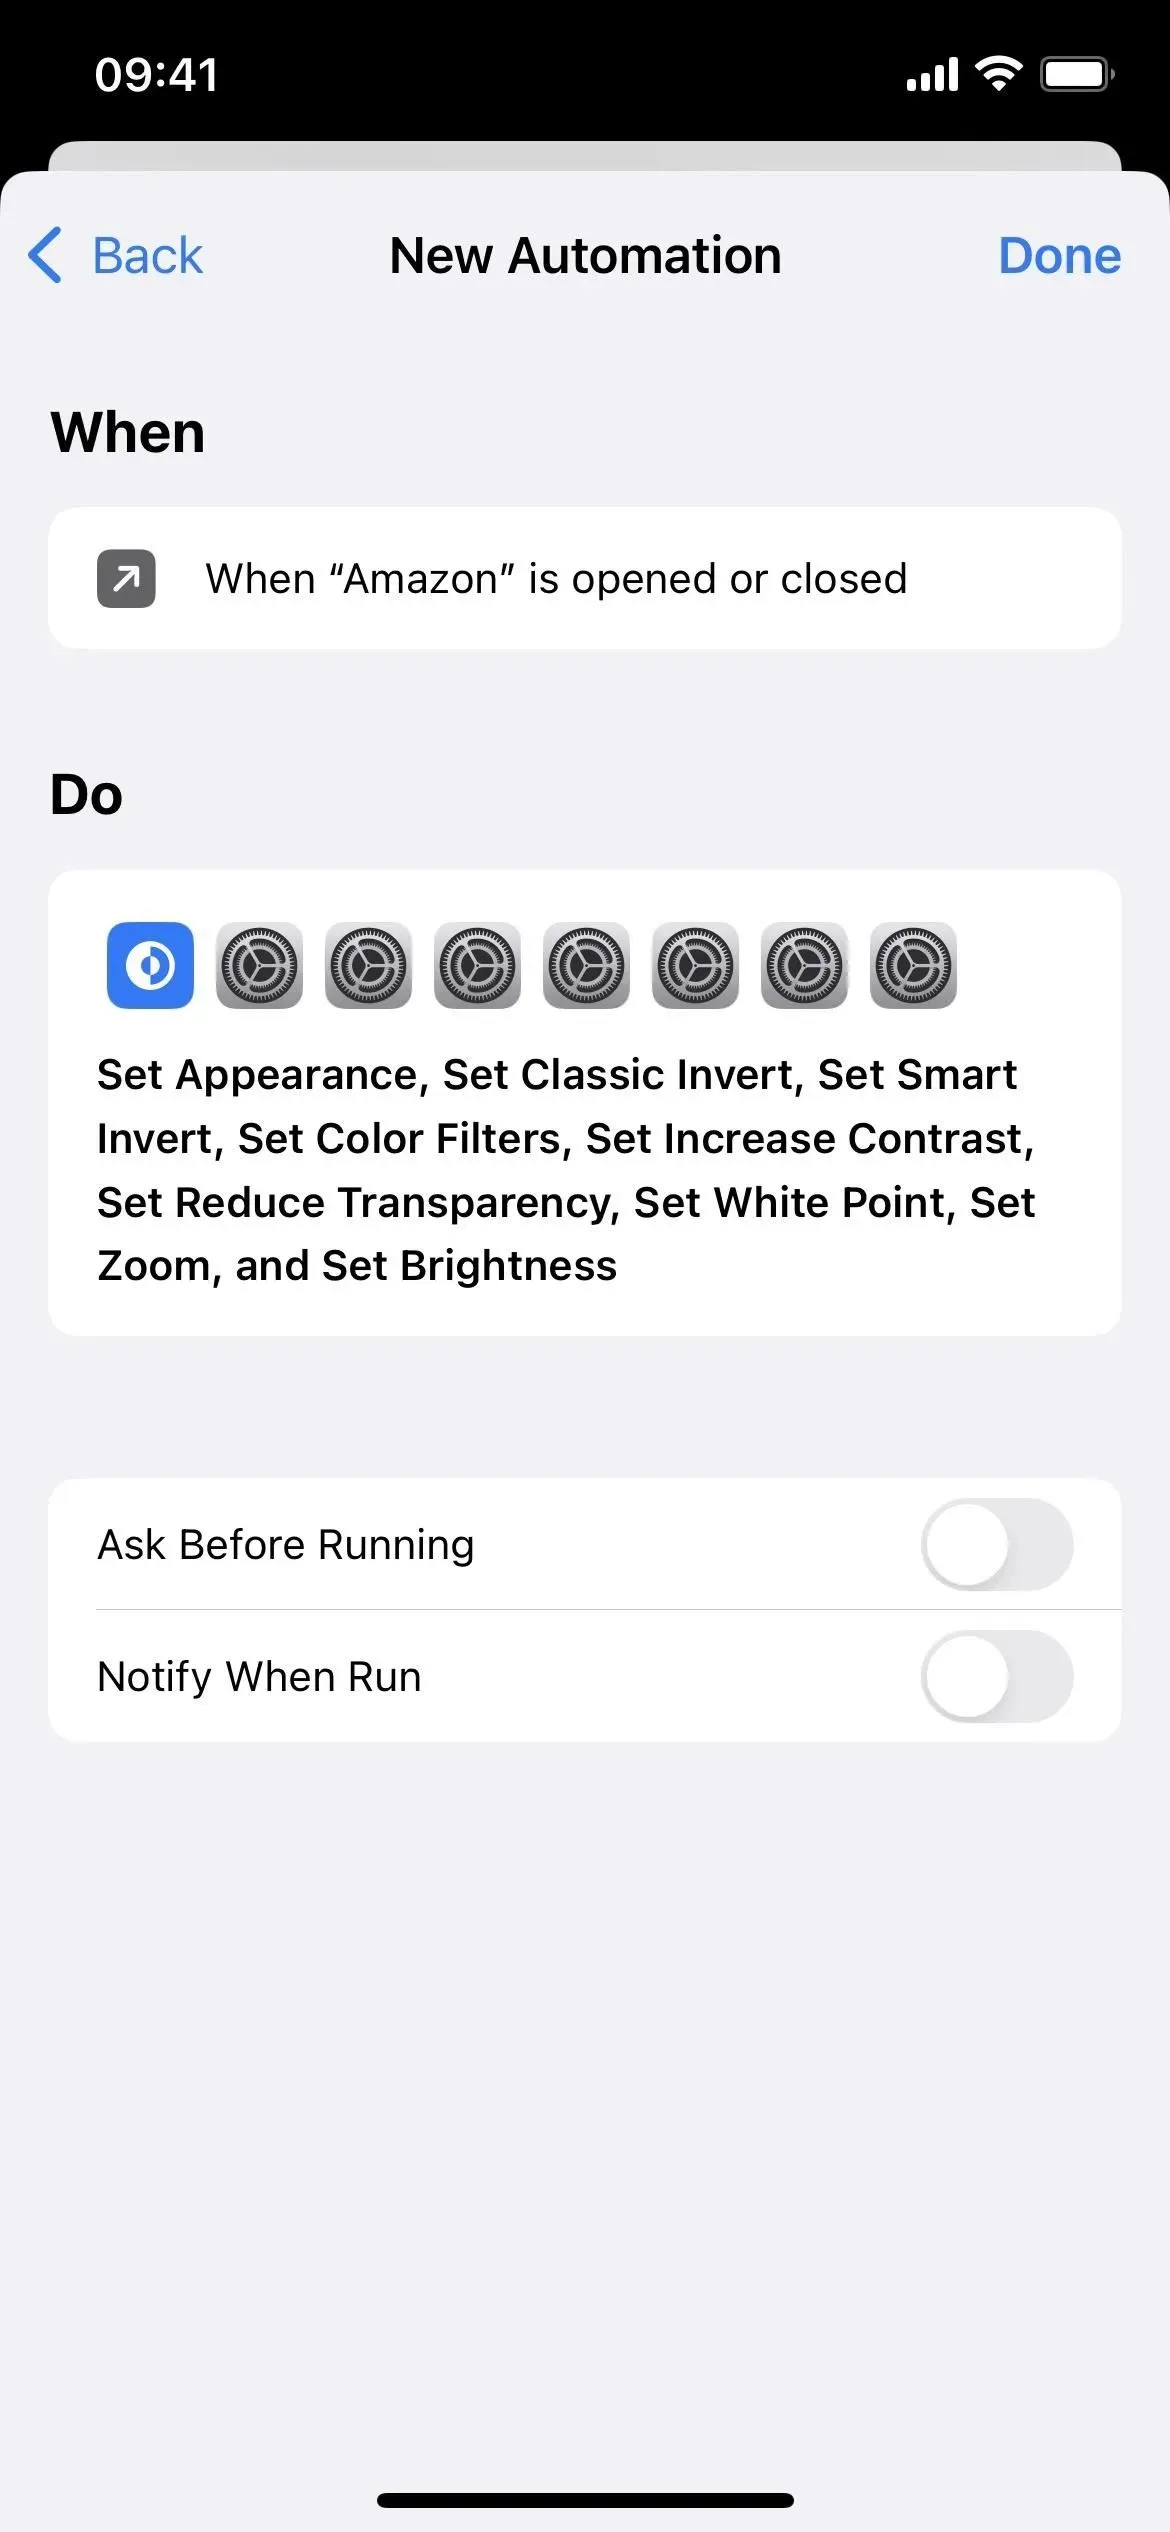
- Click next.
- Turn off “Ask before launch”and click “Don’t ask”to confirm.
- Click “Done”to finish.
While you can combine actions for unique color effects in apps, don’t overdo it. If you select too many, Shortcuts will take a long time to install everything when you open the app and may not restore everything when you close the app.
Disadvantages of switching filters
However, if you are already using the filter system-wide or in the application you are directly switching from, opening the target application will inadvertently disable the filter. Closing the app or switching directly to the previous app should bring things back.
To avoid this, at least for Smart Invert, increase contrast and decrease transparency, use method 1 above.
Otherwise, you can manually switch the filter (see Method 3) used elsewhere before or after opening the target application. However, you will have to do this again when switching back if you want to keep the previous theme. If it’s a previous app theme and not a system-wide one, you can also open the home screen or another unfiltered app before opening the target app.
In an ideal world, you could have the automation record the filters used before opening the target application, so that you can return to them when you close the application. However, shortcuts have the ability to record only dark and light images, and not color filters, smart invert, and other options.
Option 2: Enable/disable filters when opening/closing the application
This requires more work as you need to create two separate automations, one for opening the app and one for closing the app. So if you’re already using the filter elsewhere, opening the target app should leave it enabled if it’s in automation. However, closing the app will disable it unless you use similar automation for everything you switch to.
- Launch the new personal automation in the Shortcuts app.
- Select Application from the list.
- Click “Select”next to the application.
- Select the app or apps you want to assign and click Done.
- Toggle only “Open”and click “Next”.
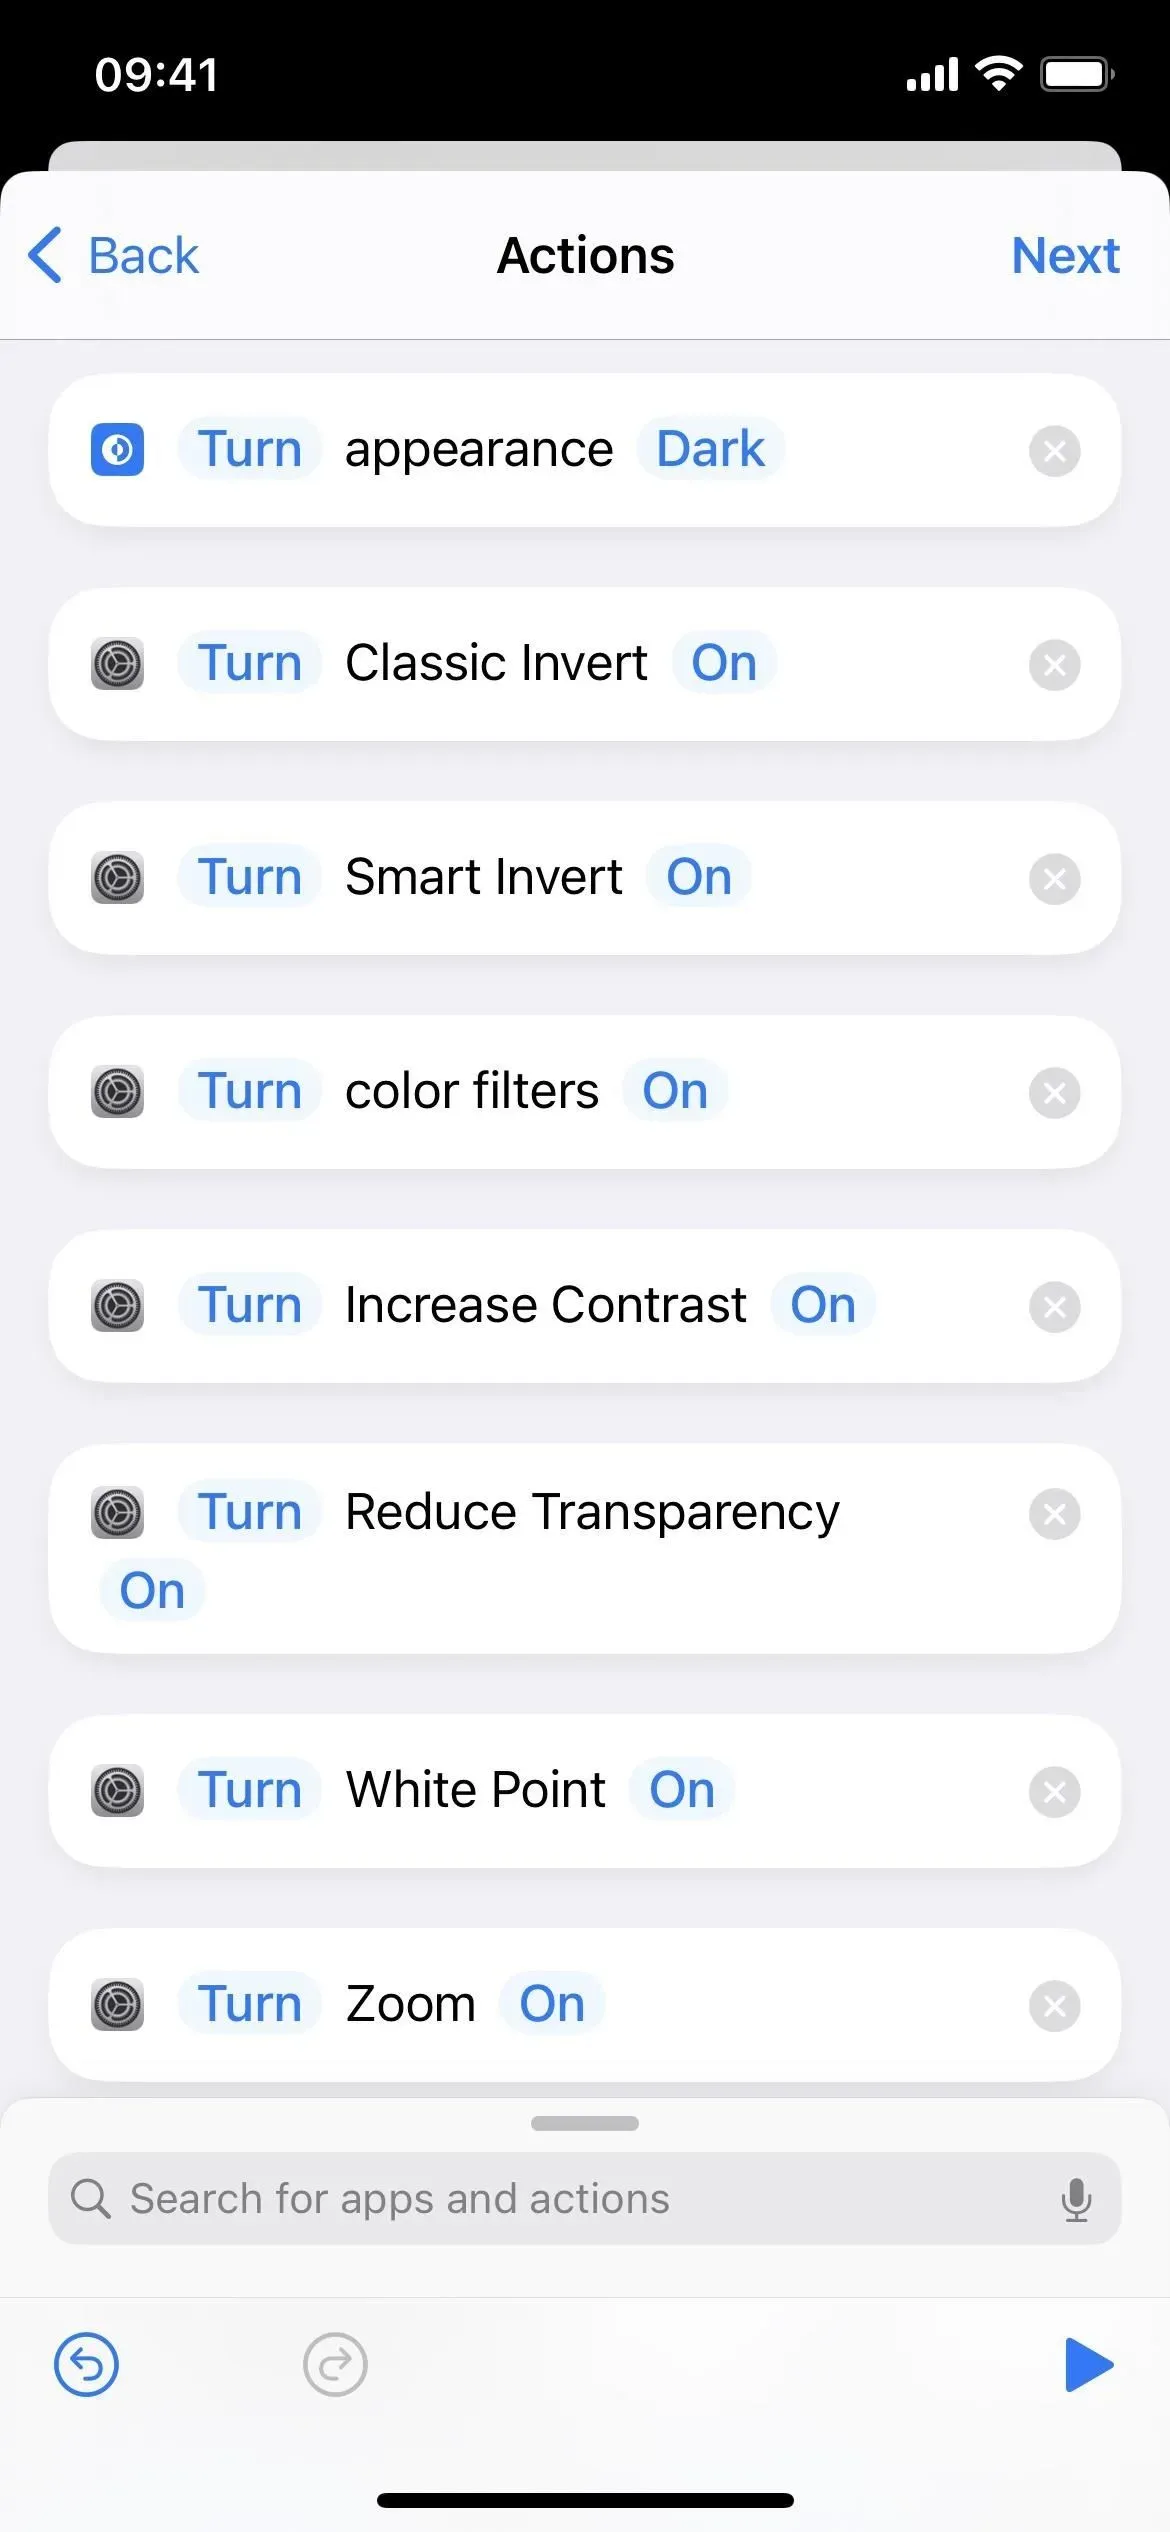
- Add the action or actions you want to assign to the app or apps.
- Leave “Turn”as it is if the action starts with it. If you are using Set Appearance, choose between Dark or Light. If you’re using “Set Brightness”, adjust the brightness level as a percentage. For all other actions, select On. or “Off”.
- Click next.
- Turn off “Ask before launch”and click “Don’t ask”to confirm.
- Click “Done”to finish.
As with switching filters in automation, don’t overdo it when combining actions to create unique color effects in apps. If you select too many, Shortcuts will take a long time to install everything when you open the app and may not restore everything when you close the app.
Disadvantages of enabling/disabling filters
If you are using any system-wide filters and one of them is used in your automation, opening the application will not affect it unless you disable it when automating. However, if the filter is enabled when the app is opened and in your automation, the system-wide filter will be disabled when the app is closed.
To avoid this, at least for Smart Invert, increase contrast and decrease transparency, use method 1 above.
As you can see, there is a small problem with each option. If you don’t use system wide filters, this shouldn’t be a problem. If you do this, you’ll have a bit of extra work to do when you open and close apps to get back to the previous system-wide view. Setting up automation for every app on your iPhone will give you complete control, but it’s too much work.
Method 3: Manually Change Colors in Apps
If you don’t want to use shortcut automation to automatically switch the color theme for an app, or when you need to quickly adjust the color when your automation turns on or off what you want, you can use Siri or the basic controls for each option in the Settings app as shown above. However, there are quicker ways to set some of them without talking or digging through the Settings app.
Most of the color effects listed above can be used in keyboard shortcuts and are listed below as the names of their shortcut actions. You cannot automate Night Shift or True Tone.
- Classic inverted
- Smart Invert (Method 1 is best for this)
- Color filters
- Increase contrast (method 1 is best for this)
- Reduce the transparency (method 1 is best for this)
- Reduce white point
- Increase
Option 1: Accessibility Quick Access
When enabled, an accessibility shortcut is assigned a triple-click gesture of the side button or home button on your iPhone. So when you quickly press the button three times in a row, whatever option you choose for the accessibility shortcut will turn on or off. If you set more than one option, it will show you a list of them to choose from.
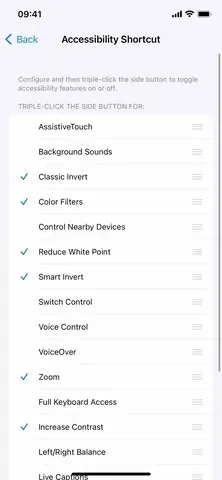
Go to Settings -> Accessibility -> Accessibility Shortcut, then make sure at least one of the color settings is checked. Not all of the things shown above are available, but you can control classic invert, smart invert, color filters, increase contrast, decrease transparency, decrease white point, and zoom.
Option 2: Accessibility shortcuts in the Control Center
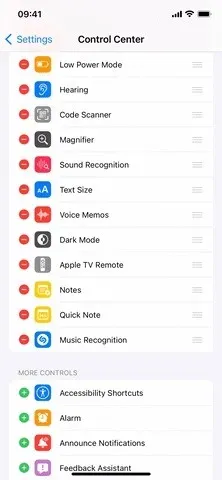
Set up the accessibility shortcut as shown in option 1 above, then go to Settings -> Control Center. Add an Accessibility Shortcuts control if it’s not already in the list of included controls.
Whenever you open the Control Center, you can tap the Accessibility Shortcuts control to turn the assigned features on or off. If you have more than one set, please select from the list that appears.
Option 3: Click “Back”
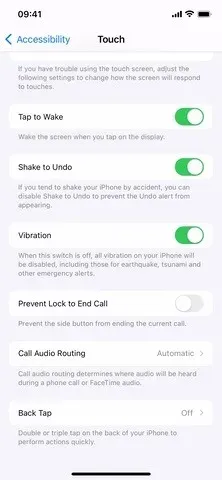
Back Tap has been around since iOS 14 and works as it seems. You can double or triple tap the Apple icon on the back of your iPhone and it will perform whatever action you assign to the gesture.
Go to Settings -> Accessibility -> Touch -> Back Press, then select Double Tap or Triple Tap. You can choose between system actions, accessibility actions, swipe gestures, and even shortcuts.
In our case, you can set an accessibility shortcut for it if you don’t want to open it, as described in options 1 and 2 above. No system actions help with the color change. For accessibility, you can choose Classic Invert, Smart Invert, Color Filters, or Zoom.
You can also use one of the other color changing features above, but you’ll need to create a shortcut for them in the Shortcuts app and then assign it here. If you do that, you will also have access to dark mode, increase contrast, decrease transparency, decrease white point and brightness. You can also use any combination of color effects.
Leave a Reply