How to Create a New Apple ID on iPhone, iPad, Mac, PC, Android
Your Apple ID gives you access to various Apple services such as iTunes, the App Store, and iCloud. You can create a free ID for your Apple devices and keep them secure. But don’t worry, this article will show you how to create an Apple ID for free on iPhone, iPad, Mac, PC and Android.
Steps to create a new Apple ID for free on iPhone or iPad:
With just a few steps, you can create an Apple ID on your iPhone or iPad for free. Here’s how the process works in more detail:
- To access your name, open the Settings app on your iPhone or iPad and tap it. To access your personal account information and settings, you must complete this step. You can set up various settings for your iPhone or iPad in the Settings app, such as Wi-Fi, Bluetooth, and Cellular.
- Then the next step in this process is to click “iTunes & App Store”and select “Create a new Apple ID”. After clicking on “iTunes & App Store”you will be prompted to sign in with your Apple ID. If you don’t have an Apple ID yet, click “Create a new Apple ID”. This will take you to the next step.
- Enter your email address, password, security questions, and other information as instructed. You will then be asked to enter personal information such as email address, password, and security questions. You must use a password that contains uppercase and lowercase letters, numbers, and symbols. If you have forgotten your password, you can recover your account using security questions.
- Once the information has been entered, click on the “Agree “button. You must agree to all of the terms in order to use Apple’s services. Before agreeing, please read the terms and conditions carefully.
- Your email address must be verified by entering the verification code you received in your mailbox. When you agree to the terms, you will receive an email with a verification code from Apple. To verify your email address, enter the verification code.
- Your new Apple ID can be used to access Apple services after you verify your email address.
Finally, you can start using your new Apple ID to access various Apple services such as the App Store, iTunes, iCloud, and more.
Steps to Create a New Apple ID for Free on PC – Mac, Windows
You can create an Apple ID on a PC in the same way as on a Mac. To get started, follow these steps:
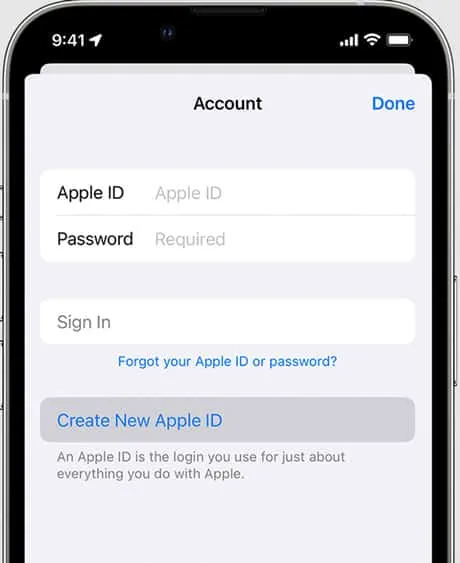
- On the top menu bar of iTunes, click “Account “to open your account.
- Go to “Sign in “and click on “Create a new Apple ID “.
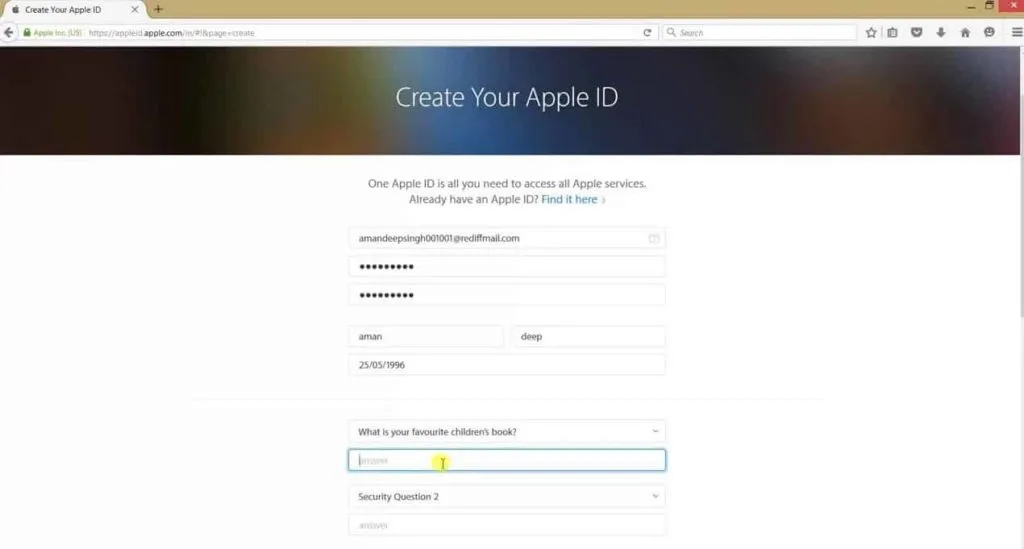
- Enter your email address, password, and other required information such as your first and last name, birthday, and security questions.
- Enter your personal information and click Continue .
- Then click “Agree “to accept the Terms of Use.
- After that, enter the verification code sent to your email address to verify your address.
- With a new Apple ID, you can access Apple services after verifying your email address.
Steps to Create a New Apple ID on Mac for Free
Mac users can also easily create an Apple ID. You need to do the following:
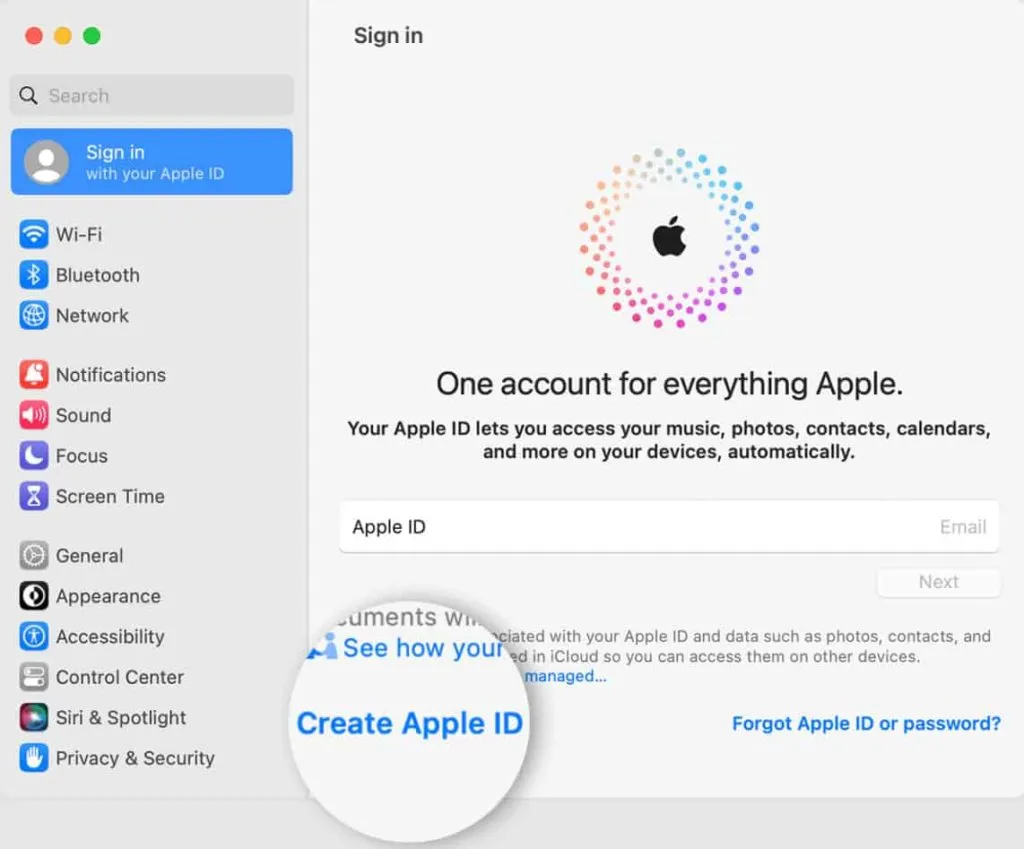
- Initially, on your Mac, open the App Store and click the Sign In button .
- You can create a new Apple ID by clicking Create New Apple ID and then Continue.
- You then need to enter your first and last name, date of birth and security questions along with your email address and password.
- Once you have entered your personal information, click Continue .
- Click “Agree “after reading the Terms.
- Please enter the verification code sent to your email address to verify your email address.
- Once your email address has been verified, you can use your Apple ID to access Apple services.
Steps to Create a New Apple ID on Android for Free
It’s not the same as creating an Apple ID on an iPhone, iPad, or Mac when you’re using an Android device. Regardless, the process remains fairly simple. To get started, follow these steps:
- To access your Apple ID account, open a web browser on your Android device.
- Click “Create your Apple ID “at the bottom of the page.
- Provide your personal information, including your name, email address, password, and security questions.
- Once you have entered your personal information, click Continue .
- Click “Agree “when you read the Terms.
- After that, you will be prompted to enter the code that you received by email.
- Your new Apple ID can be used to access Apple services after verifying your email address.
Note. You won’t be able to access Apple services such as the App Store on an Android device if you create an Apple ID. You can use a new Apple ID on your iPhone, iPad, or Mac to access Apple services.
Tips for Creating a Strong Apple ID Password
To protect your Apple, using a strong password is necessary to create a strong password. To create a strong Apple ID password, follow these tips:
- Length: Your password must contain at least 8 characters. Use 12-character or longer passwords to increase the security of your account.
- Complexity: Your password must contain upper and lower case letters, numbers and symbols. It is harder for someone to guess your password if it consists of a mixture of characters.
- Avoid common words or phrases. Do not use commonly used words or phrases in your password, such as “password”, “123456”or “qwerty”. These passwords are easy to guess and provide little protection for your account.
- Avoid personal information. Do not use personal information such as your name, date of birth, or phone number in your password. This information is often easy to find and can make password guessing easier.
- Create different passwords for each account. Make sure you don’t use the same password for every account. All accounts with the same password can be compromised if one account is hacked.
- Use a password manager: With a password manager, you can create strong passwords for your accounts. Creating and remembering complex passwords can be easier with a password manager.
Summarize
So, here’s how to create a new Apple ID for free on different devices, including iPhone, iPad, Mac, PC, and Android. We hope this guide has helped you. Also, if you need more information, leave a comment below and let us know.
Leave a Reply