Google Docs Text Box Insertion Instructions
One of the well-known free online word processors is Google Docs. Because it is more practical, Google Docs is used by the majority of users and professionals. Google Documents can be shared by anyone with a large number of users, each with their own constraints and capabilities. Because they can easily share it with friends, coworkers, seniors, and others, most users like this feature.
In addition to sharing, Google Documents also offers a number of fantastic tools that you can use to improve the appearance of your work. The many modifying tools in Google Documents allow you to add additional components. In the Documents, you can put pictures, tables, charts, and drawings.
One of the features that most people look for to place in the Documents is the Text Box. They are having trouble doing this, though. We are here to help you with the “How to Insert Text Box in Google Documents” instruction.
What is a Text Box in Google Docs?
You may add the Text Box element to Google Documents so that you can edit the text to suit your needs. The Text Box is not only a plain text field that you can enter into the documents. To add the customized text, you must first create a box. You can alter the text box’s appearance by changing the font, text size, background color, and more.
Additionally, you can add a border and change the color of the Box. The Text Box will be added as a Drawing in the Document, thus it won’t look like the plain text on the documents. Therefore, you cannot tell whether a document is a text or a text box when you view it in the preview or after printing. The Text Box can be used for a variety of things as well, which will help the page look more elegant.
Can I add text boxes and shapes to Google Docs?
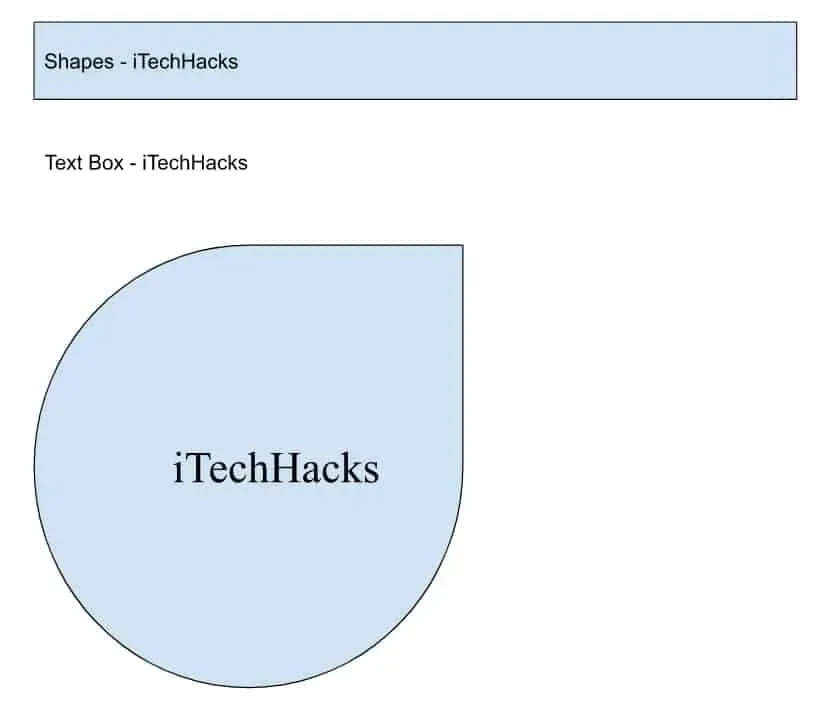
Many users are unsure as to whether or not they will be able to add shapes to Google Docs. We have discussed the functions of text boxes and how to utilize them to give documents a more refined appearance. However, some users are considering creating designs or visual representations in which they want to use the shape and text box combination in a way that will make it an educational document. We frequently receive a lot of projects that require the addition of text and forms. So, yes, that is the answer. In Google Docs, you can add text boxes and shapes to the document to make it appear more informative. Let’s look at our following heading, “How to Insert Text Box in Google Documents,” right away.
Google Documents Text Box Insertion Instructions
We are aware that many of you are eagerly awaiting the instructions on how to insert a text box in Google Documents. The users will find the steps to be extremely straightforward. However, all they will need to do to produce a good design for their document is be imaginative when creating the shapes. Users won’t have a difficult time inserting a text box or a shape. The instructions for adding the text box and shapes in Google Documents are listed below. Do examine them.
For Text Box
- Launch Google Documents first.
- New Document Creation.
- Now select Insert from the menu.
- Put the pointer over the Drawing selection.
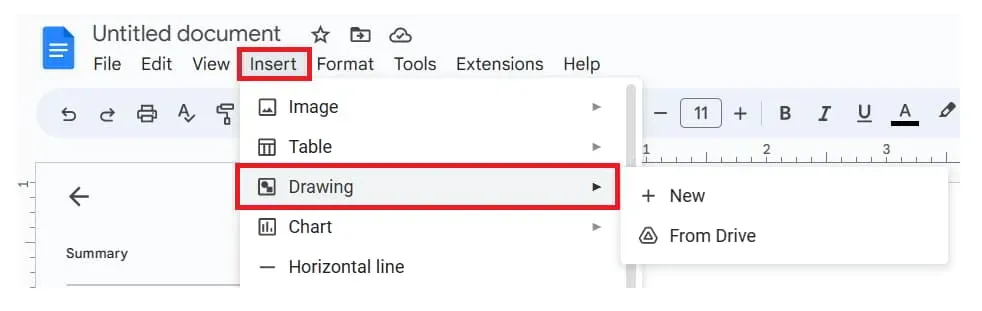
- Select the New option next.
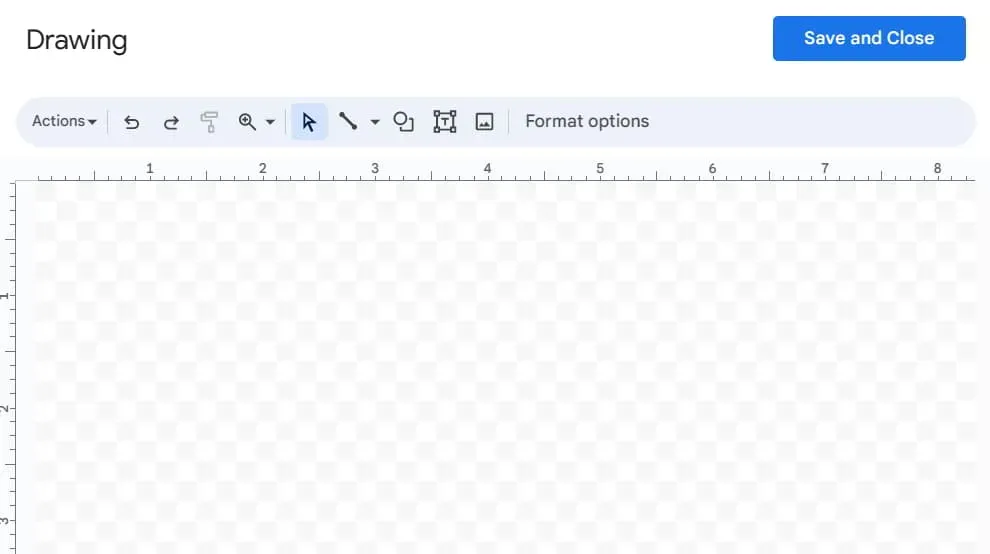
 On your screen, a new window will appear.
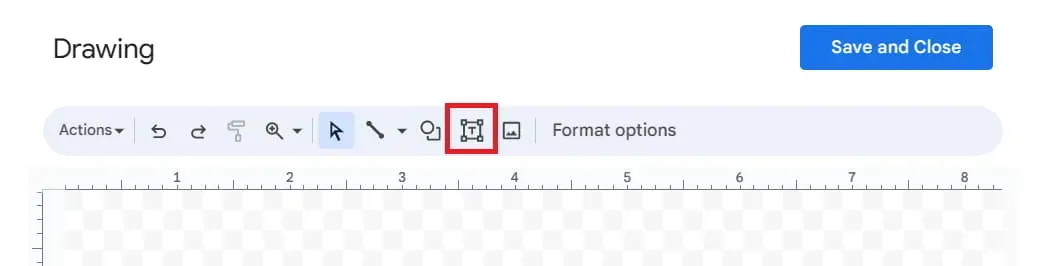
 Click the T icon next to the box.
- Drag the text box’s chosen height and breadth onto the screen where you want it to appear.
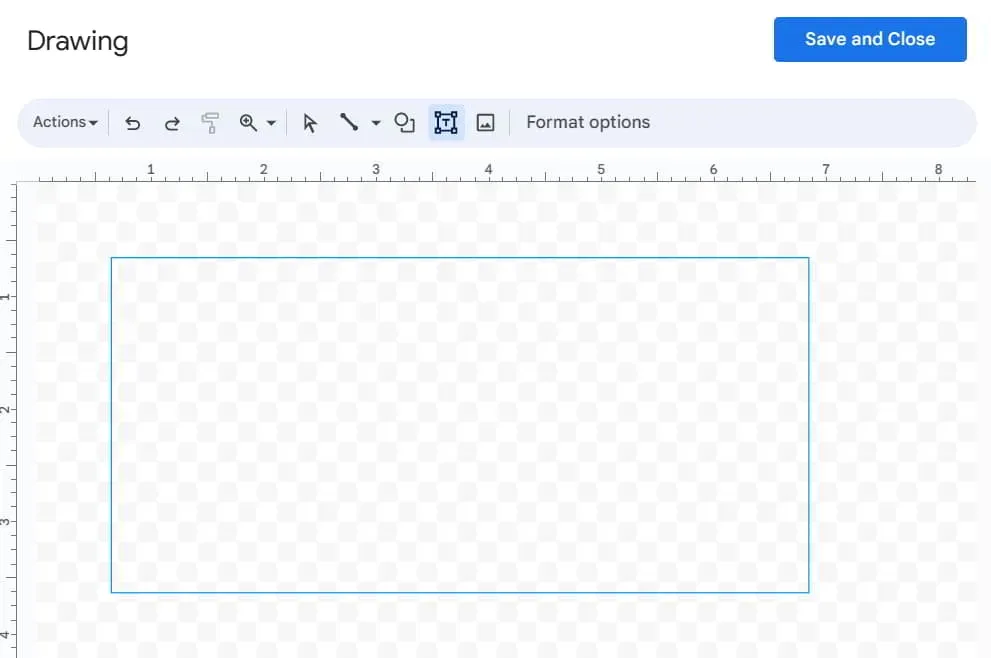
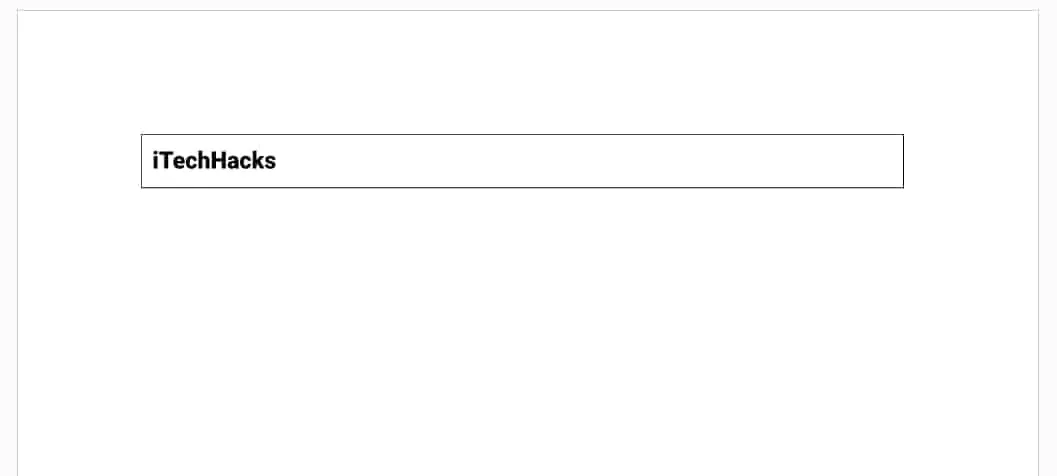
- The text box will now show up on the screen.
- You must type the desired text into it.
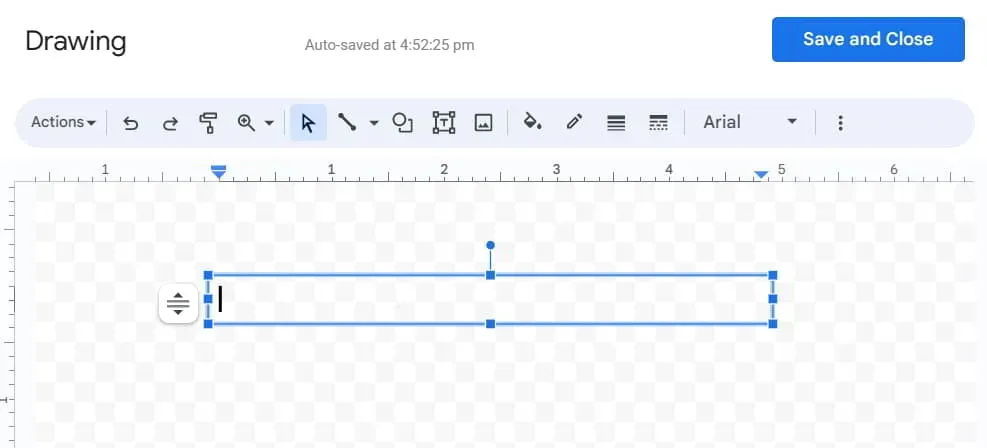
- After that, to add the text to the document, click Save and Close.

- The text box will be put where you can see the document.
For Shapes
- Launch Google Documents first.
- New Document Creation.
- Now select Insert from the menu.
- Put the pointer over the Drawing selection.
 A new window will open on your screen.
- The icon with a circle and rectangle must now be clicked. Look at the picture below.
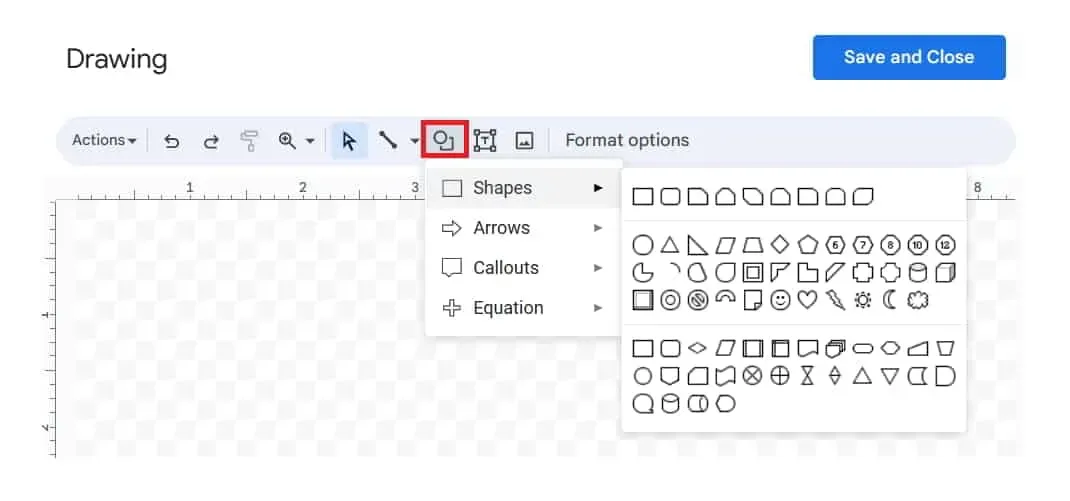
- Choose the shape according on your requirements.
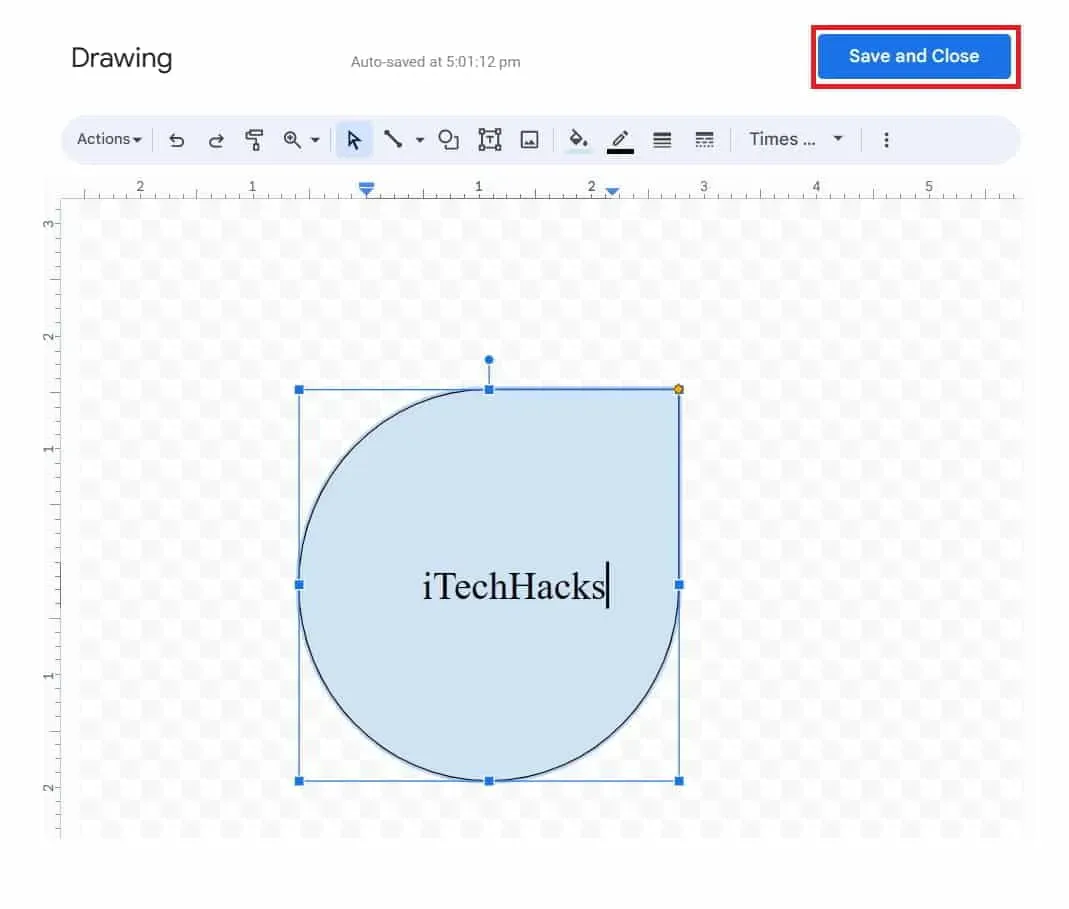
- Drag to create the height and width that you desire.
- Double-click the shape to add the text after that.
- Once the text has been added, select Save and Close.
- Now look for the text box and the shape preview in the document.

Using Google Docs Text Box Customization
With the elements we added to the documents, we are frequently perplexed. A few adjustments must be performed in accordance with the requirements if you want it to look good. Do you know that there are simple steps you may follow to personalize the text box and shapes? If not, take a look at the steps below.
- You need to open the document first.
- Choose the Shape or Text Box you added to the documents.
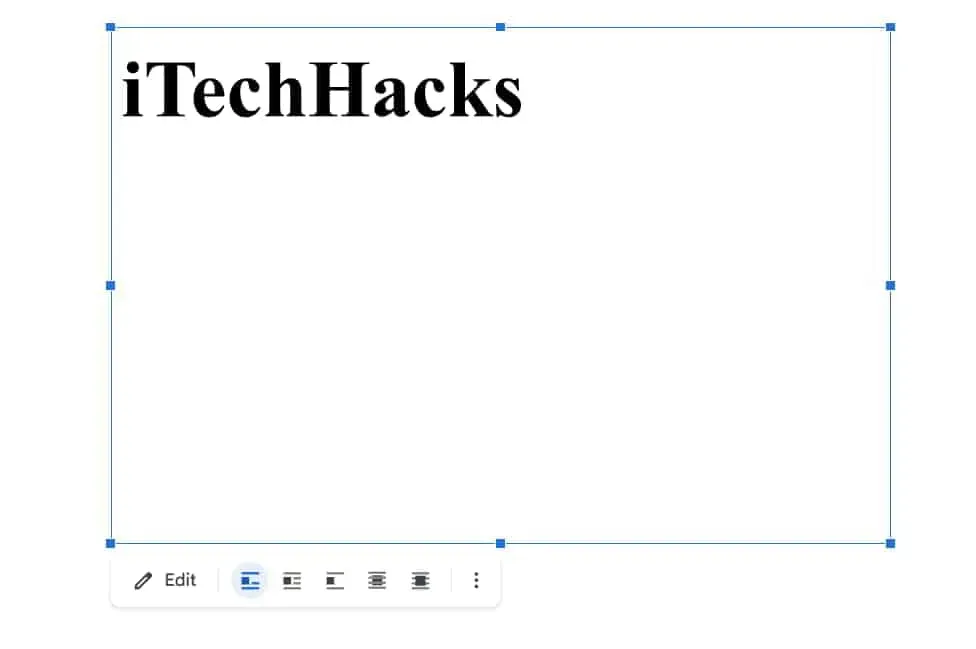
- Choose Edit from the menu.
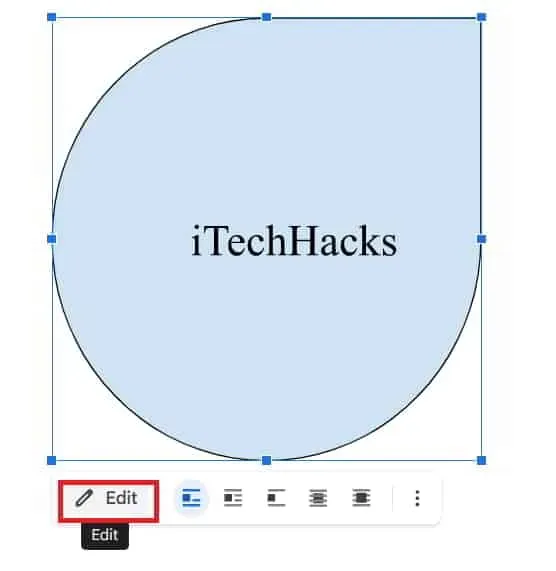
- The screen will open with the same Drawing window.
- You can adjust things to suit your needs. I’m done now.
Text Box Removal in Google Docs
The Text Box and Shapes from the document you uploaded to the documents may need to be removed. Many users believe that the process will be difficult to complete. But do not fret. The ways to delete the Text Box in Google Documents are provided below.
- You need to open the document first.
- Choose the Shape or Text Box you added to the document.
- To delete it from the document, use Delete or Backspace.
Conclusion
Many users are perplexed about how to add text boxes and shapes to Google Docs. We have shown how to add and customize them to the document in this guide. If you no longer require them, you can also get rid of them using the methods described above.
Leave a Reply