A physical security key is your best ally to protect your Apple ID
An Apple ID is the most important account if you have an Apple device. To better protect it, the most effective method currently is a physical security key. Here’s how to use it.
Whether you have an iPhone, iPad, or Mac, your Apple ID is one of your most important digital accounts. If hacked, attackers can access your iCloud information, see your location, or even steal your devices. Keeping your Apple ID is critical. While two-factor authentication (2FA) was Apple’s preferred method for doing this, starting with iOS 16.3 you can use a physical security key to lock your Apple ID account as needed. It is currently the safest.
What are security keys?
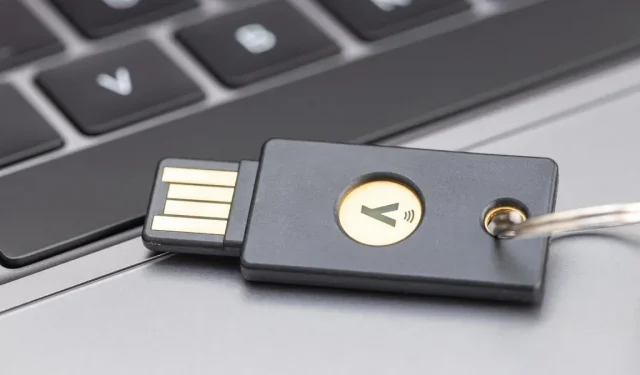
Security keys have been around for a long time. These are small accessories, much like USB keys, that allow you to be authenticated when you sign in to an account or device. Once set up, you can use it as an alternative to two-factor authentication. Instead of relying on an SMS code or an authenticator app to verify your identity, plug in a security key and you’re done.
The benefits are clear: if someone wants to log into your account, they must have your physical security key with them. Keep this key with you and you will significantly reduce the risks.
However, theft is always possible. Therefore, experts recommend combining the security key with a second form of authentication, such as a password or PIN. That way, if someone steals your key, they still won’t have access to your account without that second element.
How security keys work with Apple ID
Until now, Apple ID 2FA sent a six-digit code to a trusted device when you tried to sign in to your Apple ID. Instead of using this code, you can now connect a security key to your iPhone, iPad or Mac for authentication – after entering the correct passcode. Apple has added security key compatibility with iOS 16.3 for iPhone, iPadOS 16.3 for iPad, and macOS Ventura 13.2 for Mac.
Apple is Apple, there are several features. First, you must always have two FIDO-certified security keys if you want to use this feature, because Apple doesn’t want you to be locked out of your account if you lose one. There are also restrictions on the devices and services you can use these keys with. Can’t use it to sign in to iCloud for Windows; on a non-entitlement device on iOS and iPadOS 16.3 or later or macOS Ventura 13.2 or later; on a child account and managed Apple IDs; and on an Apple Watch paired with a family member’s iPhone.
As you can imagine, you must keep two-factor authentication enabled, but also use a “modern web browser”. To connect to your Apple Watch, Apple TV, or HomePod after setting up the feature, you’ll also need a compatible iPhone.
If any FIDO certified dongle should work, Apple offers a list of accessories:
- YubiKey 5C NFC (with most Macs and iPhones)
- YubiKey 5Ci (with most Macs and iPhones)
- FEITAN ePass K9 NFC USB-A (with older Macs and most iPhones)
Also pay attention to the key connector. NFC keys, for example, work wirelessly with all iPhones. USB-C dongles work best with newer Macs and iPads, but iPhones and older iPads will require a Lightning dongle to connect directly; otherwise you will need an adapter. This is probably why Apple recommends the YubiKey 5C NFC in the first place, as its NFC connectivity and USB-C port allow it to connect to most devices.
How to set up security keys for your Apple ID
Before you set up your keys, remember that once you have two keys added to your Apple ID, you will always need to have one with you to sign in, reset your password, unlock your Apple ID, or manage your keys.
If you want to set up keys for your iPhone or iPad, make sure you’re running at least iOS 16.3 or iPadOS 16.3. Then go to Settings > Password & Security, then click Add Security Keys. Your device should guide you step by step. Finally, choose which devices associated with your account will remain active and which ones you want to remove from your Apple ID.
On a Mac, make sure you’re using macOS Ventura 13.2 or later, then go to System Preferences > [your name] > Password & Security. Click “Add”next to “Security Keys”and follow Apple’s instructions. Again, bypass devices tied to your Apple ID.
How to remove security keys from your Apple ID
If you no longer want to use security keys, it’s easy to remove them. On your iPhone or iPad, go to Settings > Password & Security, then tap Security Keys. On a Mac, go to System Preferences > [your name] > Password & Security and select Security Keys. Then select Remove all security keys. After that, you will return to the 2FA system and you will need to enter the six-digit code provided when you want to sign in to your Apple ID on a new device.
Leave a Reply