11 Best Solutions When Windows Won’t Shut Down

Have you noticed that after a recent Windows 10 update, your laptop refuses to shut down or go to sleep? Several people claim to have pressed the off button.
It was locked in a close window with a spinning circle for a time, and a couple of other people have the display and everything goes blank, but the windows won’t close, and the only way to force close the windows is to press down the power button.

However, several potential causes of this problem are; the hybrid shutdown feature is the most common Windows 10 delayed shutdown (also known as fast startup) trigger.
Similarly, a wrong power setting or any background program can prevent Windows 10 from completely shutting down. But anyway, here are a few ways to help you fix startup and shutdown problems, for example, Windows 10 won’t shut down or go to sleep..
Windows 10 freezes on shutdown – possible causes
Sometimes Windows 10 can stubbornly shut down. You may have an unsaved file or software running that you forgot about. Here you can find most of the typical problems that keep your laptop from shutting down:
- If you have the Quick Launch option enabled on your device, you may have trouble closing it. To fix this problem, go to system settings and disable fast startup.
- Windows Update is not currently available. You may have a new update installed on your device and it is stuck during the installation process. Because of this, you will not be able to turn off the computer.
- background applications. If you do not close some applications, you may not be able to close your version of Windows. Exit the program and try again in this situation.
- Windows system files. You may not be able to shut down Windows 10 if any of your files are corrupted or missing.
Please see the next section for more help if your Windows 10 won’t turn off.
How to fix Windows won’t turn off.
There are many reasons why Windows 10 won’t turn off. Find out how to resolve this issue so you can continue working in the future. One of these solutions might work for you.
- Force shutdown
- Run the power troubleshooter
- Disable fast startup
- Setting in the Intel Management Engine Interface
- Update Windows 10 to the latest version
- Run System File Checker
- Reset the default meal plan
- Update the IMEI driver
- Configuring Windows Update Delivery Optimization
- Perform a System Restore
- Removing/Installing the Battery Driver (Notebooks Only)
1. Forced shutdown
Try to force shutdown the laptop first by running diagnostics. To do this, follow these steps:
- Hold down the start button on your computer until the display goes dark to turn it off.

- Disconnect the power cord from the laptop. Disconnect all cells from the lid of your laptop or from the computer itself if you are using one. Before connecting the gadget to power, be sure to wait 5 minutes.
- Restart your laptop and see if you can turn it off from Windows 10. Check if the issue has been resolved by turning the power on and off.

2. Run the power troubleshooter
To save energy, use the built-in Power Repair program, which detects and fixes problems with your computer’s power settings.
- Select by pressing the keyboard shortcut Windows + I.
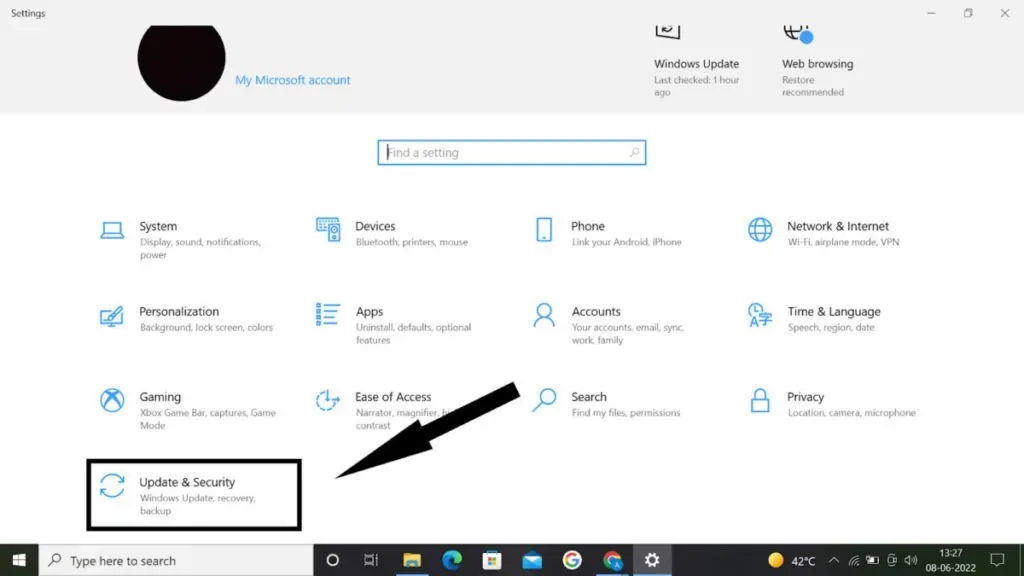
- Then, under Update & Security, select Troubleshoot.

- Select “Power”from the central panel and run the troubleshooter as shown in the image below.
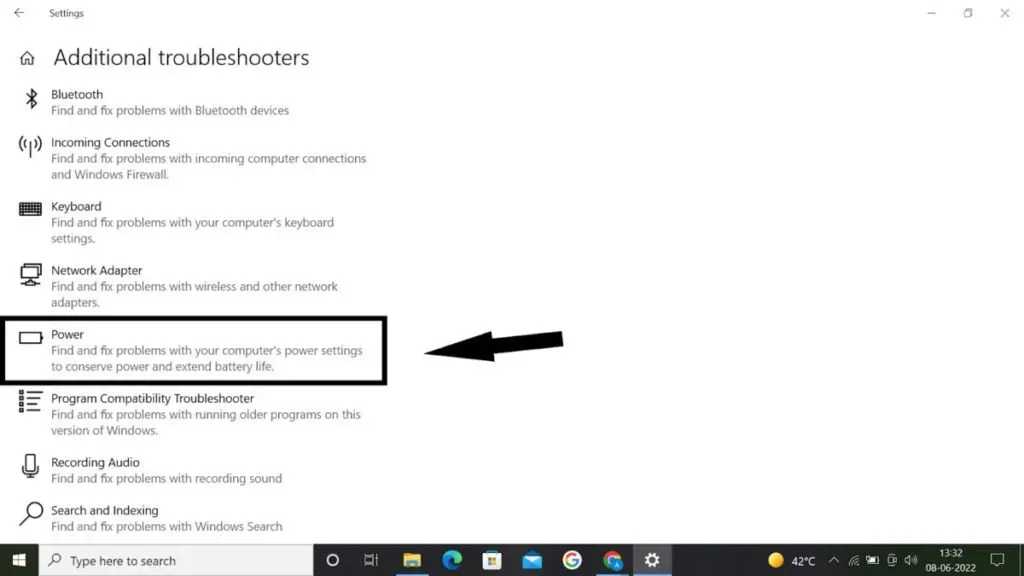
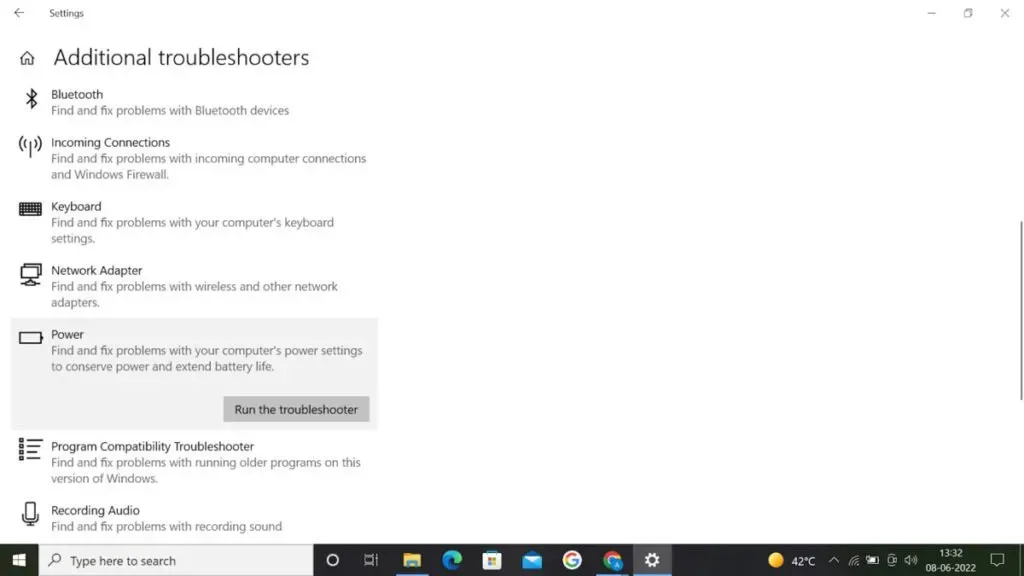
- This will check and fix any power configuration issues that are preventing Windows 10 from shutting down properly.
Also run the Windows Update Troubleshooter, which will detect and fix any unresolved update errors that are preventing Windows from shutting down efficiently. After that, restart your computer to see if the changes have taken effect and see if the issue is resolved.
3. Disable Fast Startup
Windows 8 was the first to use the Fast Startup feature. Now it is one of the most important features of Microsoft Windows, helping the operating system to boot faster.
However, this excellent feature can cause some older Windows PCs to have a shutdown issue. So, if you are having trouble shutting down your PC in Windows 10 or 8.1, temporarily disable the Fast Startup feature.
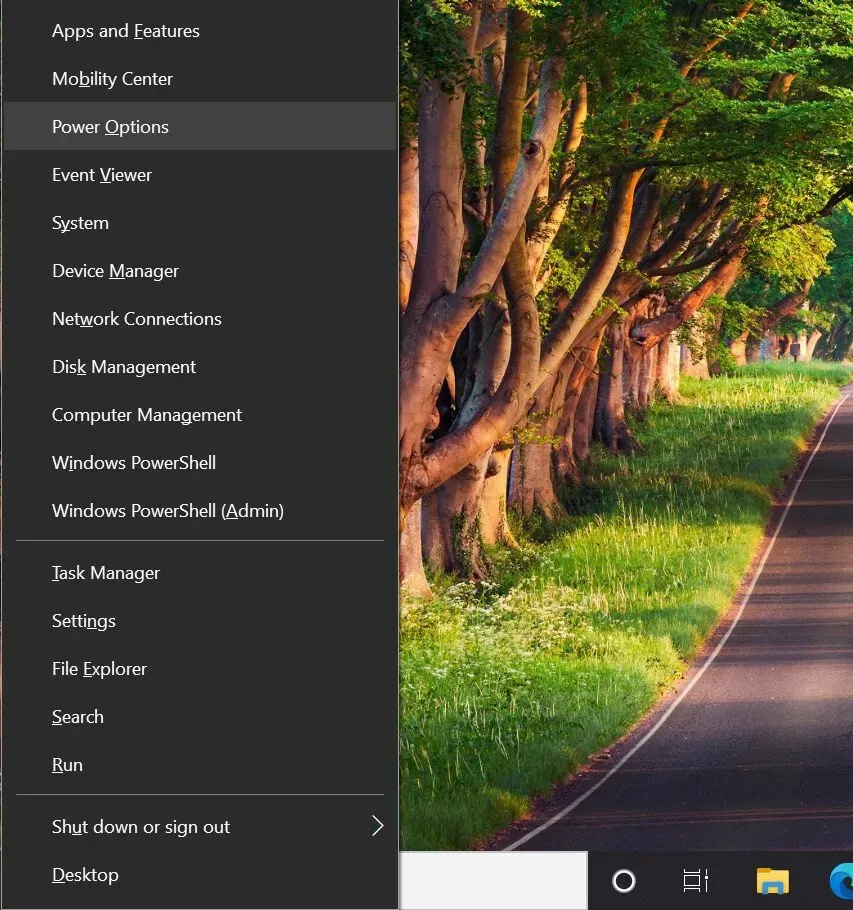
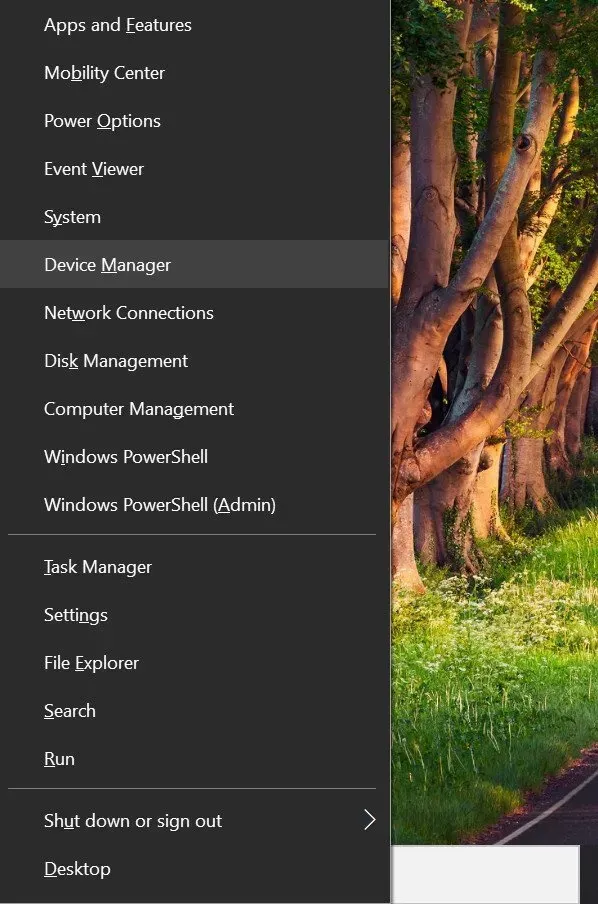
- Press Windows + X on your keyboard, select Power Options, then Advanced Power Options.
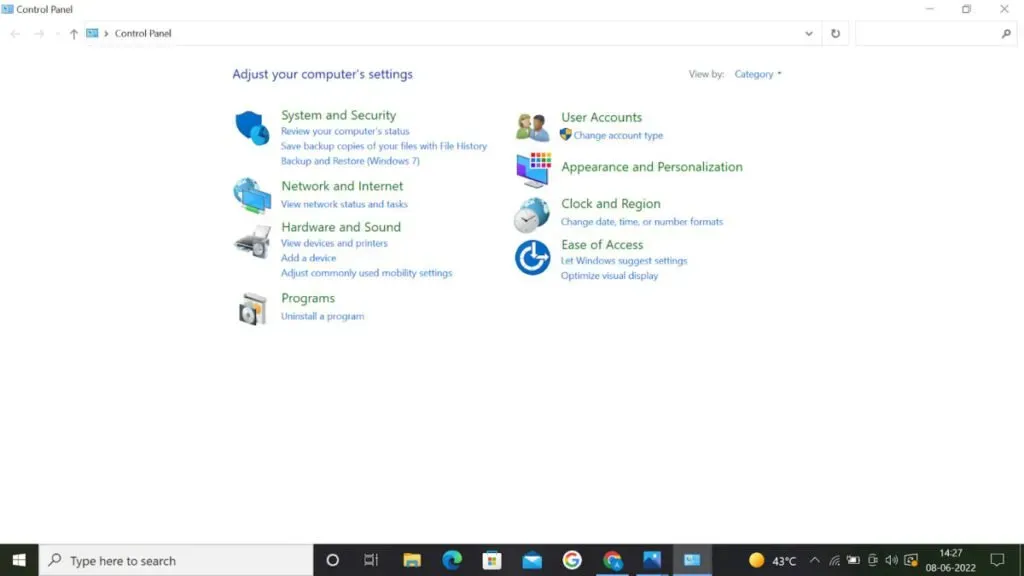
However, if you don’t see anything, go to Control Panel System and Security Options.
- Choose how the power buttons now work by clicking on them.
- Then, if any settings are not available, click Change Settings.
- Uncheck “Turn on fast startup”now (recommended).
- Restart your computer after saving changes.
- Check if the problem with incorrect shutdown of Windows is resolved.
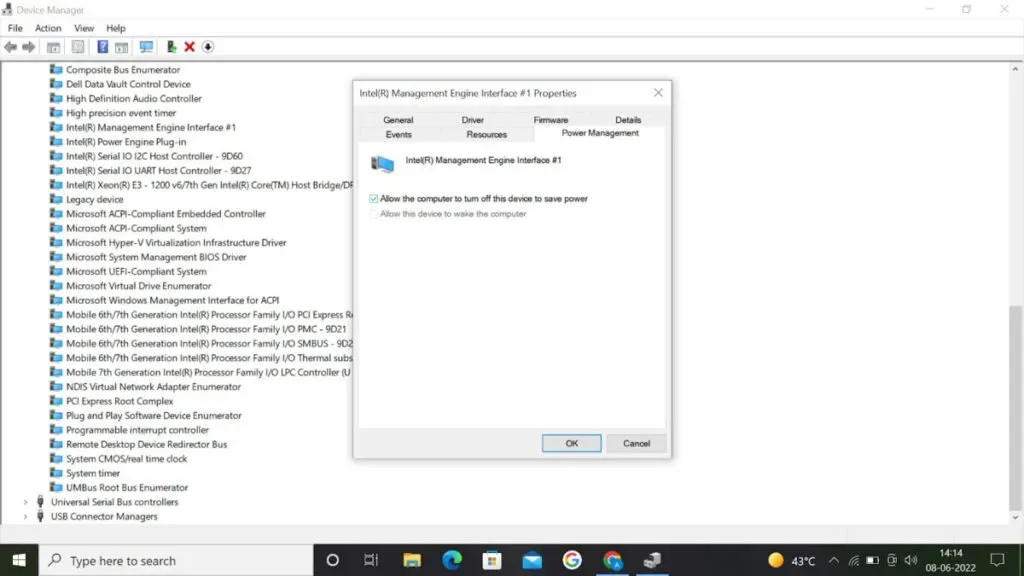
4. Setting in the Intel Management Engine interface.
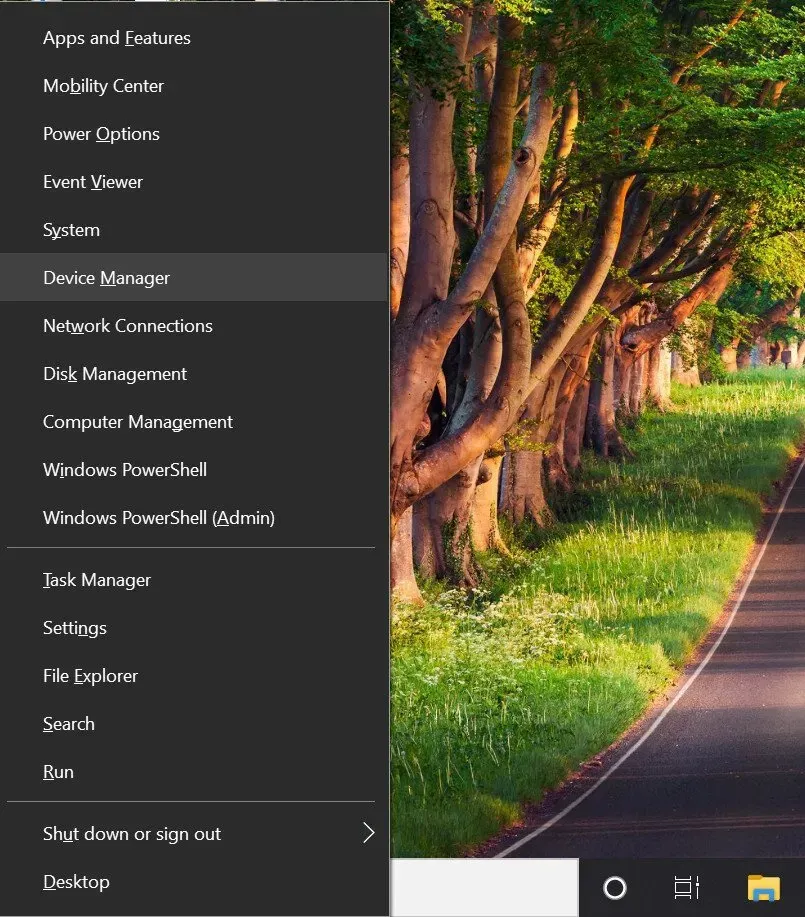
- Open Jump List and select Device Manager by pressing Win + X on your keyboard.
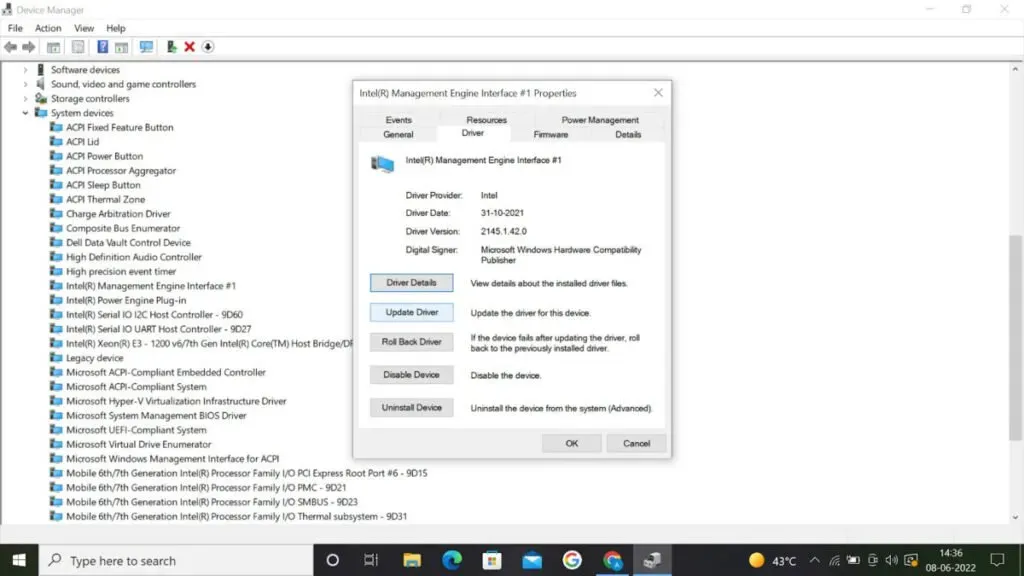
- Open the “System Devices”category, then go to “Intel Management Engine Interface”and click it while holding down the “Ctrl”key.


- If there is such a tab, then the Power Management item should be selected (if there is such a tab).
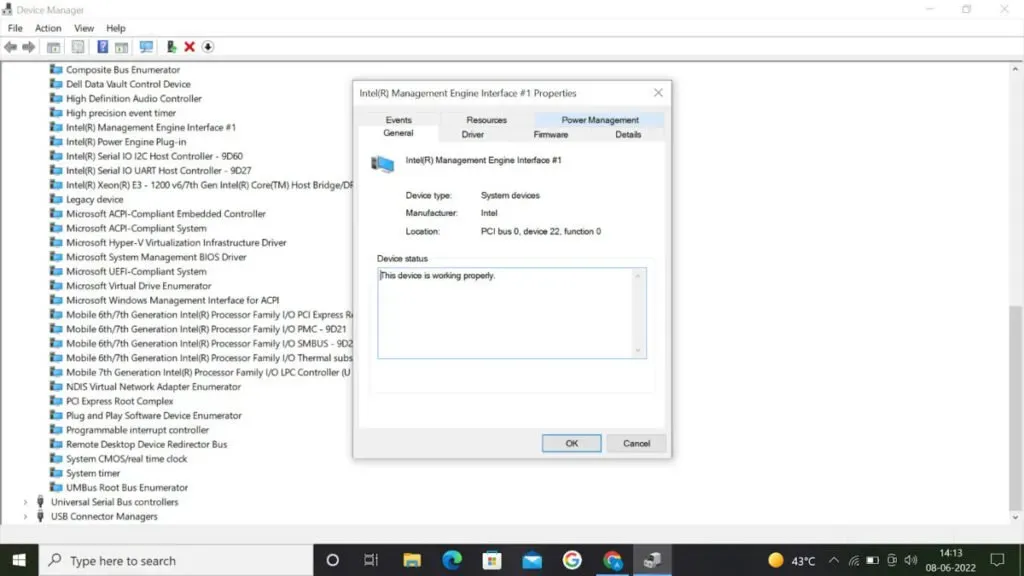
- To save power, clear the Allow the system to turn off this hardware check box.
5. Update Windows 10 to the latest version.
Many fundamental problems, such as non-working shutdown, can be resolved by updating the computer system. Install the most recent Windows update and check if the issue is still there.
- To access the Start menu, tap the Windows logo in the lower left corner of the panel OR press the Windows + I keyboard shortcut to go to Settings.

- Select the Update & Security tile from the drop-down menu. This is where you’ll find most of the Windows Update options and the ability to choose when you’d like to receive updates.
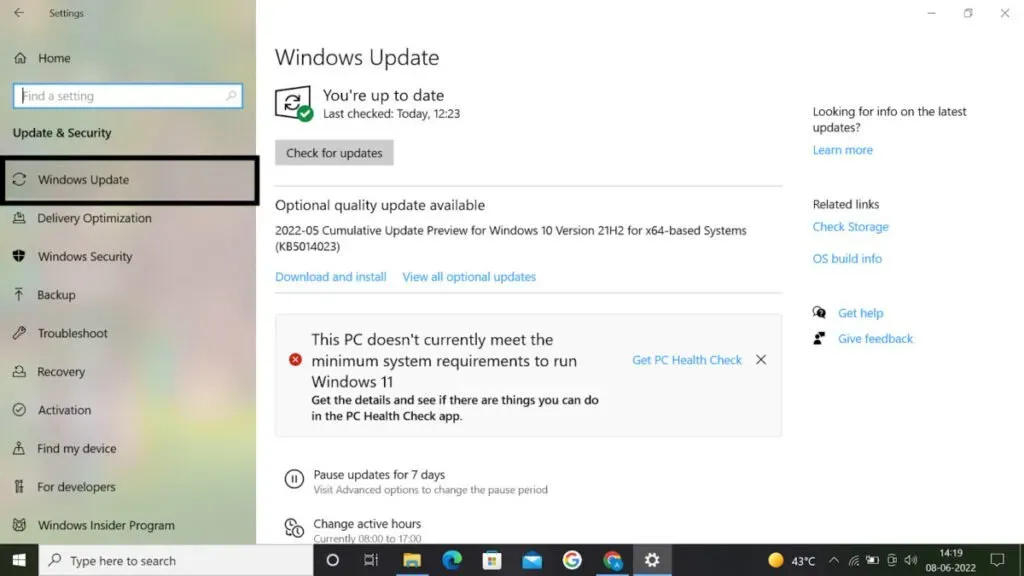
- Leave the standard Windows Update tab selected. Select “Find updates”and wait while Windows finds all new updates. Select View all optional updates to view and download available updates.
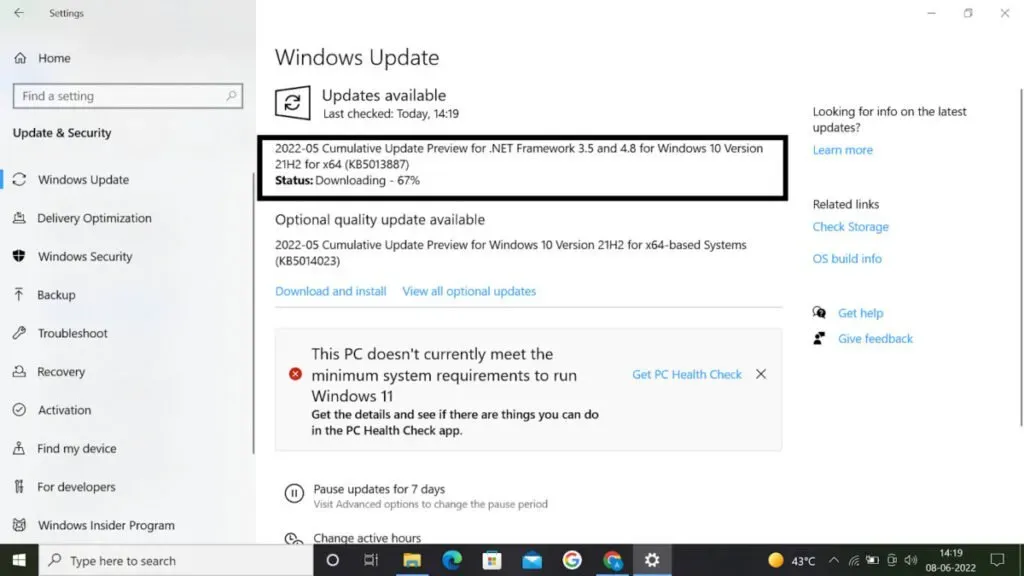
- Select the Install option as soon as Windows detects a significant update. Wait for Windows to finish downloading and installing updates.
6. Run the System File Checker.
System files that have been corrupted can create serious problems with your computer system, even when turned off. SFC (System File Checker) is a created utility in Windows 10 that can help in diagnosing. It can find and fix corrupted files.
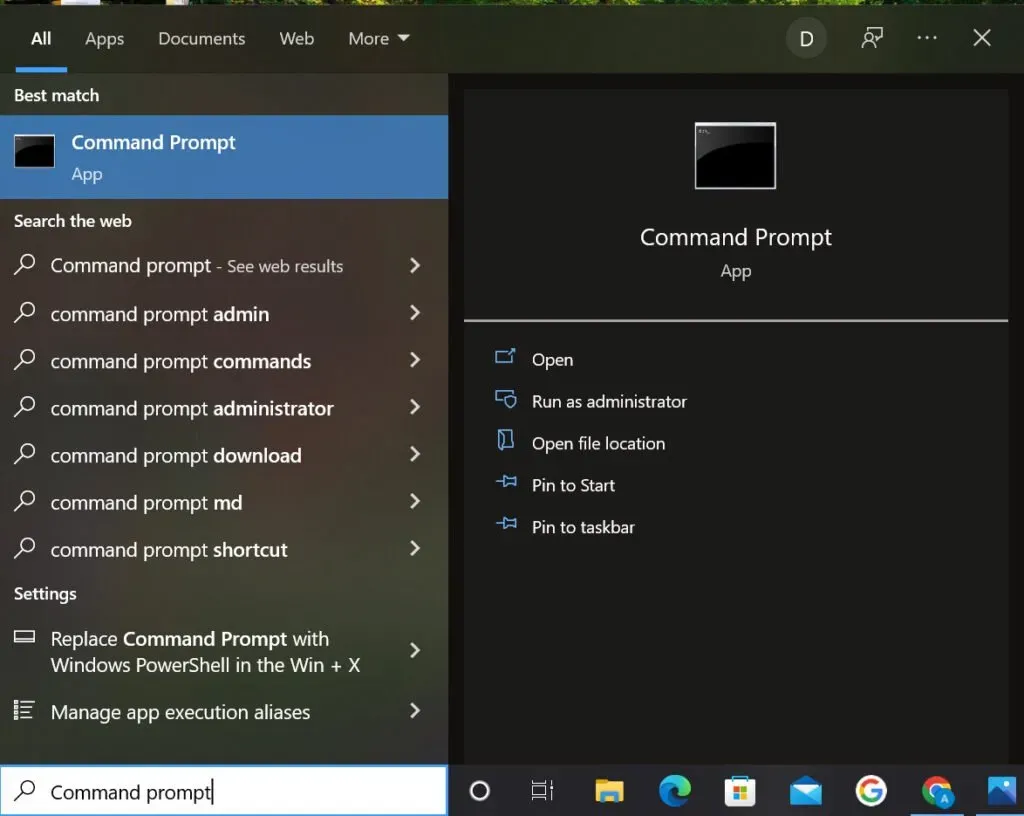
- By clicking on the magnifying glass icon on the toolbar, you can access the search bar. You can also use the keyboard shortcut Windows + S to access it.
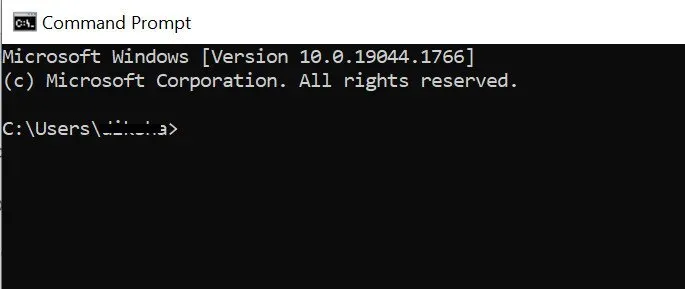
- Search for “Command Prompt”in the search bar. Ctrl-click on it in the outputs and select “Run as administrator”.
- Allow the application, for starters, administrator rights when prompted by User Account Control (UAC).
- To run the function, put it in the box below and press Enter: scannow
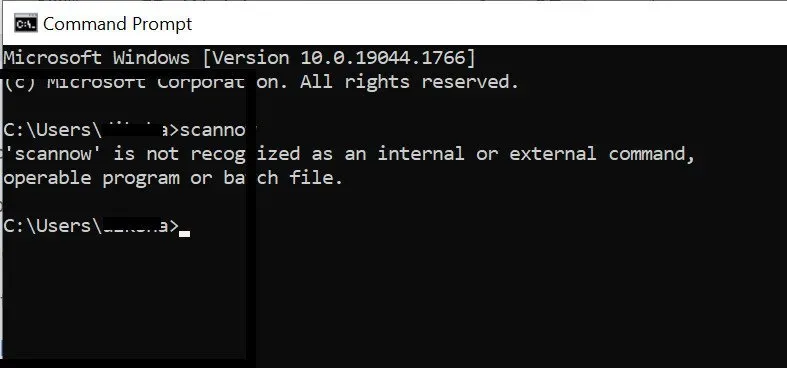
- Turn on System File Checker to complete your system check. In case of a mismatch, the program will restore system files and fix any problems that may have arisen.
7. Reset the default meal plan
The reason for this issue could be your power plan settings, so let’s restore them to their defaults by following the steps below, which should help resolve the issue.
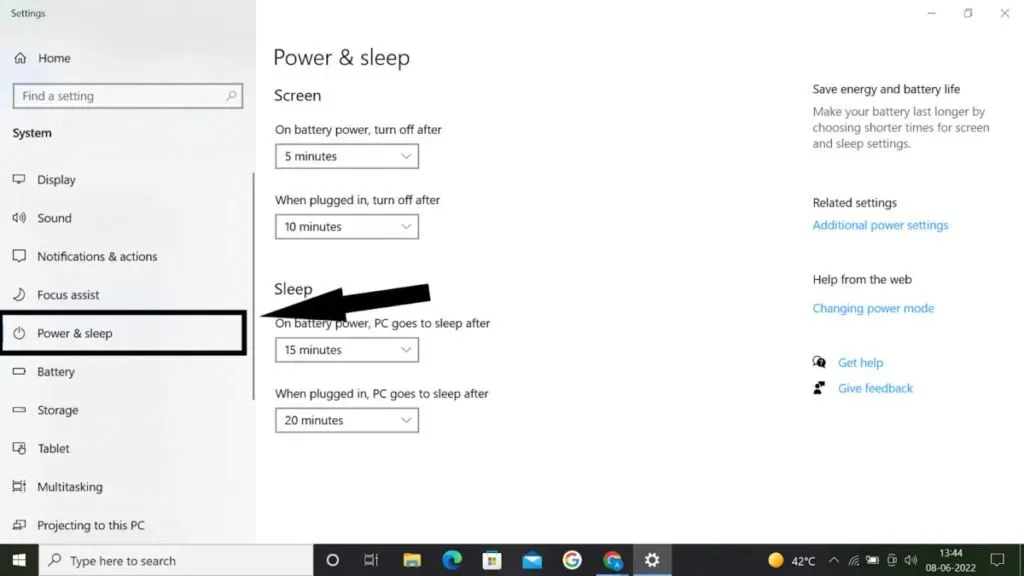
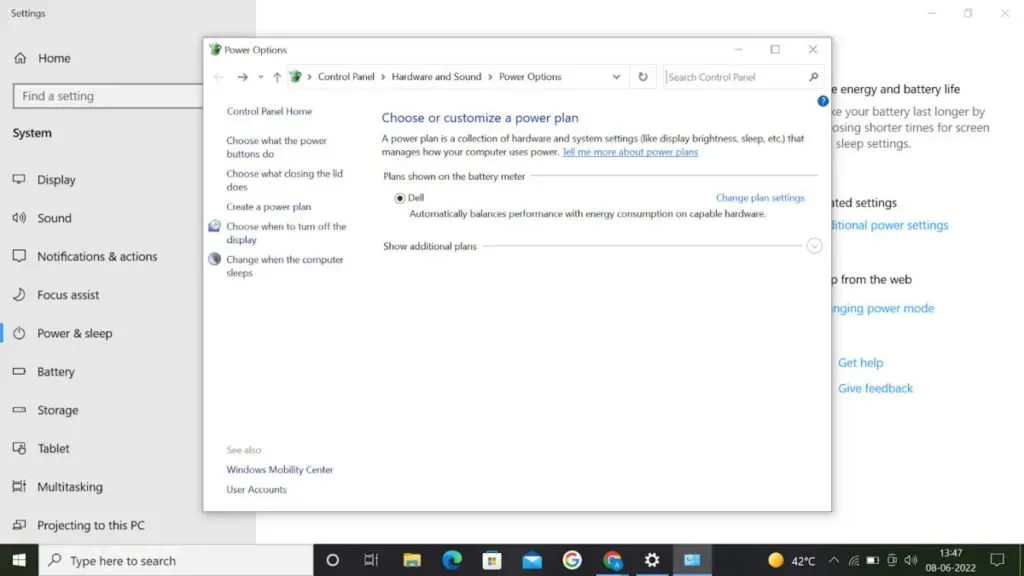
- Go to the power options in the control panel.
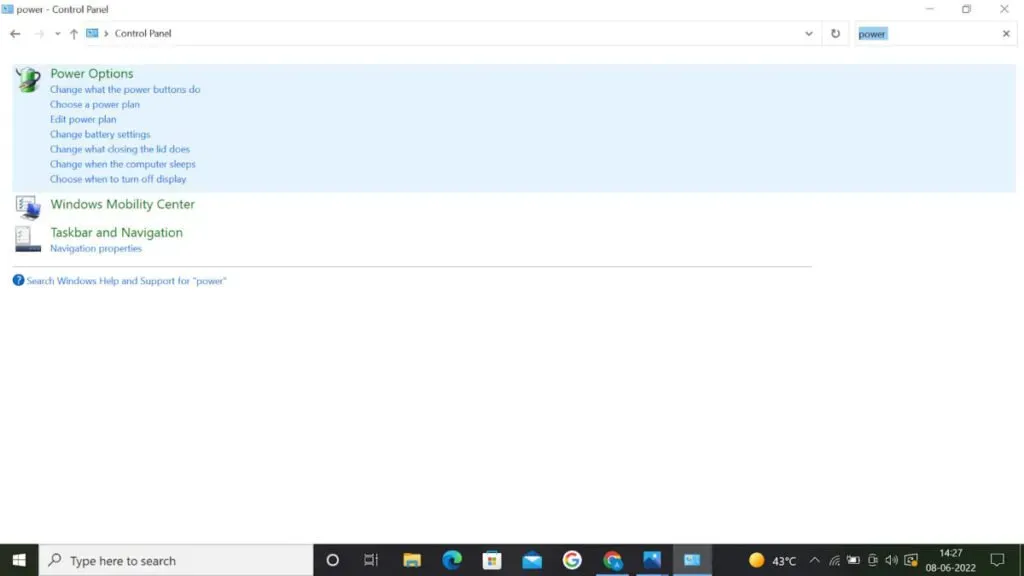
- Locate an existing power plan and select Edit Plan Configurations from the drop-down menu.
- After that, select “Change advanced power settings”.

- Selecting “Restore Plan Defaults”will appear in a new tab; choose it.
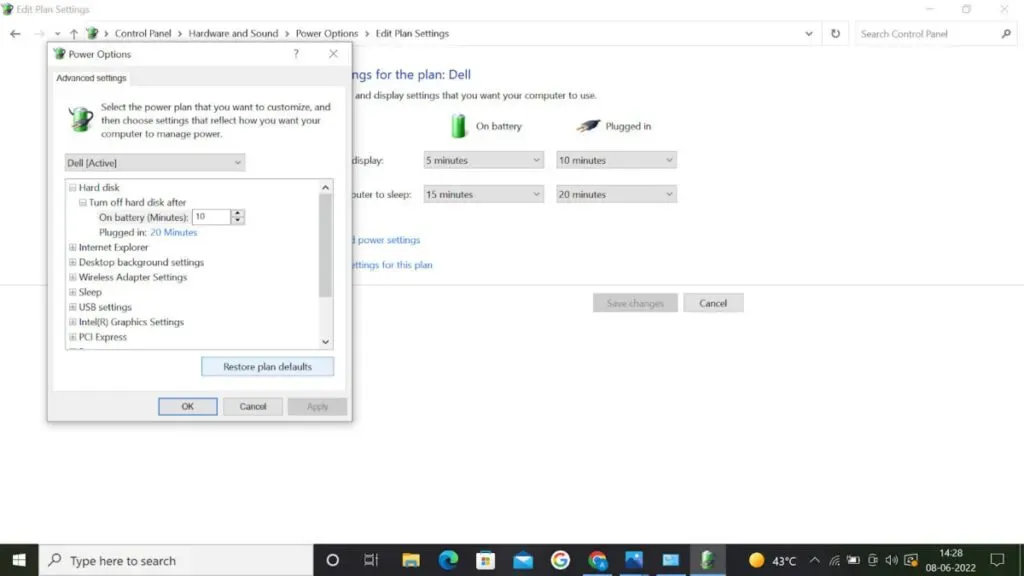
- To save changes, click Apply and OK.
8. Update IMEI driver
- Launch Device Manager. Expand the entry for system devices.
- Navigate to the Intel Management Engine interface and click it while holding down the Ctrl key.

- Click the Intel Management Engine Interface Driver tab.
- To update the driver, select the Update Driver icon.
- If you received the driver file from the company’s website, you can select Search my computer for driver software.
Follow the on-screen instructions to update the IMEI driver to the latest version available for Windows 10.
9. Configure Windows Update Delivery Optimization
The Peer-to-Peer (P2P) update mechanism in Windows 10 is controversial among consumers. On paper, he’s trying to make computer upgrades easier. However, it often uses significant bandwidth and slows down your system. Luckily, you can turn it off.
- To access the Start menu, click the Windows icon in the lower left corner of the panel. You can use the keyboard shortcut Windows + I to navigate to settings.
- Select the Update & Security tile from the drop-down menu. Most of the Windows Update settings can be found here.

- Make sure Allow downloads from multiple other devices is turned off on the Delivery Optimization page.
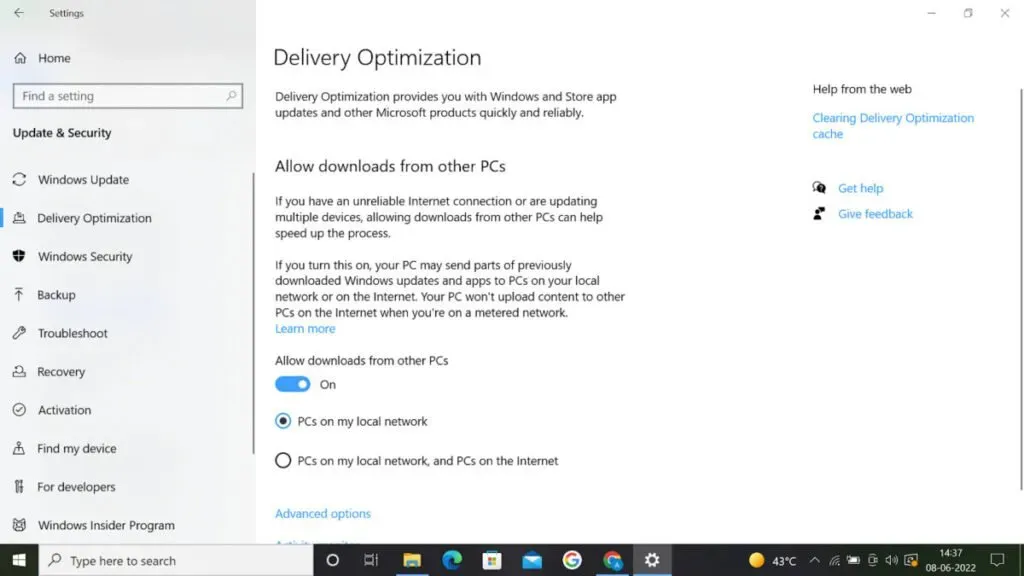
- You will not be able to send or receive updates from other devices after this feature is disabled. Now you can turn off your computer.
10. Perform a System Restore
Before the shutdown problem, your computer may have saved a recovery key. In this situation, you will be able to restore the previous state of your device. This may fix the issue by returning before the system error occurred.
- By clicking on the magnifying glass logo on the toolbar, you can access the search bar. You can also use the keyboard shortcut Windows + S to open it.
- On the result pages, type “System Restore”and select “Restore”. In the Best Match subcategory, this should be at the top.
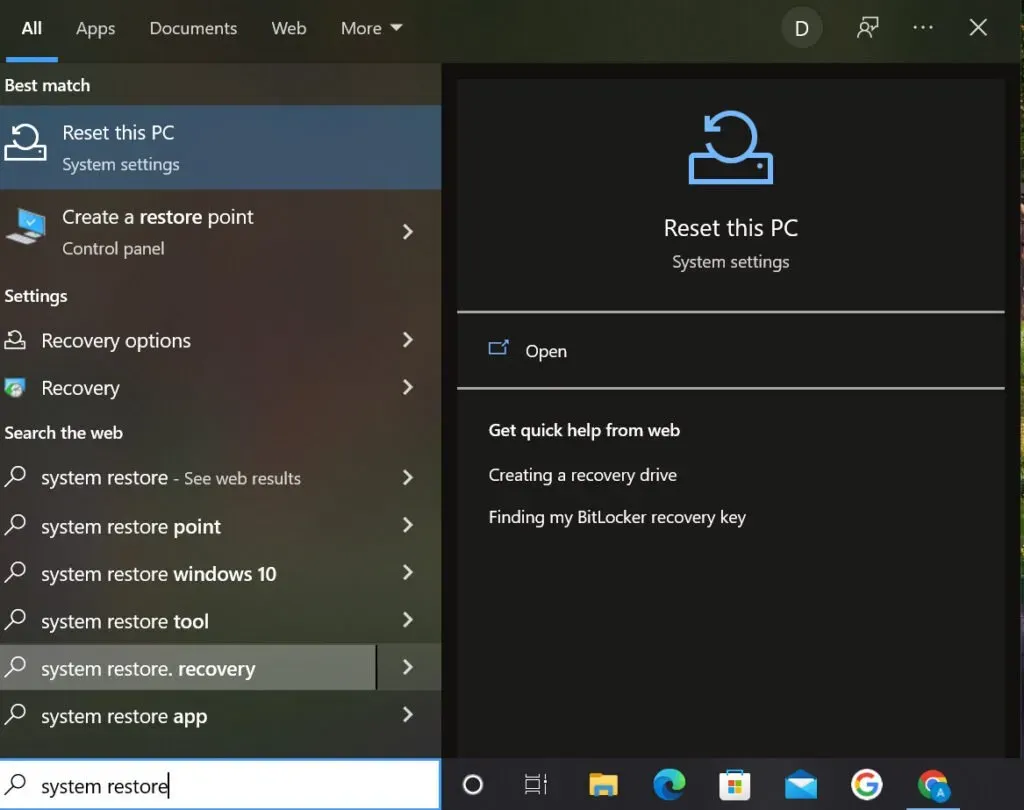
- It will open the control panel for you. Locate the Open System Restore option in the Advanced Recovery Tools area and select it.

- To return to a previous point in time, accept the instructions on the screen. If Windows 10 offers a choice, you can choose your own restore point or use the suggested one. Don’t forget to double check, it may affect files and programs!
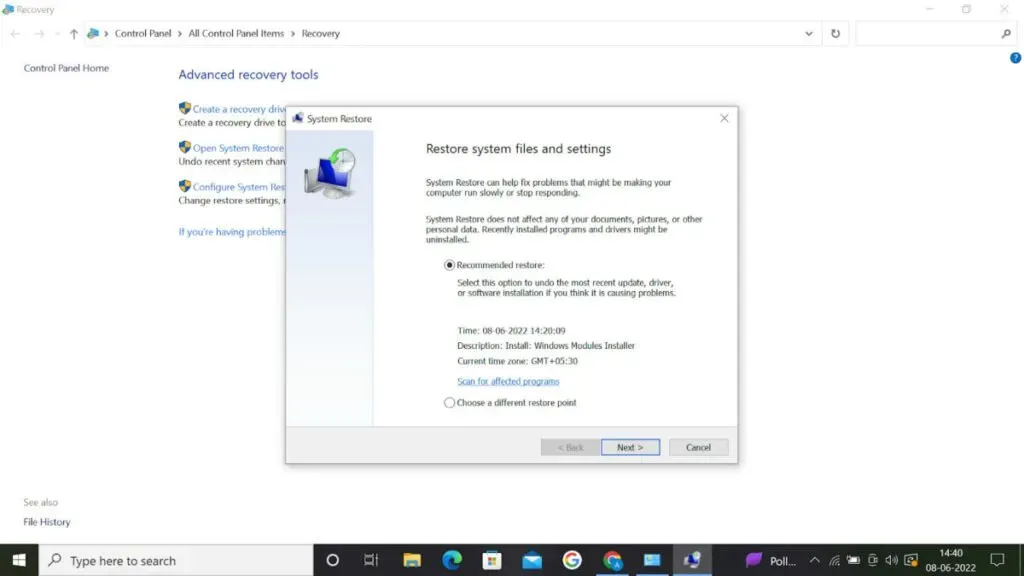
- After choosing the options you want, click “Finish”and wait while Windows 10 restores your laptop.
See if you can turn off your computer after the restore process is complete.
11. Remove/Install Battery Driver (Laptop only)
If you’re having this issue on a Windows 10 laptop, removing and reinstalling the battery will most likely fix the issue.
- First of all, unplug the power cord from the laptop and turn it off.
- Replace the battery now (if it’s fixed, there’s no need to remove it)
- Connect the power cable and restart your computer.
- Select Device Manager by pressing Windows Key + X on your keyboard.
- Click Batteries, then CTRL-click Microsoft ACPI Compliant System and choose Uninstall from the menu.
- Turn off the device and unplug the power cord.
- Then connect your cell phone. Plug in the power cord and restart your computer so that the driver installs automatically.
Final Thoughts
If none of these options worked and “Windows 10 won’t shut down or go to sleep”, your best bet is to use a system restore tool that brings Windows back to its previous working state.
And, according to most users, System Restore helps fix Windows 10 startup and shutdown issues.
FAQ
Why is my Windows shutting down?
If your Windows 10 PC turns off unexpectedly, the first thing you should do is check if it is getting hot. Broken or inefficient fans, poor ventilation, dust, and insufficient power can contribute to excessive heat.
Why can Windows suddenly shut down?
If Windows suddenly restarts or shuts down, the problem is likely with the power supply, so double check that everything is connected properly.
What to do if your computer freezes on shutdown?
Some apps and programs such as the Google Chrome browser may continue to run in the background causing the Windows 10 shutdown blocking issue that prevents the machine from completely shutting down.
Why won’t my computer turn off?
If your laptop refuses to turn off, press the power button and turn off the power. Then use the power troubleshooter to disable fast startup. Your graphics drivers should also be uninstalled and reinstalled.
Leave a Reply