Dinkum: how to install mods
Dinkum is a recently released indie game from developer James Bandon. It’s a mix of several gameplay elements including Animal Crossing New Horizons, Star Valley, Minecraft, and more. You can download and install many mods in this farm simulation game. So, here is our guide on how to download and install Dinkum mods.
How to download and install mods in Dinkum
Before you start modding, you need to back up your saved files. You can find the saved files directory like this: AppData\LocalLow\James Bendon.
- Since you’ve saved the backup file, you’ll need one important addition. This is a supported code injector.
- Although the developers have stated that they are interested in built-in mod support, for now we have to rely on code injectors.
- You need to download BepInEx 6 (link) to install several mods in Dinkum.
- You need to extract these files where Dinkum.exe is located. The default file directory for this is: Program Files (x86)\Steam\steamapps\common\Dinkum.
- Extract all files from the folder and go to nexusmods (link) to download different mods. This is one of the best sources for downloading mods.
- One of the available mods includes a value tooltip, auto-selection, and more.
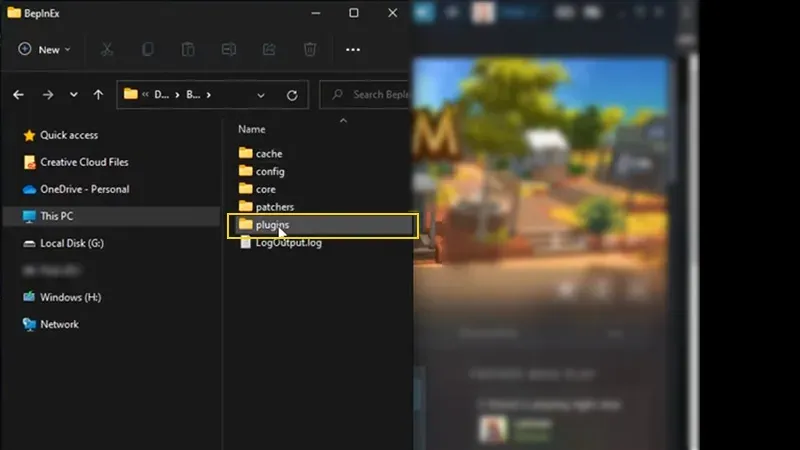
- After downloading the required mod, extract the mod files to the “Plugins”folder inside the BepInEx 6 folder.
- Then launch the game to check if the mod works or not.
- You can remove applied mods by simply deleting pasted mod files in the Plugins folder.
That’s all, how to download and install mods in Dinkum.
Leave a Reply