Fixed: Installed driver not verified. Error in Windows
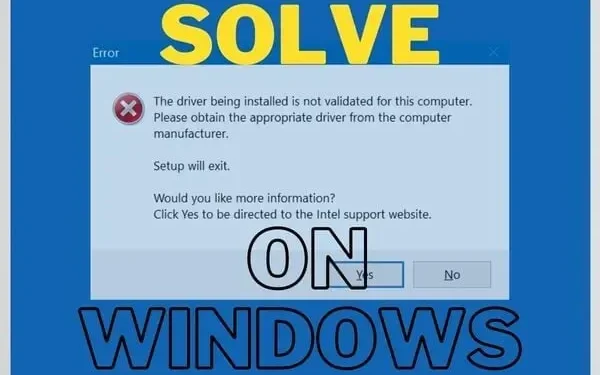
Did you try to install the intel driver and it showed you that the driver being installed is not a verified error message? This mainly appears with users trying to update or install video adapters.
There are no problems with Intel drivers. Your PC manufacturer is preventing you from downloading these drivers. But why? Let’s solve the problem and answer your questions below:
Why is the driver not verified for installation by the laptop manufacturer?
There are many manufacturers such as Dell, HP, etc. that release driver software. You may receive an error message because this is not the correct driver for your system.
This may be related to the GPU, motherboard, or system software. That’s why the company tries to protect you from harm.
An unmodified and raw version of Intel drivers can do more harm than good. Unfortunately, we sometimes have to update drivers because companies take too long.
They take too long to release their version. In this case, we can use the option below.
But remember: don’t force the update if you’re using Nvidia or AMD GPUs. Along with Intel graphics hardware, they may malfunction. So be careful with this.
How to install Intel graphics drivers and bypass the computer manufacturer’s warning?
To do this, you can log into the PC as an administrator, but this may not be necessary. Follow this step by step guide to update Intel Graphics. This will help fix the “Driver installation not verified”error in Windows OS.
- First, visit the Intel official website to download the graphics driver.
- Don’t download the version. exe. Download the zip file.
- Once you download the file, run it. Be sure to extract all content.
- Make a note of the directory where you extract it. You can also select a custom directory. This will be important later.
- Now click on the start menu button. Use the search bar and type: Device Manager. Select it to launch.
- You can also press Windows + R to launch the startup utility. Type devmgmt.msc and press Shift + Enter.
- Locate the Display adapters section in the list of available options. Click the “>”button on the left to expand the list.
- Select the Intel Graphics driver you have in the list. It can be Intel(R) UHD Graphics or Intel(R) HD Graphics. Right-click it and select Update Driver.
- You can also do this by clicking Properties > Driver Tab Selection in the Properties window > clicking the Update Driver button.
- Both options will take you to a new window. It will ask you to perform an automatic driver search. This option may result in a “driver being installed not verified”error. But it might be worth a try.
- If that doesn’t work, repeat the steps and select: Search my computer for driver software.
- Now you will see the view option. It will have a directory to choose from and more. Do not use this option.
- Click “Let me choose from a list of available drivers on my computer”.
- Select the “Install from disk”option in the lower right corner of the window. Next, a new window will appear. On that, click on the “Browse”option.
- This will take you to the directory where you downloaded the zip file (and unpacked it). Go to the folder and enter the “Graphics”subfolder.
- You will find two file names: igdlh32.inf and igdlh64.inf.
- The file name may change in the future. You must pay attention to. inf at the end of the file.
- If you don’t see. inf at the end of the file, you will have to activate this option in the explorer. We will cover this below.
- Select the 32 option if you have a 32-bit version of Windows. If not, select the option with 64 in the name for 64-bit Windows.
- Once you do this, the new driver will appear in the previous list. Now go ahead and click Next.
- You may need to click OK or wait for an update. After that, the system may ask you to reboot.
How to view filename extensions?
This is if you can’t clearly see the file name. inf to learn about the extension. By following this, you can see them in the update process:
- Open File Explorer
- Click on the “View”option at the top of the window.
- Then go to “Show”at the bottom.
- Select File name extension from the list of options.
- If this hides extensions and file types, repeat the step.
Conclusion
Using Windows updates does not always automatically download Intel drivers. Generally, if you are using GPUs, then the standard Intel drivers will work fine.
But still, we have considered all the options for you. Once you use this step to download the zip version of the package, you don’t need to repeat it.
You can go ahead and use the installer exe to download updates later and fix the driver being installed which is not a verified issue.
Leave a Reply