How to add a frame to iPhone or iPad screenshots
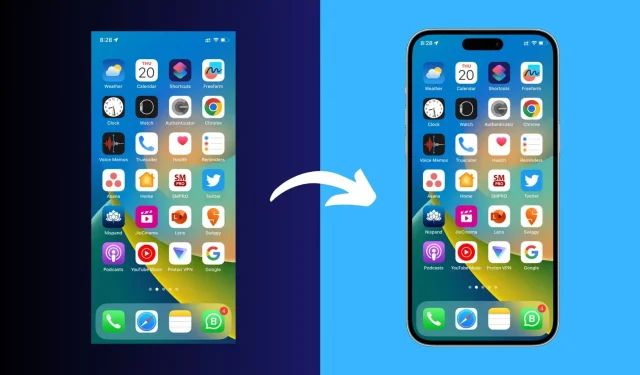
This guide covers some quick and easy ways to add a border around your iPhone or iPad screenshots to give them a more professional look and make them stand out from the crowd.
Whether you’re an App Store developer, a graphic designer, or anyone else, adding an iPhone frame (also called a mockup, template, or frame) to your screenshots is a simple task that can make images look more professional.
There are many ways to do this, one of them is to find an iPhone template on Google and overlay your screenshot on it using Photoshop or a similar program. However, this can be cumbersome and time consuming. So, here are special applications and services that will help solve this problem in an instant.
1. Apple frames
Apple Frames is an iOS shortcut by Federico Viticci that makes it very easy to add the right frame to iPhone, iPad, Mac and Apple Watch screenshots. The shortcut is easy to set up, works well, and is updated frequently.
1) Get Apple Frames iOS shortcut using this iCloud link, or go to macstories.net and add it from there.
2) After you click the shortcut link, click “Customize Shortcut”.
3) Click the blue word Folder, select a folder in the Files app, and click Open. After this hit Next.
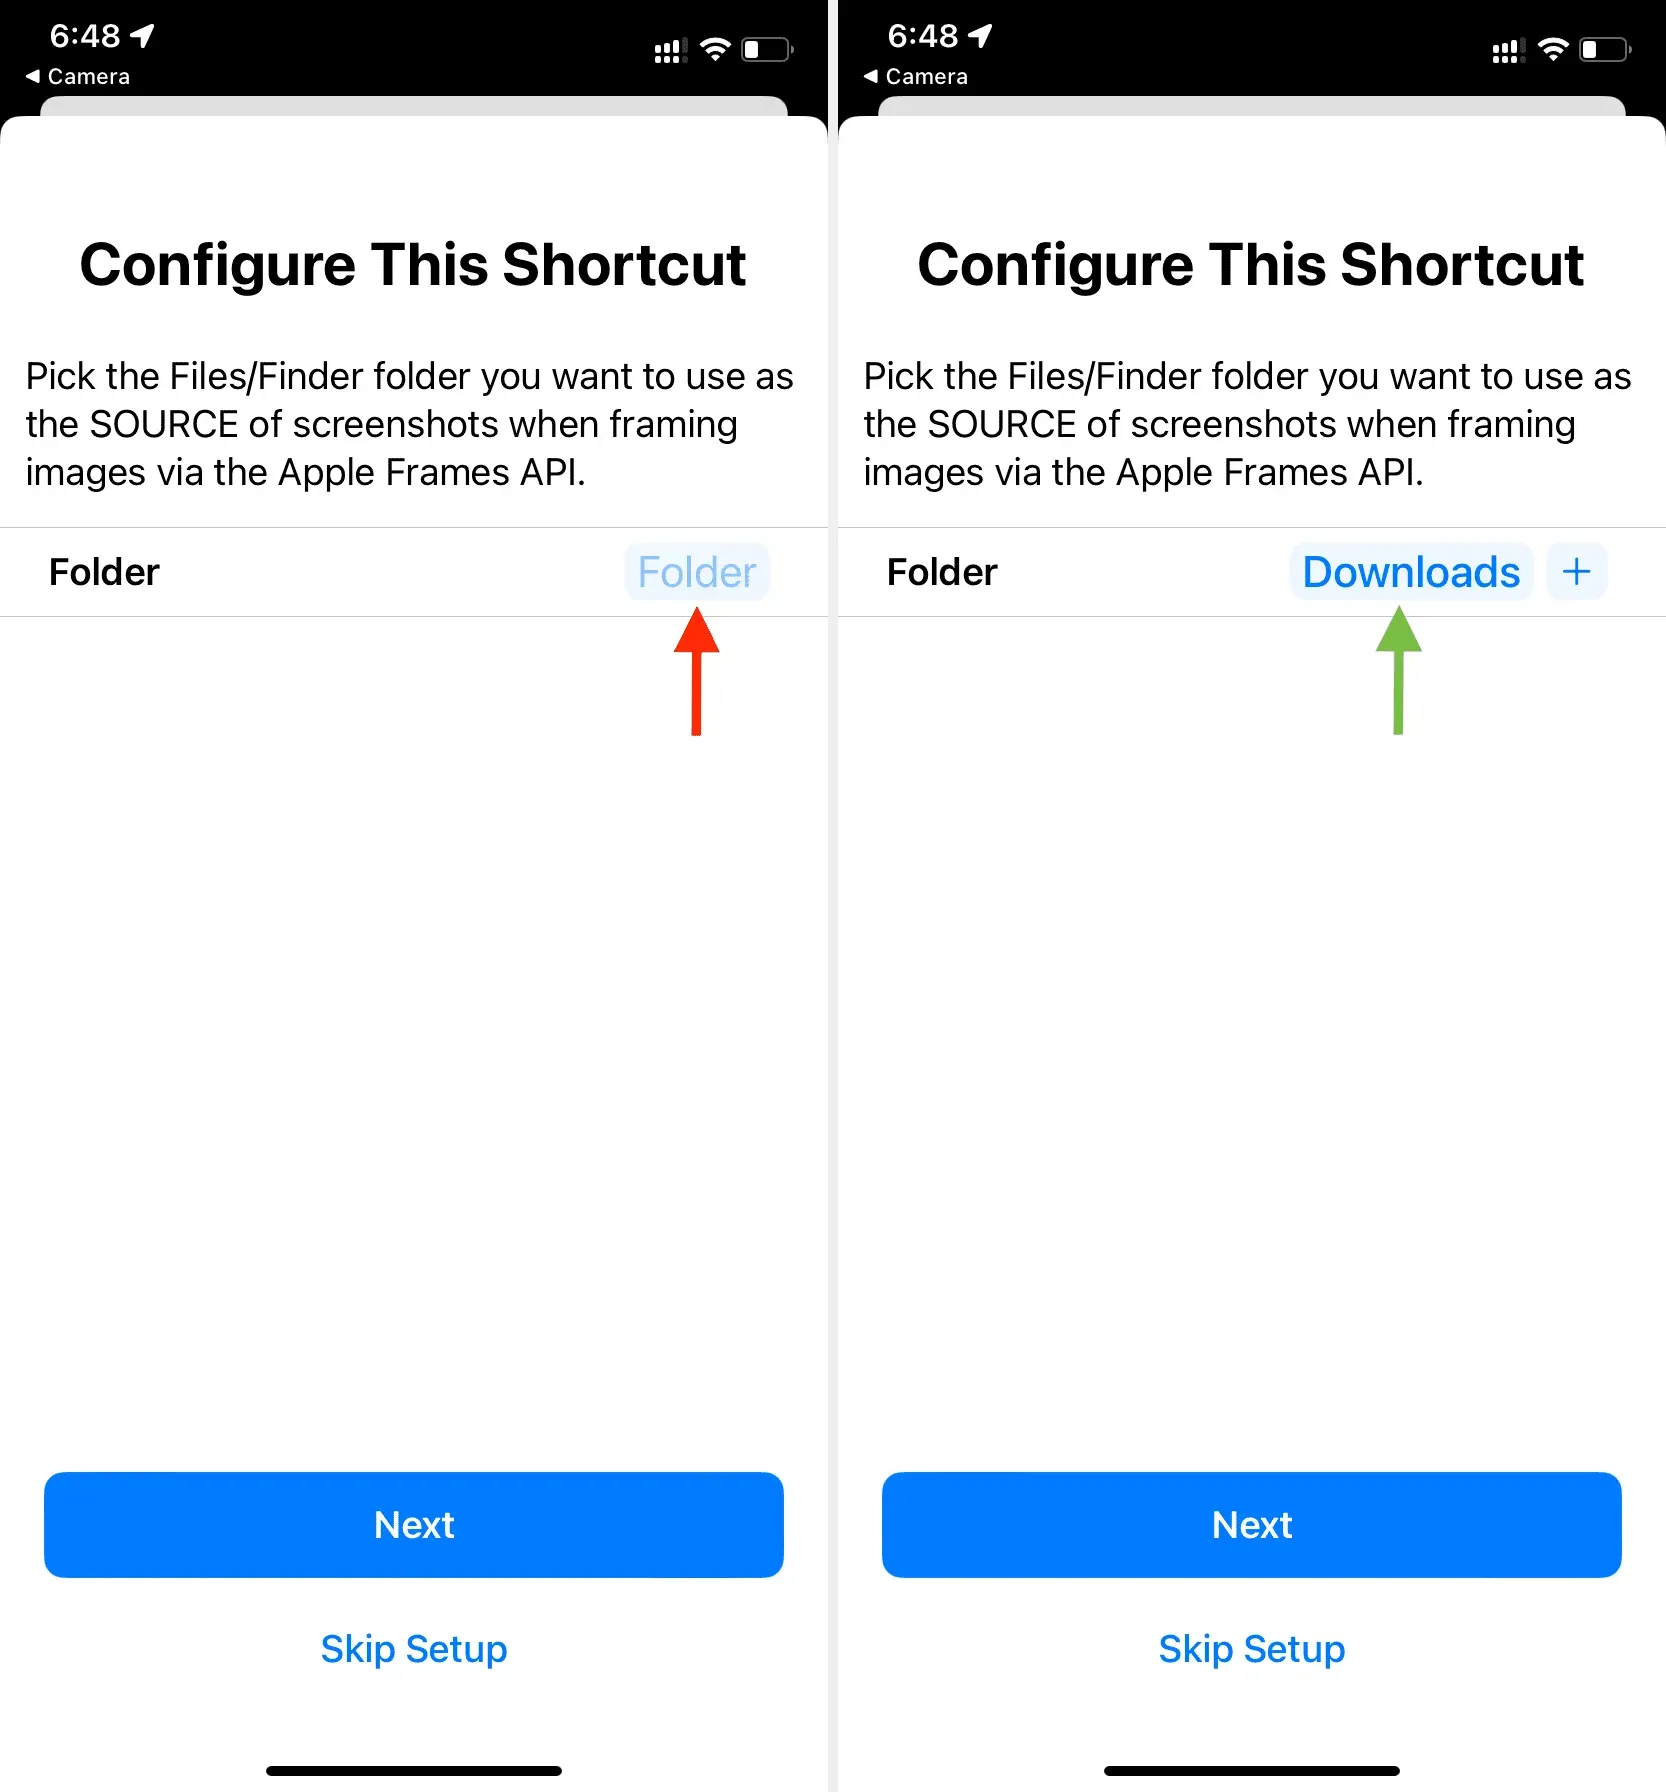
4) Touch the blue word “Folder”again, select the destination folder and click “Add Shortcut”. The shortcut has now been added to your device.
5) Make sure you are in the All Shortcuts section of the Shortcuts app. From here, tap the Apple Frames tile and do its initial setup.
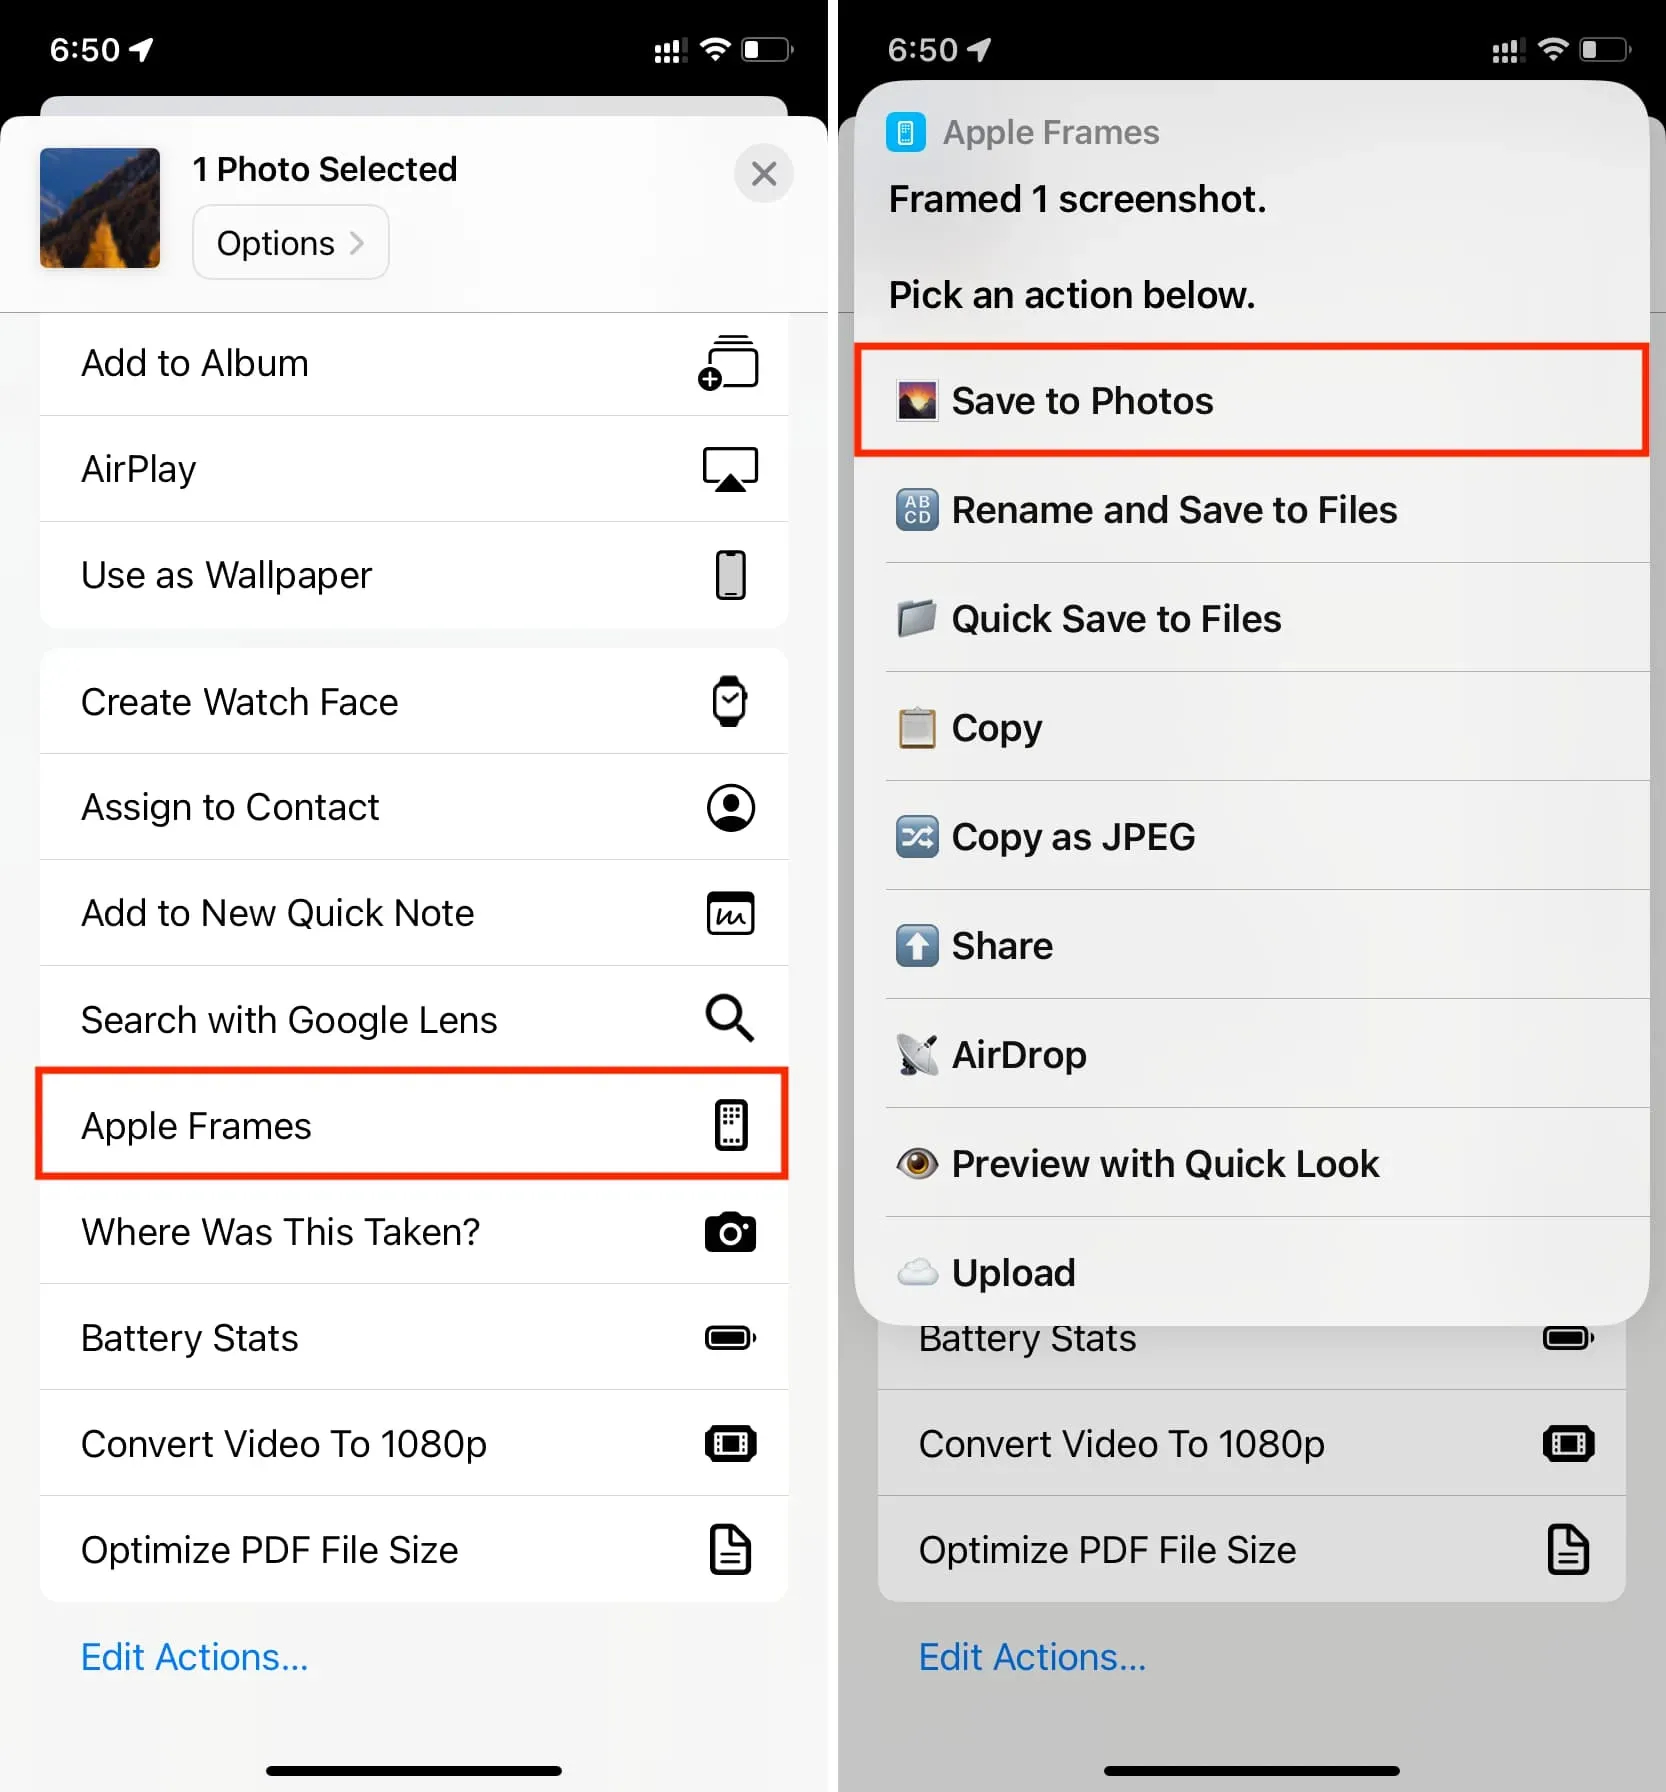
6) Once everything is done, you can launch the shortcut from the Shortcuts app by clicking on the Apple Frames shortcut and selecting an image. But in my opinion, the best option is to go to the Photos app > open an image there > hit the Share button and select Apple Frames on the Share page.
7) Once the screenshot is taken, you can click Save to Photo or one of the other options as needed.
As you can see, the shortcut is very easy to use; however, it does not allow you to select a device. So, if you want to use a screenshot of your iPhone 11 on an iPhone 13 or iPhone 14 Pro frame, you will have to use the other methods mentioned in this post.
2. SMPRO
It’s an app for iPhone and iPad that offers a lot of customization options. This app offers many different frames for iPhone, iPad, iPod touch, Mac and Apple Watch. The downside of this app is that the interface can feel a bit obscure and it’s riddled with in-app purchases. But if money is not a problem, then this is perhaps the best option.
- Download the SMPRO app for your iPhone or iPad from the App Store.
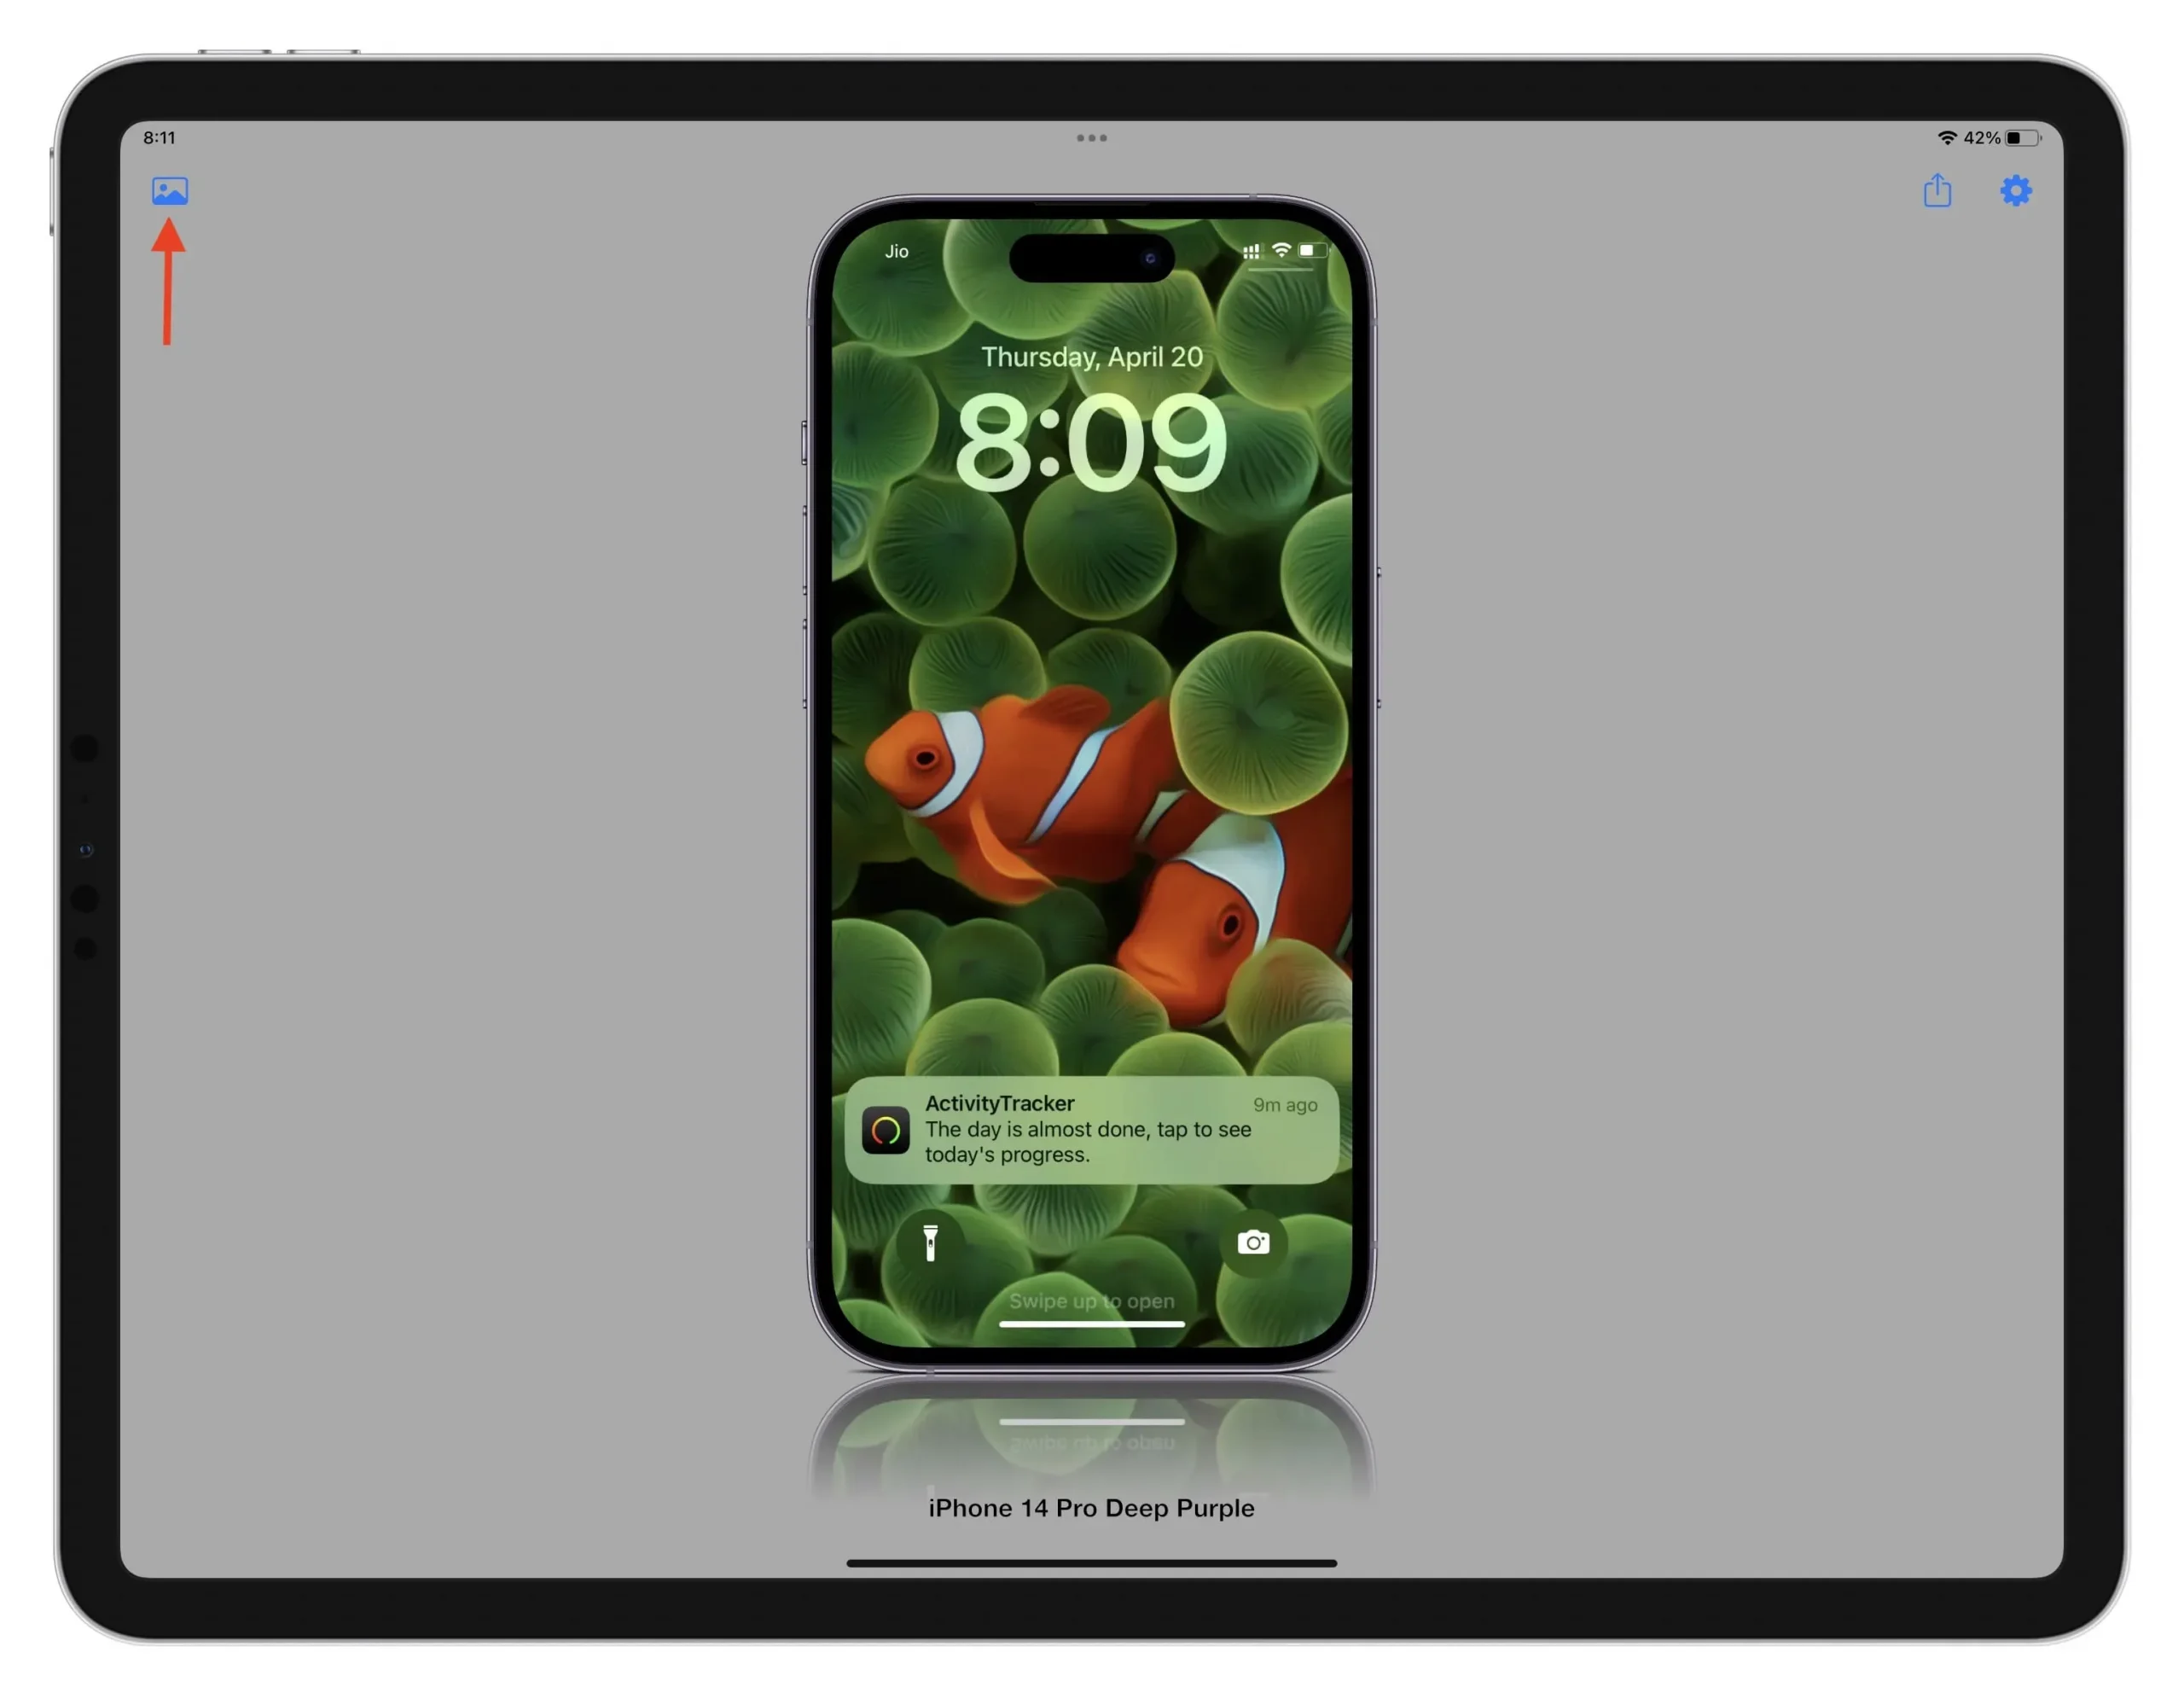
- Open the app and it should show one of the latest iPhones on the home screen. You can change it by tapping the settings icon > Layout and selecting a different device and orientation.
- Tap the photos icon in the top left corner and select a screenshot. The application will immediately place it inside the layout. You can click the settings icon and make changes such as image fit, toggle screen reflection, and more.
- Once you’re done, click the Share icon > Save Image to get the final iPhone frame with screenshot in the iOS Photos app. Note that if you’re using a professional frame like the iPad Pro, you can either buy an in-app purchase or watch ads to export it.
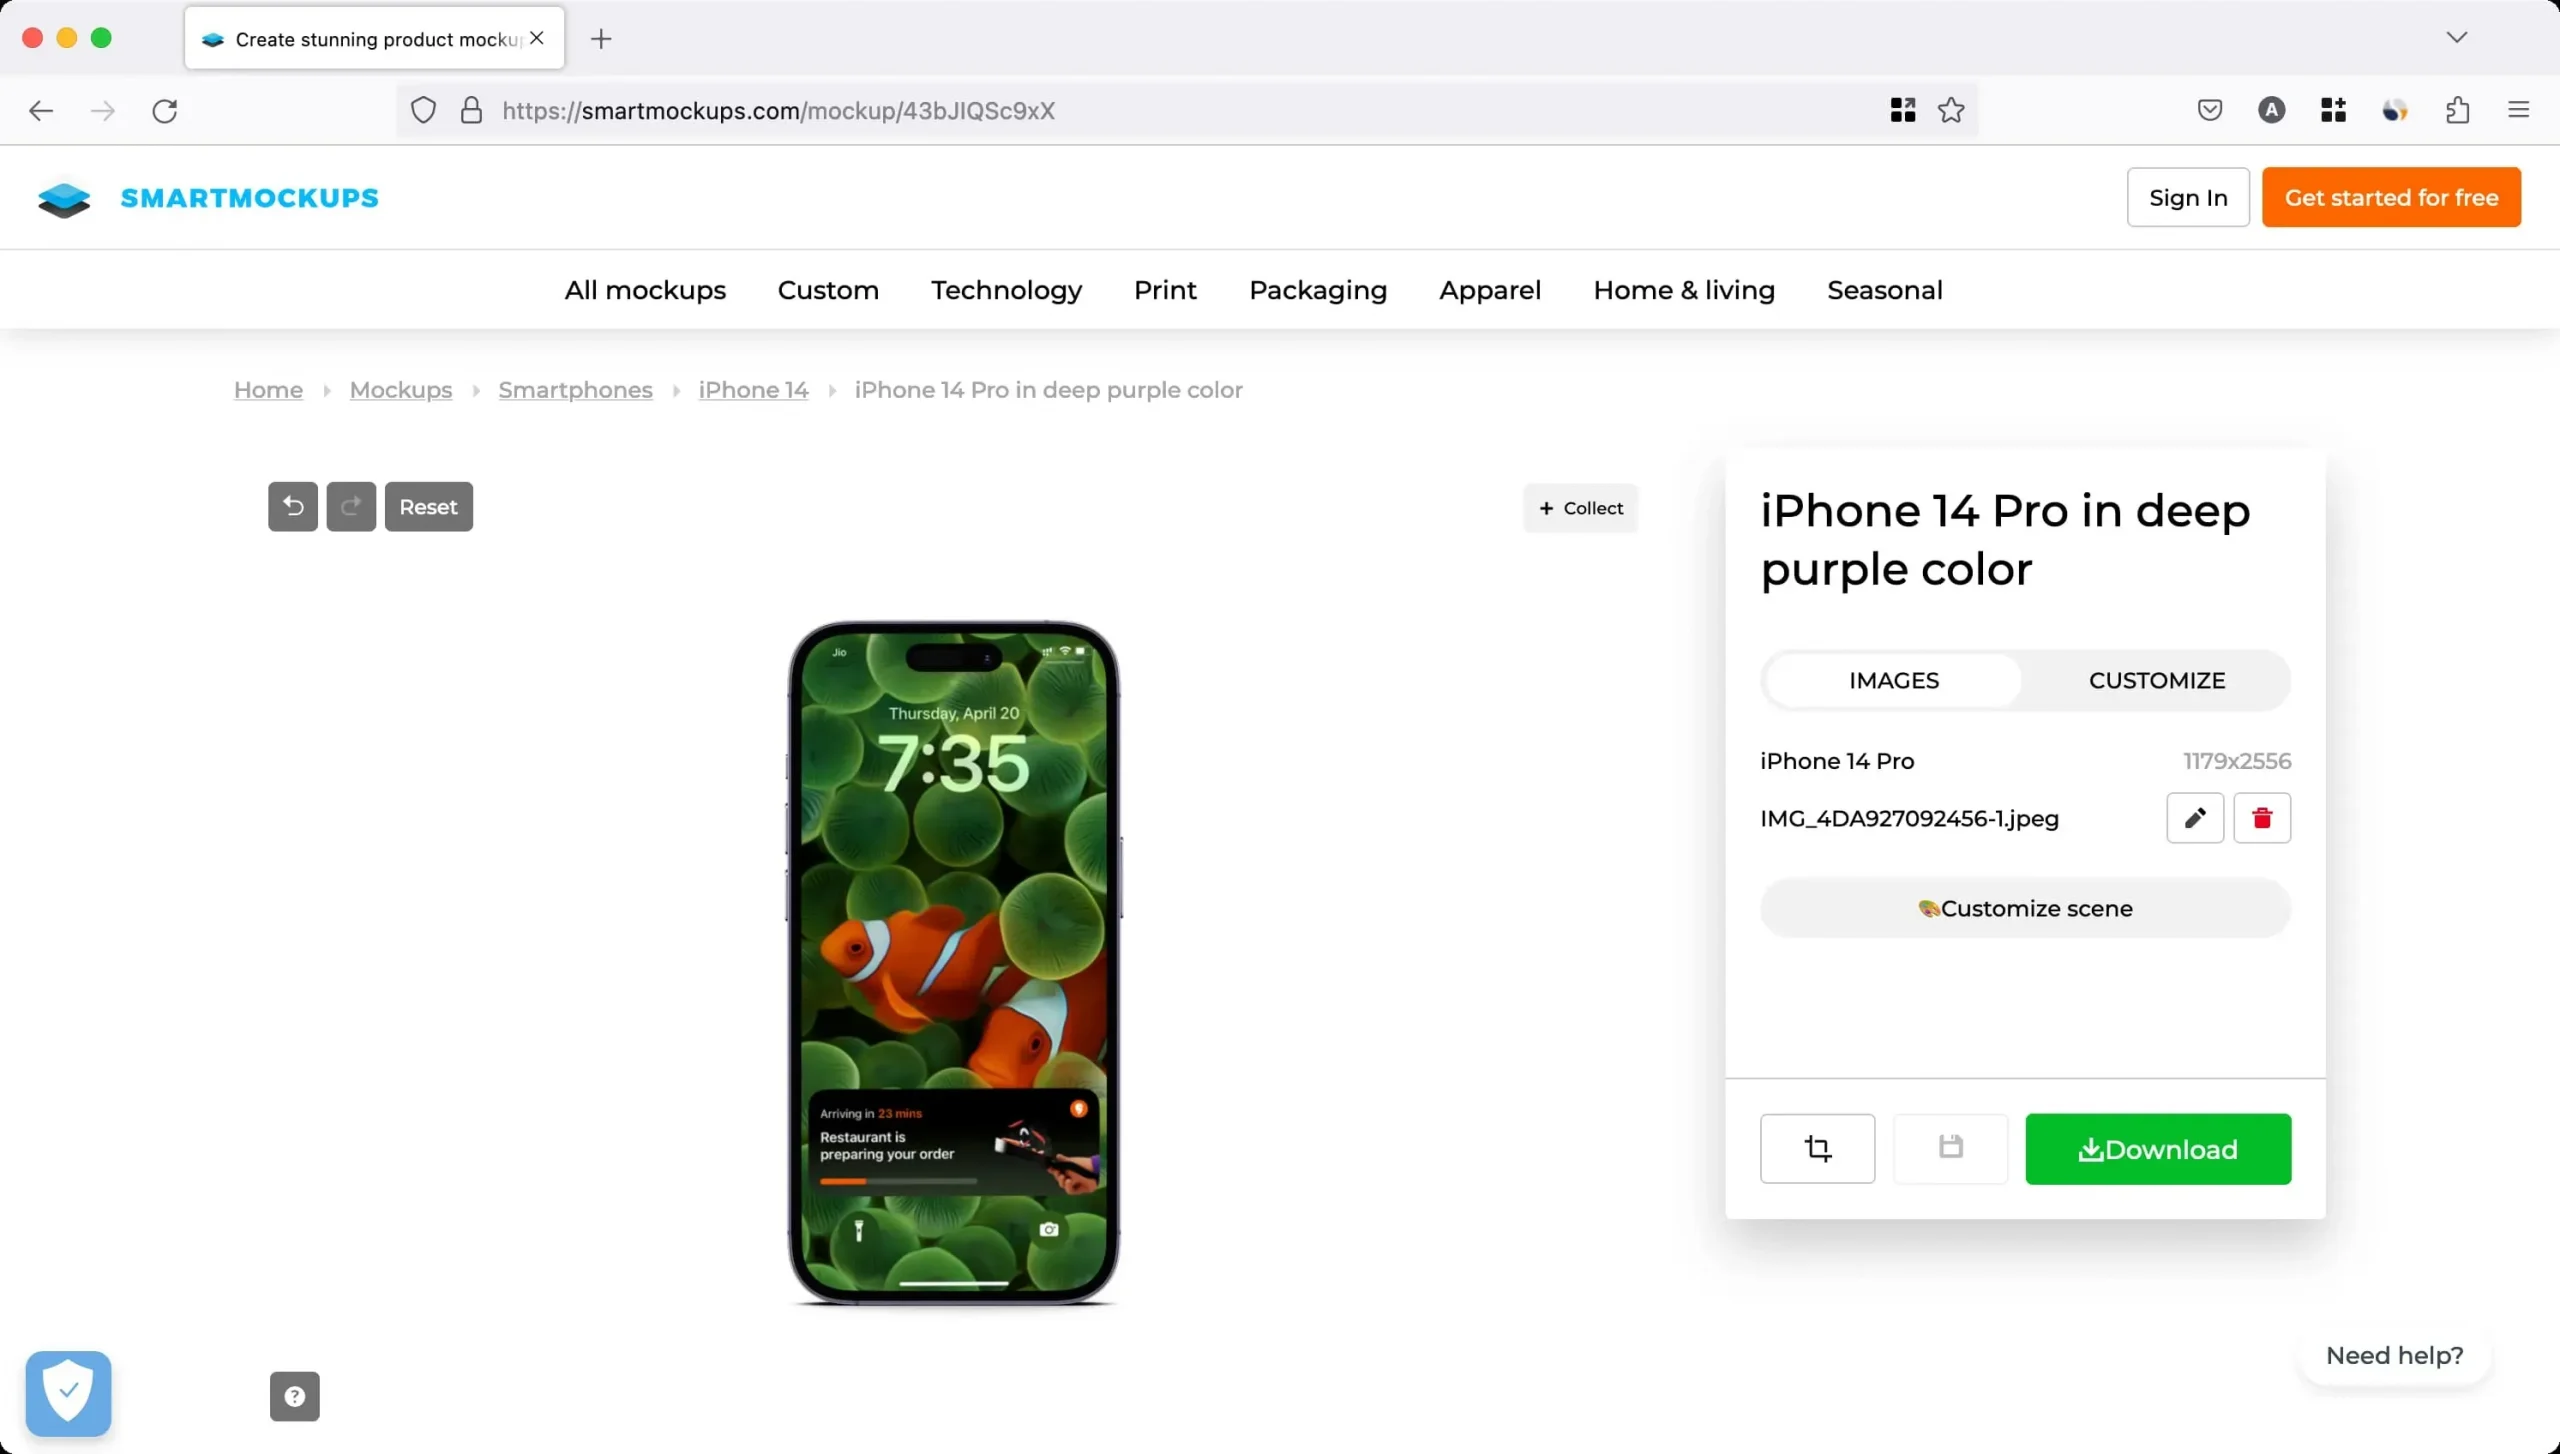
3. Smart Mockups
This is an easy online solution for adding a basic frame around screenshots.
- Visit smartmockups.com/mockups/iphone and choose a free frame.
- After downloading the template, drag the screenshot onto the device image to download it. Note. If the site doesn’t load, open it in incognito mode.
- Click Customize and choose whether to show or hide the shadow.
- Finally, click Download. In the free version, your only option is to get the final file in medium (1280×896) resolution.
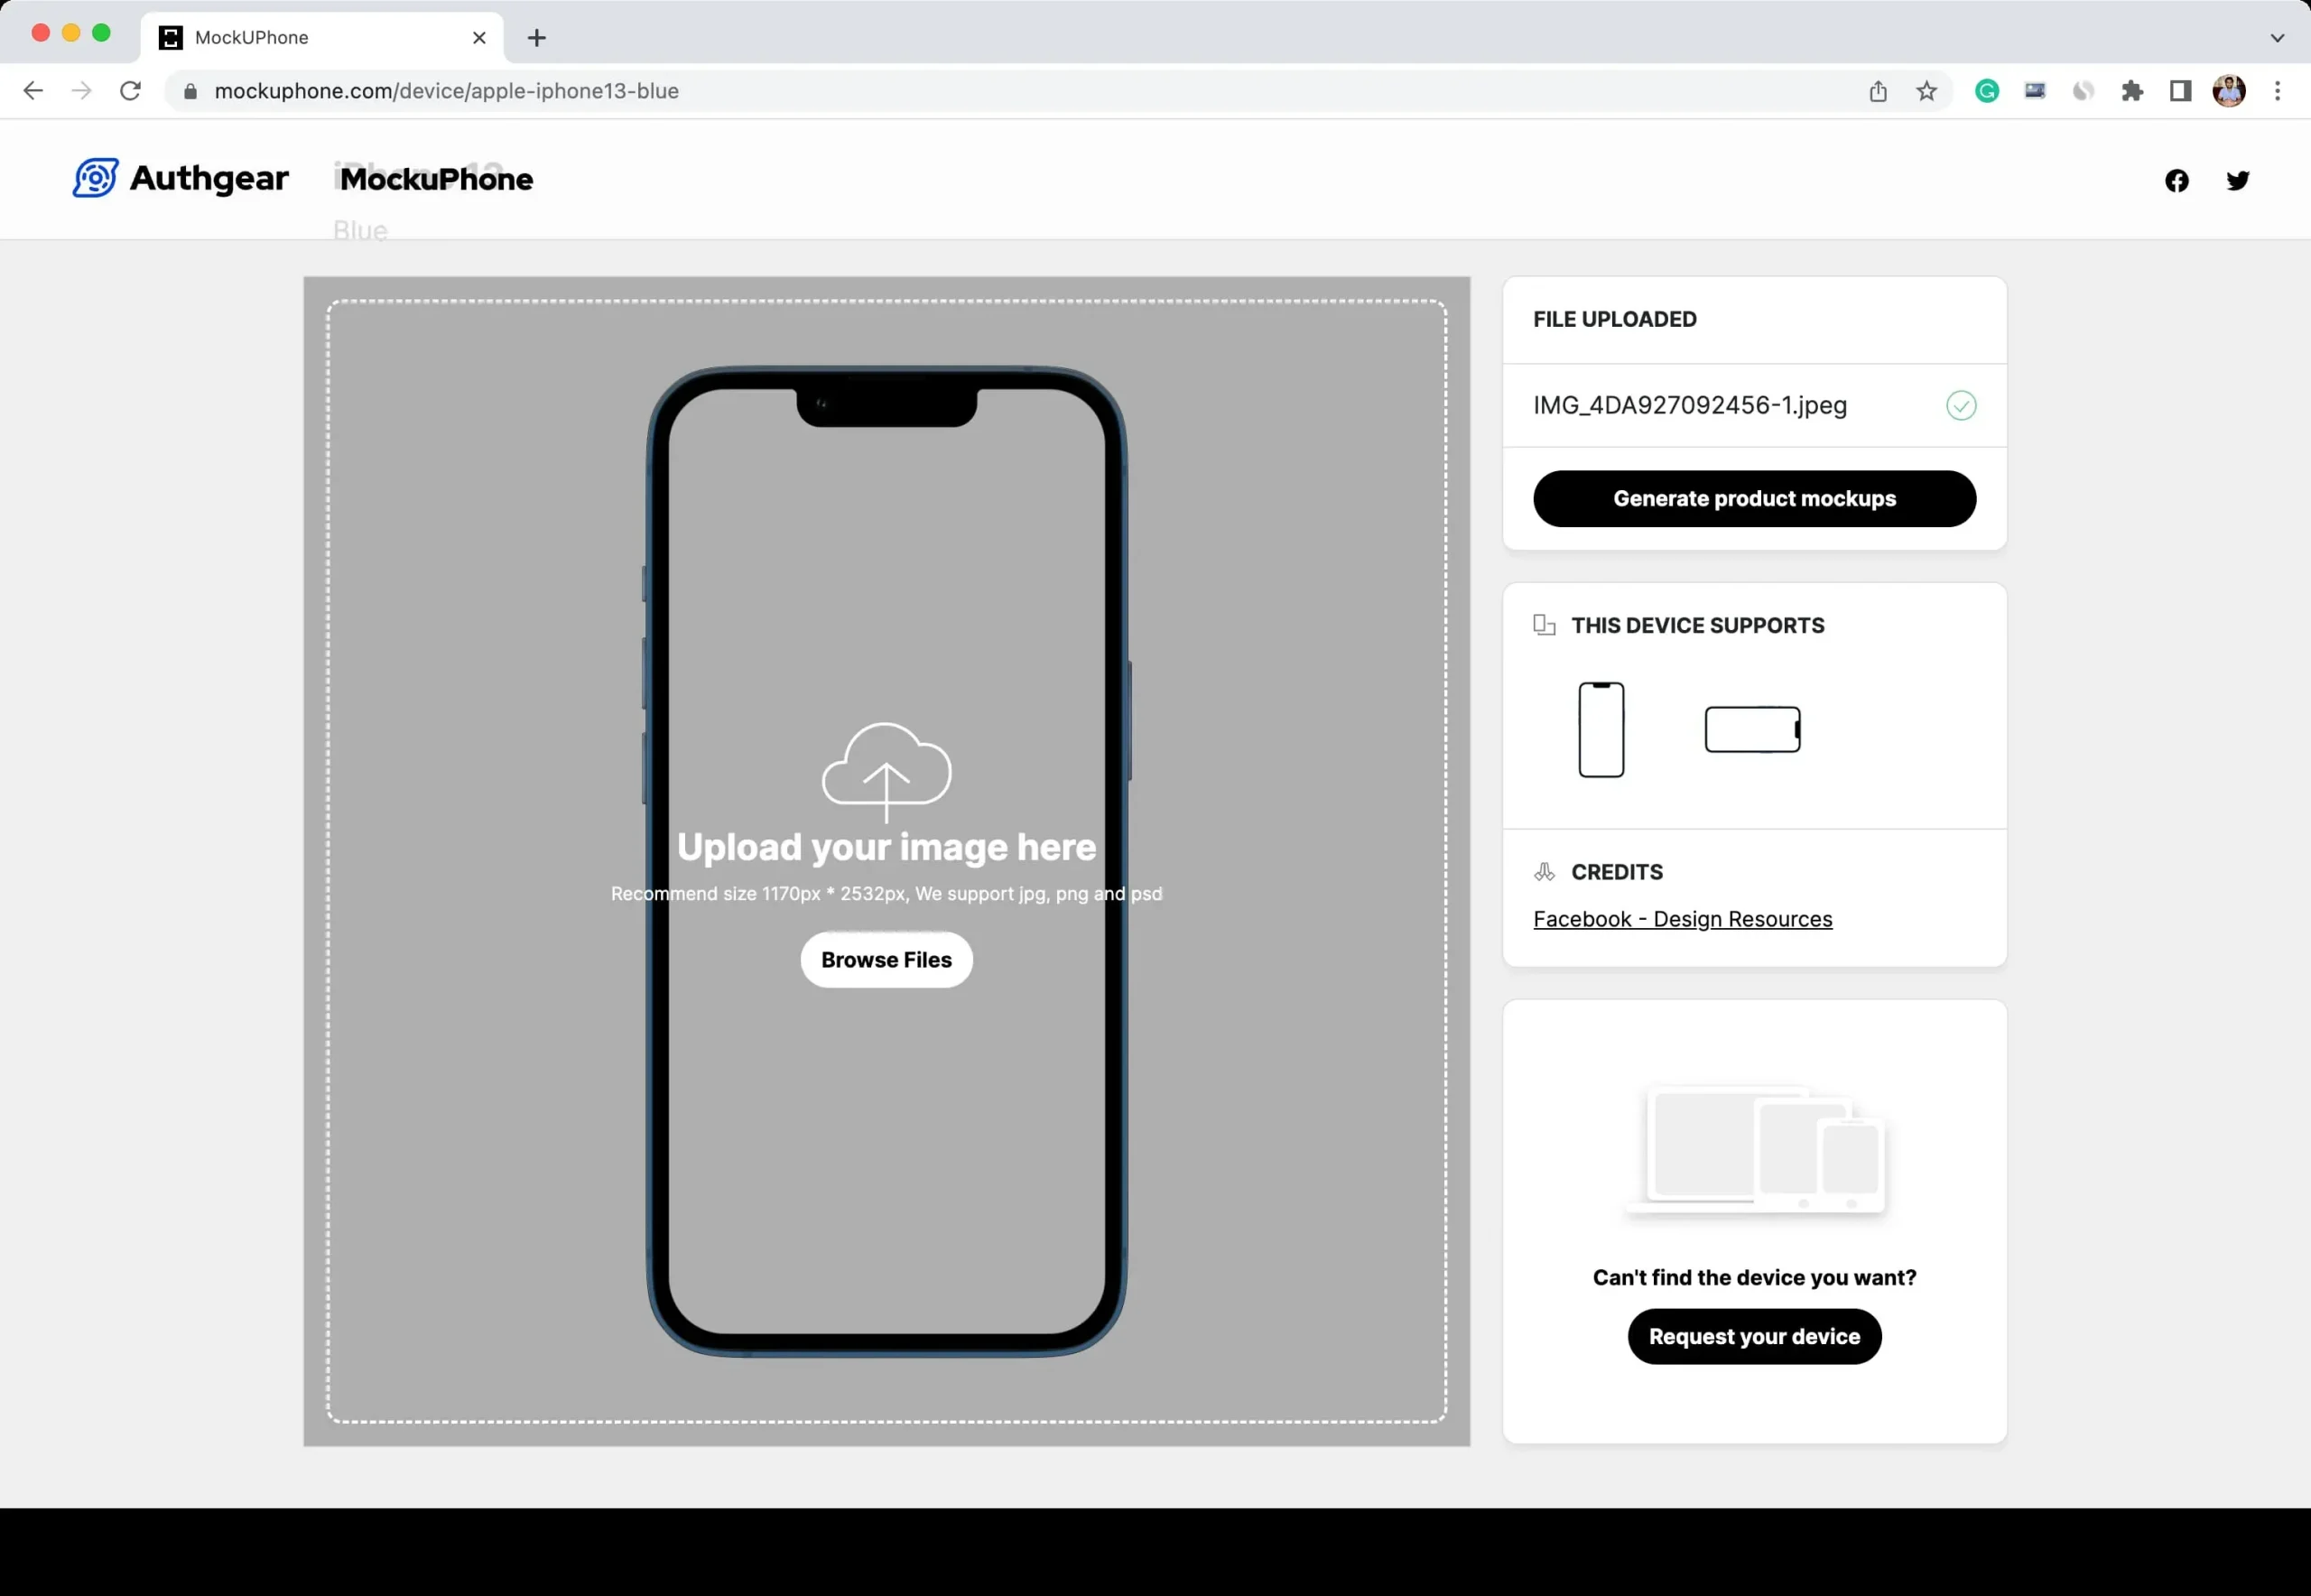
4. MokuFon
FileSquare offers a free service called MockUPhone to transfer screenshots to mockups of various iPhone and iPad devices. A selection of templates for iMacs, TVs, and Android and Windows Phones is also available. Most device bezels are available in both portrait and landscape orientations.
- Go to the MockUPhone website in a desktop browser. Prepare the screenshots you will be using and choose which device layout to use. If you’re not at your computer, the site also works right on your iPhone or iPad.
- With your device selected, import PNG, JPG, or PSD screenshots by dragging them inside the dotted lines to manually upload them from your computer. There is a recommended aspect ratio that should be maintained if you want the end result to look its best.
- Click the “Create Product Mockups”button.
- Finally, click Upload My Designs.
- Now go to your downloads folder and unzip the file to find the screenshot with the border added in both portrait and landscape orientations.
Other Ways to Add a Device Frame to Screenshots
In addition to the above three options, you can also use these apps for Mac and iOS to add beautiful borders to your screenshots for iPhone, iPad, Apple Watch, desktop, and more.
Leave a Reply