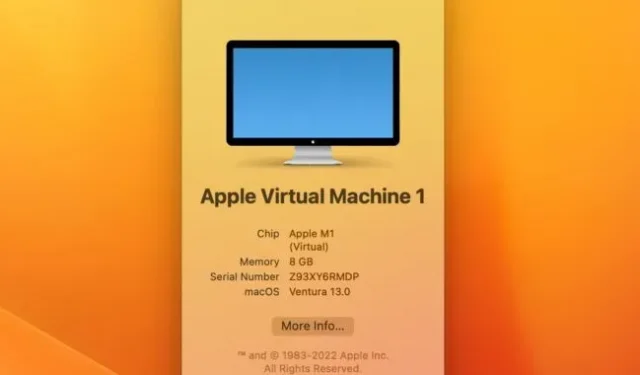
How to use free virtualization apps to safely test macOS Ventura betas

One of the coolest Mac features for power users of the Apple Silicon era is Apple’s virtualization environment. This is usually paid software such as Parallels Desktop or VMWare Fusion. Virtualization allows you to run multiple operating systems on a single Mac at the same time, which is useful for anyone who wants to run Linux on top of macOS and test the application they are developing. on different versions of macOS, or take a look at the latest macOS Ventura beta without risking their main install.
Apple’s documentation and sample projects provide everything you need to create and run a simple virtual machine without additional software. However, some independent developers have created simple free applications based on a virtualization environment that provides a graphical interface for configuring and managing multiple guest OSes.
Preparing for virtualization
My favorite for running macOS on top of macOS is VirtualBuddy, which simplifies the process of downloading the files needed to get a Monterey or Ventura virtual machine up and running. This is the application we’ll be using to set up our sample VM in this tutorial.
Another application to look out for is UTM, which uses a virtualization framework to run ARM operating systems on top of the ARM version of macOS, but also provides an easy-to-use front-end for QEMU emulation software. QEMU can emulate other processor architectures including but not limited to x86 and PowerPC. Like any emulation, this results in performance degradation. But it’s a fun way to run old operating systems on a shiny new Mac, and the UTM Virtual Machine Gallery includes sample VMs for many Linux distributions, classic Mac OS, and Windows XP and Windows 7.
If you want to virtualize macOS Monterey on top of macOS Monterey, you don’t need to download anything. If you want to virtualize Ventura on top of Monterey, you’ll need to install and run the Xcode 14 beta from the Apple developers site before you begin. When I tried this without Xcode installed, macOS tried (and failed) to download additional software to get it to work – sort of like macOS needs to download additional software the first time you use Rosetta. With the beta version of Xcode installed, everything works as intended (but if you can find a way to get this to work without having to install a 33GB app that takes over an hour to install, I’d love to hear about it).
You should also pay attention to the hardware requirements for virtualization. VirtualBuddy and the virtualization infrastructure do not have hard requirements, with the exception of the Apple Silicon chip requirement for macOS virtualization on macOS. But you will be running two completely different OSes on the same machine, and that comes with RAM and storage requirements. Personally, I wouldn’t recommend trying to virtualize macOS on an Apple Silicon Mac with less than 16GB of RAM. The more the better, especially if you’ll also be running heavy applications like Xcode alongside (or inside) your VM.
By default, VirtualBuddy stores all of its files (including VM disk images) in the Documents folder of your user account. Mac users with limited internal storage may want to change to an external drive to save space, as the default drive size for new macOS virtual machines is 64GB. Any external SSD connected via a 5Gb/s or 10Gb/s USB connection or Thunderbolt bus should be fast enough for most tasks – I’m using a cheap NVMe SSD in a 10Gb/s USB-C enclosure – not this one, but similar.
Leave a Reply