How to fix Windows 11 PC won’t turn off
Can’t turn off your computer? Many times, users may encounter this issue when Windows 11 won’t shut down. Well, you might encounter this error for several reasons. This may be due to a bug in your system, a program interfering with the proper functioning of our PC and other reasons. If you are facing this problem, then you have nothing to worry about.
Fixing Windows 11 Won’t Shut Down
In this article, we will discuss how you can fix the problem that Windows 11 won’t turn off. If you haven’t installed the latest version of Windows 11, you should update it.
Make sure you set the power button to off
You can customize what the power button can do on your PC. For example, you can specify whether you want the power button to put the computer to sleep, do nothing, turn off the display, or turn off the computer. If you press the power button to turn off your computer and nothing happens, it may be because the power button is assigned to do nothing .
To test and assign the power button to turn off your computer, follow these steps:
- Go to Control Panel on your PC. In Control Panel, navigate to Hardware and Sound. Then click on power options and then select what the power button does.
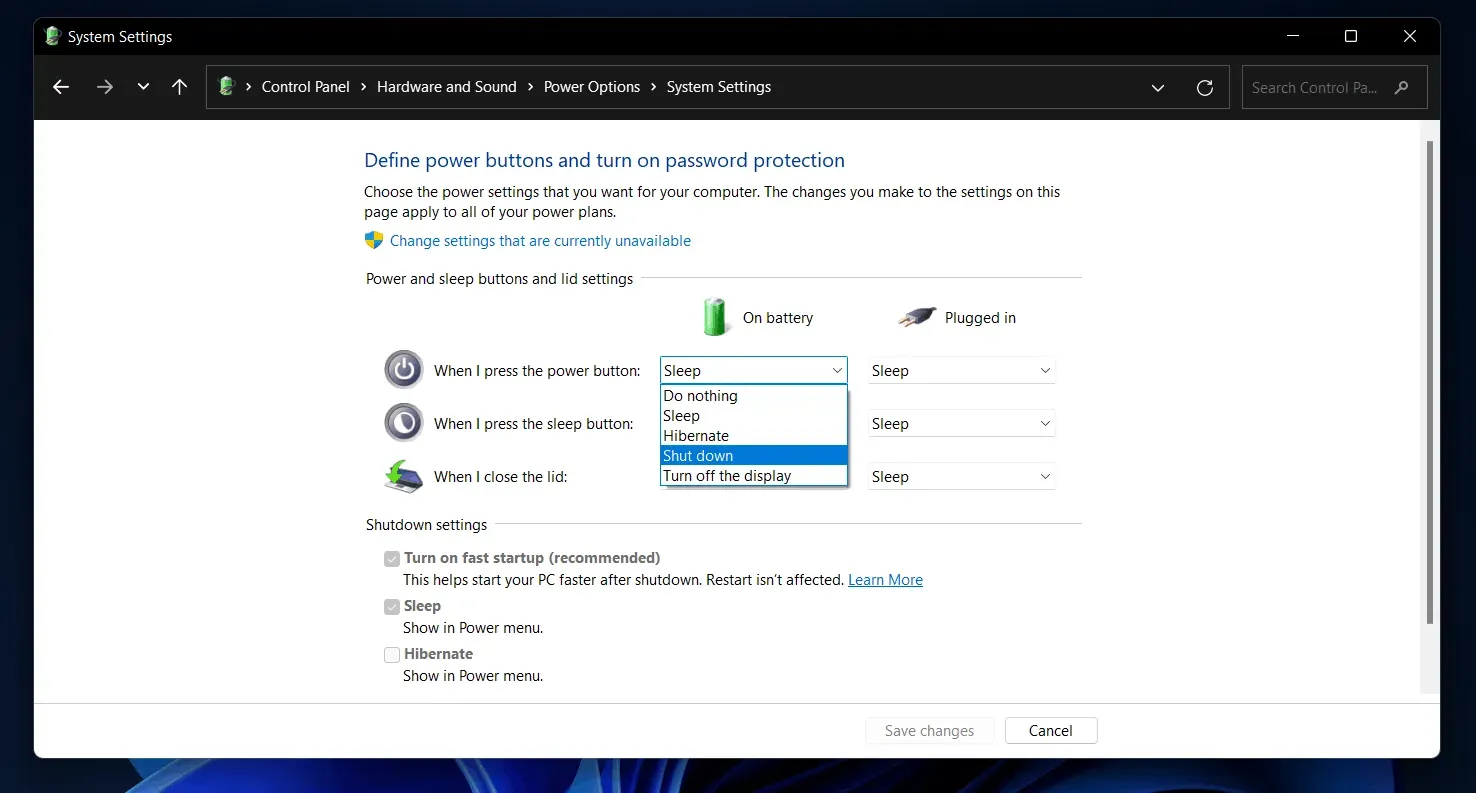
- Now click on the dropdown menu next to the When I press the power button option and select Turn off. If you are using a laptop, you will need to set the Power Off option for On battery as well as Plugged in.
- After that, click “Save Changes”to save your changes.
Once you’ve done that, try pressing the power button again and you should be able to shut down your computer. However, if you can’t turn off your computer using the power button, it could be system related or possibly a faulty power button. You can try the steps in this article to resolve this issue.
Try the normal shutdown method
You should try shutting down your computer in the usual way, as we always do.
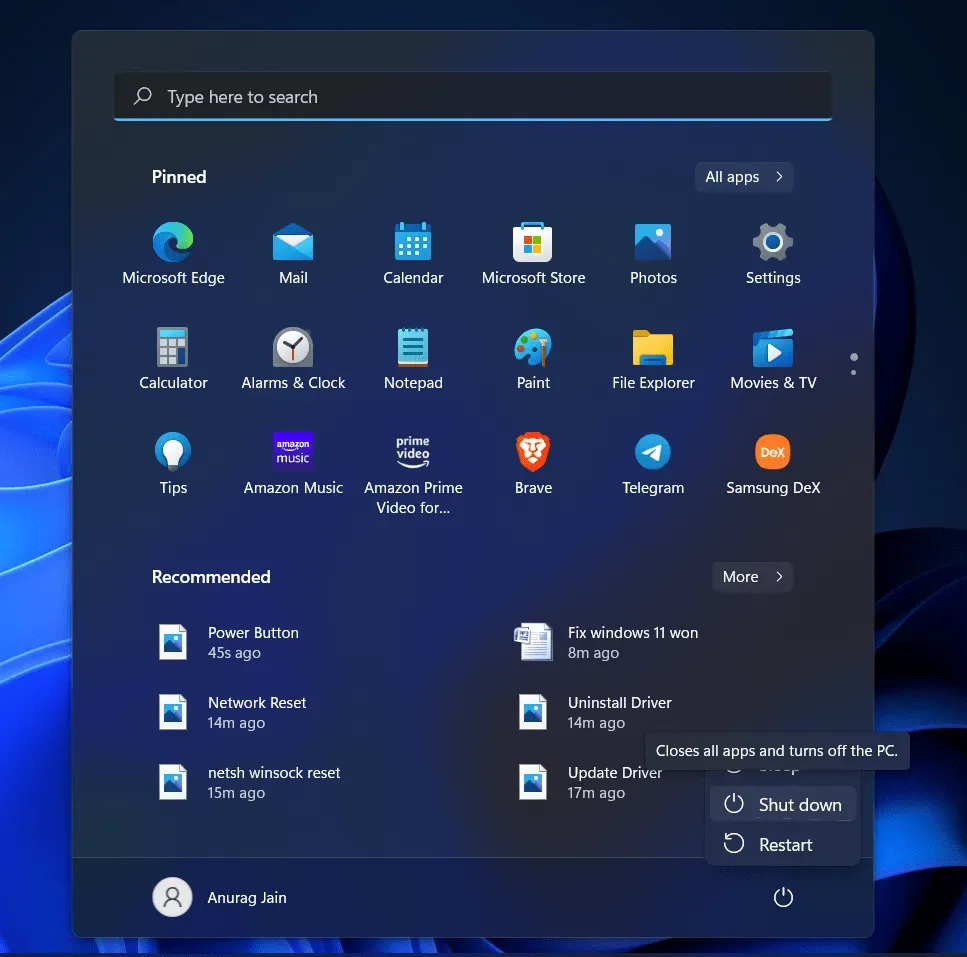
- Go to the start menu and click on the power icon.
- Now click Shut Down to turn off your computer.
- You can either press Alt + F4 on the space bar on the desktop and you will be prompted to shutdown. You can turn off your computer using this option.
If that doesn’t work, press the combination Ctrl + Alt + Del . You will get a black screen to see the power icon in the bottom left corner. Click on it and then click Turn off. You will be able to turn off the computer.
Use command line to shutdown
If Windows 11 still won’t turn off, you can try using Command Prompt to turn off your computer. You can try running the shutdown command in Windows 11 to resolve the issue you are facing and turn off your computer. To use the command line to turn off your computer, follow these steps:
- Open the Start menu by pressing the Windows key or clicking the Start icon .
- From the Start menu , search for CMD. Right-click Command Prompt and then click Run as administrator. This will give administrator rights to the command line, which will allow you to make changes to the system.
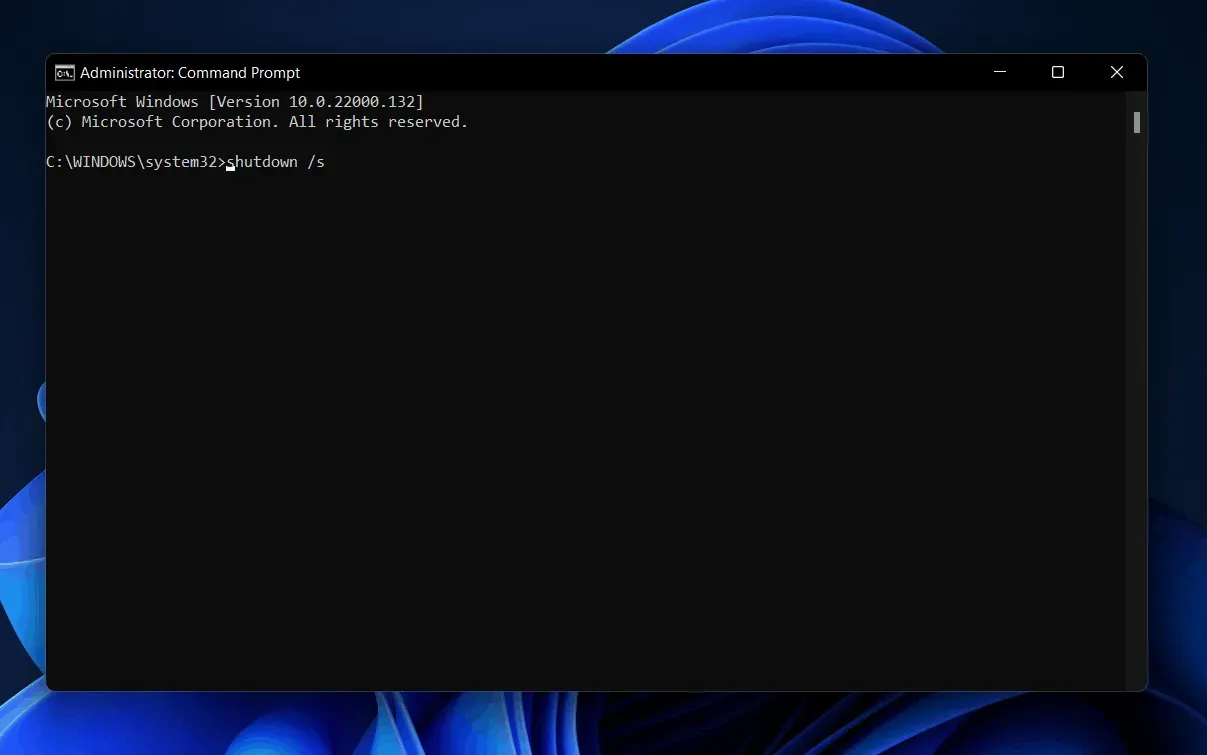
- At the command prompt, type shutdown /s and press Enter to execute it.
- Now your computer will be turned off and you won’t run into the problem again.
Update Windows and drivers
If any of the steps above helped you turn off your computer, but if you keep encountering it every time you turn your computer back on, you should try updating Windows.
- To download the latest Windows update and driver update, go to the Settings app on your PC. You can do this by pressing the key combination Windows + I.
- Go to the Windows Update section on the left sidebar in Settings.
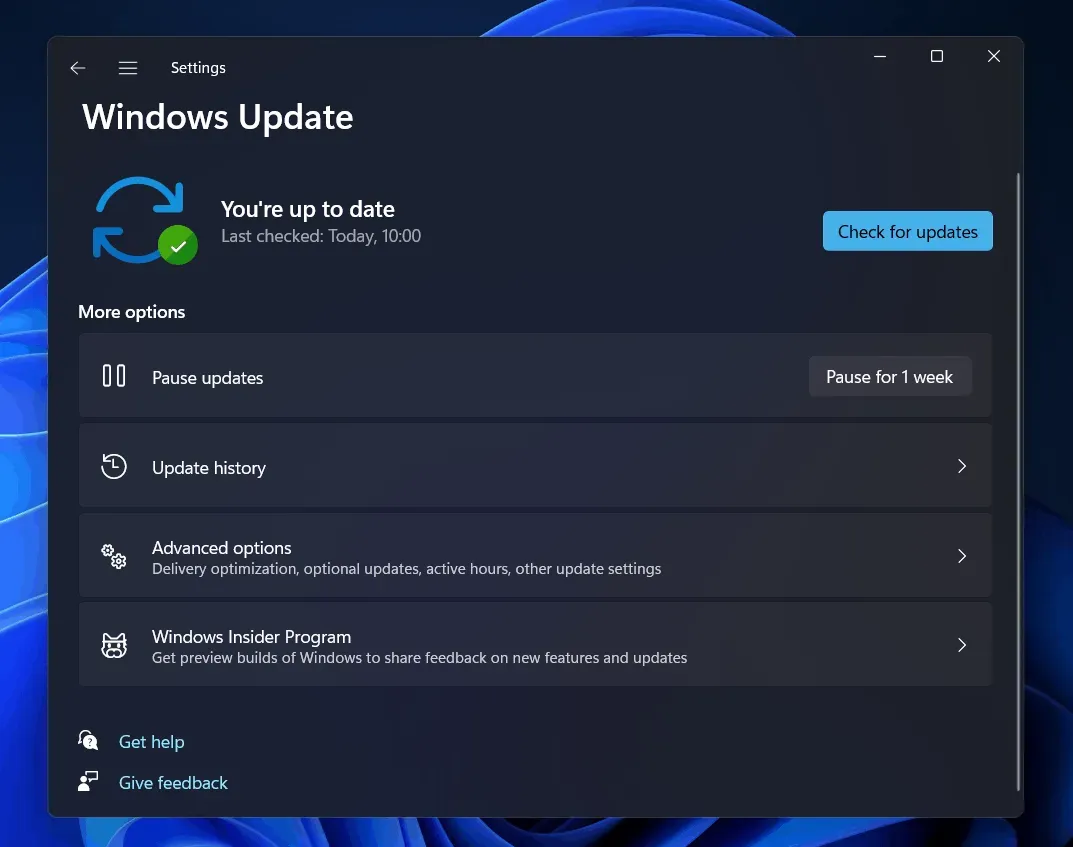
- Now click “Check for Updates”. Download and install any updates your computer finds. Also, check the optional updates section because there will be driver updates.
- After doing that, restart your computer and the issue should be fixed.
There are various third party applications such as Driver Booster or DriverPack Solution to update the drivers on your PC.
Run System Restore
If you are still facing the issue, try running System Restore. This will return your computer to the last restore point you created. To start System Restore, follow the steps given below:
- From the Start menu , find the Create a restore point option and open it.
- You will be taken to the System Restore tab in System Properties. Here click “System Restore”.
- In the System Restore window , click Next.
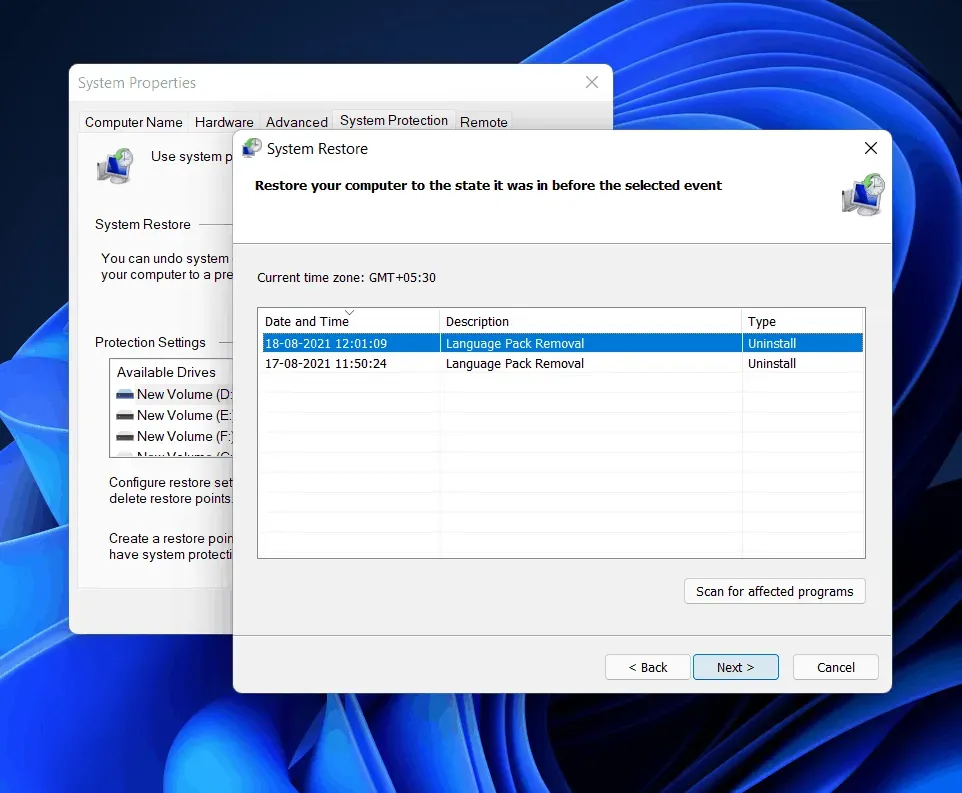
- Now select the restore point you created earlier when the system was working fine and click Next. You can click “Scan for vulnerable programs” to check what changes will be made to your system.
- Now follow the on-screen instructions to restore your system using System Restore.
After that, the system will work normally and you should be able to shut down the computer without any problems.
Final words
If Windows 11 won’t turn off and you keep encountering this problem, this article is sure to help you with that. You can follow the steps mentioned in this article to fix the outage you are experiencing. Always remember to back up important data on your computer, especially if you have problems doing so. It is recommended to use the built-in backup function.
Leave a Reply