How to fix an iPhone that won’t connect to Windows 11
While Apple devices are known for their connectivity, many people pair an iPhone with a Windows PC or a Mac with an Android device. Connecting an iPhone to a Windows PC is done through the iTunes app. According to users, Windows 11 does not recognize iPhone connection. This issue is most commonly caused by a bad connection, outdated drivers, or an outdated version of iTunes. There is nothing to worry about if Windows 11 does not recognize your iPhone.
Content:
Fix Windows 11 Not Recognizing iPhone
This guide discusses troubleshooting steps to fix Windows 11 not recognizing iPhone.
Ensure correct connection

The first thing you need to make sure is that the device is properly connected. Make sure your iPhone is properly connected to your Windows PC and neither end of the cable is disconnected. Make sure the cable you are using is not damaged and the ports are good. If your iPhone is properly connected to your Windows PC but you are still facing the issue, then you should proceed to the next troubleshooting step in this article.
Disable Accessories
If your Windows PC can’t recognize your iPhone, try disabling all unnecessary accessories. Accessories and other peripherals connected to your PC may interrupt the connection between iPhone and Windows PC. Unplug all unnecessary accessories from your PC and you won’t run into the problem again.
Make sure you have given the necessary permissions for your iPhone
Next, you must ensure that you have unlocked your iPhone and granted the required permissions. To do this, follow the steps given below:
- Make sure you unlock your iPhone and connect it to your Windows 11 PC.
- When you connect your iPhone to a Windows 11 PC, you will be asked if you trust this computer or not.
- On your iPhone, tap “Trust “and you’ll be prompted for a passcode to trust the computer.
If the phone is locked, you will miss this notification and your iPhone may not be recognized by your Windows 11 PC.
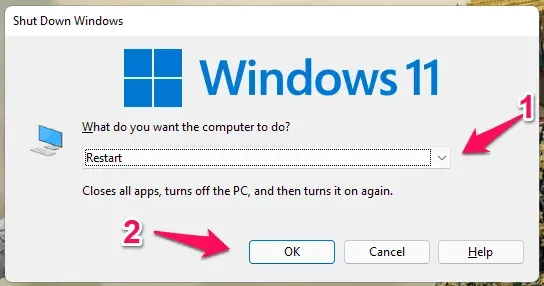
Reboot your devices
Another troubleshooting step to prevent Windows 11 from recognizing an iPhone is to restart your computer. Another cause of this problem can be temporary errors and crashes. To fix this problem, you can try restarting your iPhone and Windows 11 PC. Restart your devices first and then try to connect them again. Now you should no longer experience this problem and your computer should recognize the iPhone. However, if you’re still facing the issue, move on to the next troubleshooting step in this article.
Update your drivers
You may also face the problem due to outdated drivers of your iPhone. You should try updating your iPhone driver and then try connecting your iPhone to your Windows PC again. To update iPhone drivers, follow these steps:
- Press the Windows key on your keyboard to open the Start menu. Locate Device Manager and press Enter to open it from the Start menu.
- Expand the list of portable devices by double-clicking it in Device Manager.
- Now right click on your iPhone and choose Update Driver.
- Then click “Search for Drivers Automatically”to automatically update drivers from the Internet.
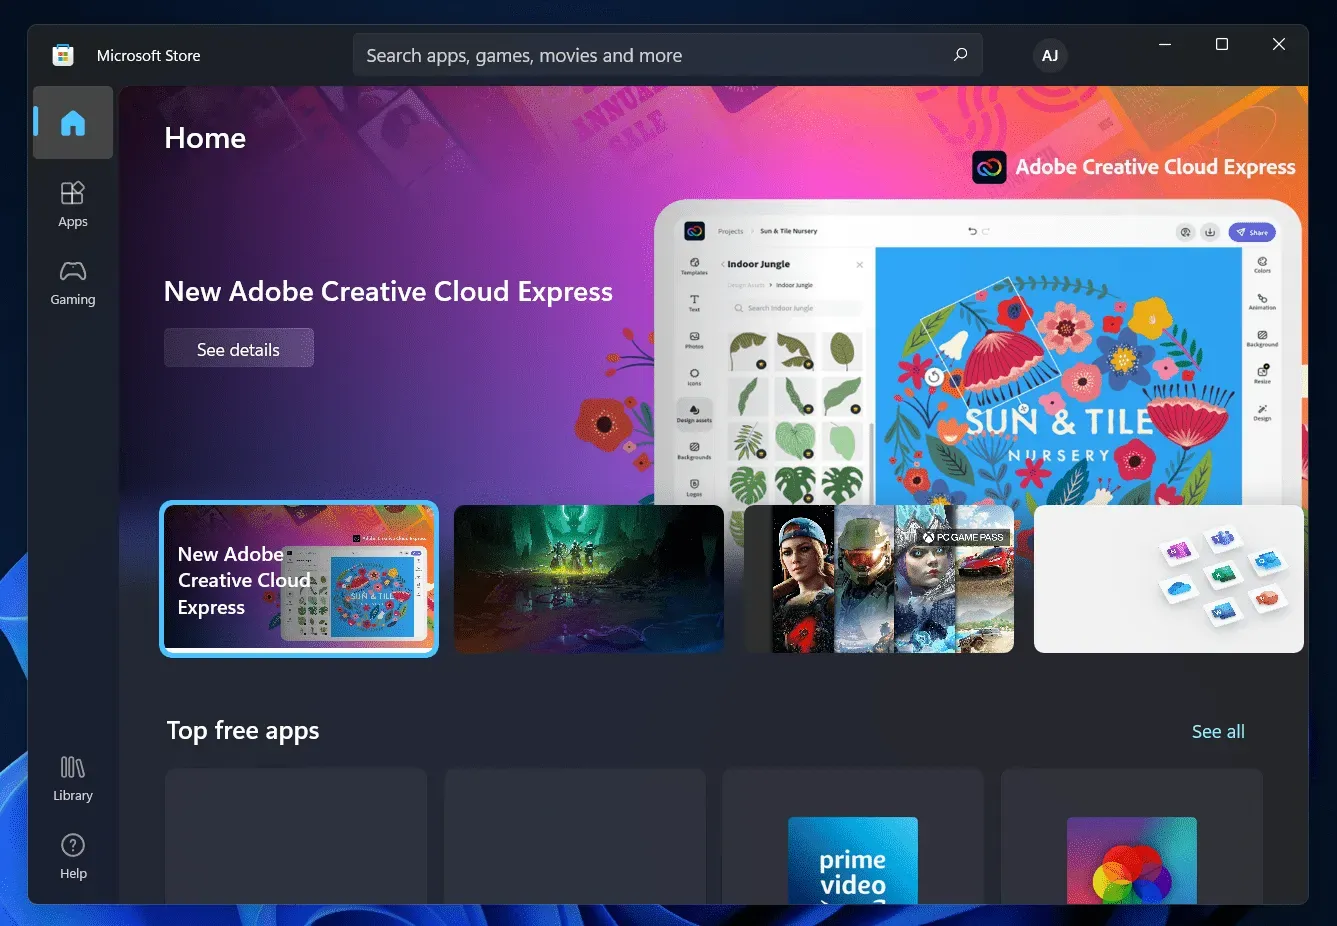
Update iTunes
The next step is to update iTunes. You may be facing an issue due to an outdated iTunes app, and it can be fixed by updating the app. To update iTunes, follow these steps:
- Open the Start menu by pressing the Windows key . From the Start menu, search for Microsoft Store and then click on the relevant search result to open the Microsoft Store.
- Click on the” Library “option in the lower left corner of the Microsoft Store app window .
- Next, click the Get Updates button . This will scan your computer for all updates.
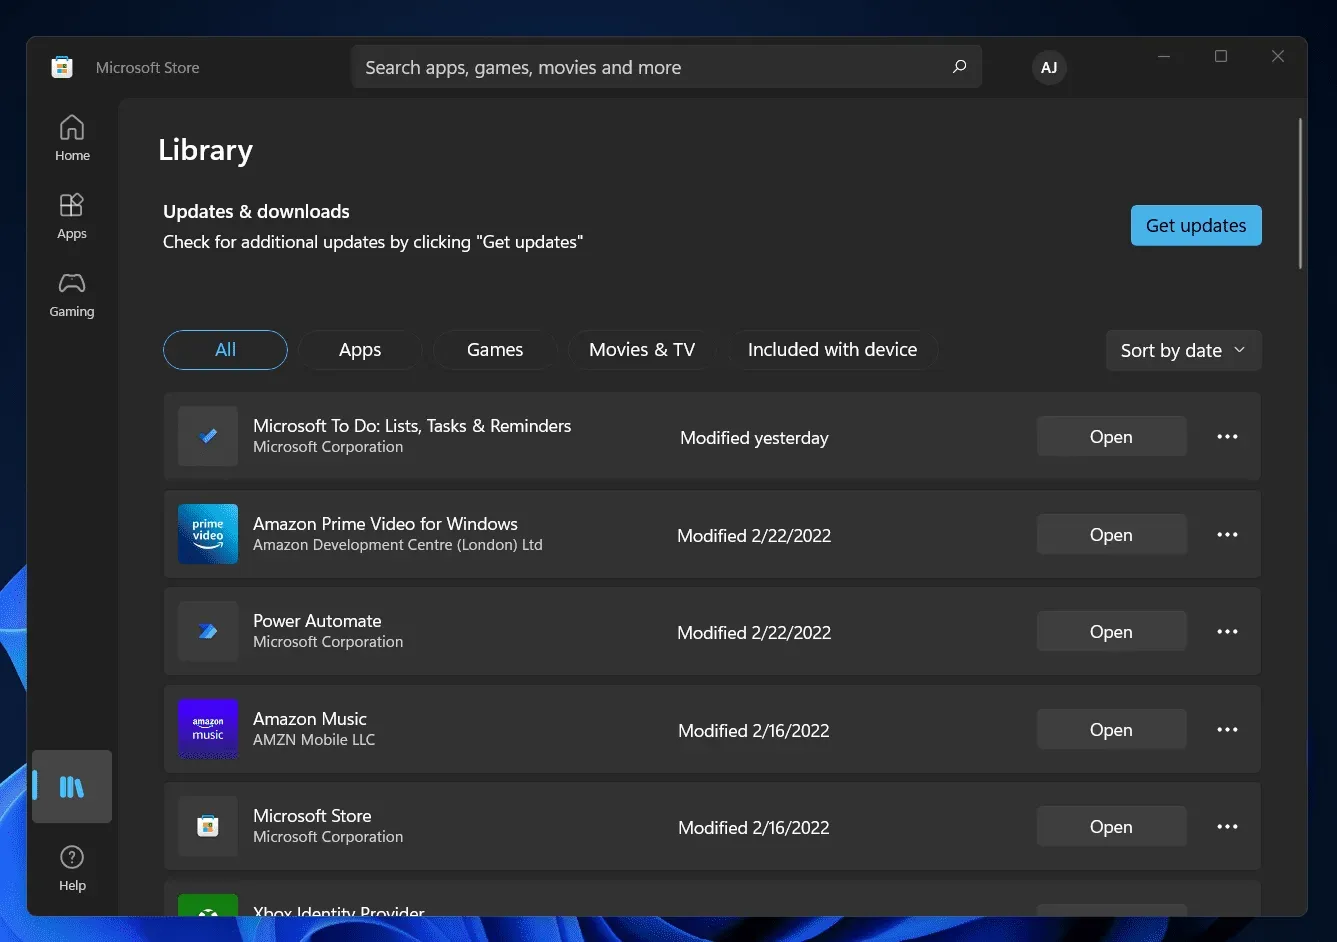
- Now update the iTunes app. After updating the app, try connecting your iPhone to your Windows PC and the problem should already be fixed.
Here’s how to fix the issue where your Windows PC won’t recognize your iPhone. If you are unable to connect your iPhone to your Windows PC, you can use the troubleshooting steps in this article to help you resolve the issue.
Leave a Reply