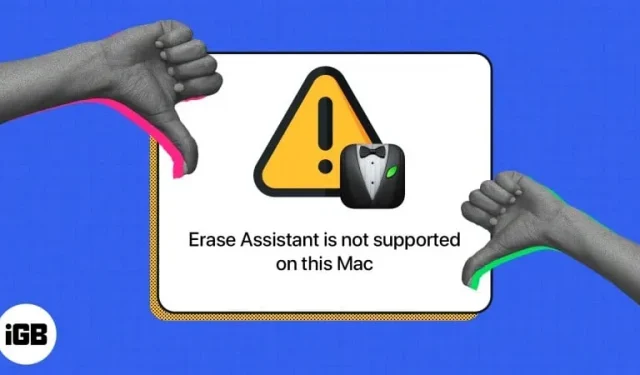
How to fix “Erase Assistant is not supported on this Mac” error
Several users who want to erase their Macs have reported that they are being prevented from erasing their Mac due to the “Erase Assistant is not supported on this Mac” error message. If you are one of those users, read on to find out what it is, what causes it, and what you can do to restart your Mac.
- What is the removal assistant?
- What does the Erase Assistant error mean?
- What to do if Erase Assistant is not supported on your Mac?
What is the removal assistant?
If you’ve owned, given away, or sold an iPhone, you’ve likely used its handy Erase All Content and Settings feature to reset it to its original state.
For years, Macs didn’t have this feature and it took a painstaking process to remove it. Traditionally, you’ve had to manually log out of all your accounts, wipe your startup drive, and reinstall macOS.
That was until macOS Monterey, where Apple finally released its own Erase All Content and Settings program for Mac, commonly known as Erase Assistant. It was introduced to simplify the process of resetting your Mac to factory settings and erasing all of its contents before reinstalling macOS on your Mac with just one click.
Who can use it?
Erase Assistant is a powerful feature only available on Macs with Apple Silicon (M-series chips) or Apple T2 Security Chip. Your Mac must also be running at least macOS Monterey or macOS Ventura or later.
If you’re not sure if your Mac has the Apple T2 Security Chip, the following are Mac models with the specified chip:
- iMac (with Retina 5K display, 2020)
- iMac Pro Mac Pro (2019)
- Mac Pro (rack, 2019)
- Mac Mini (2018)
- MacBook Air (Retina, 13-inch, 2018, 2019, 2020)
- MacBook Pro (13-inch, 2018, 2019, 2020)
- MacBook Pro (15-inch, 2018, 2019)
- MacBook Pro (16-inch 2019)
What does the Erase Assistant error mean?
The “Erase Assistant is not supported on this Mac”error appears if your Mac is an older model and does not have Apple Silicon or T2 security chips.
However, this error seems to be mostly experienced by those who own 2017 MacBook Pro models running macOS Ventura. But generally, older models can also have this problem.
There may also be rare cases where the error may appear on supported devices due to a bug.
What to do if Erase Assistant is not supported on your Mac?
There is not really a fix for the Erase Assistant Is Not Supported On This Mac errors, except that you are using a model that supports the feature and that you are running macOS Monterey or later on your Mac.
If you see a notification that you need to erase other volumes before you can erase all content and settings, you may have used Boot Camp to install Microsoft Windows on your Mac. In this case, you must first use Boot Camp to uninstall Windows and its partition before resetting your Mac.
If your device does not meet the requirements, you will not be able to use Erase Assistant. However, you can still use the traditional way to clean up your Mac, which is mentioned below.
Reset Mac without Erase Assistant
Without Eraser Assistant, there are various ways to reset your Mac, depending on the macOS you’re using and whether it’s an Intel-based Mac or not.
Here is a detailed guide that describes different ways to reset your Mac depending on its macOS and model.
Reset Mac with Erase Assistant
To use Erase Assistant, also known as Erase All Content and Settings on your Mac, follow these steps if you’re using macOS Ventura:
- Go to Apple menu → System Preferences.
- Select General in the sidebar, then click Transfer Reset.
- Click Remove All Content and Settings.
- Now log in with your admin username → enter your password to login to your Mac.
- You can backup using Time Machine or an external storage device, or skip this step.
- Click “Continue”to erase all your media, settings, and data.
- You may be asked to sign out of your Apple ID. Enter your Apple ID password → click Continue.
- Click “Delete All Content and Settings”to continue.
- Your Mac will restart. Wait for the progress bar to finish.
- You may need to connect to a Wi-Fi network. Select a Wi-Fi network in the top right corner of the screen.
- Wait for the Mac to activate. Click Reload.
On macOS Monterey: Navigate to the Apple logo → System Preferences → select Erase All Content and Settings → follow steps 4-10 above.
Completion…
If your Mac meets the system requirements, you can use “Erase All Content and Settings”to reset it without going through the manual process of erasing your Mac.
But if your Mac doesn’t have Apple Silicon or T2 security chips, you won’t be able to use this feature and you’ll have to resort to the traditional Mac reset method.
Hope this helps!
Leave a Reply