How to Fix HomePod and Home Apps Keeping Asking for Apple ID Password and Not Authenticating
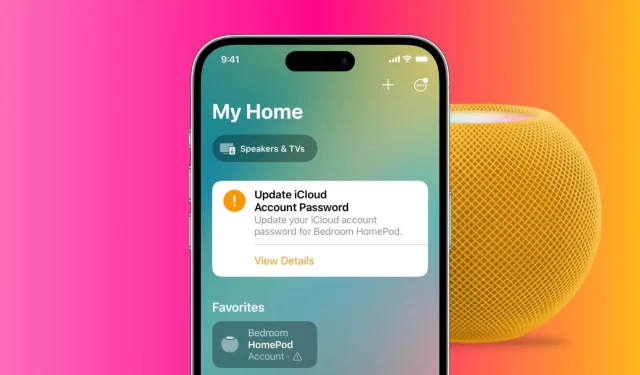
Are you entering the correct Apple ID or iCloud password in the Home app on your iPhone or iPad, but the authentication keeps failing? In this guide, we’ll go over the common causes of this problem and provide step-by-step troubleshooting and troubleshooting instructions so you can get back to using HomePod and other smart devices.
Symptoms
You will be prompted to update your iCloud account password in the Home app before you can use your HomePod:
- After you have changed your Apple ID password,
- If it’s been a long time since you authenticated your Apple ID password, or
- If Apple believes that there is some kind of anomaly and verification is required.
You may also see a tiny critical warning icon (a triangle with an exclamation mark) on the HomePod tile in the Home app. This is normal and does not mean there is a problem with your HomePod.
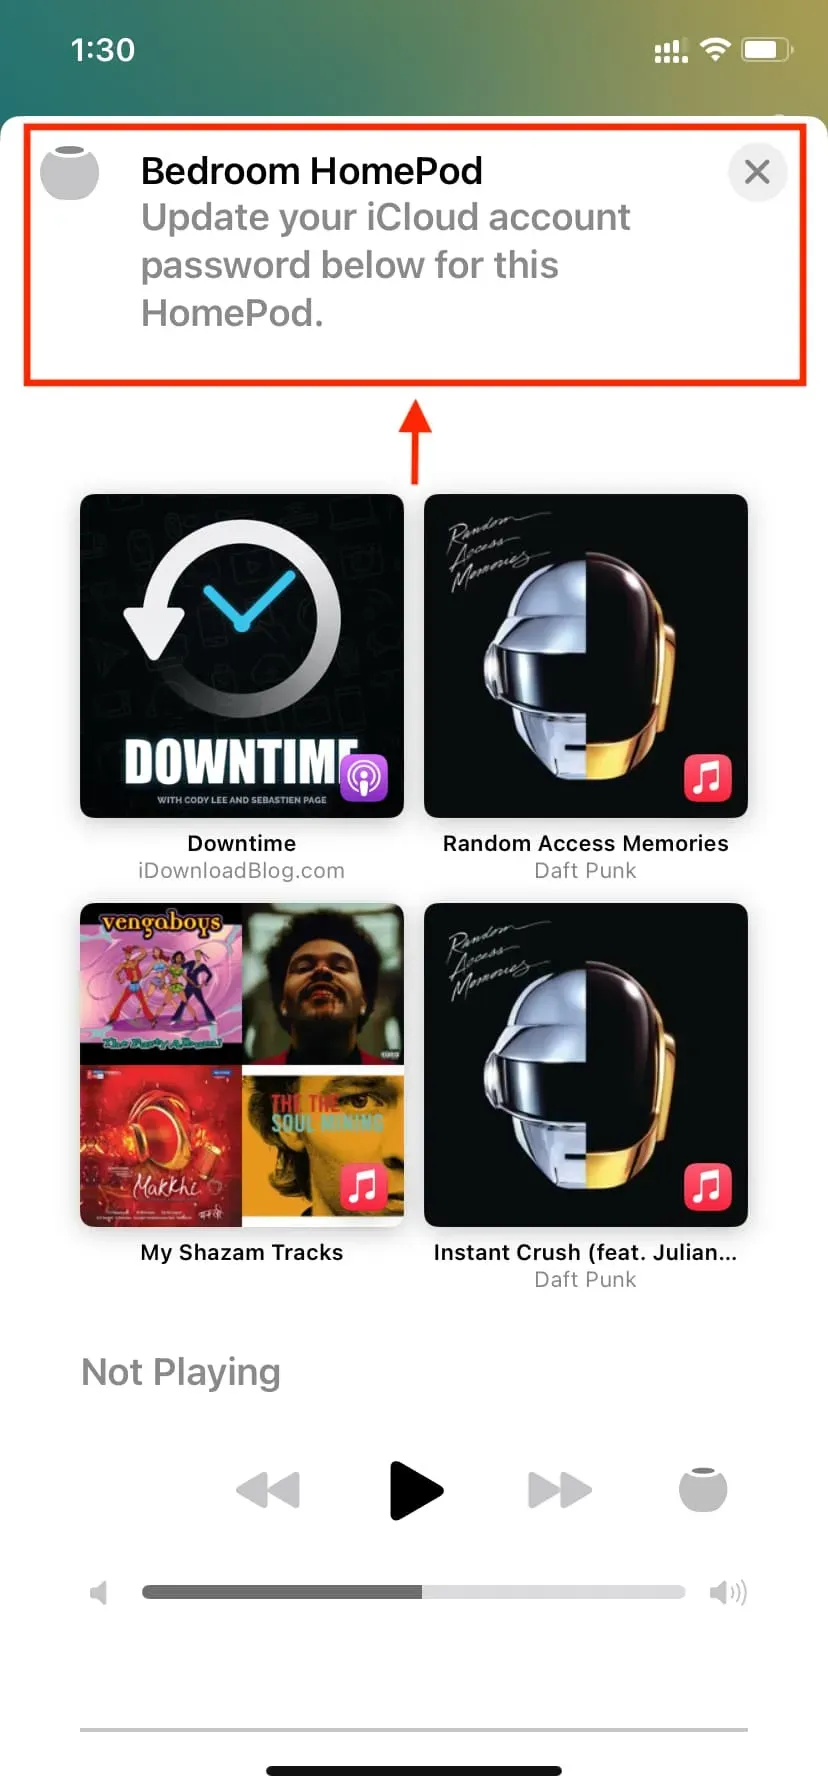
The problem is that even if you enter the correct Apple ID password, it won’t work and won’t say “Your Apple ID or the password used to sign in to iCloud is incorrect.”In other cases, it will just continue processing and get stuck or won’t confirm if the password you entered is correct or incorrect.
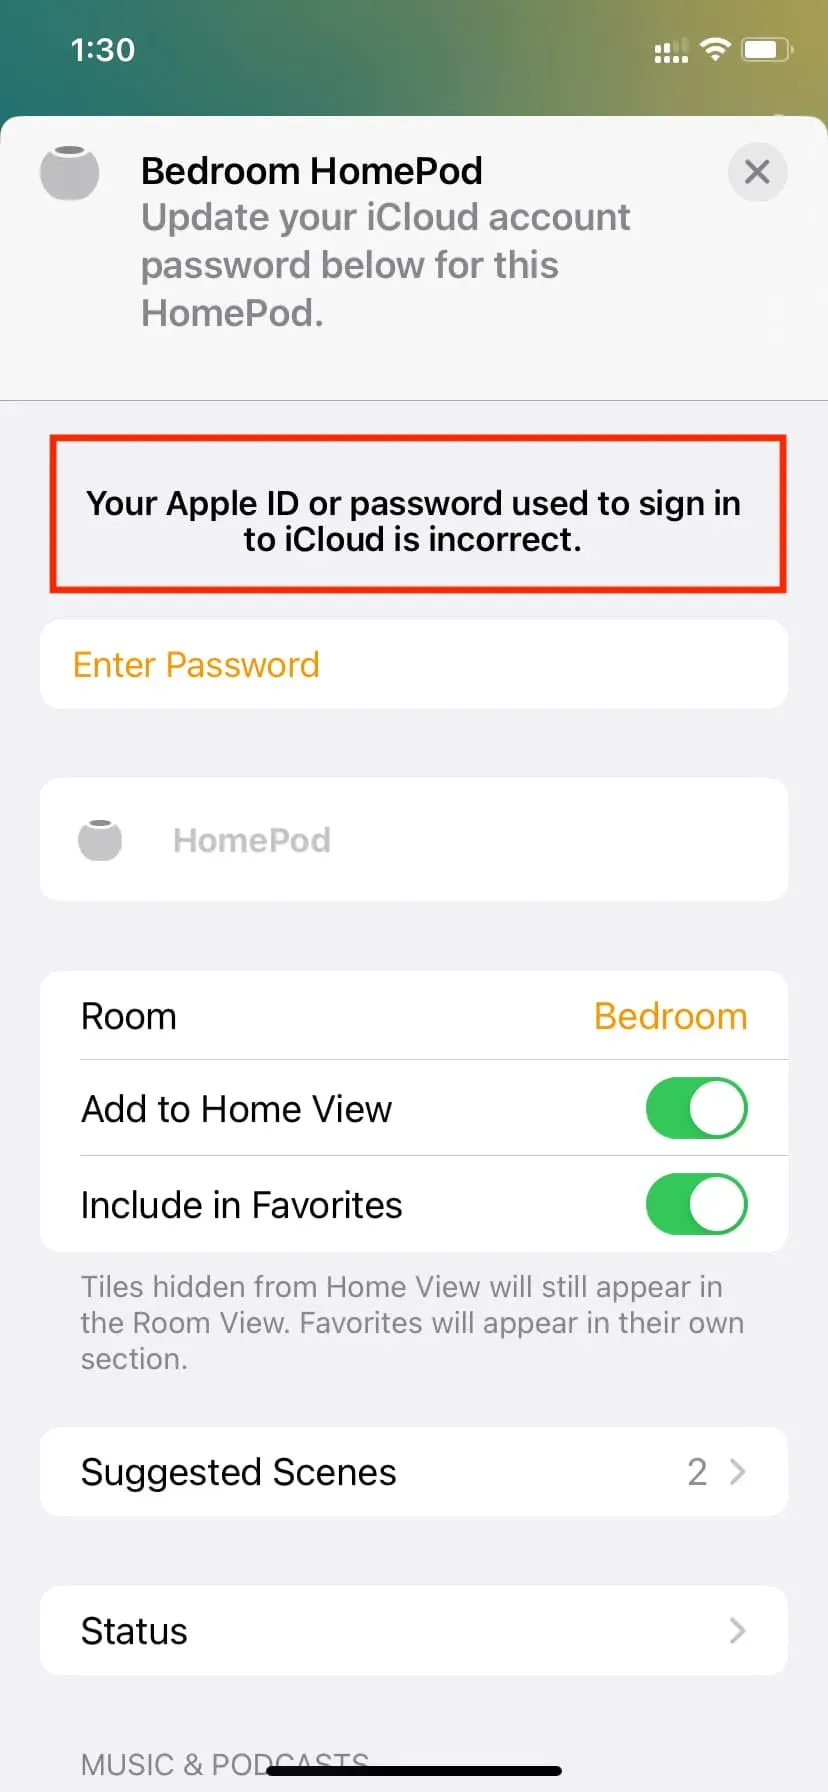
What to do if you don’t enter your iCloud password?
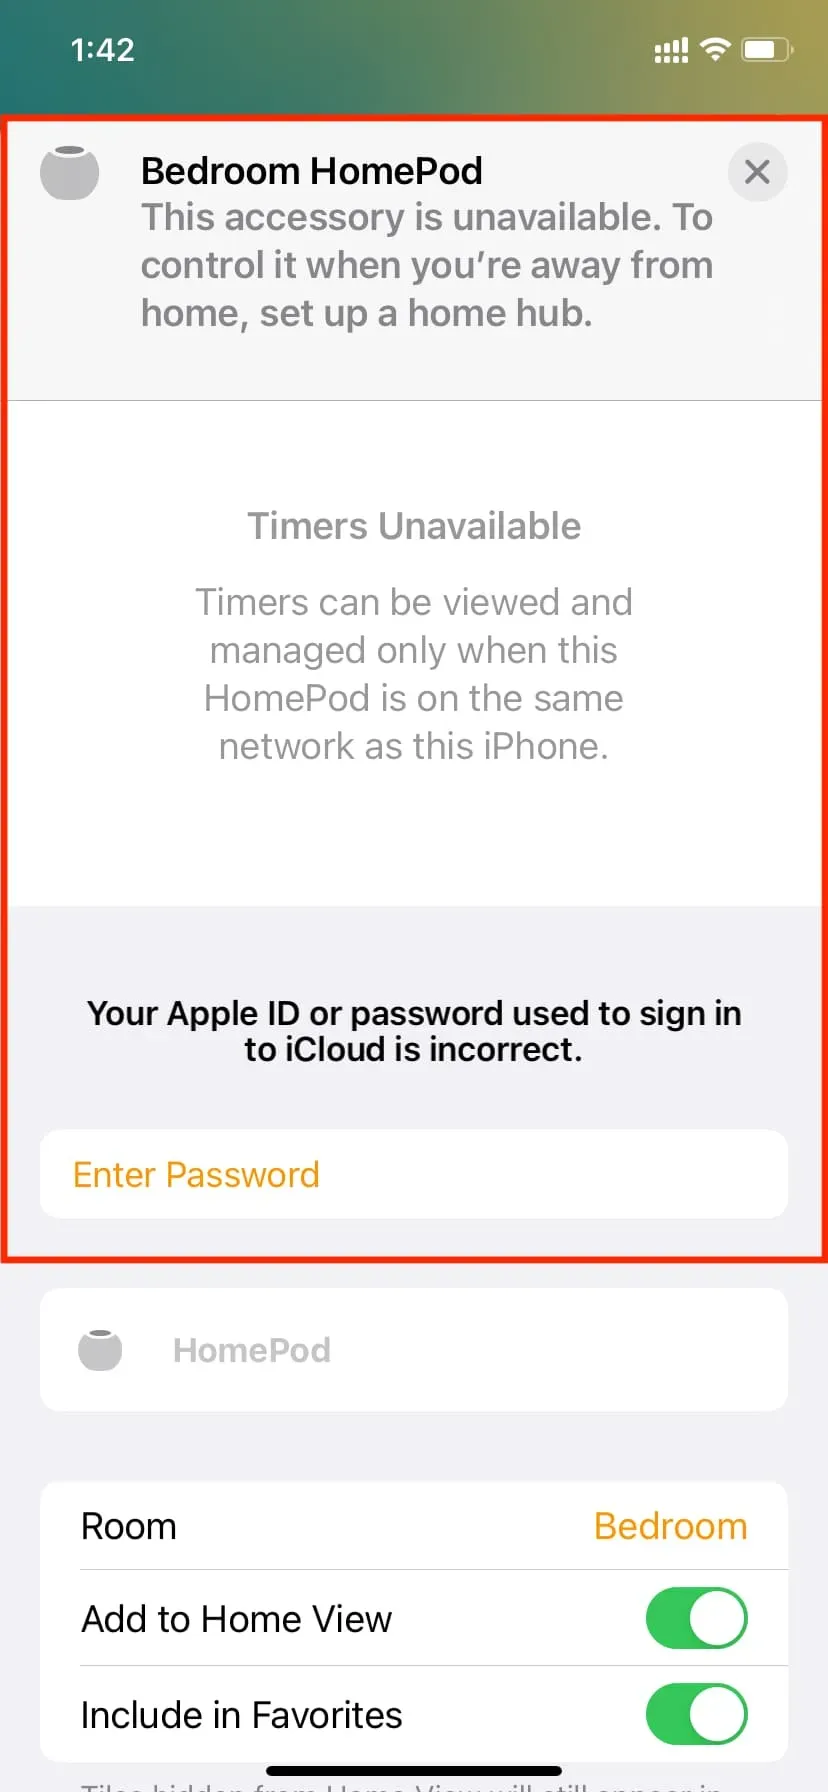
If you don’t fix this issue, you’ll see the message “This accessory is not available. To manage it when you’re away from home, set up a home hub.”In this case, you won’t be able to use your HomePod for almost anything. For example:
- Siri won’t work.
- You cannot set timers, reminders, etc.
- You cannot play music on your HomePod through Apple Music or other online services.
- And you can’t even play AirPlay audio from your Mac, iPad, or iPhone on it.
Ways to fix problems with an incorrect Apple ID password in the Home app
Double check your Apple ID password
Are you 100% sure you are entering the correct Apple ID or iCloud password?
To check, go to iCloud.com in any web browser other than Safari. And if you’re using Safari, don’t sign in with Face ID or Touch ID. Click “Use a different Apple ID”and manually enter your Apple ID and password.
Were you able to successfully log in? If so, it means that you remember your Apple ID password; please move on to the next solution. If not, quickly reset your Apple ID password using your iPhone, iPad, or Mac.
Exit the Home app and reopen it.
When you enter your Apple ID password in the Home app, App Store, or Settings app, you may see a warning that the process failed and the warning message will remain visible.
However, if you force close an app (such as Home) and reopen it, the message will disappear.
Make sure your iPhone or iPad is connected to the Internet
Please visit the website in a web browser or play a video in the YouTube app before continuing. This will help confirm whether your device is connected to a working Wi-Fi or not. If there are problems with Wi-Fi, fix them first.
A little tip, even if your Wi-Fi is working: Restart your Wi-Fi router and then go to the Home app to enter your Apple ID password.
Turn off your VPN
Is your iPhone, iPad, or Wi-Fi router connected to a VPN? Turn it off before entering your Apple ID password in the Home app.
Restart your iPhone and try again.
Oftentimes, Apple ID password authentication fails, doesn’t show any confirmation, or gets stuck on the screen due to temporary glitches. One effective way to fix this is to simply turn off your iPhone or iPad and turn it back on.
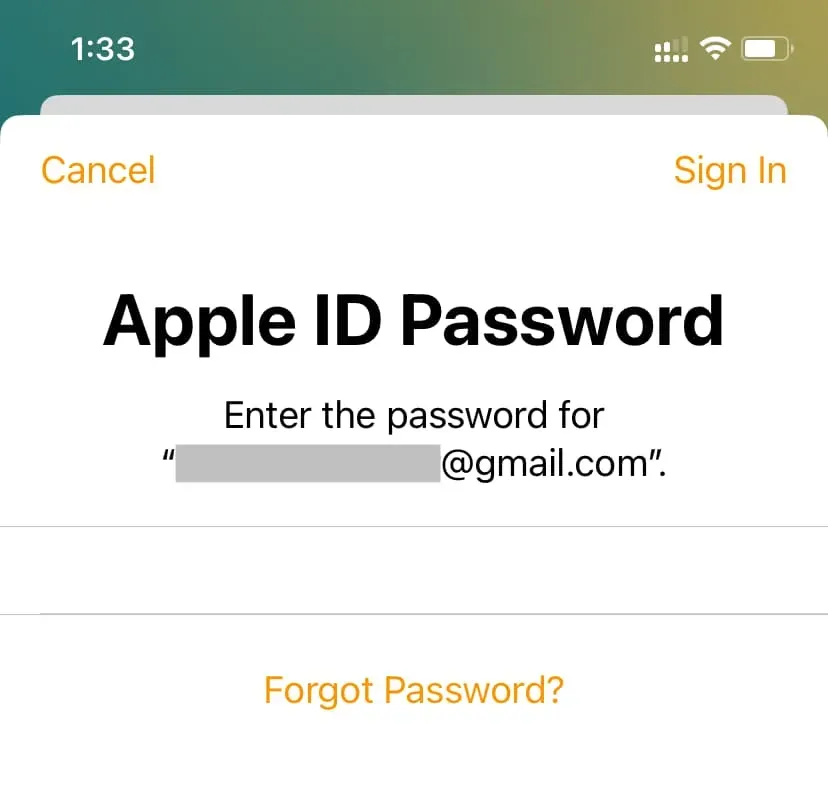
Once the reboot is complete, open the Home app > tap the Update iCloud Account Password banner > enter your password > enter your Apple ID password and tap Sign In to authenticate. After that, this annoying banner will disappear from the Home app and you will be able to use your HomePod again.
Reboot your HomePod
You can restart your HomePod from the Home app, but because it’s having issues, you may not see the usual option to restart it from the app. So physically unplug your HomePod and plug it back in.
Check the status of the Apple ID server from Apple.
- Go to this official Apple system status page.
- Look for green dots next to Apple ID, iCloud account and sign in, App Store, Find My, HomeKit, and iOS device activation.
- If there is a yellow or red shape next to them, it means there is a server issue on Apple’s side and you will have to wait until a fix is implemented. You can’t do anything on your end.
Restore your HomePod
Have you tried everything but are still unable to remove the “Update iCloud account password”error in the Home app? In this case, restart your HomePod:
- From the Home app on iPhone or iPad (which may not work because you keep seeing the error in the Home app).
- Using Finder or iTunes on Mac or PC
- Straight from HomePod
You can use one of the last two methods to reset and restore your HomePod. Once this is done, set it up again.
Reset iPhone network settings
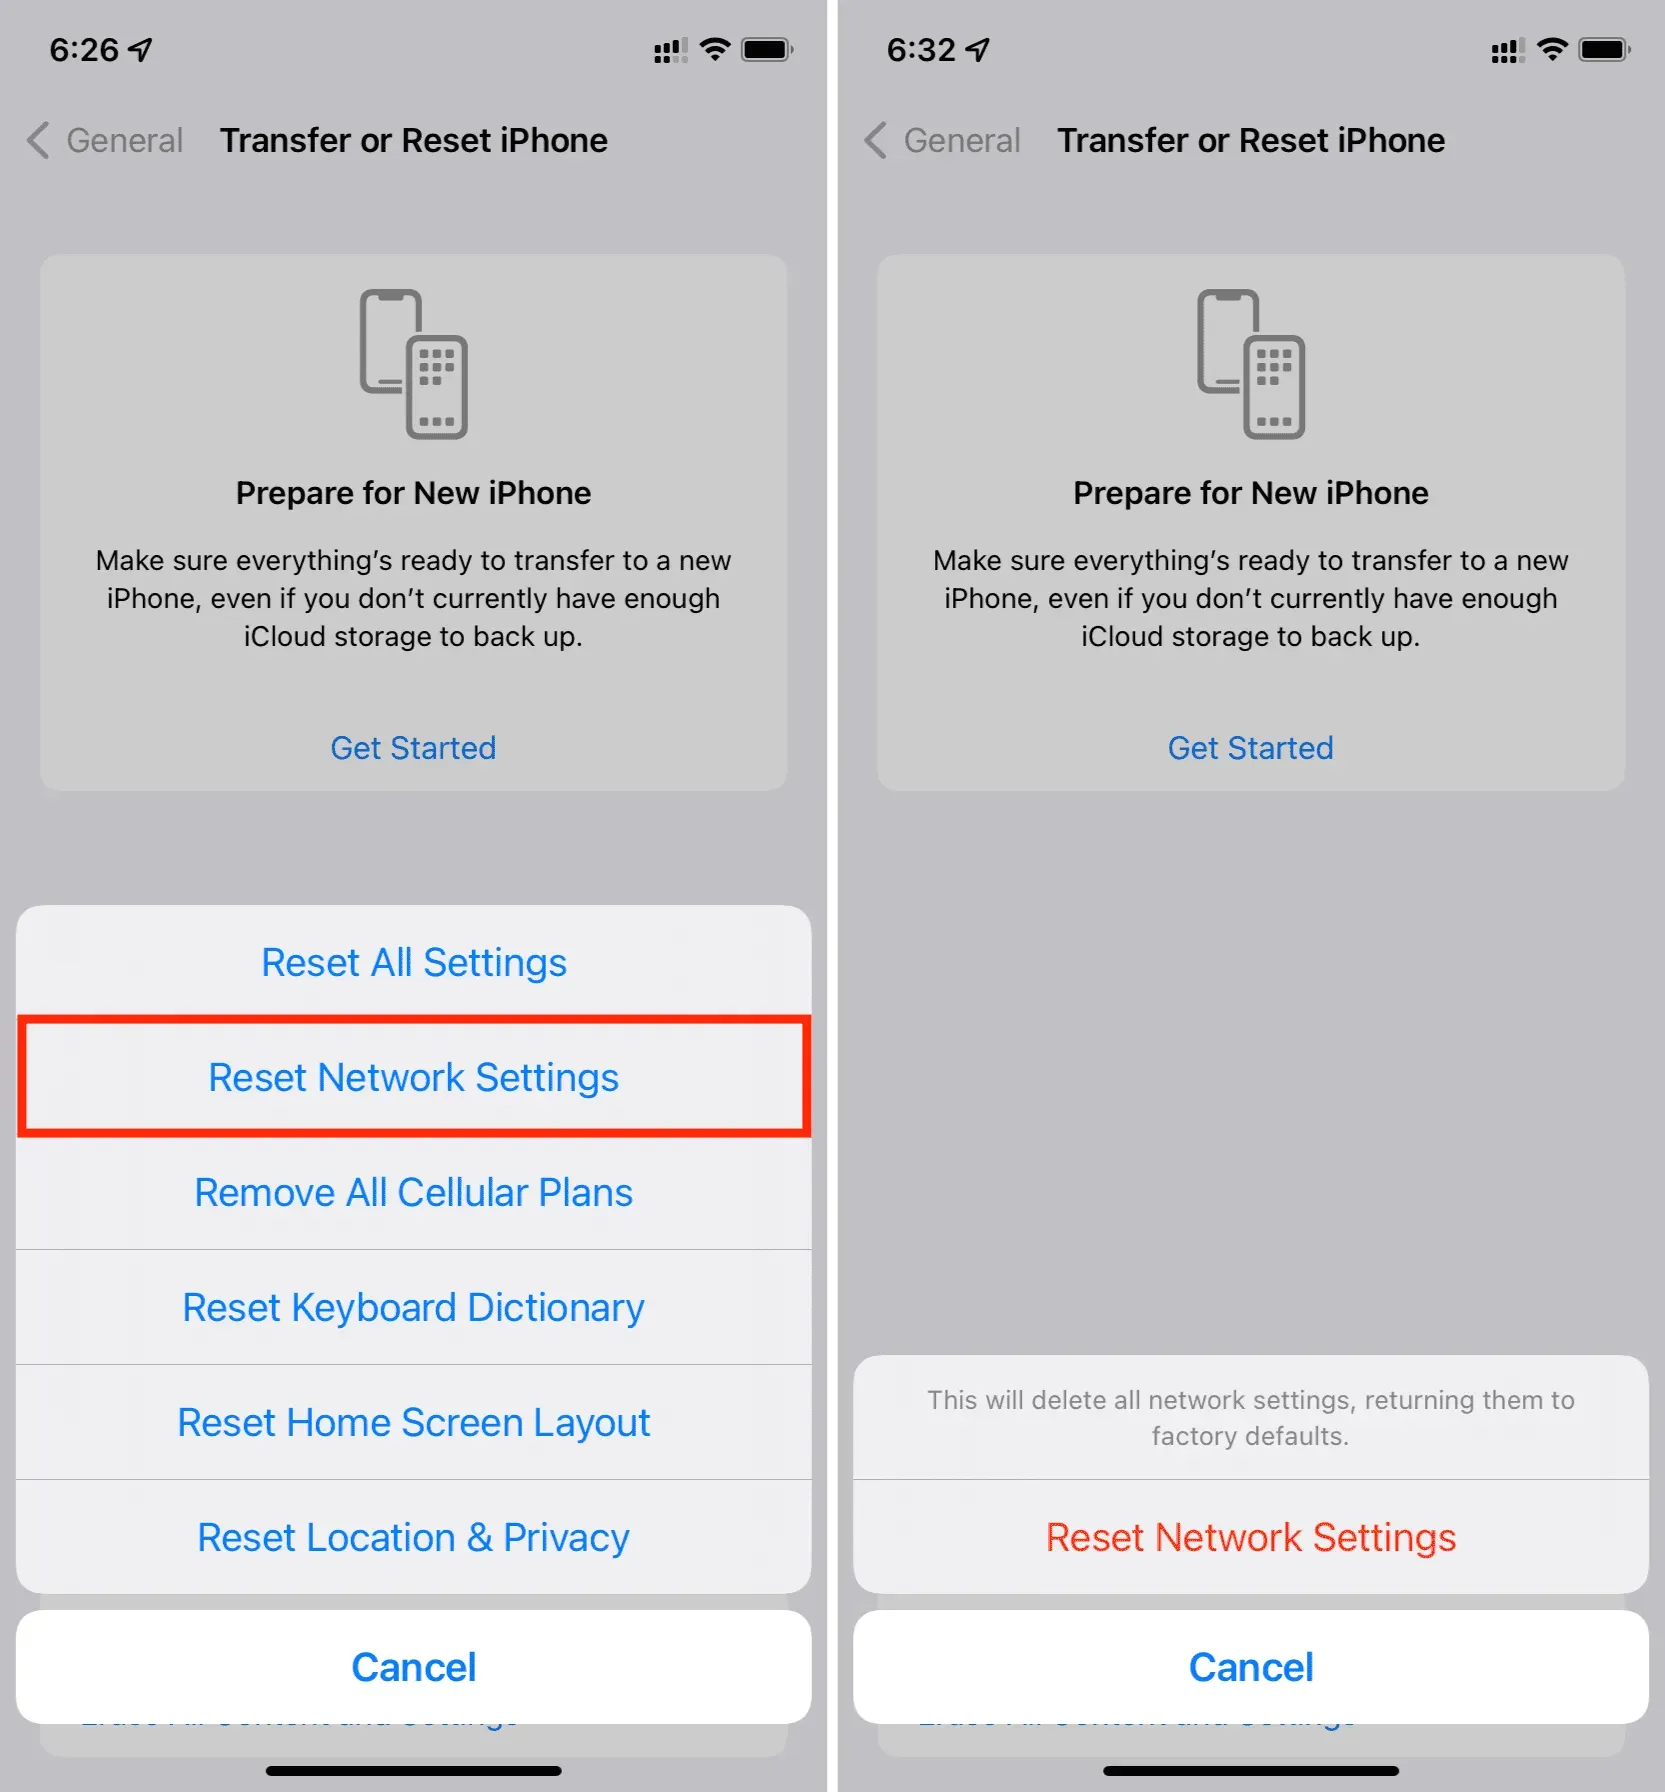
Still unable to successfully enter your Apple ID password and get your HomePod working again? Reset iPhone or iPad network settings if you use the Home app for iCloud password authentication.
Try another device you own
If you can’t successfully use the Home app on one of your devices, such as your iPhone, use the Home app on your iPad or Mac and enter your Apple ID password there. If that works, the error should also automatically disappear from the Home app on your iPhone.
Sign out of Apple ID and sign back in
This solution involves completely signing out of your Apple ID or iCloud on your iPhone or iPad and signing back in. After you do this, it should automatically authenticate your HomePod and remove the Home app password popup.
Uninstall the Home app and reinstall it.
Finally, if all else fails, uninstall the Home app and download it again. For this:
- First, restart your HomePod and remove it from the Home app.
- Then uninstall the Home app.
- Now restart your iPhone and redownload the Home app.
Warning. If you only have one or more HomePods added to the Home app, this shouldn’t be a problem. However, if you have many smart devices configured, such as lights, thermostats, smart doors, etc., it will be difficult to set them up again. So, in this case, we recommend waiting for a few hours and then following the solutions above.
Leave a Reply