How to Fix SOS Only Issues on iPhone
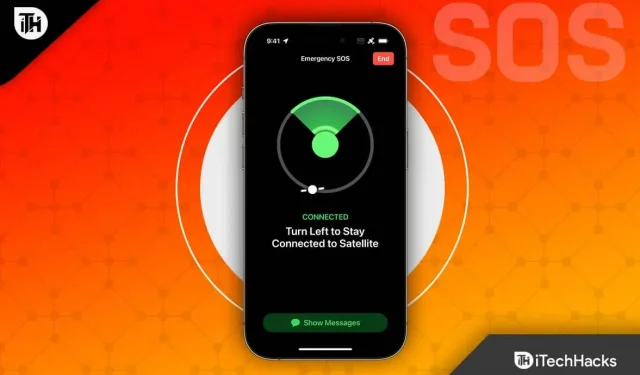
Apple has never stopped providing great features to its iPhone users. Whether it’s security or something else, Apple always thinks about the good of iPhone users. We’ve all heard different kinds of news about emergency features provided by Apple on the iPhone.
iPhone “SOS Only”is one of the best features that can help you even if you are not in a coverage area and there is no mobile data or a good signal. However, users who only receive an SOS or SOS signal on an iPhone will be able to contact the relevant authorities or be able to call 911.
But some users get an error even if they are in the coverage area. They can’t figure out why this is happening to their iPhones. If you are one of the iPhone users, don’t worry, we are here with the fixes you can follow on your iPhone to eliminate SOS or SOS only if it is happening to you due to some error.
How to Fix SOS Only Issues on iPhone
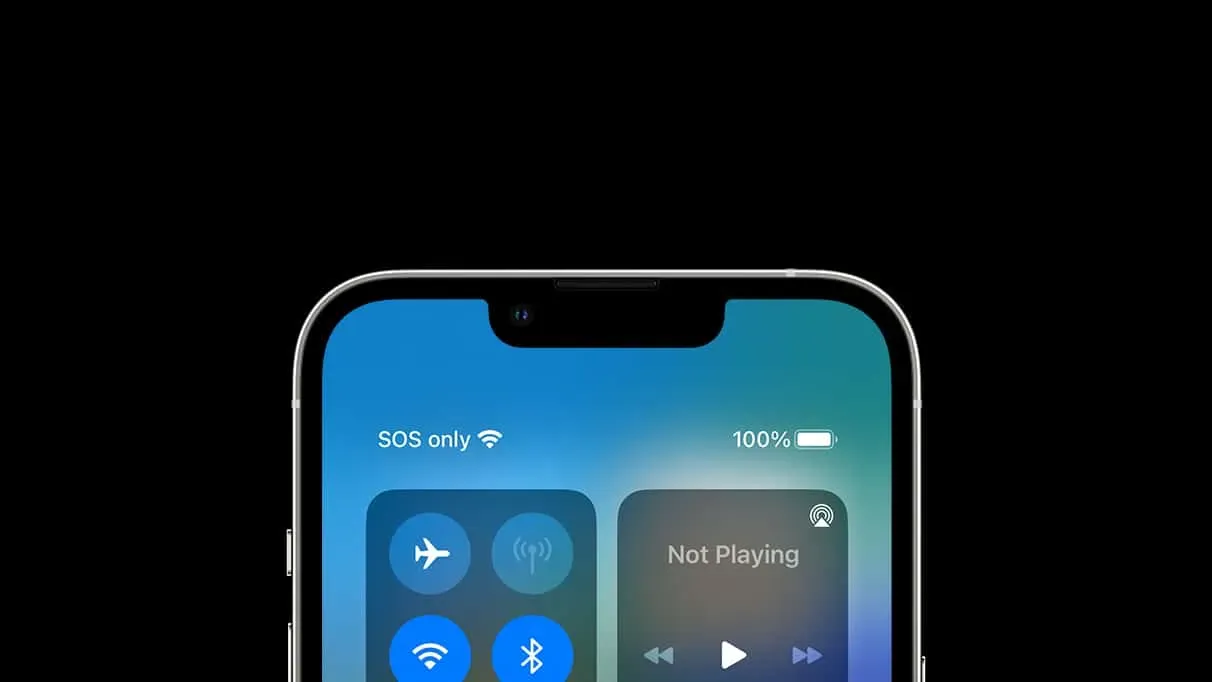
Many iPhone users report receiving an SOS signal only on the iPhone’s status bar, even if they are within coverage. Due to this issue, users are unable to make phone calls or access mobile data, which they cannot resolve. However, you don’t need to worry about this. We are ready to offer fixes to help you fix SOS Only iPhone issue. So let’s get started with the fixes below.
Turn mobile data on/off
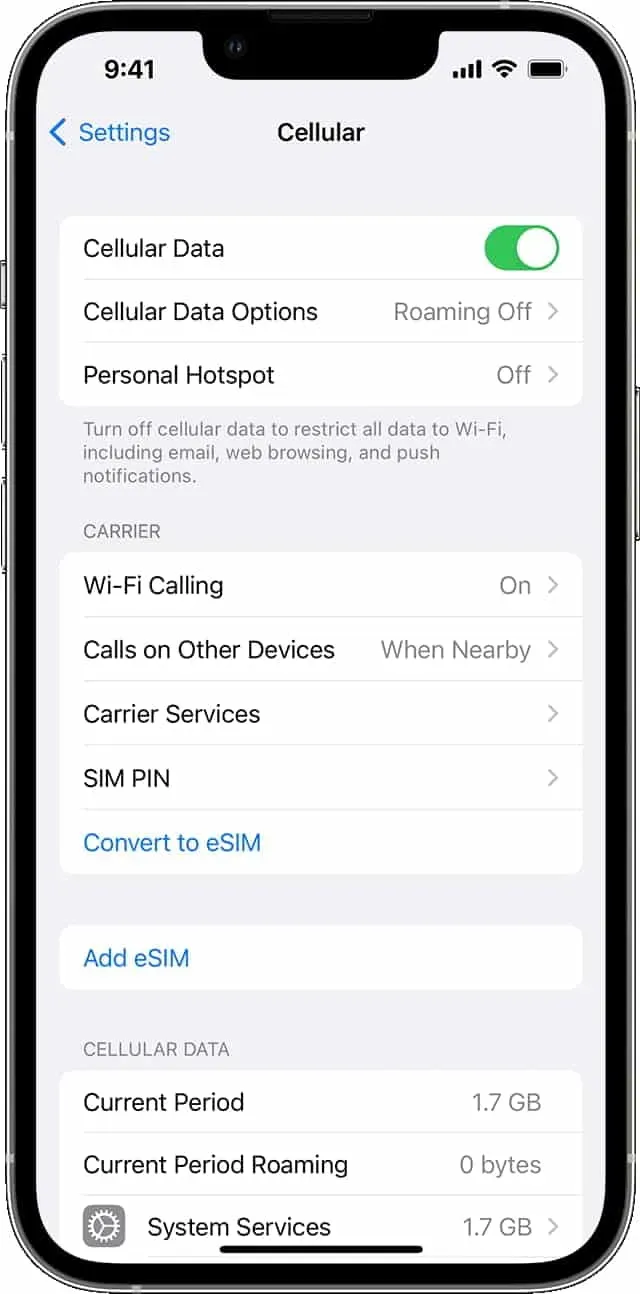
Users encountering iPhone “SOS Only”should try turning mobile data on and off to see if it works while fixing the issue. When you turn off mobile data and then turn it back on, iPhone will start creating a new network connection. Therefore, if the SOS only occurs due to a network error, it will be fixed without any problem. To enable/disable mobile data, you must follow the steps listed below.
- Open “Settings”on your iPhone.
- Select Mobile data.
- Click to turn it off and then on again.
- Wait a while for the iPhone to establish a connection.
- Make sure the status bar still shows iPhone “SOS Only”.
Switch to another supported network
If you’re still getting the SOS Only iPhone notification, chances are you’re in an area where the selected network for iPhone isn’t available. We suggest you change your cellular settings to another network. To switch to another supported network, you must follow the steps listed below.
- Open “Settings”on your iPhone.
- Navigate to the “Cellular”option.
- Select Cellular Options.
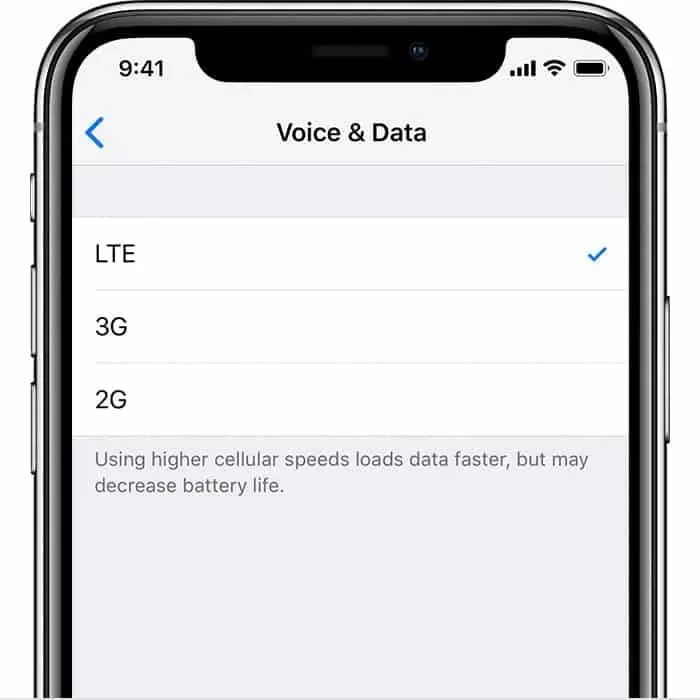
- Select LTE from the menu.
- Now check if the issue is resolved or not.
In case you don’t know, 5G is still in development and we assume that you are in an area where the 5G signal strength is very low, which is why you are getting the “SOS Only”error message. So change the supported network by following the steps above and check if that fixes the error.
Enable data roaming
Sometimes the “SOS Only iPhone” issue can also occur if you are in a different location/country and have not started data roaming on your iPhone. This usually happens when you travel. Therefore, follow the steps listed below to enable data roaming.
- Open “Settings”on iPhone.
- Go to the “Mobile Data”section.
- Select mobile data options.
- Click to enable data roaming. If it is already on, then turn it off and on again.
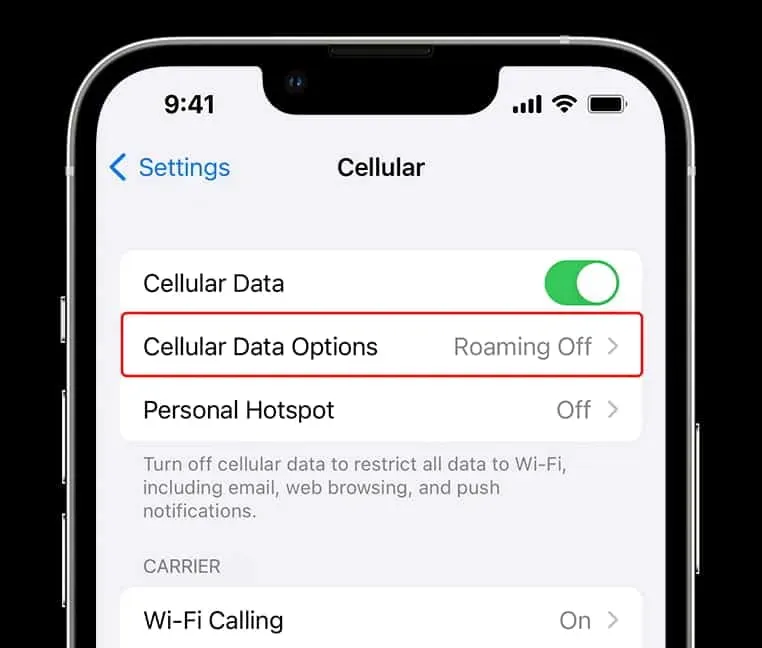
- Now wait for a while and check if the issue is resolved.
Turn iPhone off and on
There is a chance that the iPhone settings are correct, but your iPhone is unable to scan the network due to minor bugs or other issues. So you’d better try restarting your iPhone. However, instead of rebooting, we will turn off the device and then turn it back on.
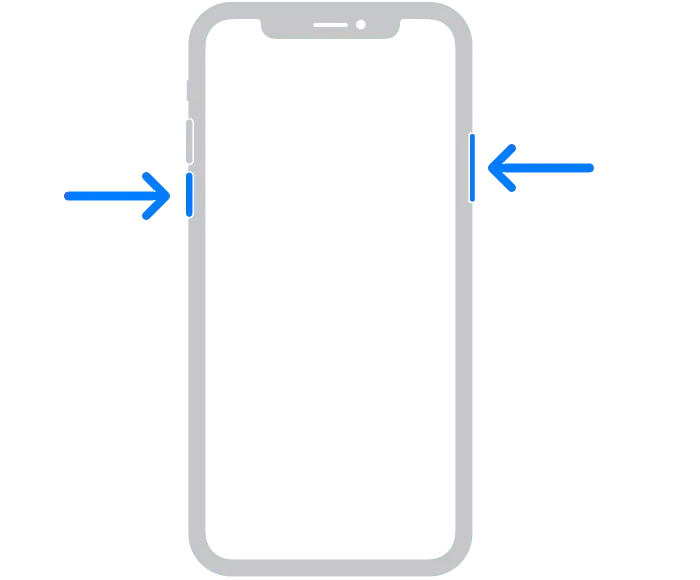
We do this because many services and background processes do not stop properly if you restart your device. Therefore, it would be better if you manually turn off and on your iPhone to fix the problem. Press and hold the Power button to turn off your iPhone. After turning off your phone, turn it back on by pressing the Power button.
Check carrier settings
If the Carrier settings on your iPhone are not correct, the SOS Only iPhone issue is most likely to occur on your device. We recommend that you check for carrier settings updates on your iPhone to avoid such issues. You must follow the steps below to do so.
- Go to “Settings”on your device.
- Now go to the general.
- Select “About”on your iPhone.
- If any update is available on your device, download it.
- Wait for the installation to complete properly. After that, check if the issue is resolved or not.
Enable/disable automatic network selection
Sometimes the automatic network selection also freezes and does not connect to the nearest network signal with a better signal. Due to this problem, you may also encounter the SOS Only iPhone issue. We suggest you turn auto network selection on and off on your iPhone to reset the network selection and it can start scanning again for the best network strength. Do this and check if the problem persists or not.
Delete and paste your Sim
If you have done the previous auto network selection fix, we suggest that you remove the sim and check if it is suitable for use or not. Many users found that the SIM card they were using in their iPhone was corrupted, causing them to experience the issue. So take out the sim card, clean it and put it back in the iPhone sim card tray again. After that, check if the issue has been resolved or not.
Check for updates
Apple users who haven’t updated their iPhones in a while should check for new updates on their devices. Apple is constantly releasing new updates to make iPhone smoother and more error-free. However, any problems can arise if you have not updated your iPhone. We suggest you check for updates on your iPhone. You must follow the steps below to check for updates on your iPhone.
- Open “Settings”on your device.
- Go to general option.
- Select Software Update.
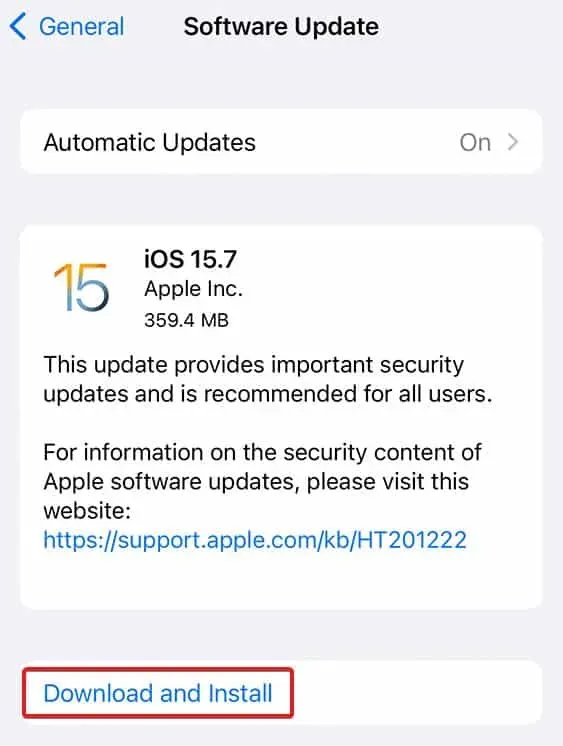
Image for representative purpose
- The device will check for the latest updates.
- If any updates are available for your device, click Download and Install.
- Wait for the installation to complete.
- Now check if the problem occurs or not.
Note. You need to update your iPhone with Wi-Fi as mobile data will be unavailable due to iPhone SOS only.
Reset network settings
You can also use the network settings on your iPhone to fix the iPhone SOS Only issue. To do this, follow the steps listed below.
- Open “Settings”on your iPhone.
- Go to the general.
- Scroll down and find Transfer or Reset iPhone.
- Now select the reset option.
- Click Reset Network Settings and enter your password if prompted.
- Click Reset Network Settings again to confirm.
- Wait for the process to complete.
Contact support
If you have tried all the above methods correctly and are still getting the same error, we recommend that you contact customer support or your carrier to help you resolve the issue. You can write to them about the problem. After that, you will be told how to solve the problem.
Final Thoughts
Thousands of iPhone users are facing SOS Only iPhone issue on their device. However, this is not a big issue to worry about as we have listed the methods through which you can fix this problem. In this guide, we have properly explained the methods to you, check and apply them correctly on your iPhone to fix the problem.
Leave a Reply