How to Fix Skype Crashing on Windows 11

At one time, Skype was one of the most popular options for video conferencing. Skype is still used by many people despite not being as popular as it used to be. Many Skype users have recently encountered problems with the application. At the time of this writing, Skype crashes every time it is opened on Windows 11. Thankfully, after a bit of research, we found a fix for this issue.
Content:
Fix Skype crash on Windows 11
In this article, we’ll walk you through how to fix the issue that keeps Skype crashing on Windows 11 PCs.
Run the Windows Store Apps Troubleshooter
The very first thing you should try to do is run the Windows Store Apps Troubleshooter. This should most likely fix the issue you were having with the Skype app and you should be able to run it without any problems. To run the Windows Store Apps troubleshooter, follow these steps:
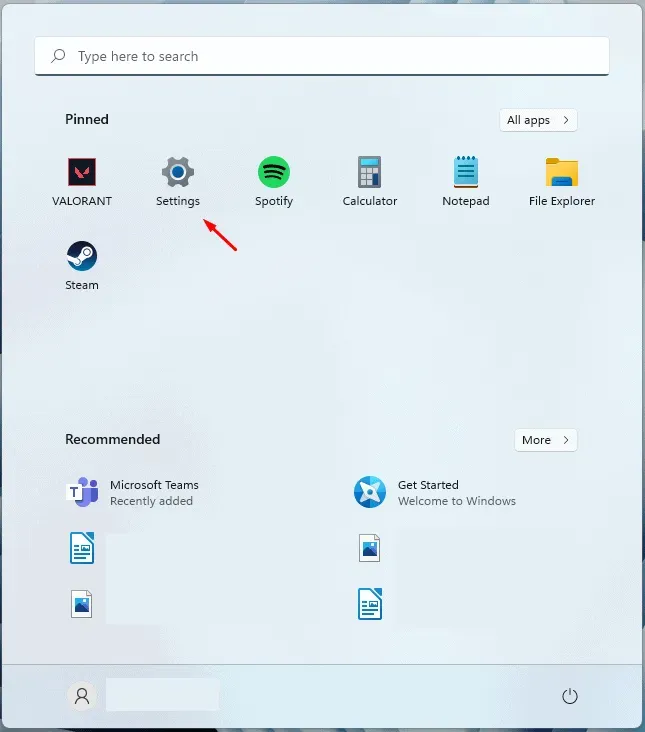
- Open the Settings app on your PC by pressing the key combination Windows + I.
- In the System section , click Troubleshoot on the right.
- Here, click” Other troubleshooters “.
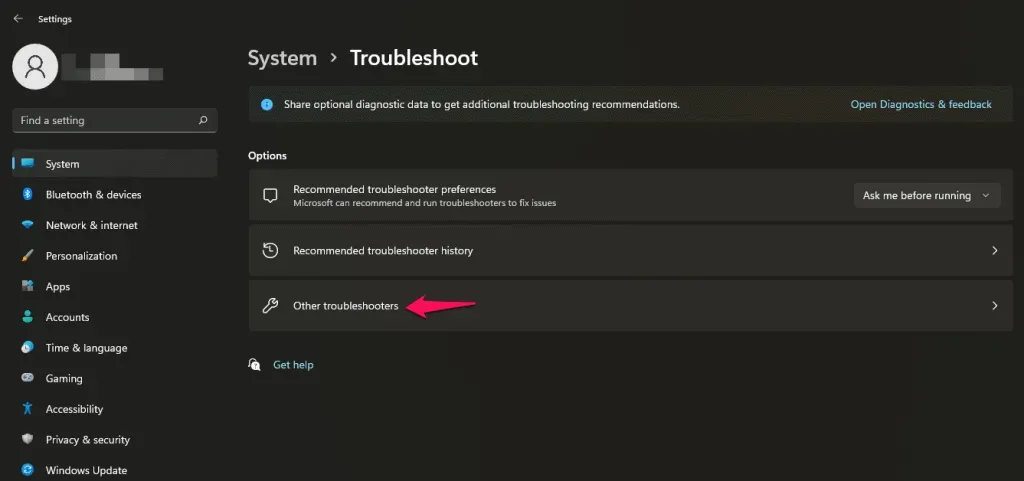
- Click the Run button next to Windows Store Apps to run the Windows Store Apps Troubleshooter .
- Now follow the instructions on the screen and the issue should be fixed.
Install Media Feature Pack
Another troubleshooting step to fix Skype crashing on Windows 11 is to install Windows 11 N- Media Feature Pack. Follow the steps given below to install Windows 11 N- Media Feature Pack.
- Press the key combination Windows + I to open the Settings app .
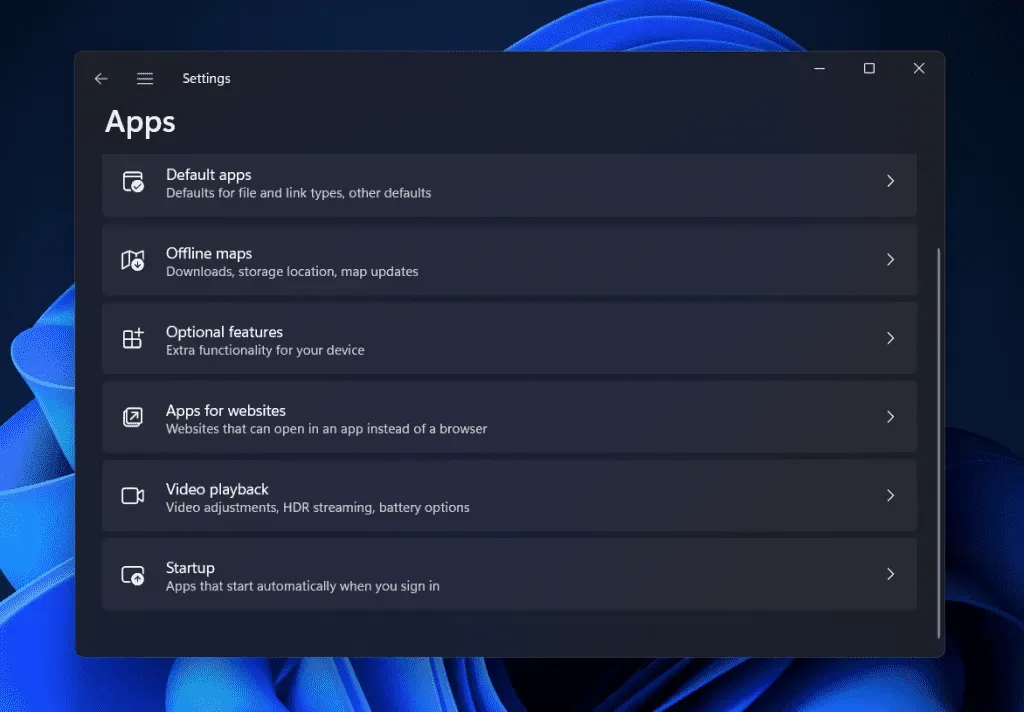
- Navigate to the Apps section on the left sidebar of Settings , and then on the right, click More features .
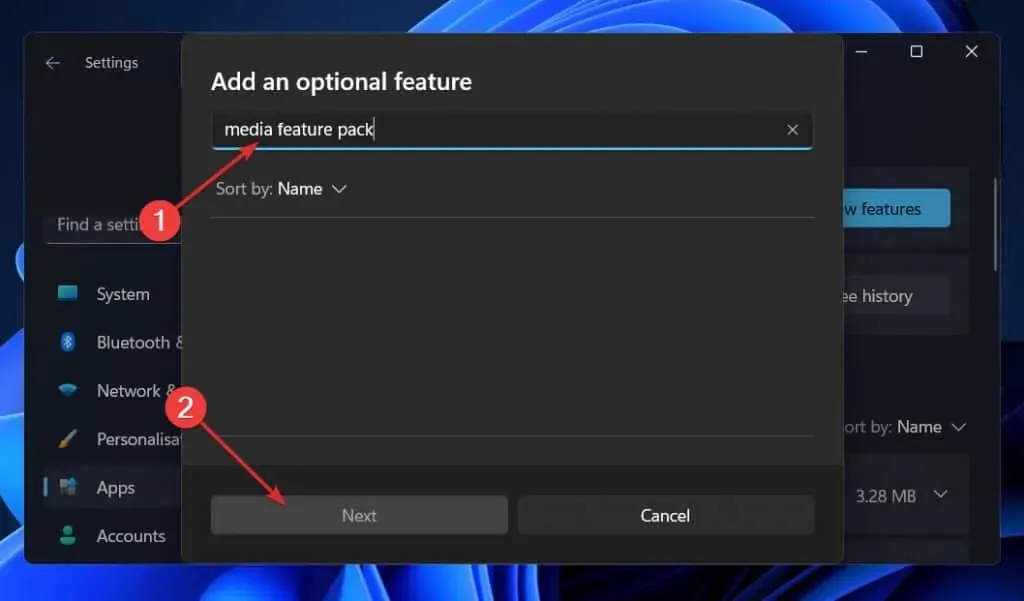
- On the next page, click on the” View Features “option, which you’ll find next to the” Add an Extra Feature “option.
- On the next screen, find Media Feature Pack and click Next. Click the Install button next to Media Feature Pack to install it.
Reset the Skype app
The next thing you can do is try resetting the Skype app. You may be facing a problem due to some bugs in the Skype app, so try resetting the app settings. To reset an application, follow these steps:
- Press the key combination Windows + I to open the Settings app on your PC.
- Now on the left sidebar, click on the Applications section and then on the right sidebar, click on Apps & features.
- Find Skype in the list of applications . Click on the three ellipses next to Skype , and then click on More Options from the menu that opens.
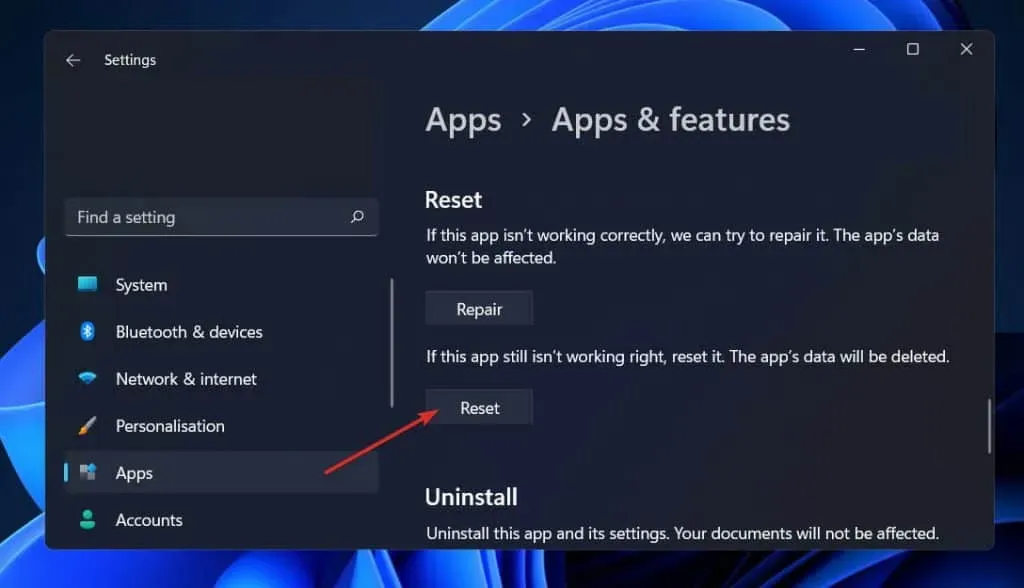
- Go to the “Reset”section in “Advanced Options”and then click the “Reset”button.
This will reset the app to its factory default settings. This should most likely fix the issue you’re having with Skype on Windows 11.
Reinstall Skype
If you’re still unable to resolve the issue you’re experiencing with Skype, the last resort is to reinstall Skype. To do this, follow the steps given below:
- Open the Settings app on your PC. You can do this by pressing the key combination Windows + I.
- Then click on the Apps section on the left sidebar and then on the right side click on Apps & Features.
- Find Skype in the list of applications and then click on the three dots you see here. Now in the menu that opens, click the” Delete”button .
- After that, download Skype and then reinstall it on your computer. Set up Skype on your PC and then you can use it.
Final words
Here’s how you can fix any issues you’re having with Skype. If Skype keeps crashing on Windows 11, you can usually fix the problem by following the methods in this article. If the issue persists, you can contact Microsoft Support for further assistance.
Leave a Reply