How to fix Geeni smart bulbs not working with Google Home
The Geeni smart bulbs also constantly communicated with the cloud via a URL (tuyaus.com) driven by an IoT platform controlled by a Chinese company. But Geeni’s light bulb needs to be fixed on Google’s home network. Yes, Geeni does not work with their Google Home for many users.
As we investigate this issue, we find some shocking causes and their fixes. And guess what? In this article, we have listed all these fixes. So, if your Geeni Bulb is not working with Google Home, be sure to follow the fixes mentioned in this article. So let’s start with them:
Content:
- 1 Why doesn’t Geeni work with Google Home?
- 2 How to fix Geeni not working with Google Home
- 3 Some Frequently Asked Questions – Frequently Asked Questions
Why doesn’t Geeni work with Google Home?
If Geeni does not work with Google Home, there may be several reasons for this, including:
- You are not using the 2.4 GHz band on a Wi-Fi network.
- The Geeni app may have a glitch.
- There have been no updates for a long time.
How to Fix Geeni Not Working with Google Home
The advantage of a smart light bulb connected to Google Home is that it can be controlled using voice commands. However, you will need Google smart home light bulbs to do this. However, there are times when Geeni smart bulbs are not compatible with Google Home or need to be repaired. So let’s go over the fixes to decide how to fix Geeni not working with Google Home:
Restart the application
You may be facing this issue only because some glitches or bugs are preventing Google Home from working properly with Geeni smart bulbs. As such, you should try restarting your Geeni app as this will fix these errors and give your app a fresh start to function properly.
It will also help you solve this problem. So, you should try this method and see if it helps. But if you find that this doesn’t help you, be sure to check out the other fixes mentioned below.
Check your internet connection
Before using Geeni Light Bulb with Google Home, you need to check the network connection. Your Geeni Light Bulbs must be connected to the same mains to work properly.
However, the 2.4GHz Wi-Fi network will also prevent the bulb from connecting to Google Home unless you set up your network. To switch from 5GHz to 2.4GHz, make sure you change your home WiFi settings from 5GHz to 2.4GHz.
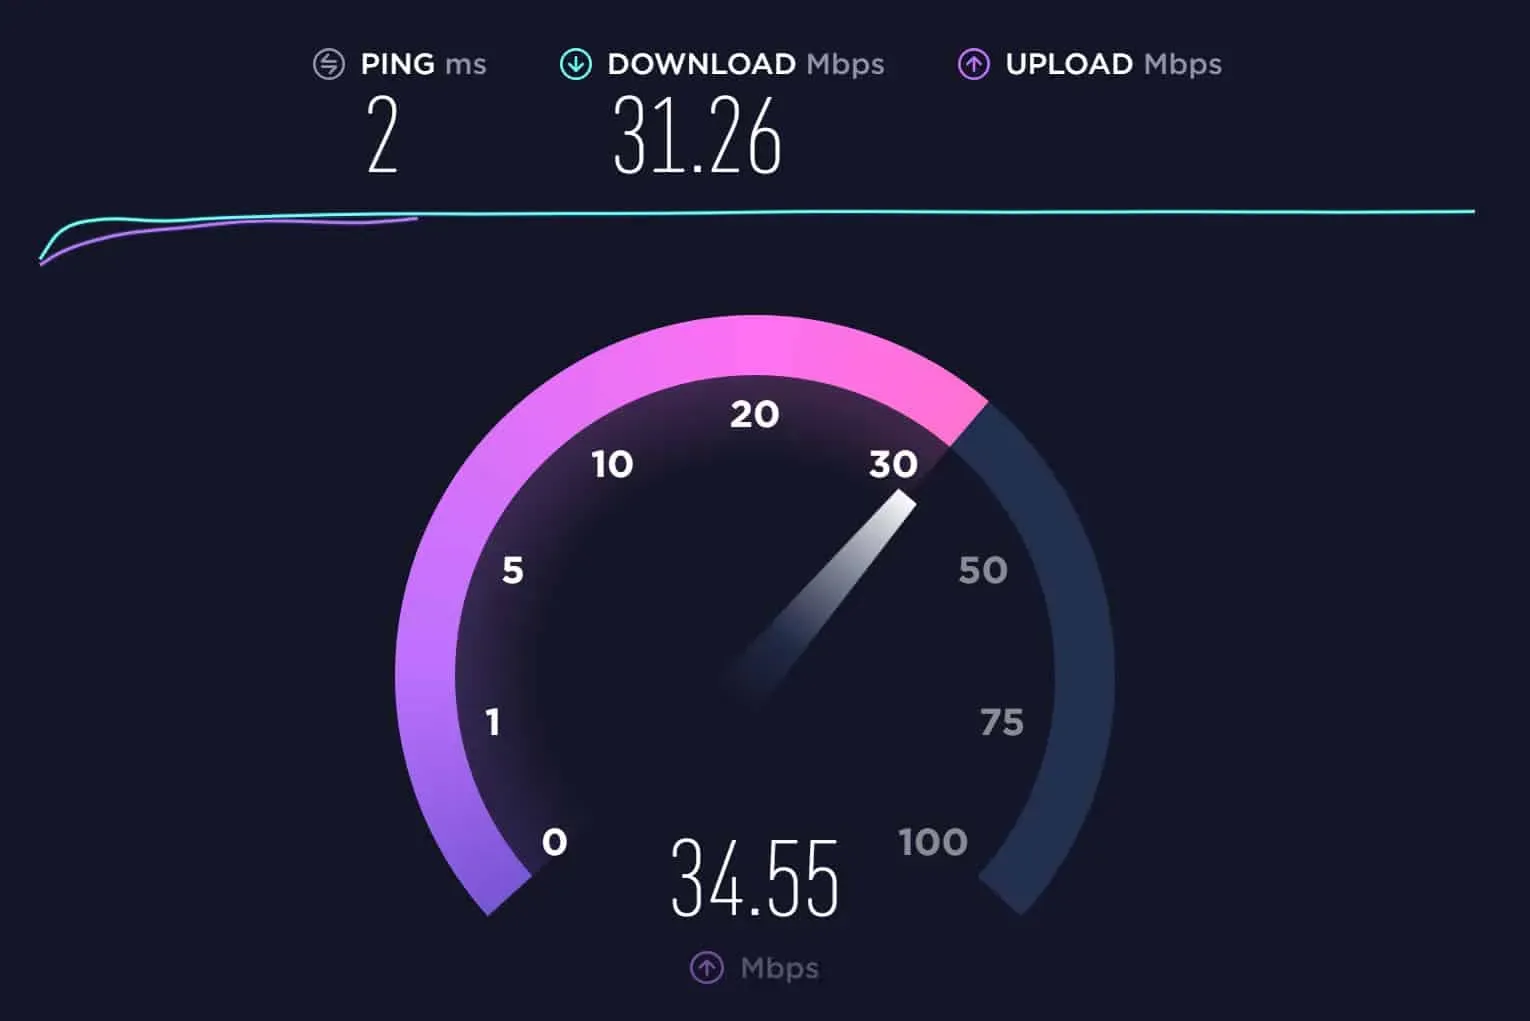
So, if you are still in doubt about your internet speed, go to Speedtest.net and check your internet speed. However, if you find that your internet is in need of repair, you have no choice but to contact your ISP.
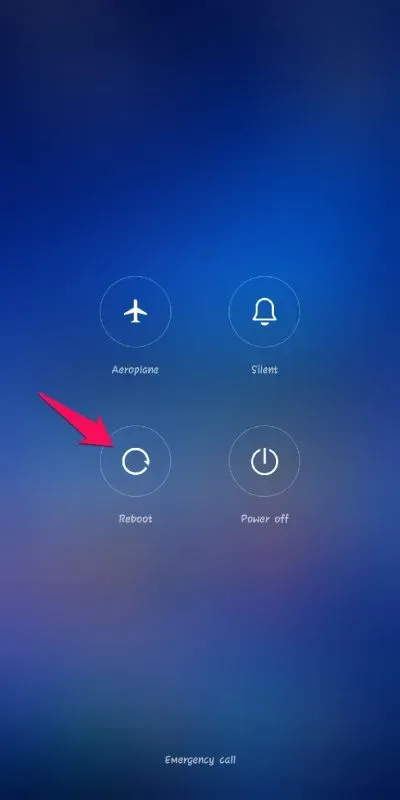
Reboot your device
Rebooting your device is very important when you encounter this kind of error. This is because sometimes cache files or random errors end up in your device’s RAM, causing it to malfunction. So, your smartphone needs to be restarted. Perhaps this can solve your problem. Thus, you can restart your device and check if it helps to solve the problem that Geeni is not working with Google Home.
Update Geeni App
The Geeni app may not work properly if you are using an older version of the app. This can be fixed by updating the Geeni app to the latest version. In some cases, versions of Geeni apps may not work properly if they are too old.
The major Geeni app update will also fix any bugs previously reported by Geeni support in the app. In addition, you can keep your app up to date by automatically updating it to ensure it’s the latest version and free of bugs. So, you should try updating yours and check if that helps or not.
Check if the Geeni or Google Home service is down
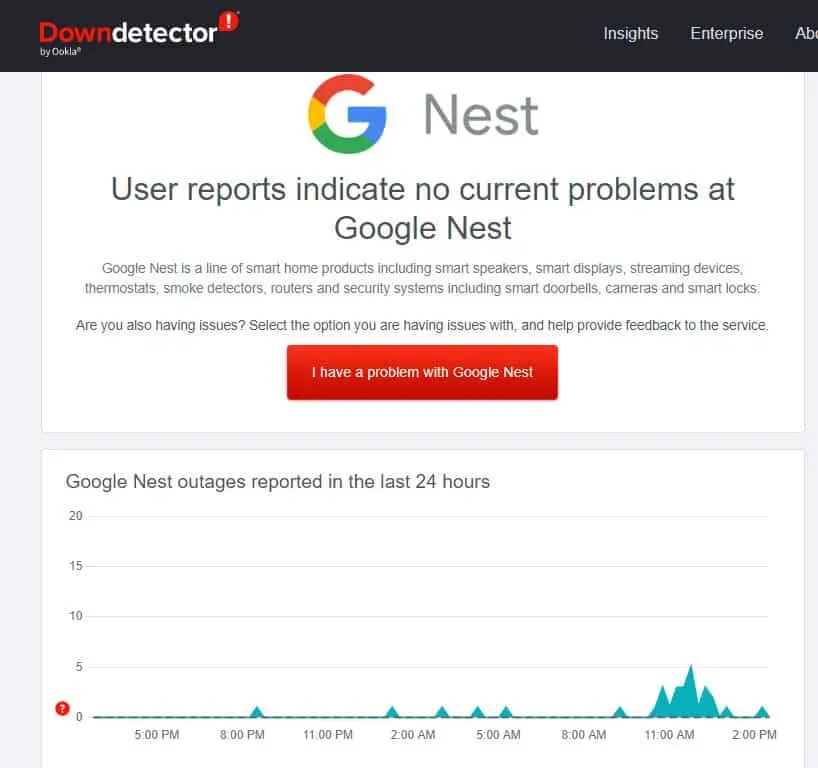
When you troubleshoot a network connection issue with a Geeni light bulb and it still won’t connect to Google Home, Geeni or Google Home services are probably not working. So it’s best to wait until services are restored if you find that one or both services are down. After that, try connecting your device to Google Home again once services are restored.
Contact Geeni or Google Home Support
Therefore, it is necessary to contact Geeni for assistance if the problem persists after you have fixed any WiFi connection issues, performed the above fixes, and verified that Geeni is working or the Google Home service is working.
You should provide them with as much information as possible about the problem, including the steps you took to resolve it. In order to get your smart light bulb back to working properly, support staff can advise you on how to proceed.
Some Frequently Asked Questions – Frequently Asked Questions
Can I change WiFi in my Geeni app?
You will need to reset the app settings to change the Wi-Fi network. You must remember your login details. You can now change your WiFi network by following these steps:
- Connect the Geeni light bulb to the switch in the app and then turn it off.
- You will need to reconnect Geeni Light and reboot it.
- You can add your device to the Geeni app. It is important to note that the Geeni bulb is available in simple mode and AP mode or standby mode.
- Then click the Plus (+) icon , select Simple Mode or Hotspot Mode, search for WiFi and enter your credentials.
You are now ready to connect to another Wi-Fi network if your Geeni light flashes blue quickly afterwards.
What should I do if my Geeni Light Bulb appears offline or is not available on the app?
You must make sure your light switch is on. The light bulb needs to be always on in order for the application to detect it. Also, make sure your WiFi router is active and within range.
This issue can also occur due to outdated applications. Therefore, it is important to check for updates and run the latest version of the application. If you’re not sure if your device is up to date, you can check its settings or try the Google Play Store or App Store.
Why is my Geeni not connecting?
Unable to connect Geeni bulb to WiFi network. Be sure to enter the correct password when setting up Wi-Fi. Make sure you don’t have any problems with your internet connection. You can try resetting your Wi-Fi router if the Wi-Fi signal is too weak.
From the author’s table
You can fix this Geeni light bulb problem using any of the methods above. So, here’s how to fix Geeni not working with Google Home. We hope this guide has helped you. In the meantime, if you need more information, leave a comment below and let our team know.
Leave a Reply