How to fix Windows 7 stuck when checking for updates
Windows 7 updates may appear to be stuck, but they can be exceptionally slow. If you are really stuck, you can fix the problem. Many users prefer to let the offline Windows Update installer take care of system updates. While not completely standalone, it is a reliable way to update your system.
It appears that users are having issues with Windows 7 where Windows 7 gets stuck while checking for updates. But don’t worry! We have a few fixes to help you decide if Windows 7 is checking for updates that never finish . So let’s start with them.
Content:
- 1 What causes Windows 7 to hang when checking for updates?
- 2 Ways to Fix Windows 7 Stuck Checking for Updates
What causes Windows 7 to hang when checking for updates?

There are several reasons why Windows updates can take a long time to install or complete. Most of the time, these types of issues are due to a software conflict or because a pre-existing issue was not resolved until updates were applied.
Much less frequently, they are caused by Microsoft’s bugs with the updates themselves, but they do happen.
Methods to fix Windows 7 stuck when checking for updates
To keep your PC running smoothly and well protected, you need to keep your operating system up to date. However, installing these updates may not be as easy as it sounds. There are times when Windows updates get stuck for some users. Here are a few ways you can try to fix Windows 7 check for updates that never completes.
Reboot your device
Using the reset button or the power button, restart your computer. The problem with Windows 7 checking for updates that never finish is solved after Windows starts normally. However, a hard reboot is your only option if the updated Windows installation is stuck.
After your computer restarts, you should see the Advanced Boot Options or Startup Options menu. Select Safe Mode if you are automatically taken there.
If another program or service is conflicting with one of the Windows updates, this Windows diagnostic mode only loads the minimal drivers and services that Windows absolutely needs.
In this case, you can restart Windows normally if the updates were installed successfully and you entered Safe Mode.
Disable antivirus
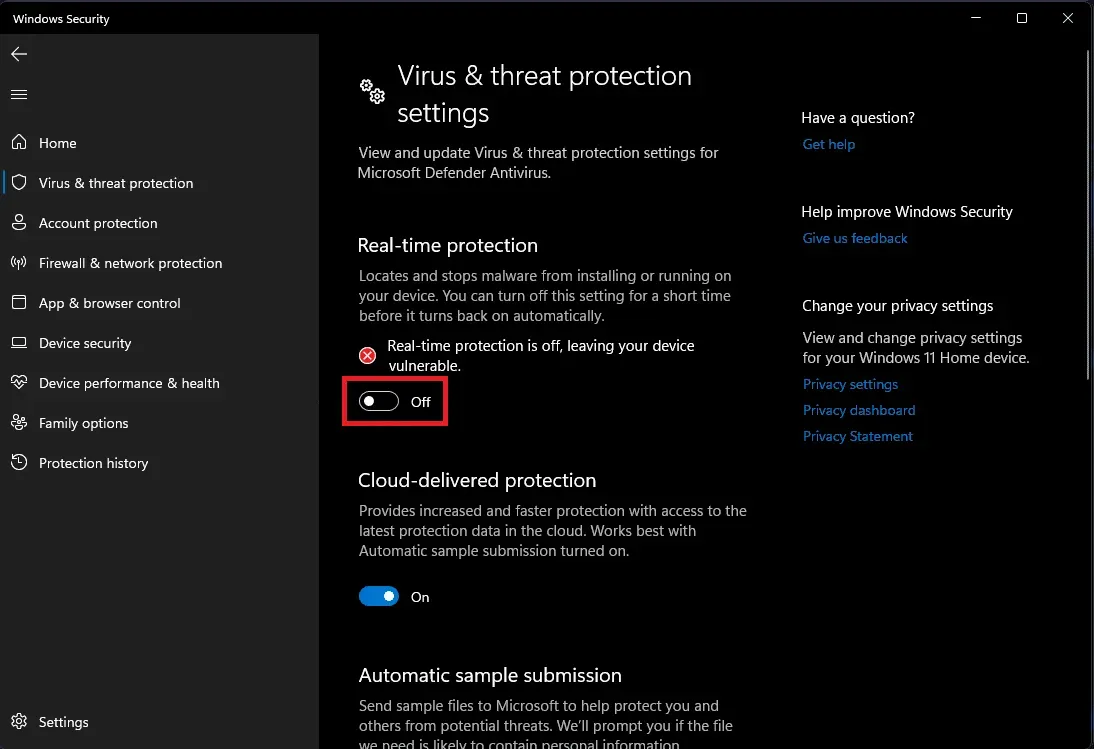
The most common reason that Windows updates won’t install is because they interfere with the installation process with viruses or spyware: Malicious software like this is often killed by Windows security updates, so it tries to prevent your computer from getting the latest patches.
Virus protection software (you must have one installed) can perform a comprehensive virus scan for you. Using an on-demand scanner like this one from Microsoft can help you determine if your antivirus software has been compromised.
Use the troubleshooter to update
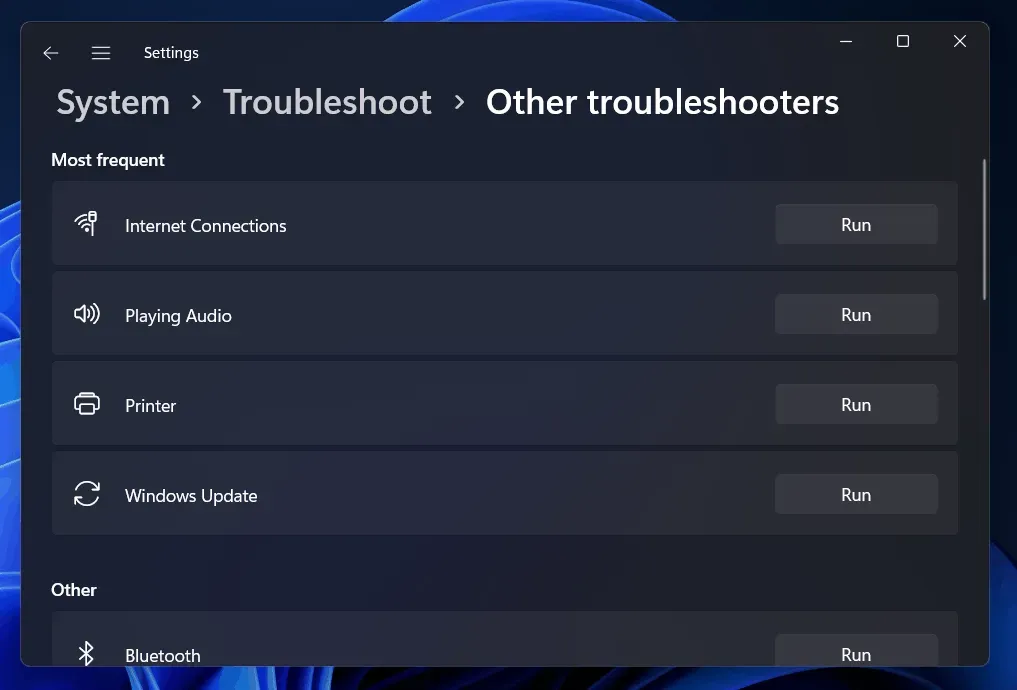
In some cases, a stuck update can be fixed using the built-in Windows troubleshooter. With the troubleshooter, you can:
- It terminates the Windows Update service.
- Renaming the C:WindowsSoftwareDistribution folder to C:WindowsSoftwareDistribution.old will clear the Windows Update download cache, allowing the process to restart.
- Microsoft Update services are restarted.
This troubleshooter works on Windows 7, 8, and 10. You can find it on any version of Windows because it’s always in the same location.
- Click “Start”, search for” Troubleshooting “and select the option you want.
- So go to the System and Security section of the Control Panel and click on Fix problems with Windows Update .
- In the Windows Update troubleshooting window, click Advanced .
- In advanced options, make sure that Apply repair automatically is checked and then click on Run as administrator . This allows the program to delete download cache files.
When the troubleshooter has finished its work, it will let you know if it has found and fixed the problem. In most cases, the troubleshooter can work effectively and help users solve the problem of Windows 7 checking for updates that never completes.
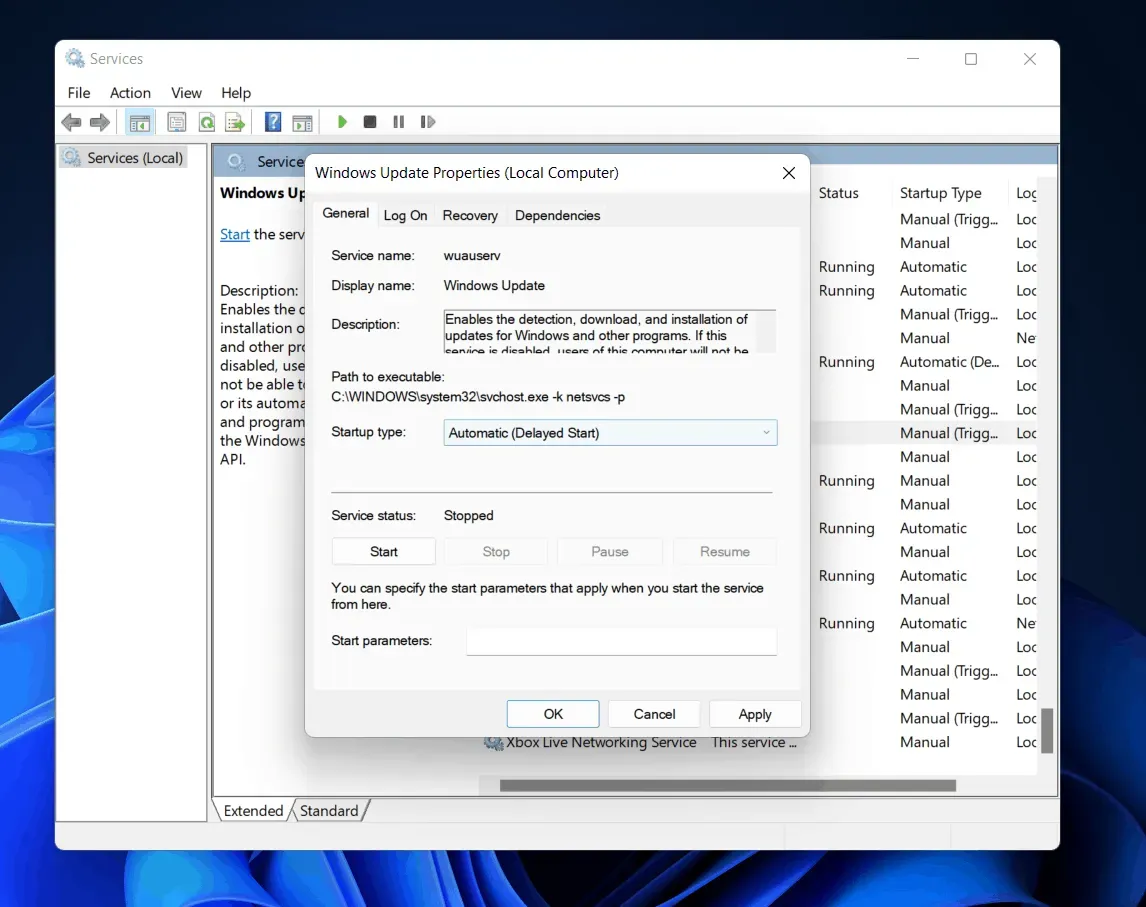
Restart Windows Update Service
Installing Windows 7 from scratch requires a thorough scan of Windows Update for updates, which can take up to an hour. Even if your Windows 7 system has been installed for quite some time now, it’s possible that you haven’t checked for updates in a while.
Earlier this week, Microsoft released official guidance to resolve this issue. It is recommended that you install the most recent Windows Update updates to reduce the chance of experiencing issues such as Windows 7 checking for updates that never completes .
- The first step is to run Windows Update. Then click Control Panel > System and Security > Windows Update . Select Change Settings from the sidebar. Select “Never check for updates (not recommended) “in the selection box and click OK .
- Restart your computer after changing this setting.
You must manually download and install two Windows 7 updates after you restart your computer. To download the appropriate updates for your computer, you must first determine if you are running a 32-bit or 64-bit version of Windows.
Update components must be reset
Using this method, you must restart BITS, Cryptographic, MSI Installer, and Windows Update Services and rename the SoftwareDistribution and Catroot2 directories.
Press the X key + Windows key . Select Command Prompt (Admin). Enter these commands one by one:-
чистая остановка

чистая остановка cryptSvc

чистые стоповые биты

чистая остановка msserver

ren C:\Windows\SoftwareDistribution SoftwareDistribution.old

ren C:\Windows\System32\catroot2 Catroot2.old net start wuauserv

стартовые биты сети cryptSvc
Changing the DNS Server Configuration
You can also fix the problem with Windows Update by changing the DNS server settings. In the following steps, we will explain how to update the DNS server settings.
- First, press the Windows key + R to open the Run window and type ncpa.cpl , then press Enter .
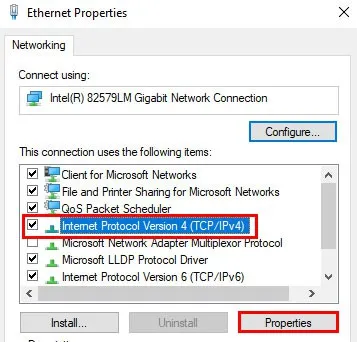
- To make changes to a connection, right-click it and select Properties .
- Click the Network tab if it’s not already selected.
- Select TCP/IP Version 4 or IP Version 6 (TCP/IPv6) .
- Click Properties .
- Go to the advanced menu.
- Click DNS .
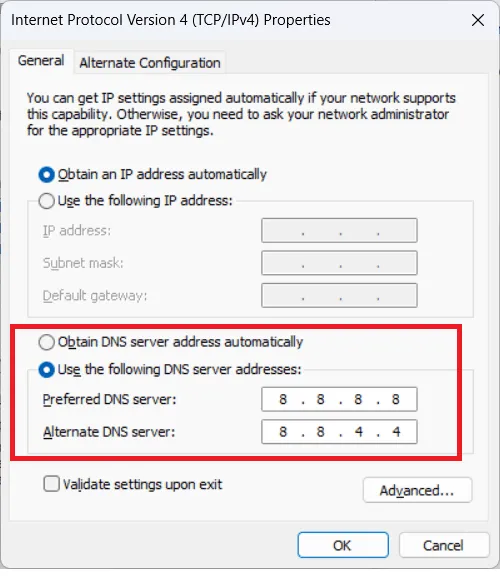
- You must select a DNS entry in the DNS Server Address section. If you want to refer to them in the future, write them down.
- Click Delete to remove the previous DNS entry , then click Add to add a new one.
- Now enter the DNS value: 8.8.8.8 or 8.8.4.4 for IPv4 and 2001:4860:4860:8844 or 2001:4860:4860:8844 for IPv6. Then click Add and then OK.
To see if the Windows 7 update check that never completes issue is resolved, check for Windows Updates. To return to the old DNS settings, even if the problem persists, just repeat the steps above with the old DNS values.
Install the official Microsoft patch
Microsoft has officially released patches for previous versions of Windows that address this issue. You are responsible for their installation. This should fix the issue.
- To get started, download and install Windows 7 Service Pack 1 (SP1) and Windows Server 2008 R2. This improves the reliability of your computer when you install the initial update. Secondly, there is virtualization for high-end systems. On Windows, right-click the machine and select properties to check. If SP1 is listed for a Windows edition, it is installed.
- So, download the file and run it.
- Restart your computer after installation.
Final words
This way, you can easily fix the problem of Windows 7 checking for updates that never completes . We hope you find this article helpful. Meanwhile, for more information, please comment below and let our team know.
Leave a Reply