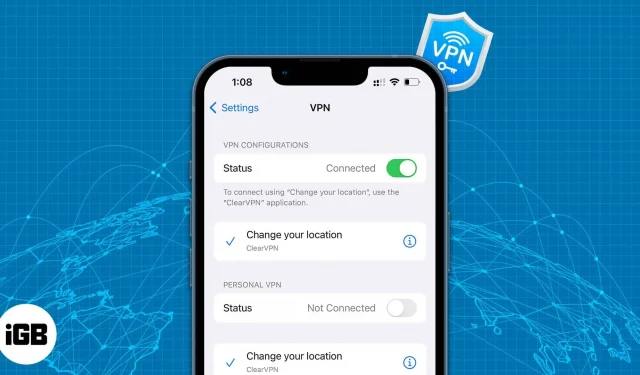
How to set up a VPN on iPhone and iPad

We use the internet to find quick answers (just like you), upload images to social media, do banking, and more ?. All of these activities compromise privacy. Since data leakage is common, you can use a VPN to hide your data from your network provider, ISP, government, etc.
Read on to find out what a VPN is and how you can connect to a VPN service through an app or manually through your iPhone.
- What is VPN on iPhone?
- How to choose a VPN service?
- How to connect VPN on iPhone (with apps)
- How to Manually Set Up VPN on iPhone
- How to disable VPN
What is VPN on iPhone?
VPN is an acronym for Virtual Private Network. It helps to transfer sensitive data in an encrypted format. Masking your internet protocol (IP), hiding your IP address even from your ISP. Several restrictions placed by services and governments on what content can be accessed online can be bypassed with a VPN.
Many people use a VPN on their iPhones to bypass/spoof their location and access location-blocked content. Also, it is recommended to avoid free internet hotspots as they cause security issues. Hackers can intercept these Wi-Fi networks and steal any data they have access to.
Connecting to a VPN will protect your data and ensure that you do not fall victim to such attacks. If the topic of VPN interests you and would like to delve into it, we have the perfect guide.
How to choose a VPN service?
I can assure you that there is no shortage of VPN providers. Most of these services also offer apps for iPhone, iPad, etc. We have a list of the best VPN apps for iPhone and iPad that you should check out. But how do you decide which service is right for you?
Well, there are several aspects that qualify a VPN service provider as a good VPN. It would be better if you look at these criteria before subscribing to a service:
- Level of Encryption: Good VPNs offer 256-bit key encryption and combine it with a strong encryption protocol like OpenVPN.
- Activity log. For many users, the main purpose of using a VPN service is to increase privacy. But what if the VPN service you use is logging your data? Well, this removes the main reason for using a VPN. So, go to the service provider’s website and check if they store data logs on their servers.
- Speed and servers. Always buy a trial version of a VPN service, use it during the trial period and test the speed it provides. In addition to speed, the number of servers also matters. Limited servers will result in bandwidth being shared by multiple users on the same network, ultimately resulting in slower streaming speeds.
How to connect VPN on iPhone (with apps)
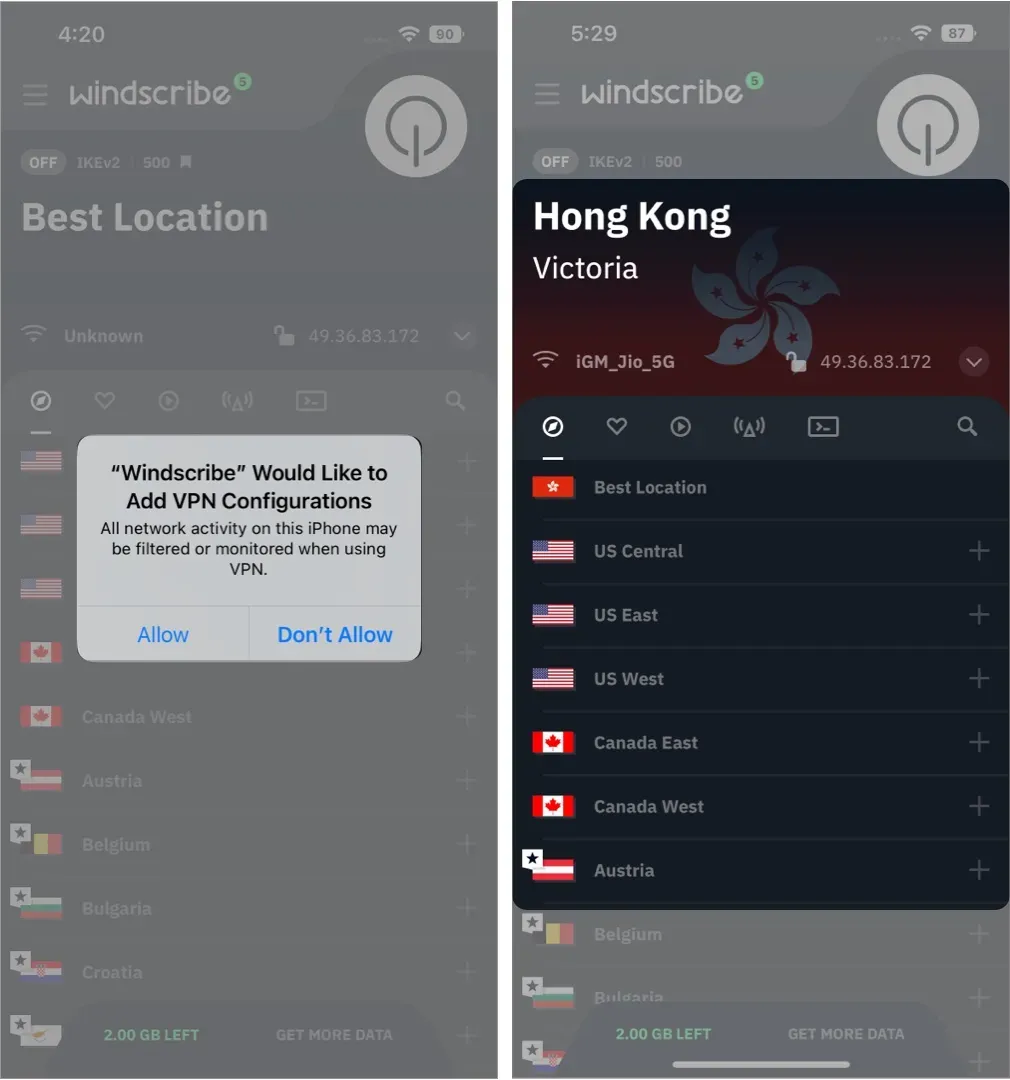
Connecting iPhone to VPN through the app is the easiest way. These days, most VPN providers also offer their own iPhone apps. Once you have chosen a VPN service or decided to use a free service, follow the steps below to connect to a VPN (we used Windscribe as an example).
- Install your desired VPN app.
- Open the VPN app.
- Click “Allow”on the dialog box labeled “VPN Name”to add VPN configurations.
- Choose the region you want to connect to or select the Best Location option.
- You are now connected to the selected region.

How to Manually Set Up VPN on iPhone
There is no denying that connecting to a VPN through a mobile app is the easiest way. However, some VPN providers do not offer a mobile app. Or there are several other reasons why you would like to manually connect to a VPN service. Whatever your reasons, you will need to configure these iPhone VPN settings before proceeding.
- Username
- Password
- VPN Protocol
- Remote ID
- Server address
You can get all this information from your VPN provider’s web page or from your system administrator. If you are using a company-provided VPN, ask your account manager for login details. Please note that the username and password will most likely be different from the login email and password.
With that information in hand, here’s how to manually set up and connect your iPhone to a VPN.
- Open “Settings”on iPhone/iPad.
- Tap General.
- Navigate to VPN and device management.
- On the next page, click VPN.
- Select Add VPN Configuration…
- Click “Type”and select the VPN protocol. You can choose from IKEv2, IPsec, and L2TP.
- Fill in Description, Server, Remote ID and Local ID.
- Now click on “User Authentication”and select “None”, “Username”and “Certificate”.
- Depending on the choice you made in the previous step, you will need to enter a username and password, a certificate, or enable the “Use Certificate”radio button.
- In the next step, you can set the proxy to Off, Manual, or Auto.
- Click Done.
- Click the Status button to turn on the VPN connection.
How to disable VPN
iOS no longer automatically disconnects from the VPN service. You can connect to a VPN and never worry about being disconnected from the service unless there are network connection issues. But how do you disconnect your iPhone from the VPN service?
Well, since there are two ways to connect your iPhone to the VPN service, there are two ways to disconnect your iPhone from the VPN service. For those who want to disable their iPhone connected to the VPN app,
- Open the VPN app you are connected to.
- Press the disable button.
- You are now disconnected from the VPN network.
If you have manually connected to the VPN network, or even if you are connected through the app, this method works for both,
- Open settings.
- Turn off the VPN button.
Make sure you are not using the VPN for pirated content or other illegal activities. We do not promote the use of VPNs; this article is for educational purposes only. If you have any other questions, please leave a comment below and we will get back to you with a solution as soon as possible.
Leave a Reply