How to disable Cortana in Windows 11
Microsoft has allowed users to disable Cortana on Windows 11 PCs. The Redmond-based company allows users to disable the AI-based assistant in the OS, unlike other companies. The 11th edition is a stepping stone to the future, but it builds on the 10th edition. Fortunately, the official developers are aware of the shortcomings and allow administrators to disable or permanently remove Cortana from a machine. If you have already installed and configured Cortana on Windows 11, you can follow this guide.
Content:
- 1 What is Cortana in Windows 11?
- 2 Disable Cortana in Windows 11
- 3 Revoke Cortana Permissions
- 4 Stop Cortana while downloading
- 5 Disable Cortana Using the Group Policy Editor
- 6 Remove Cortana from Windows 11.
- 7 Reinstall Cortana from the Microsoft Store.
- 8 Conclusion
What is Cortana in Windows 11?
- Android users have heard of Google Assistant.
- iOS users have heard of Siri.
- Cortana is Microsoft’s AI-powered assistant for Windows PCs.
I’m not a big fan of Cortana and they tried to force an AI assistant on me during the setup process. However, I had to skip it a few times to avoid it, and if you were the unfortunate user who couldn’t foresee it, then don’t worry about it.
You can temporarily disable Cortana or permanently remove it from your Windows 11 PC. This is a removable feature and reinstall it again if you think it’s a required feature in the software. I will show you how to disable Microsoft AI Assistant and uninstall it later.
Disable Cortana in Windows 11
Starting Windows is a popular solution for waking up programs and services during software loading. Microsoft has added enough tools and features to disable certain programs and services. We will disable Cortana in the start menu and prevent it from waking up during the boot process.
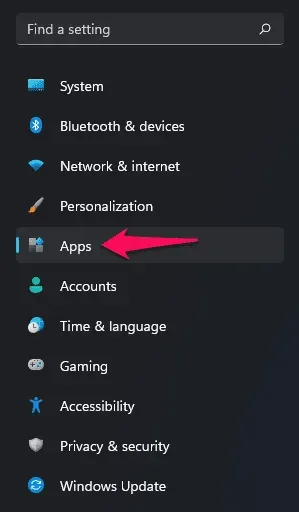
- Press Windows Key + I to open Settings.
- Click Apps to continue.
- Click Apps & features to see more options.
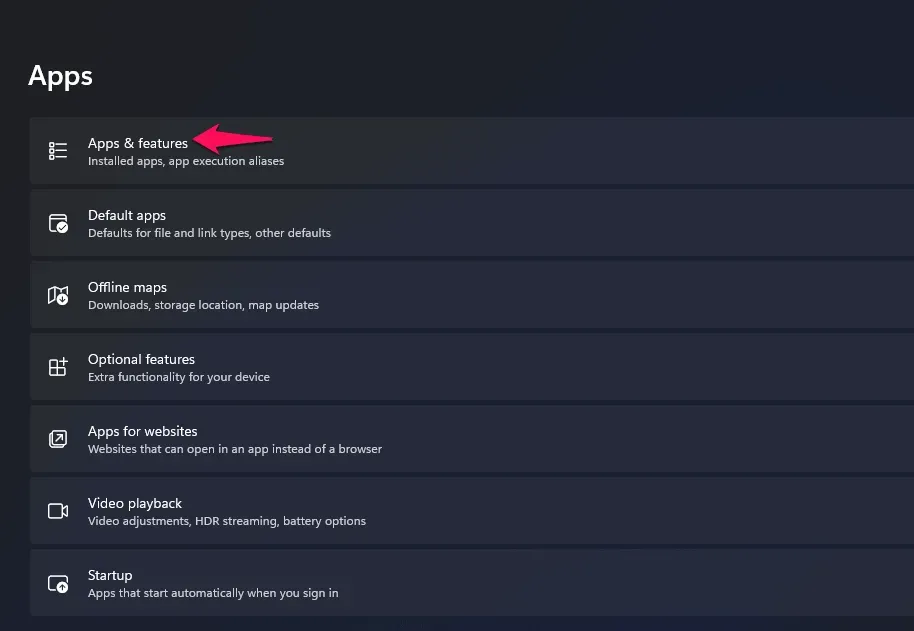
Note. Apps load slowly on Windows 11, so please wait a few minutes.
- Find Cortana.
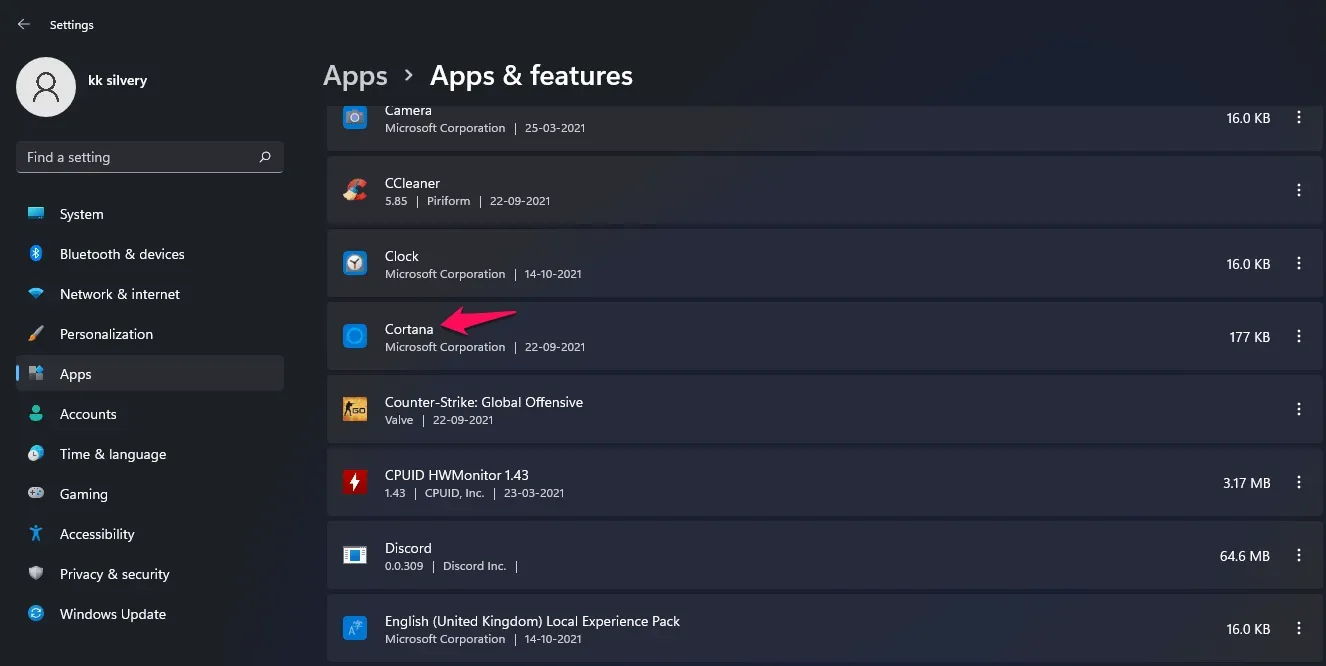
- Then click on the three dot setting.
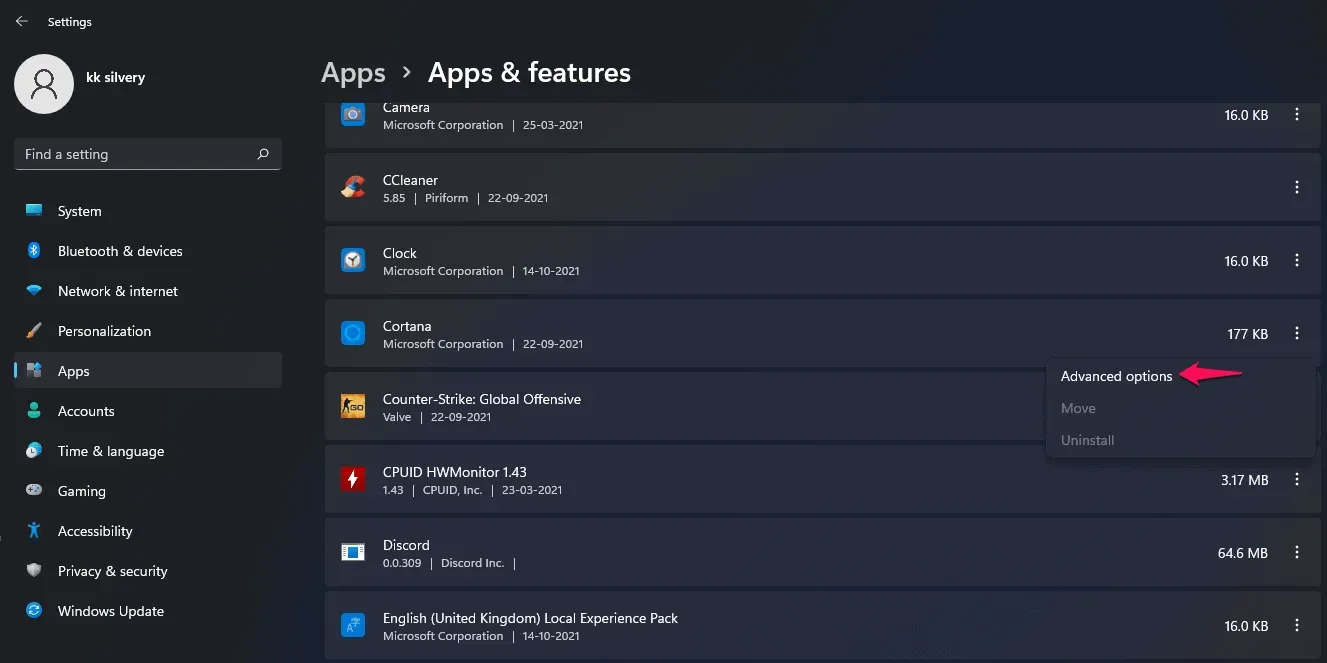
- Click “Cortana”to turn it off and you can find it under “Starts at login”.
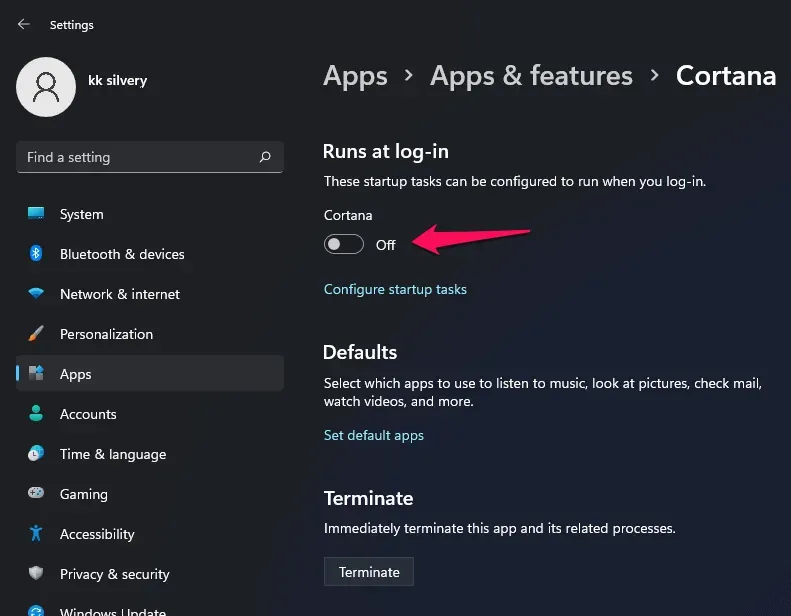
You have disabled the Microsoft AI system on your Windows 11 PC, but you should follow the following two methods to put it into deep sleep mode.
Revoke Cortana Permissions
You cannot truly disable an AI system without revoking access to certain hardware on the system. Let me show you which components you should restrict in Cortana and prevent it from restarting.
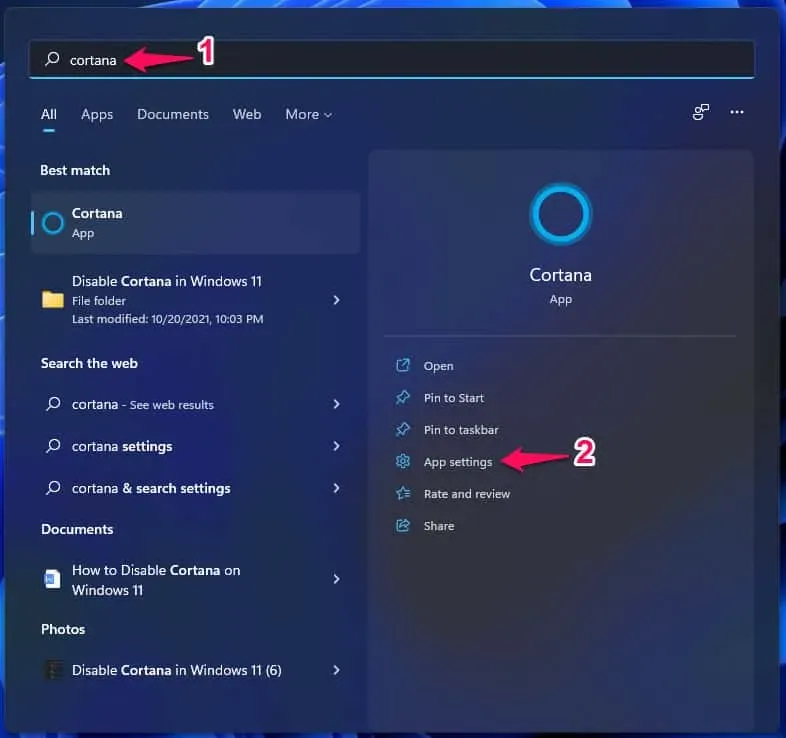
Step 1: Press the Windows key and S, then search for Cortana. Select App Settings to view more options.
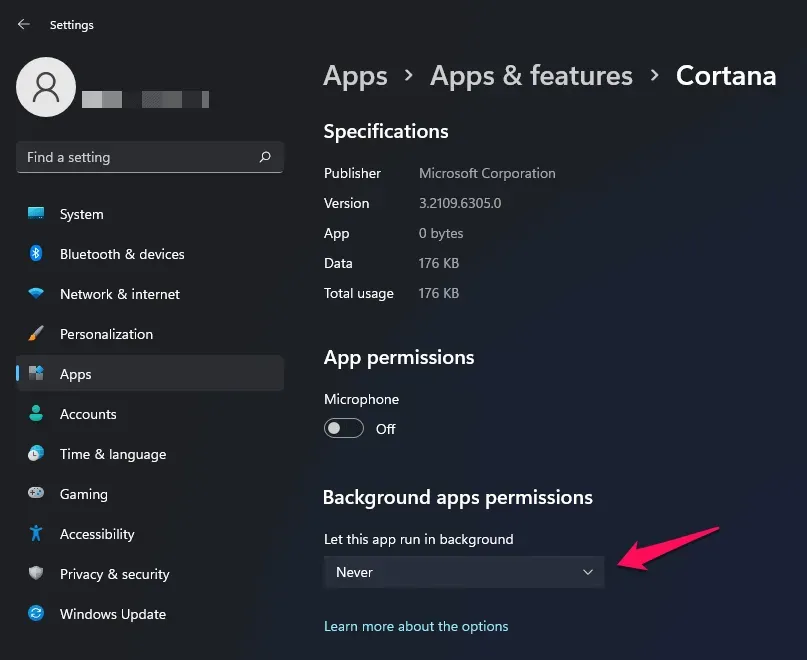
Step 2: Revoke access to the microphone, and you can do this by disabling it.
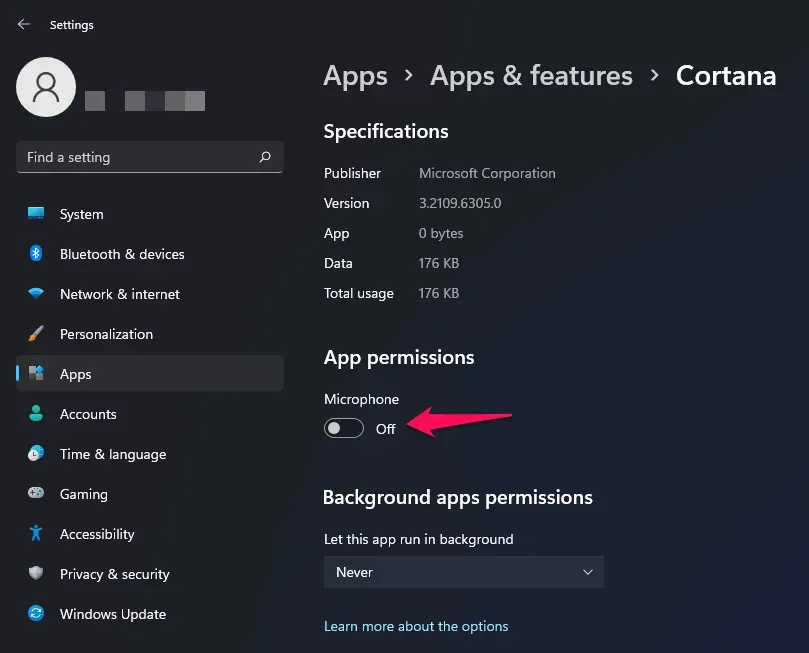
Step 3: Never let Cortana run in the background, so change the setting to “Never”under Background App Permissions.
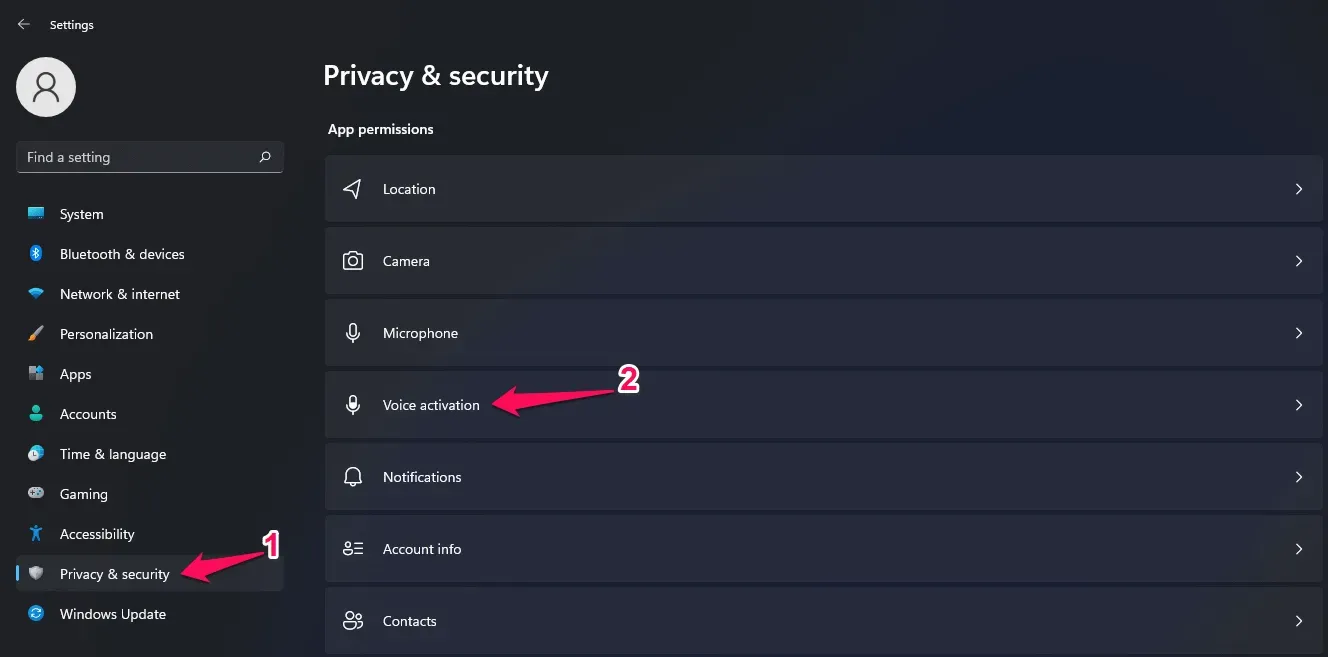
Step 4: Now go to “Privacy & Security”then select “Voice Activation”to continue.
Step 5: Double check if Cortana is disabled in the list.
You have officially prevented the Microsoft AI system from using the microphone, which is a core component of any voice command feature.
Stop Cortana while loading
Several Windows services and programs start during software download. You must stop the voice control function from running in the first place, which will give you an advantage in the game. Let me show you how to disable Microsoft Voice Command in Windows 11.
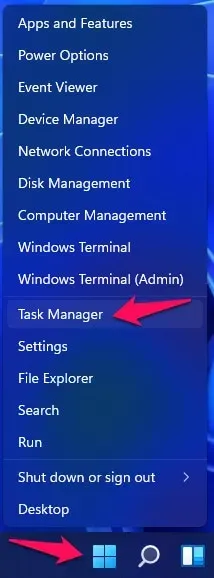
Step 1: Press Windows Key + X and then select “Task Manager”from the options.
Step 2: Click “Startup”located in the top menu.
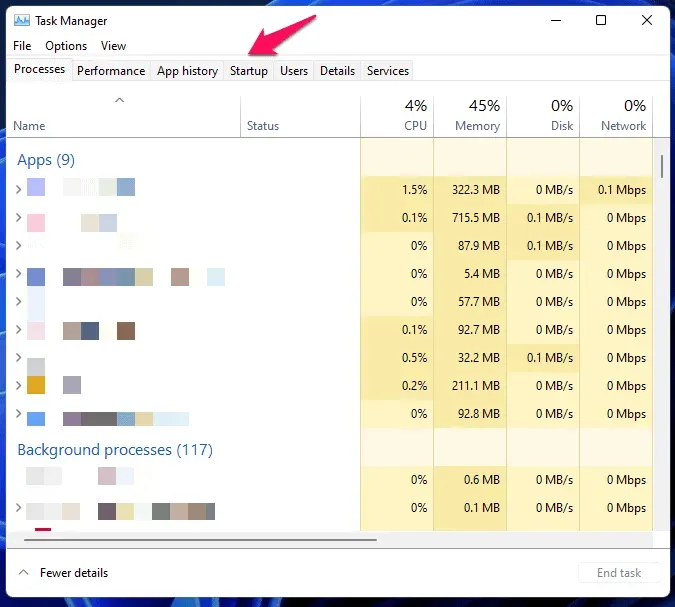
Step 3: Find Cortana in the list.
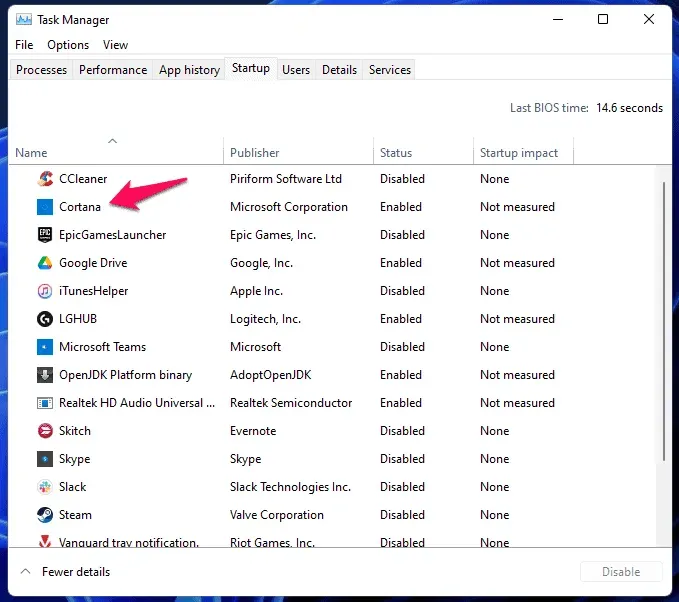
Step 4: Select “Cortana”then click the “Disable”button located at the bottom right corner.
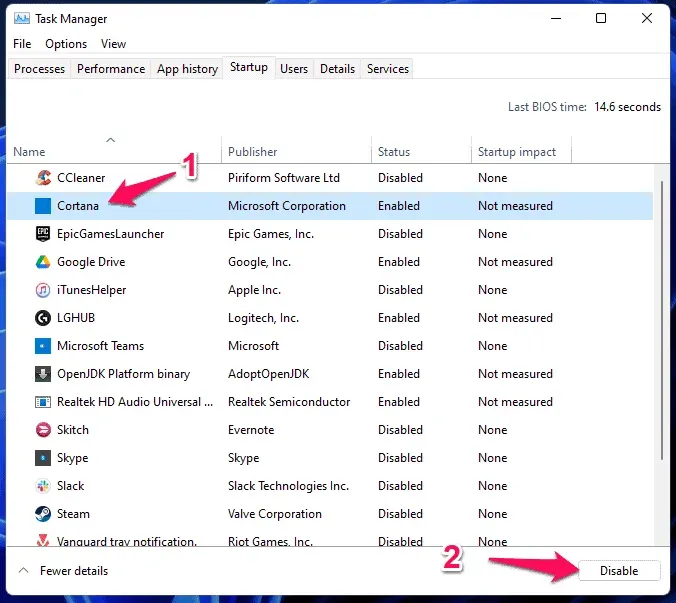
Step 5: Double check if the launcher is disabled.

You can restart your Windows 11 PC to confirm the action and make sure that the voice command system is disabled in the next session.
You can stop here because the operating system will no longer launch Cortana again. However, if you are one of those special cases, I recommend that you follow the following solutions to get rid of Cortana completely.
Disable Cortana Using the Group Policy Editor
The Group Policy Editor is the traditional tool for modifying the local computer’s policy objects, and it’s what we’re going to use to permanently disable Cortana.
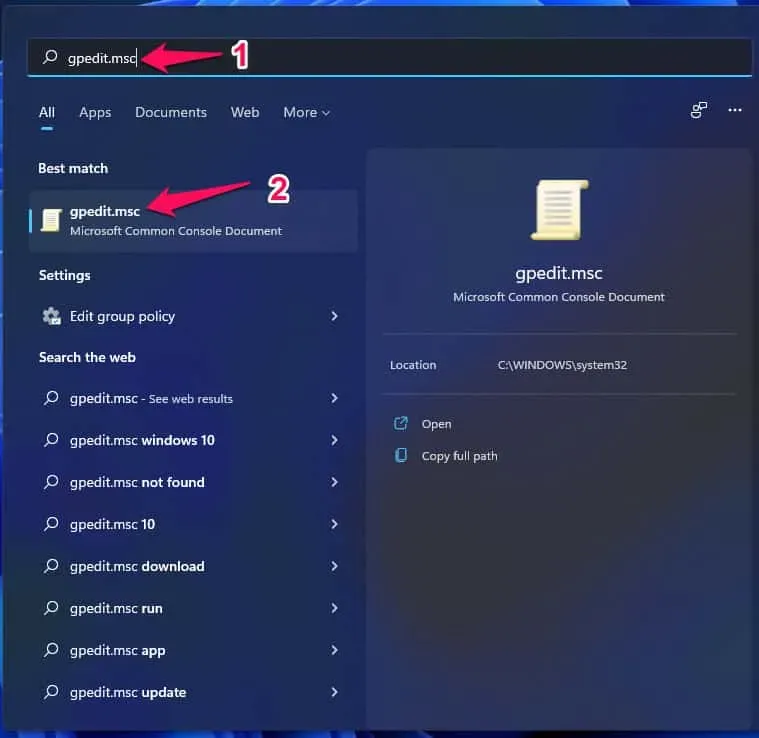
- Press Windows Key + S and open “gpedit.msc”from the search results.
- Now click “Administrative Templates”to open more options under Computer Configuration, then click “Windows Features”to view more.
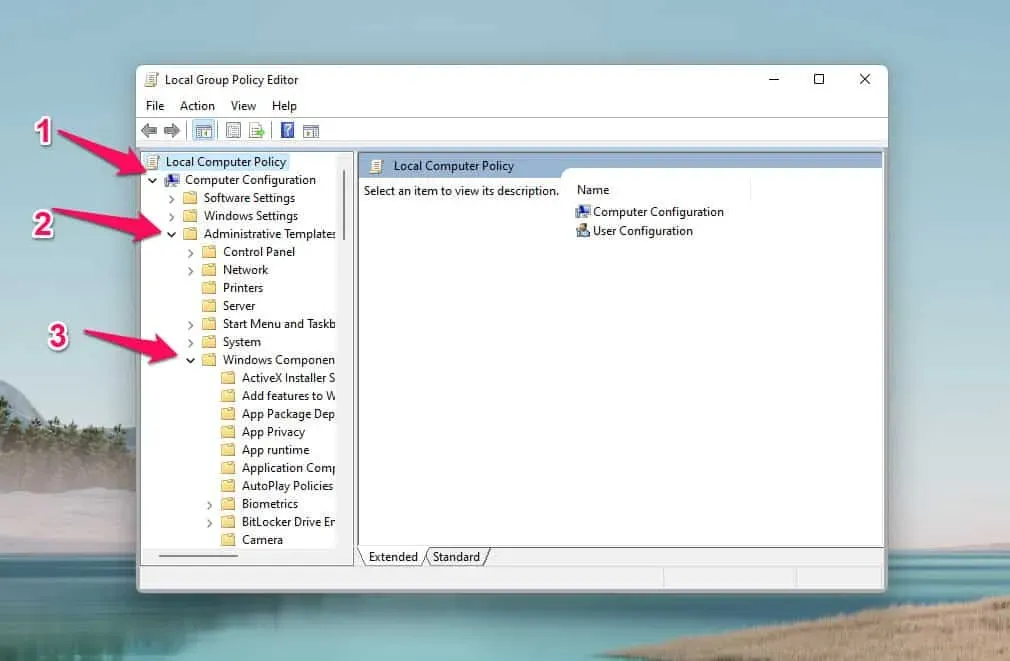
- Click “Search”to open the voice control system in the list, and double-click “Cortana”to open more options.
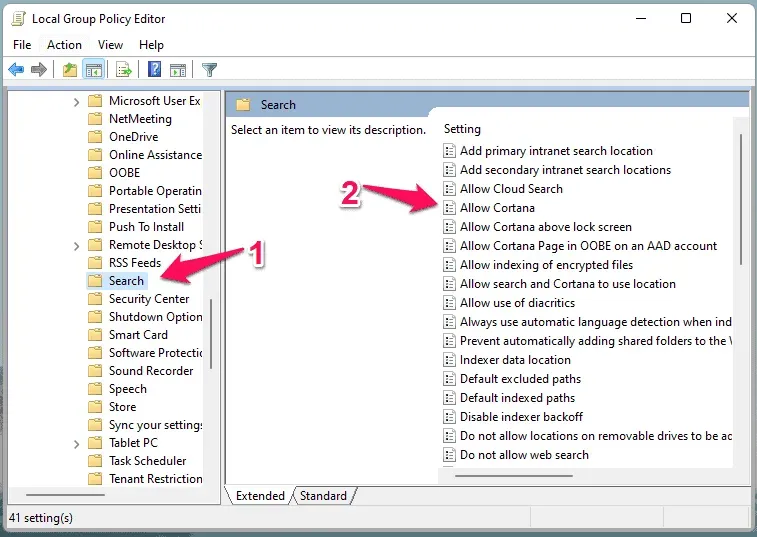
Path: Computer Configuration > Administrative Templates > Windows Components > Search
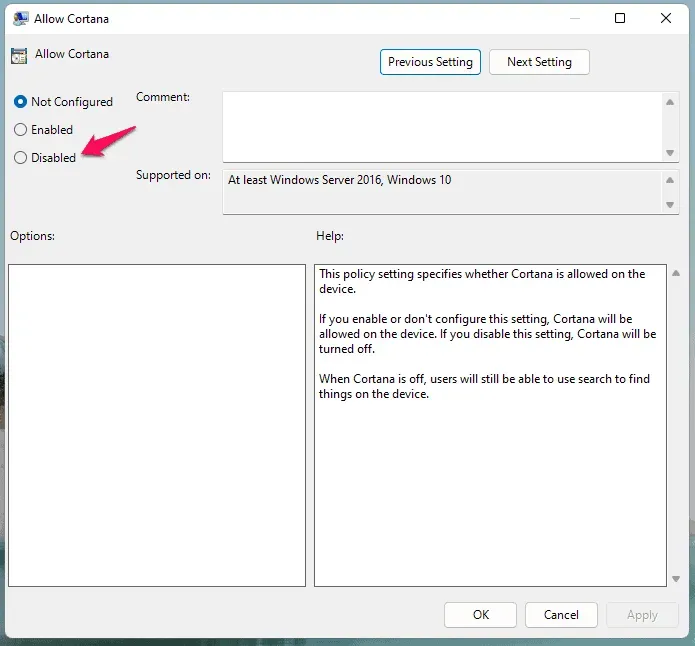
- Select “Disabled”from the options.
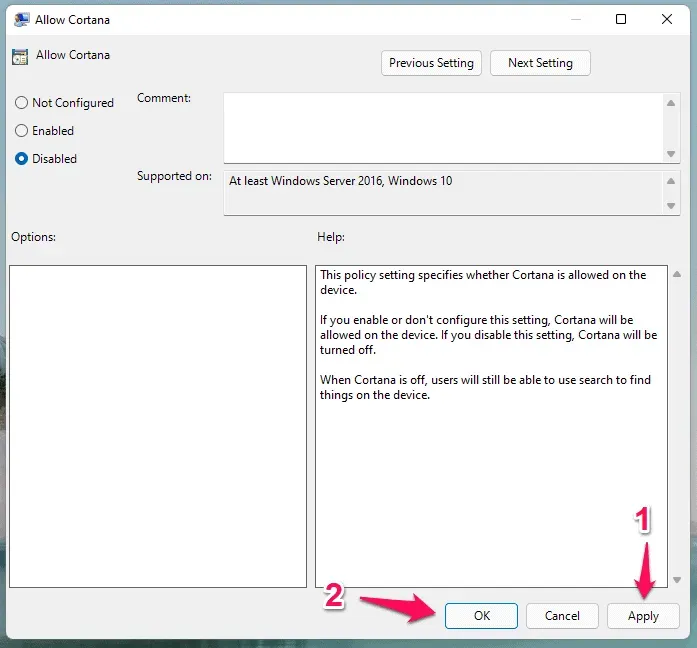
- Click “Apply”and then “OK”to save your changes.
Restart your Windows 11 PC to apply the changes and they will take effect in the next session.
Remove Cortana from Windows 11
The Microsoft Voice Command system is an integral part of the operating system and is really difficult to remove. However, PowerShell is the most powerful program in software and we can put it to good use.
Step 1: Press Windows key + X and select Windows Terminal (Admin).
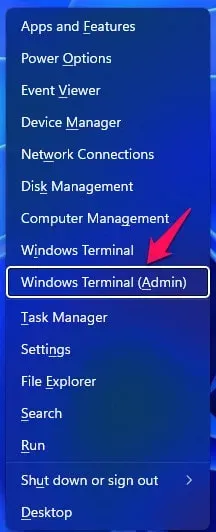
Step 2: Microsoft renamed PowerShell to Windows Terminal.
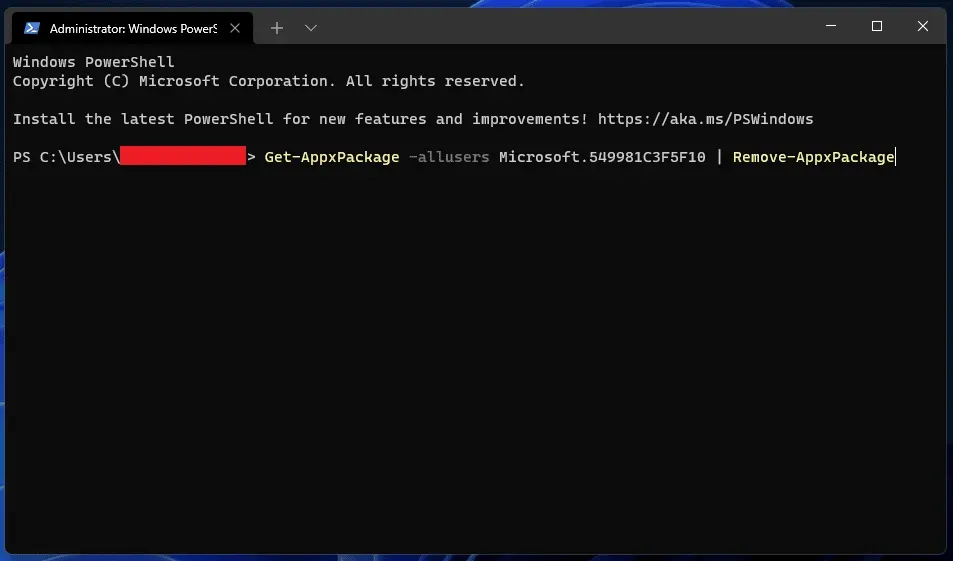
Step 3: Copy and paste the command into an empty section and press the “Enter”key.
Command: Get-AppxPackage -allusers Microsoft.549981C3F5F10 | Remove-AppxPackage
Step 4: Cortana will be removed from your Windows 11 PC.
Restart your Windows 11 PC for the new changes to take effect.
Meanwhile, if you ever need Microsoft’s voice control system, it will be available from the official Microsoft Store.
Reinstall Cortana from the Microsoft Store.
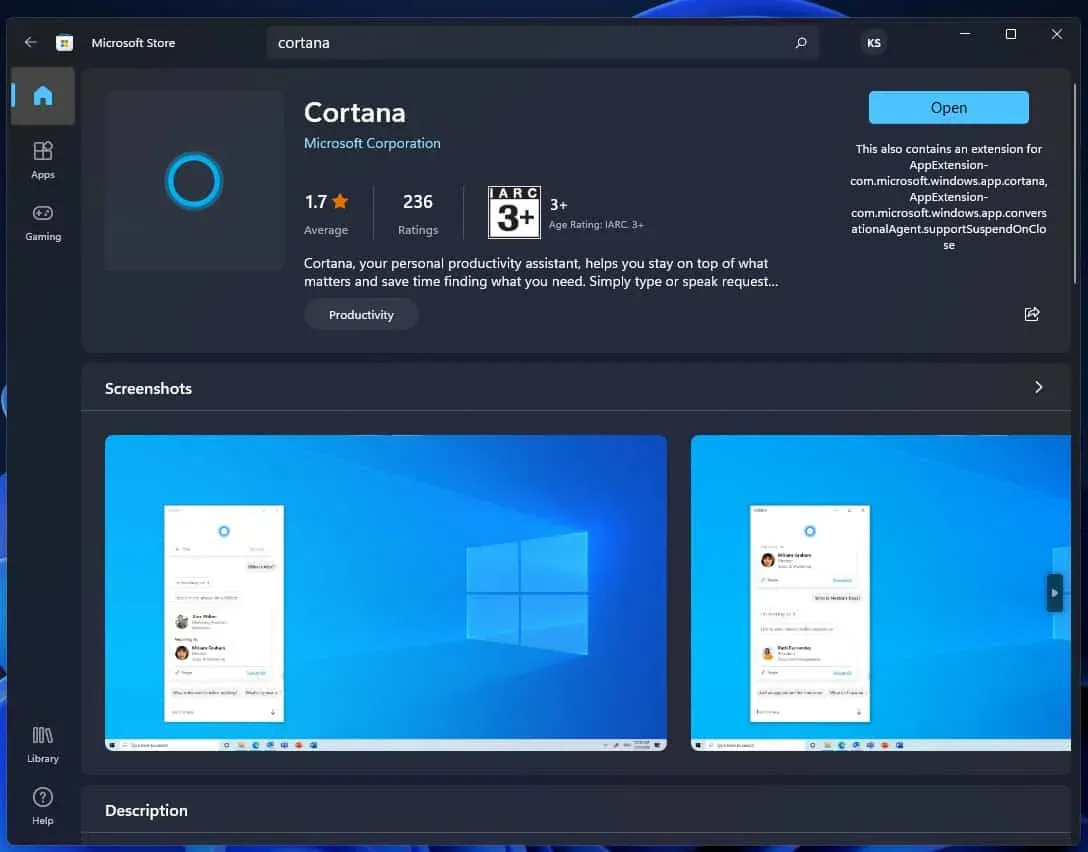
Search for “Cortana”and you’ll find the app in the results. Install the built-in app again and you’ll never have to worry about missing apps again.
Conclusion
We have shown you many ways to disable Cortana on Windows 11 PC. You can apply all the solutions together to disable the voice control system and it will not negatively impact performance or features. However, I recommend that users bookmark the blog page if they ever want to undo the changes and enable Cortana. Don’t skip restarting Windows, in part because it’s an effective way to turn off Microsoft’s artificial intelligence system.
Leave a Reply