How to Transfer Data from Windows PC to Mac
So you’ve decided to switch to a Mac. Congratulations! But even though you have the machine of your dreams, there is one hurdle you must overcome before finally making it your primary device: transferring files from Windows to Mac.
Since both Windows PC and Mac are different OS, you might think that it will be a tedious process, like traveling from one country to another. But it’s not that hard! All you have to do is check the correct path and follow the instructions. Follow me as I show you the easiest ways to do it.
What to do before transferring data from PC to Mac
- Remember the administrative username and password for both Windows and Mac.
- Both devices must be connected to the same network.
- If you are using a MacBook or Windows laptop, make sure they are connected to a power source.
Transfer files from Windows to Mac using the Migration Assistant
The best way to move data from Windows PC to Mac is to use Apple’s Migration Assistant. Since this app is from Apple, you can be sure that it is not from a third party developer and you can be sure that your data is safe. Migration Assistant also offers data transfer with fewer failures.
What data can I transfer?
You can choose which data you want to migrate using the Migration Assistant. This includes:
- Email, contacts, and calendar information: Information from emails, including messages, account settings, contacts, and appointments. (Depends on version of Windows and accounts you have)
- Outlook and Windows Live Mail:
- Data from People will be moved to Contacts on your Mac.
- Calendar appointments.
- IMAP and Exchange settings and messages will be moved to the Mail app.
- POP settings and messages will be moved to Mail.
- Bookmarks and Browser Home Page: Internet Explorer, Safari for Windows and Firefox settings will be migrated to Safari.
- System Preferences: Language and location settings, and custom desktop images will be moved to System Preferences.
- Pictures: Photos and other pictures will be moved to your home folder. To add them to the Photos app, you can either add them manually or open Photos and let them search and import them.
- iTunes content: Music will be migrated to Apple Music, videos to Apple TV, podcasts to Apple Podcasts, and audiobooks to Apple Books.
How to transfer files from Windows to Mac
On your Windows PC:
Before we begin, download the Windows Migration Assistant on your Windows PC. Download it according to your version of macOS:
- macOS Monterey
- macOS Big Sur
- macOS Mojave and macOS Catalina
- macOS Sierra and High Sierra
- OS X El Capitan or earlier
Install the files after downloading and proceed to the next steps:
- Close all Windows applications.
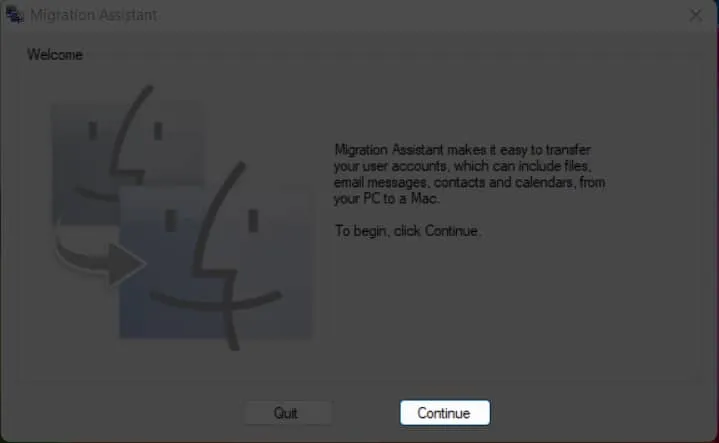
- Open Windows Migration Assistant → click Continue.
- If updates are set to install automatically, you will be prompted to disable them, then click Continue.
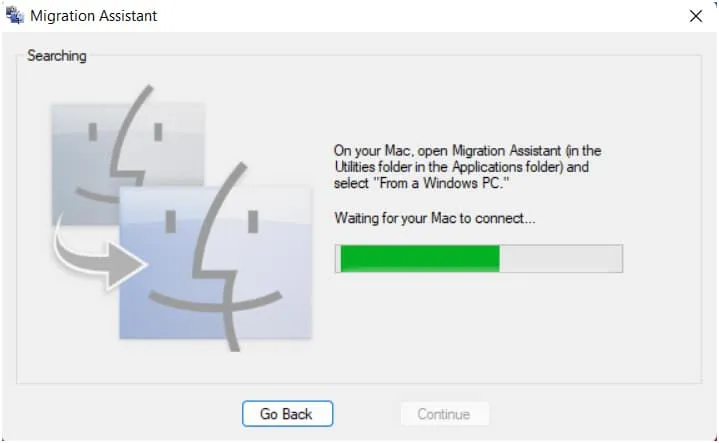
- You will now be prompted to open the Migration Assistant on your Mac.
On your Mac
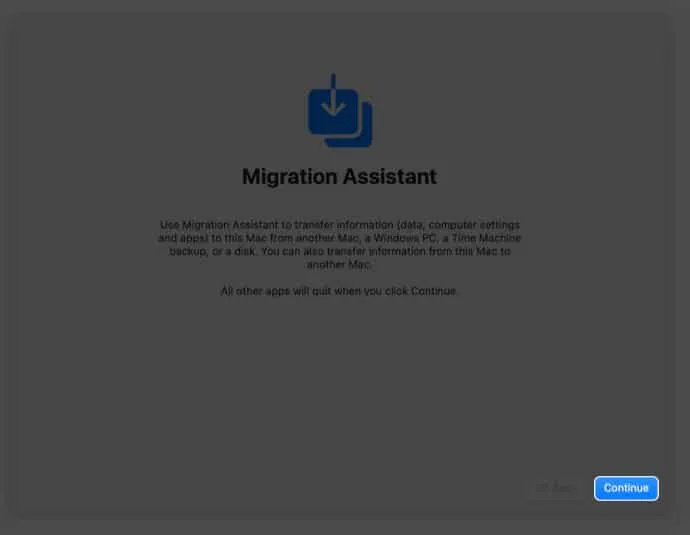
- Open Migration Assistant → click Continue.
- If prompted, enter the device administrator password. The Mac will close all background applications and processes.
- Select From a Windows PC → click Continue.
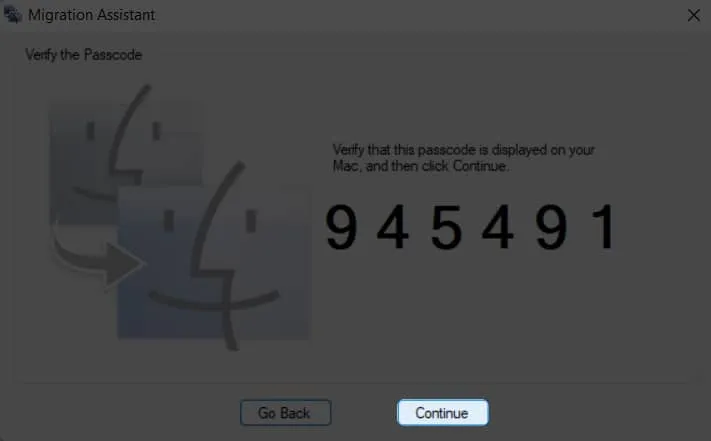
- Wait until your computer is detected. Then click Continue. The code will show up on both; check if both match and click “Continue”in Windows.
- Wait while the Mac scans the files.
- On your Mac, select all the information you want to transfer and click Continue.
- If you are migrating the entire user ID from Windows along with the data, enter a new password for the user ID because your Mac will create a separate login ID for the user ID from Windows.
- Click Continue, making sure you have selected all the files you want.
- If you have a different user ID on your Mac, you must enter your device administrator password to create a new user ID on your Windows PC. After that, click Continue.
- Wait for the process to complete. And after that, log in with the new user ID.
But everything does not end with success, and you will not be able to make a backup. Let’s solve it.
If you’re having trouble moving data using the Migration Assistant
If the Migration Assistant is unable to transfer data from a Windows PC to a Mac, the issue might be caused by a firewall or antivirus software. Turn it off and see if you face the issue. Don’t worry; you can enable it after migration.
Alternatively, you can also check the disk utility on your PC and see if there are any problems with the startup disk. If they are, you can fix them from there yourself. Here is how you can check Disk Utility (chkdsk) on your PC:
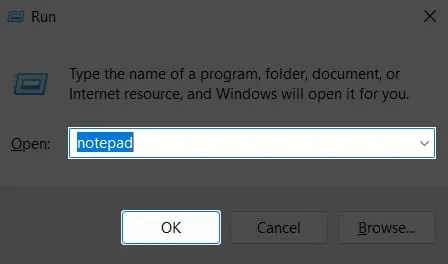
- Open Run.Search, launch it in Start or use the Windows key + R shortcut.
- Type
cmdand press Enter to open a command prompt.
- Now type
chkdskand press Enter.

- If there are any problems, type:
chkdsk drive: /FDon’t forget to change the drive name to the drive name in Windows. If the drive name is D, the code will bechkdsk D: /F - Press Enter.
- Enter
Ywhen prompted. - After that, restart your PC.
Check again if there are any problems in Disk Utility until it reports no problems. You may need to contact the service center if the problems are not fixed even after several attempts. But until then, you can try transferring files using USB.
How to Transfer Files from Windows to Mac Using a USB Drive or the Cloud
If you’re still unable to transfer your information successfully, you can use an external drive such as a USB drive or SSD to transfer files from Windows to Mac. You must copy all files to USB and then paste them on your Mac. Plus, you can back up your files to the cloud and download them to your Mac.
FAQ
The best way is to connect Windows and Mac to the same Wi-Fi and then use the Migration Assistant to transfer files. You can also use other file sharing services such as Snapdrop or Sharedrop.
If your Windows PC and Mac are connected to the same network, you can access files on your Windows PC using Finder.
That’s all!
Migration Assistant has solved the headache of many users when migrating from Windows to Mac. Even if that fails, you can try transferring files using USB or external drives. By the way, did you manage to transfer the data? Let me know in the comments below.
Leave a Reply