How to Transfer Nintendo Switch Internal Storage Data to a microSD Card
One of my favorite things about the Nintendo Switch is that it has both internal storage and the ability to install a microSD card to expand storage. If you play a lot of games, then you’ll probably want to invest in one of these because limiting the storage to 32GB of internal storage will prove problematic at some point.
When you finally invest in a microSD card for your Nintendo Switch, the first thing you’ll want to do is transfer your data from the internal storage to the microSD card. If you’re in that boat right now or will be sometime in the future, we’ll show you how to do it in today’s tutorial.
But first, let’s go over some basics of microSD cards on the Nintendo Switch…
What you need to know about Nintendo Switch and microSD cards
Before you can get started with a microSD card for Nintendo Switch, you need to know which models are compatible. While technically you can use any microSD card, only a few with certain speed ratings will provide the best gaming performance.
Nintendo states that all Nintendo Switch models support the following types of microSD cards:
- microSD (up to 2 GB)
- microSDHC (4 GB to 32 GB)
- microSDXC (64 GB or more)
Please note that Nintendo Switch only supports microSD cards, not miniSD or SD cards. The microSD standard is the smallest of all Secure Digital storage devices and is easy to spot. It looks like this:
For best performance, Nintendo recommends that the microSD card you choose to expand your Nintendo Switch storage support the following specifications:
- UHS-I Compliant (Ultra High Speed Phase 1)
- Transfer speed of at least 60-95 megabytes per second
Manufacturers list the UHS rating on the front of the microSD card. For example, you may see U1 or U3, and the higher the number you see here, the better. The manufacturer often overcharges data transfer rates based on peak performance scenarios, so it’s best to use a microSD card as fast as you can afford. However, speeds above 60-95 megabytes per second won’t hurt and shouldn’t cost too much.
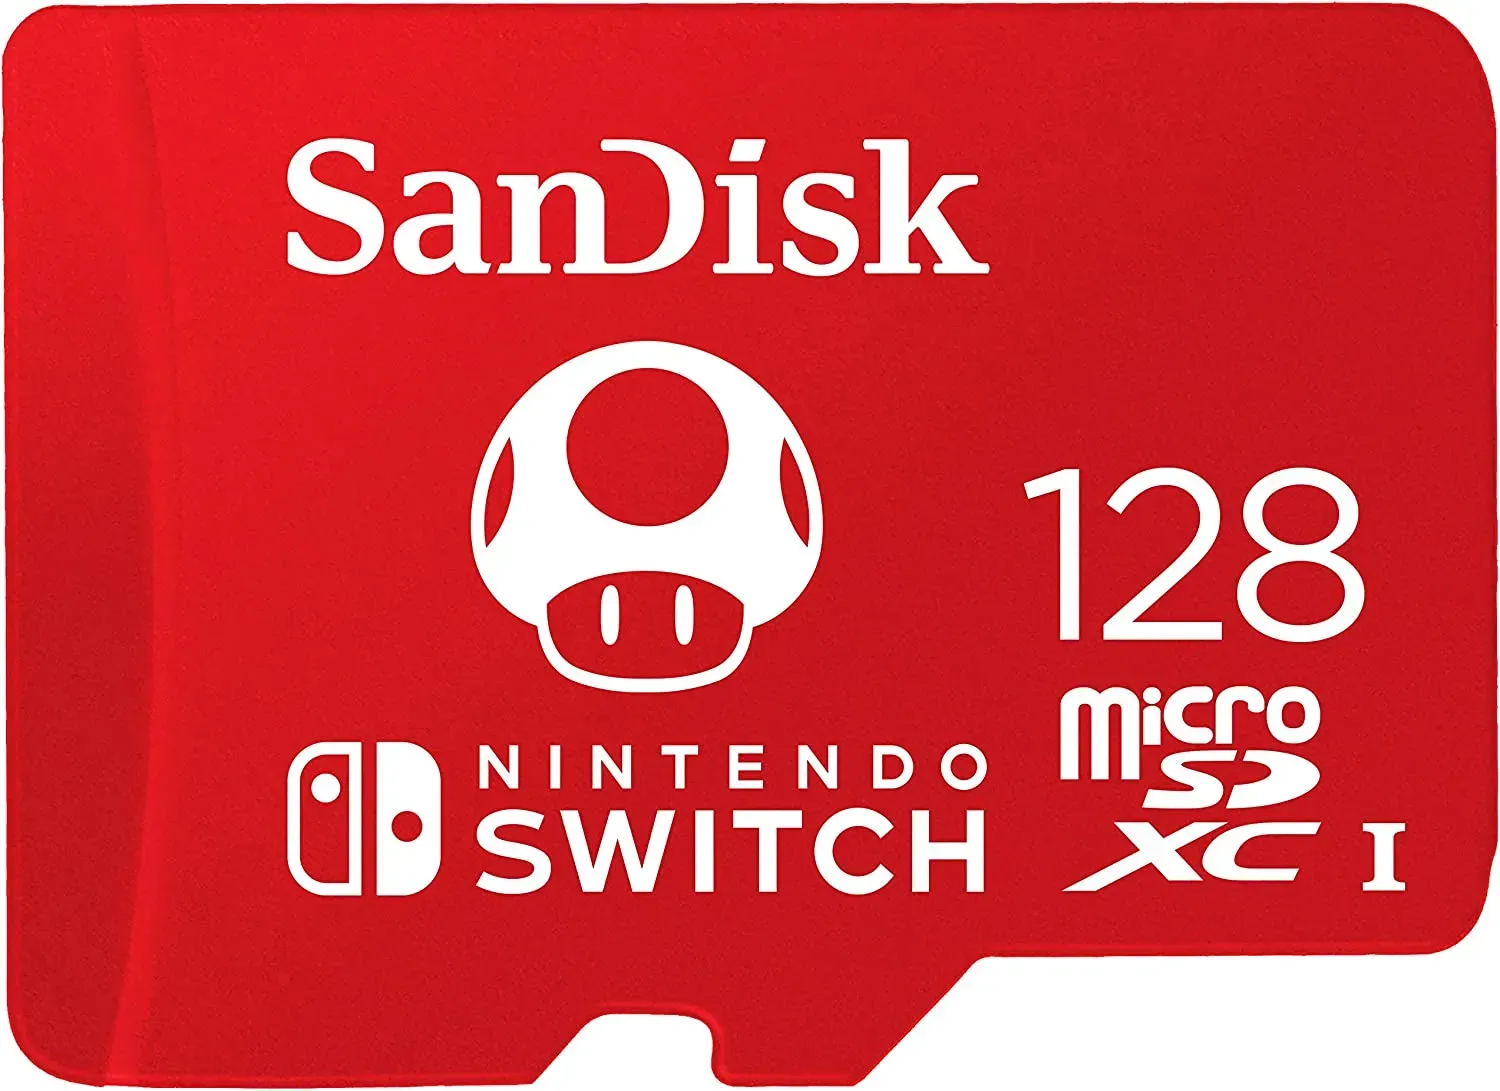
You can get official microSD cards released by SanDisk under license from Nintendo, or regular microSD cards without the Nintendo logo on them. While Nintendo-licensed microSD cards look nice and are certified to work with the Nintendo Switch, you can save a few bucks by purchasing a comparable non-Nintendo microSD card and executing the required file format on it from the game system.
Finally, we’ll cover the types of data you can store on a microSD card once it’s installed on Nintendo Switch. Nintendo says the following types of data can be stored on a microSD card.
- Downloadable software
- Software update data
- Downloadable content (DLC)
- Screenshots and captured videos
If you’re ready to start transferring data from your Nintendo Switch’s internal storage to your newly purchased microSD card, we’ll share the instructions with you in the next section.
Transferring data between Nintendo Switch internal storage and microSD
To move data from Nintendo Switch internal storage to a removable microSD card, follow the steps below:
1) Insert a microSD card into the dedicated slot behind the Nintendo Switch stand and press until it clicks.
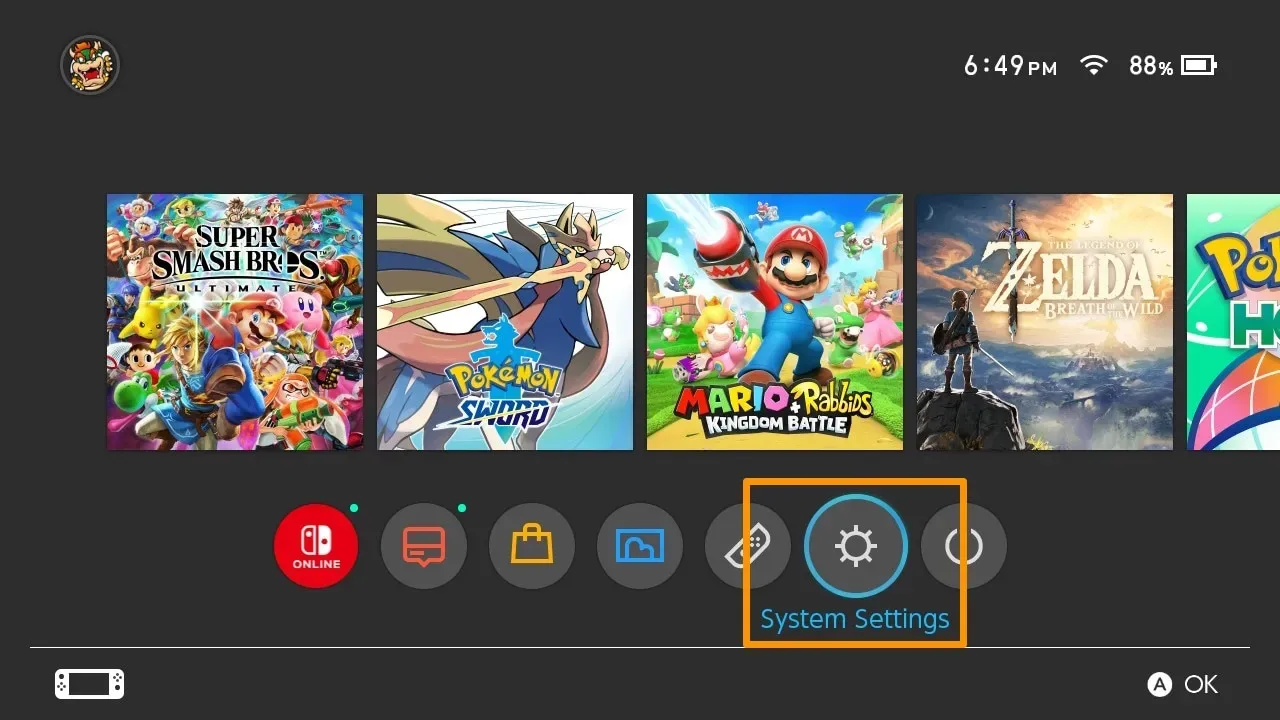
2) Wake up your Nintendo Switch and press the “System Settings”button on the main screen:
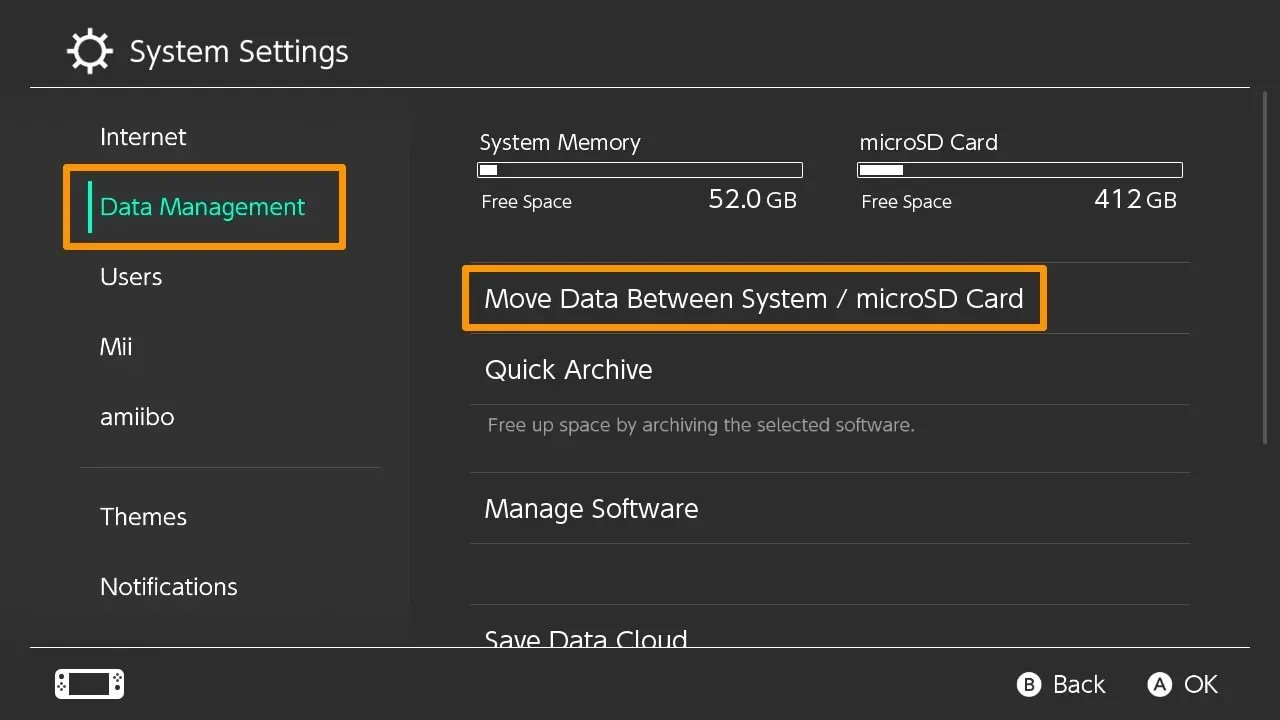
3) Scroll down and select the “Manage Data”section, then select the “Move data between system/microSD card”option:
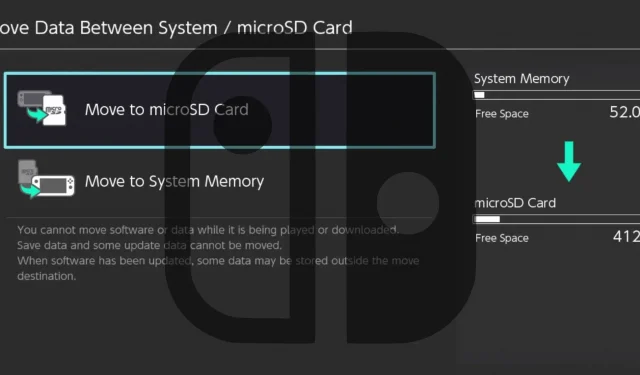
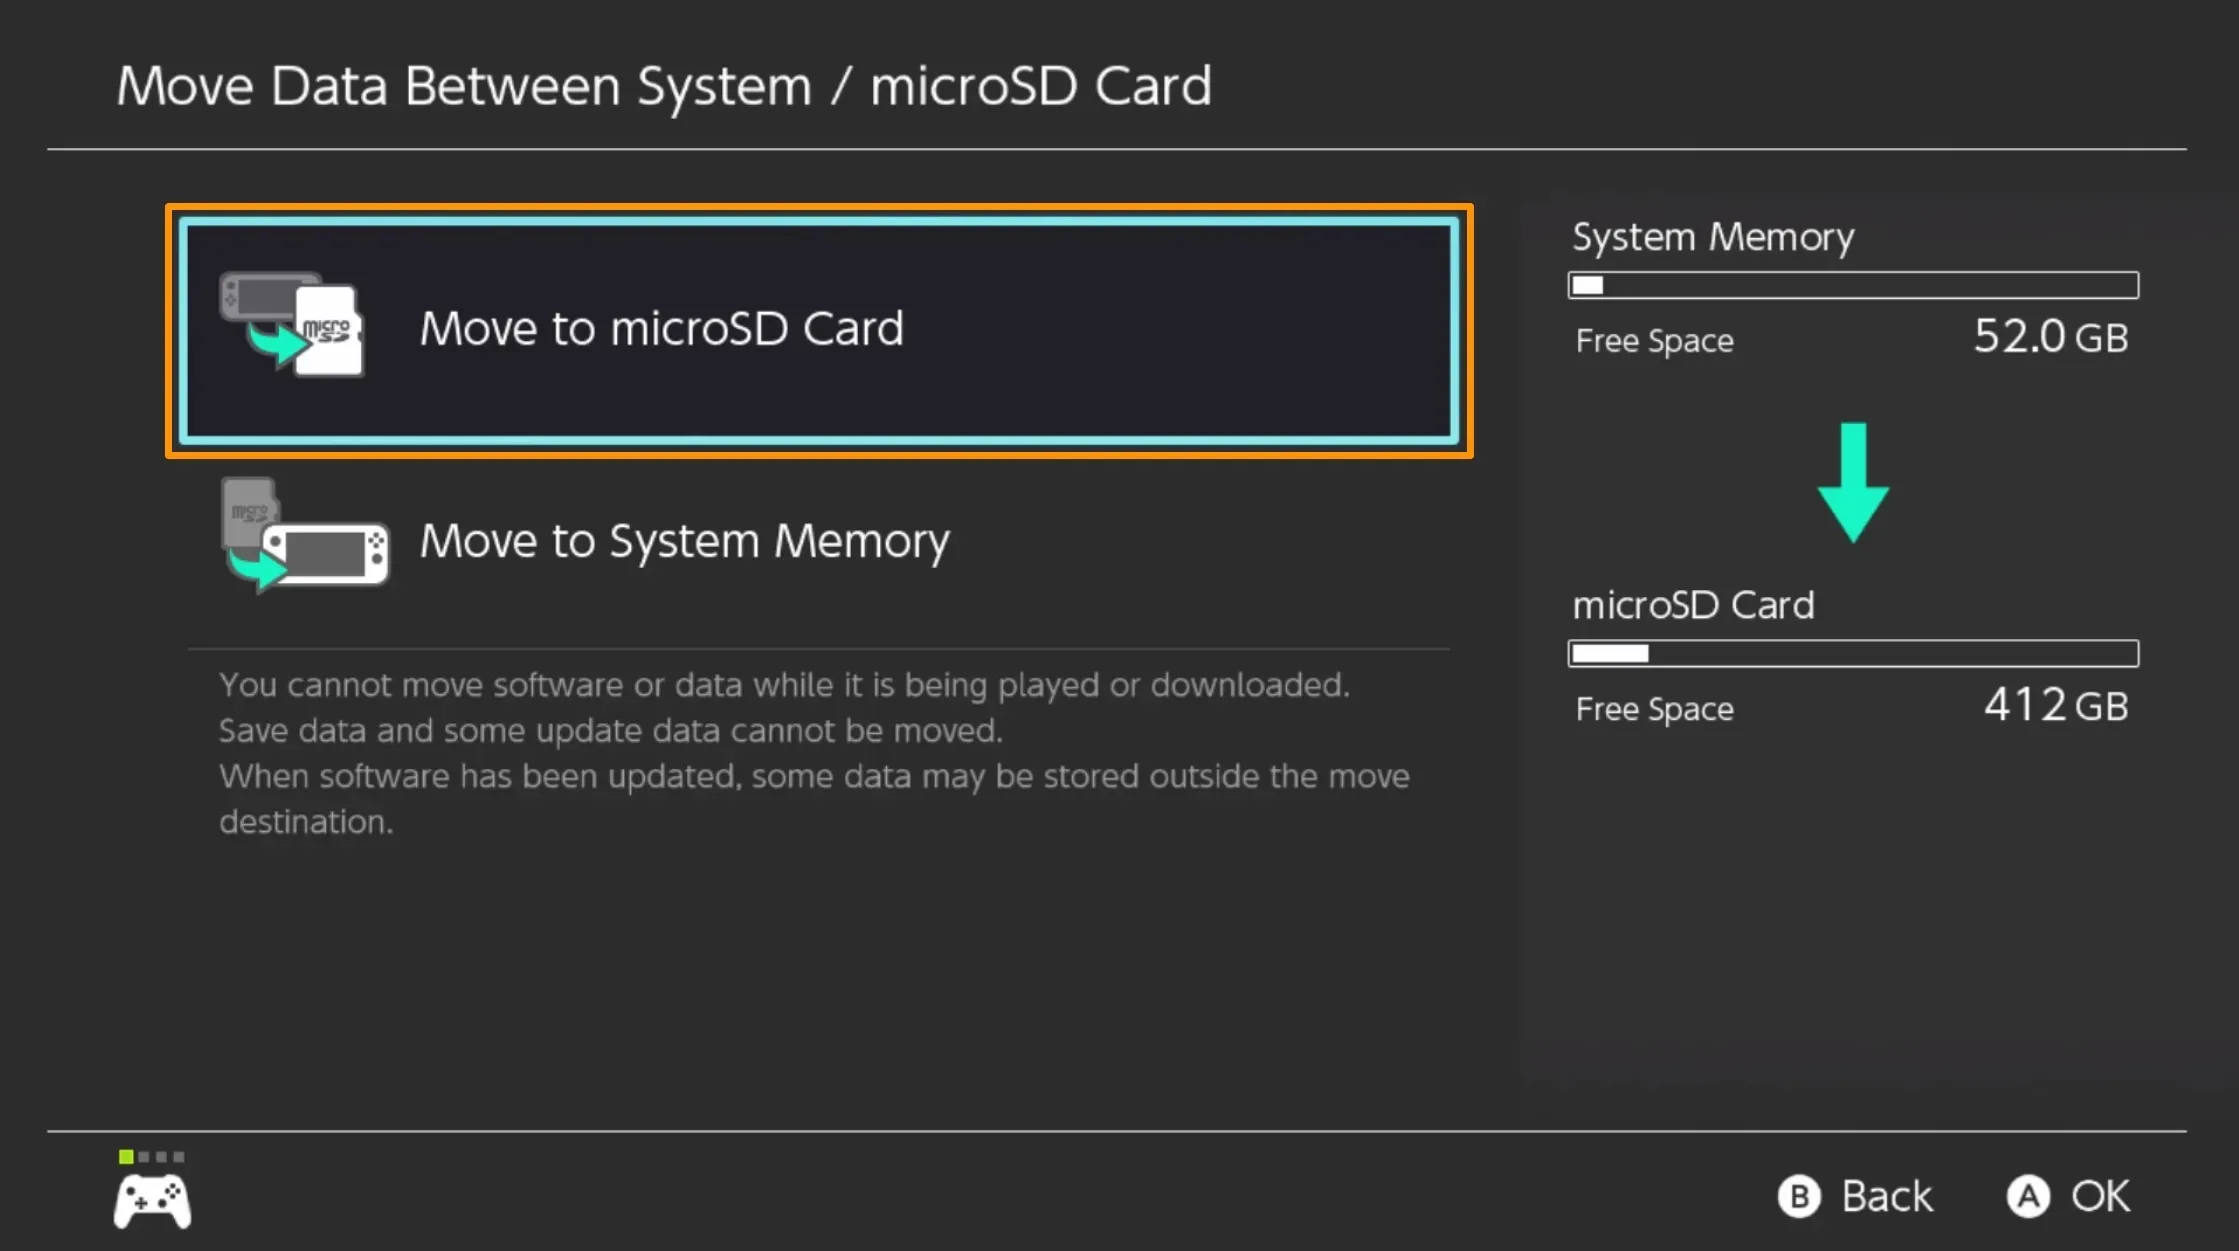
4) Select the “Move to microSD card”option:
5) Select the game(s) and/or data you want to move to the microSD card (you can select more than one):
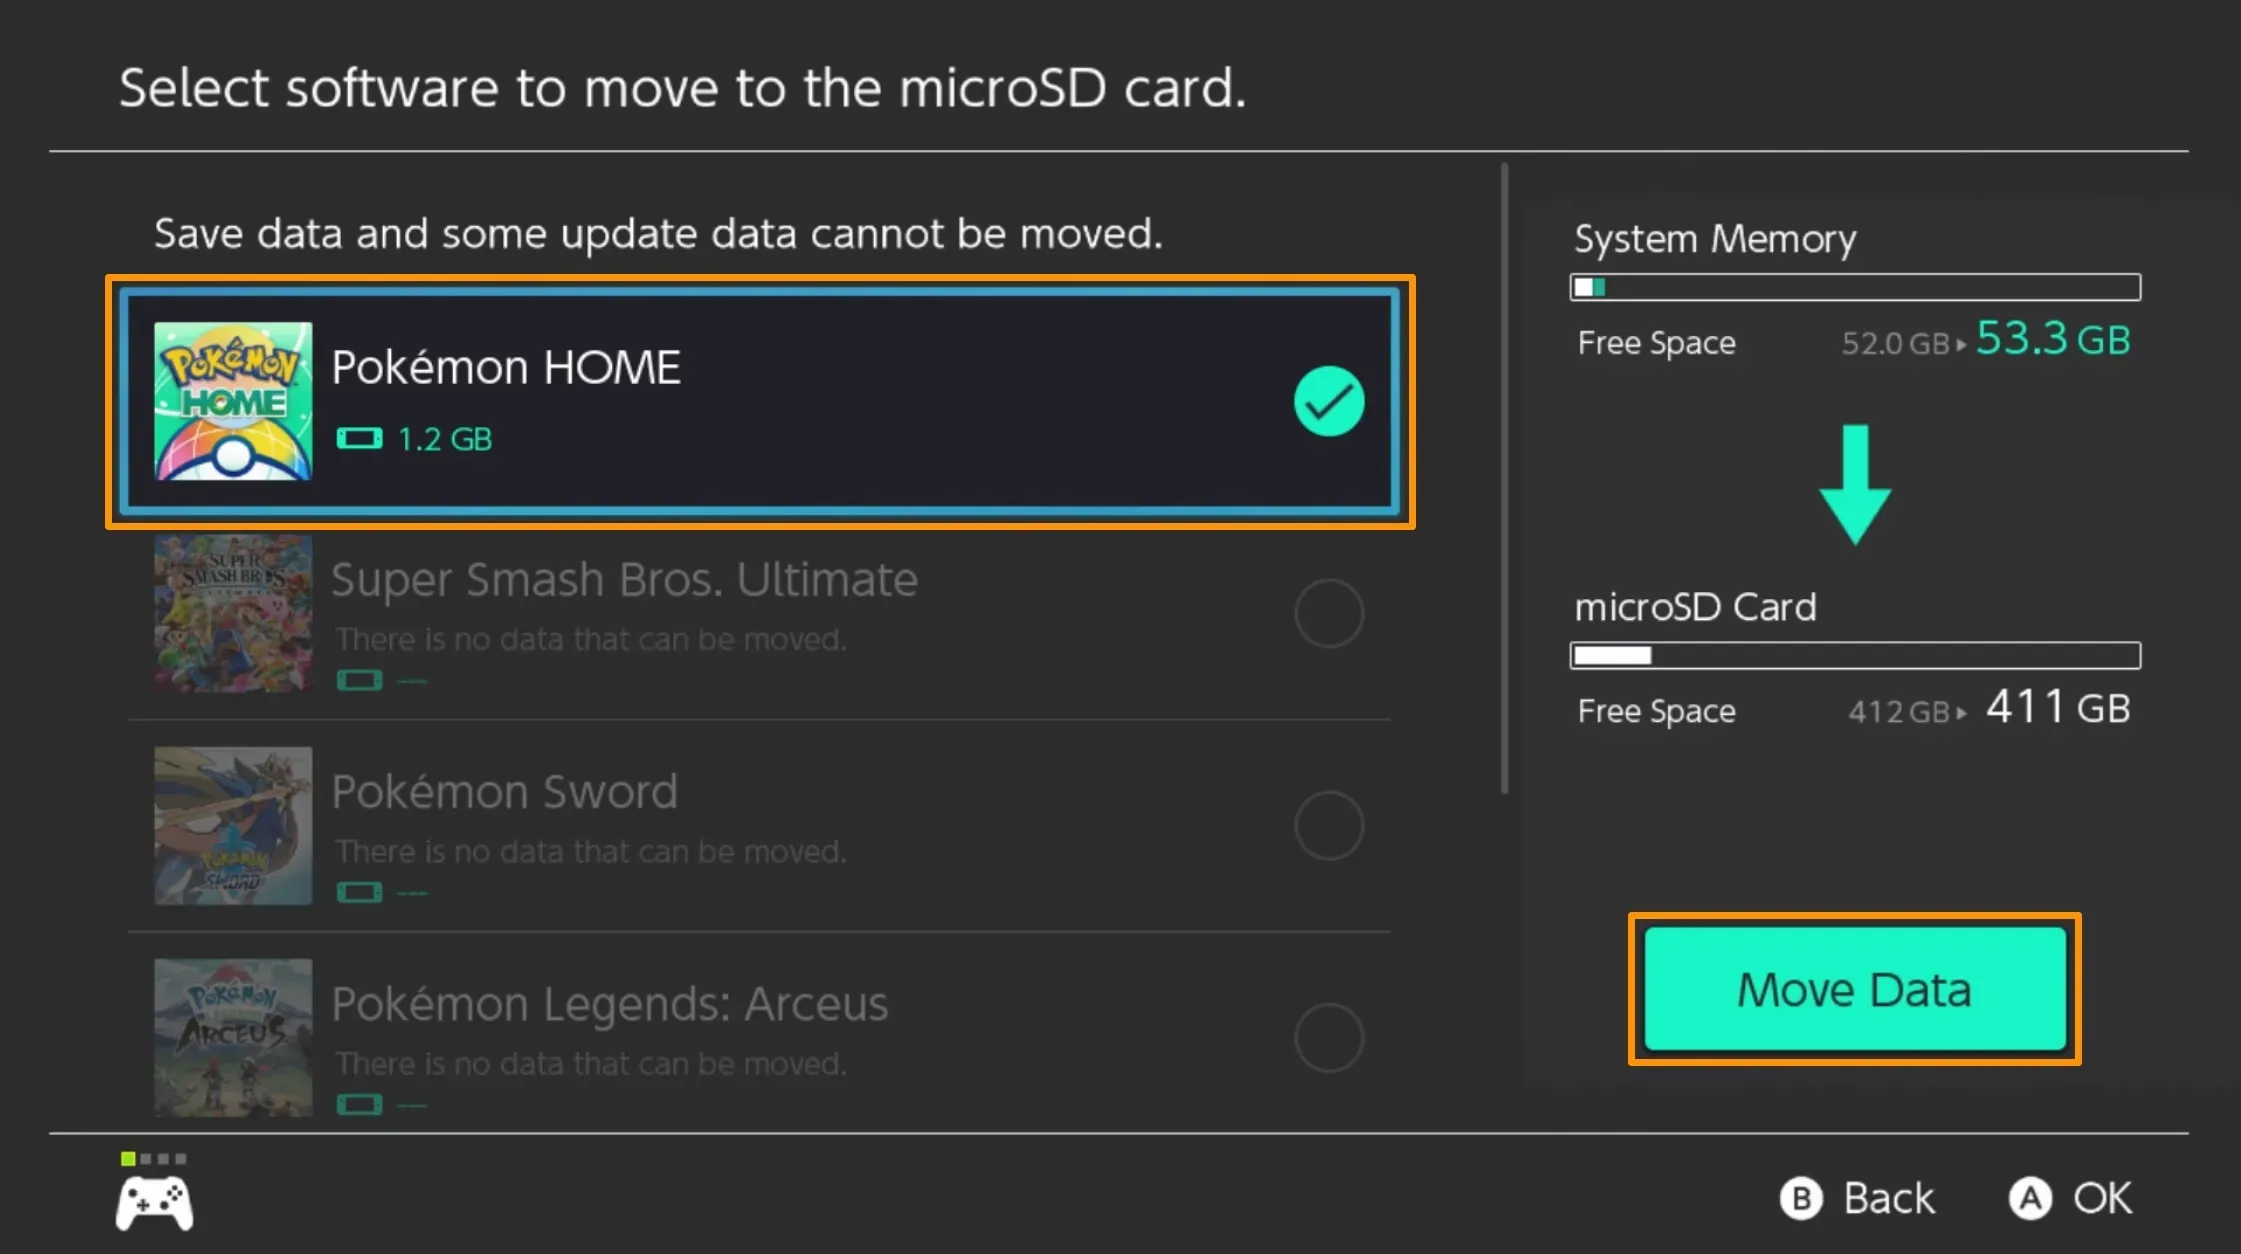
6) Once selected, click the green “Move Data”button.
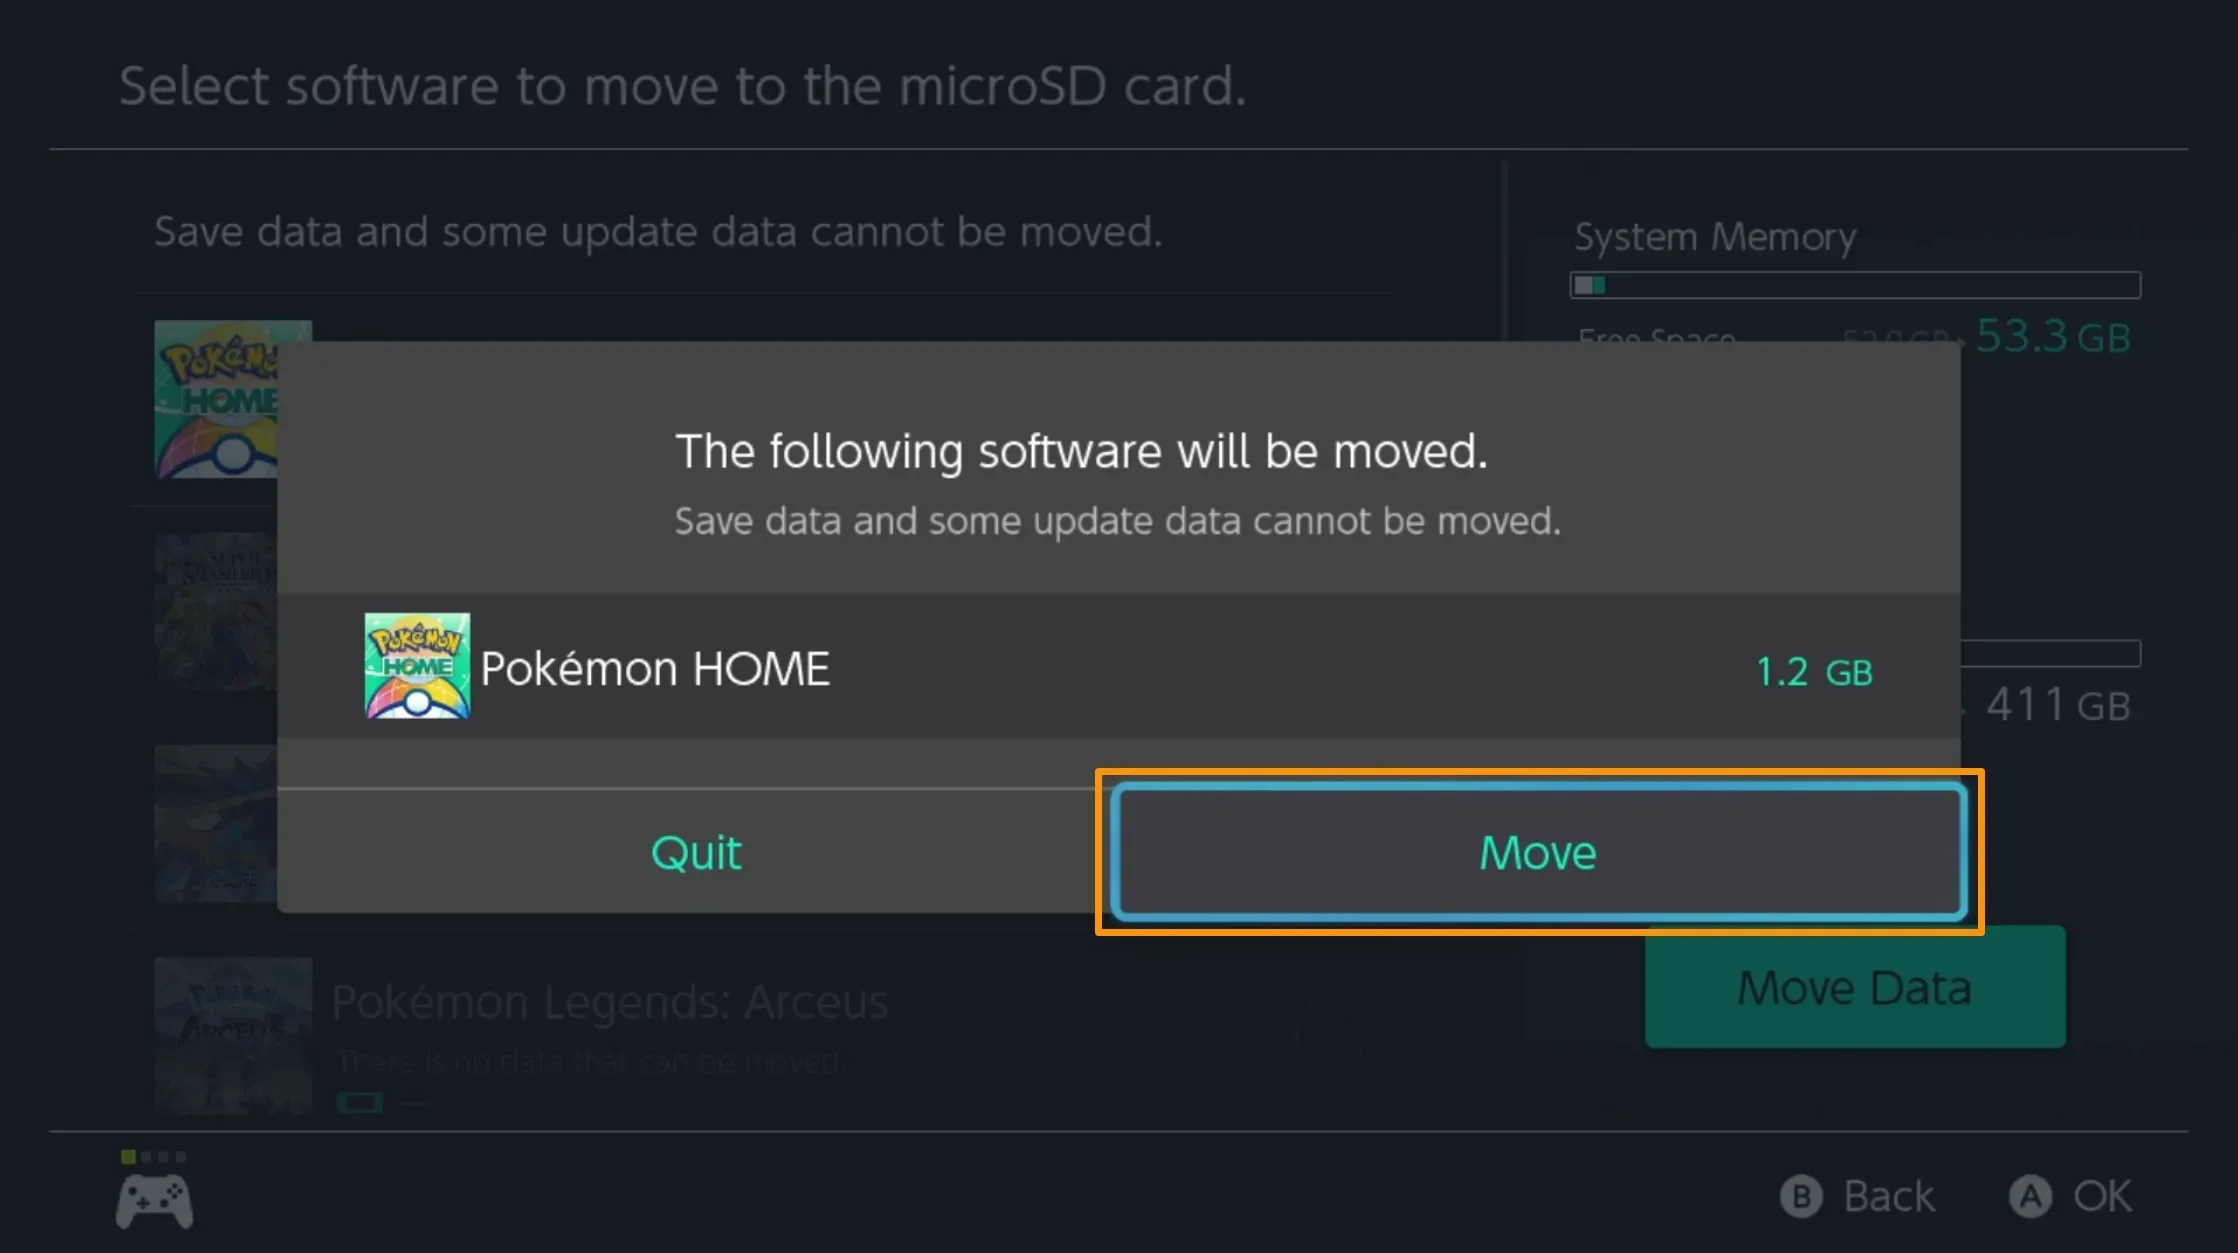
7) In the confirmation prompt that appears, click the Move button:
8) Data transfer starts:
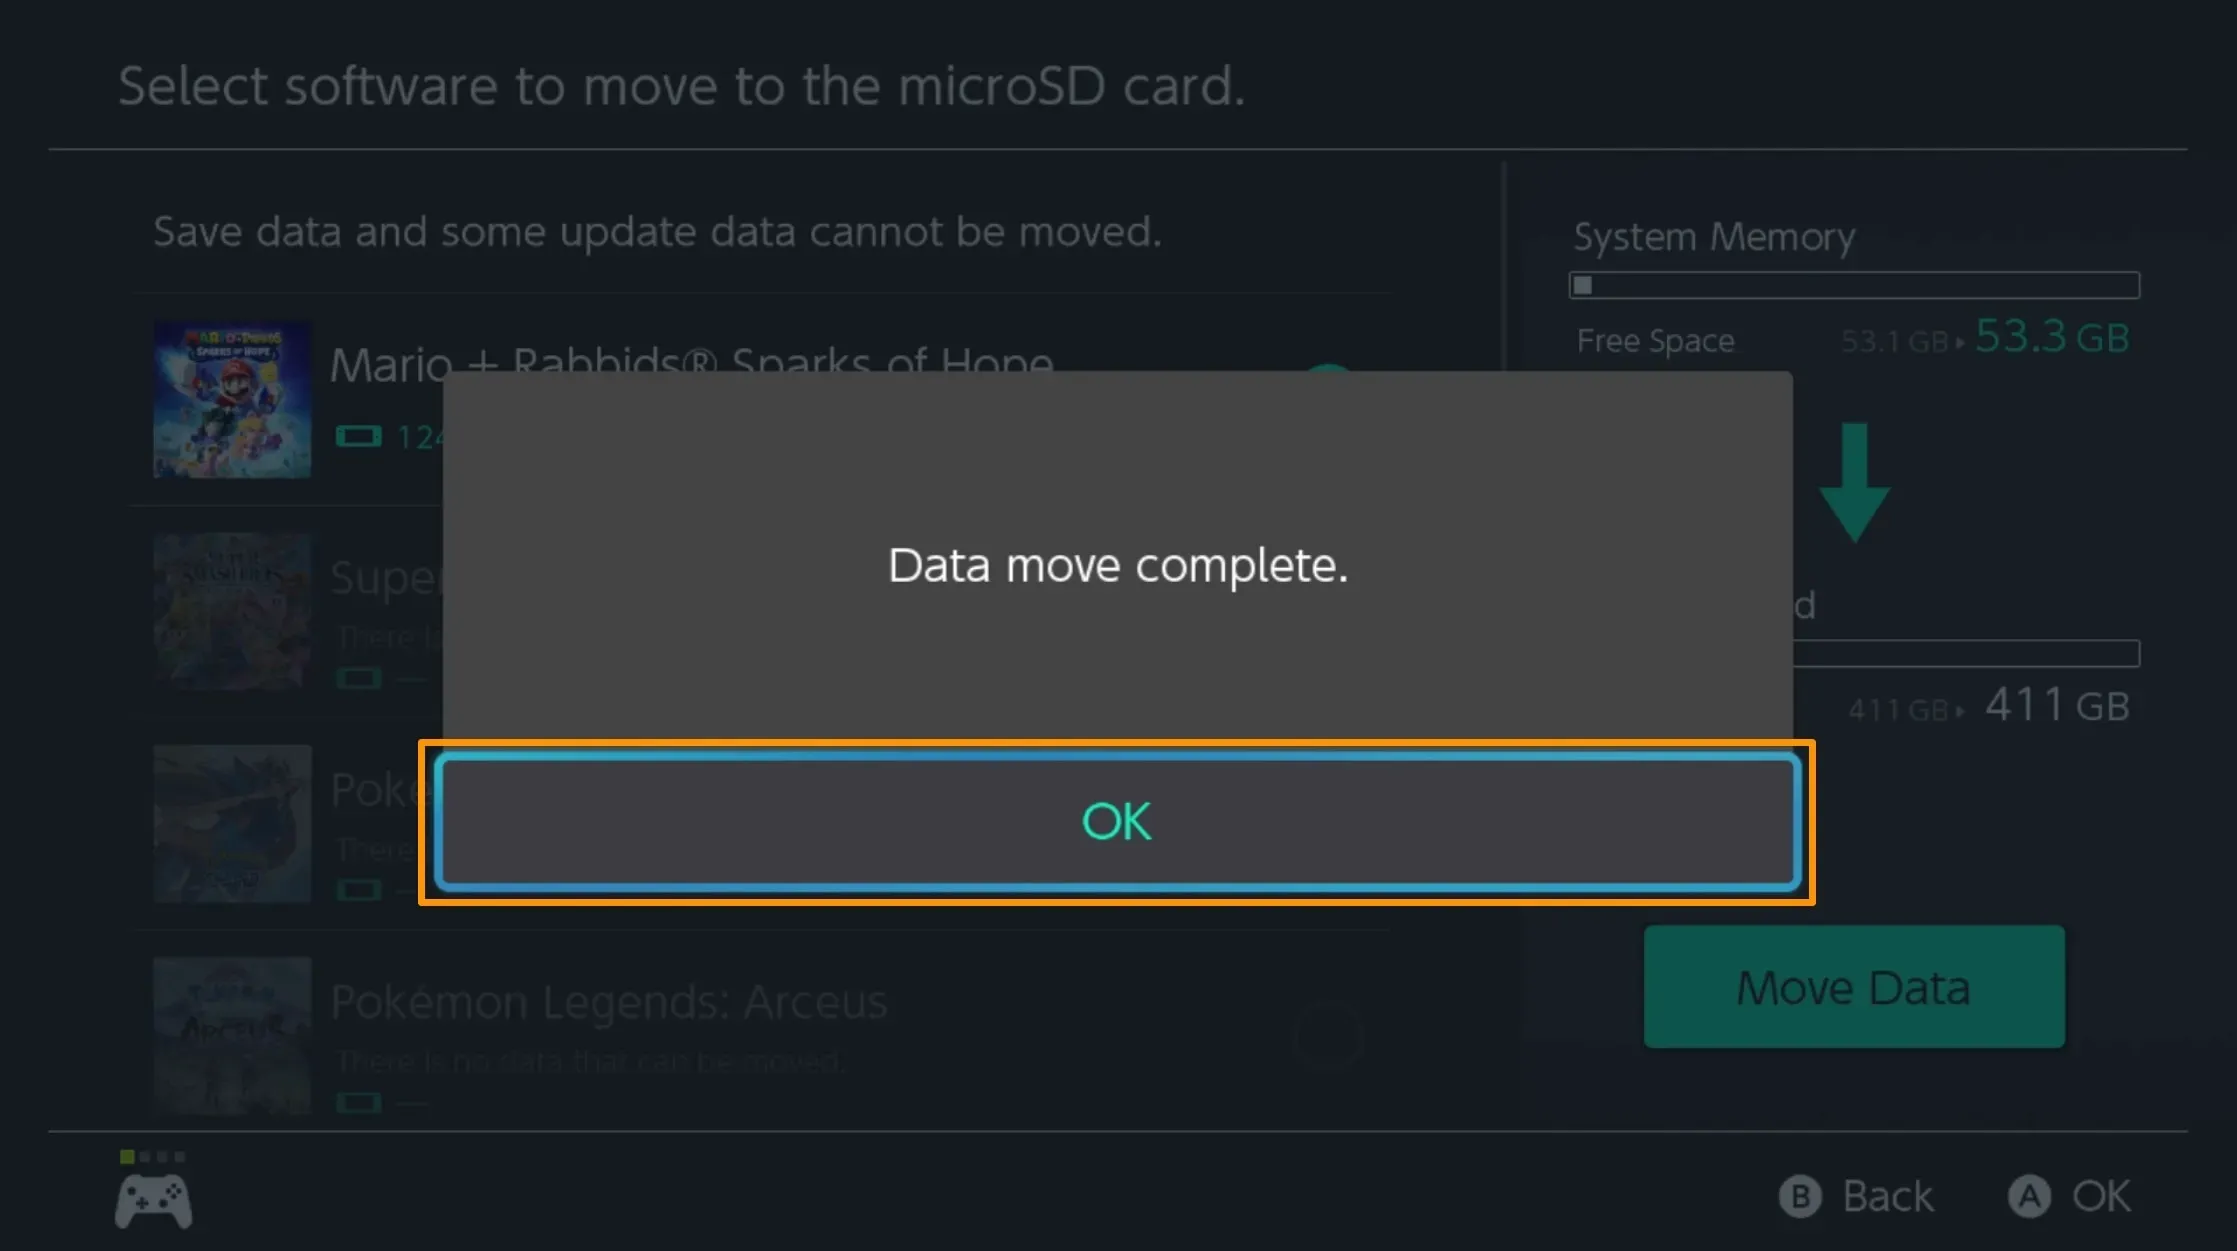
9) Nintendo Switch will notify you when the data transfer is complete. Click OK to finish:
And that’s all it takes!
Pro tip: You can also move data from a microSD card to the internal storage of your Nintendo Switch on demand using the same process, except you select the “Move to System Storage”option instead of the “Move to microSD Card”option.
Conclusion
The ability to seamlessly transfer data between the Nintendo Switch’s internal storage and removable microSD cards is a convenience for the end user in situations where you might want to get a new microSD card or simply upgrade to a larger card. It’s also especially handy for conserving valuable interior storage space.
See also: How to get free Gold Points for Nintendo Switch game purchases
If you found this tutorial helpful, don’t forget to leave a comment below. In the near future, we will share additional tutorials related to Nintendo Switch.
Leave a Reply