How to complete espionage in Warhammer 40K Darktide

With improved graphics and exciting game elements, this game has everything you need. Fight all the plague enemies you come across and expect no mercy. Other than that, there are several types of missions that keep you busy throughout the session. One such interesting mission in Warhammer 40K Darktide is espionage. In doing so, you must interfere with the enemy’s intelligence by uploading false data into their system. However, don’t expect this to be a tricky Hitman-type mission, as you’ll find chaos in every corner of this game. If you are unable to complete this mission, this article will help you. Check out this guide that provides the steps to complete the Spy mission in three steps.
Steps to complete a spy mission in Warhammer 40,000 Darktide
During this mission, several targets appear on the screen. But we will break the whole mission into several steps, highlighting the main goals. This is how you can easily get through espionage in Warhammer 40K Darktide.
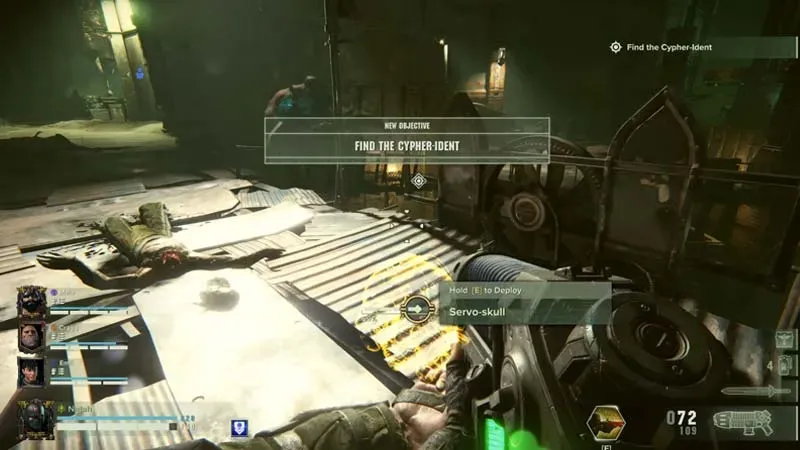
Expand the servo-skull to find the cipher ID.

Image source – Meatman Plays (YouTube)
The very first goal that appears when trying to complete the espionage is to get to Ragtown. Once you get to Ragtown, go to the Ragtown Bazaar. Also, don’t forget to open crates and get precious ammo as there are hordes of enemies ahead of you. Once you reach the Ragtown Bazaar, kill a bunch of enemies and deploy the Servo Skull as you approach the marked spot. Next, the servo-skull will begin to float in the air and you must follow it. The only reason for this is to find the encryption identifier. Once the Skull Servo stops, use Auspex to scan the room and get the Encryption Identifier by following the Green Orbs or Bodies. After that, we can move on to the second main objective by doing the Espionage mission in Darktide.
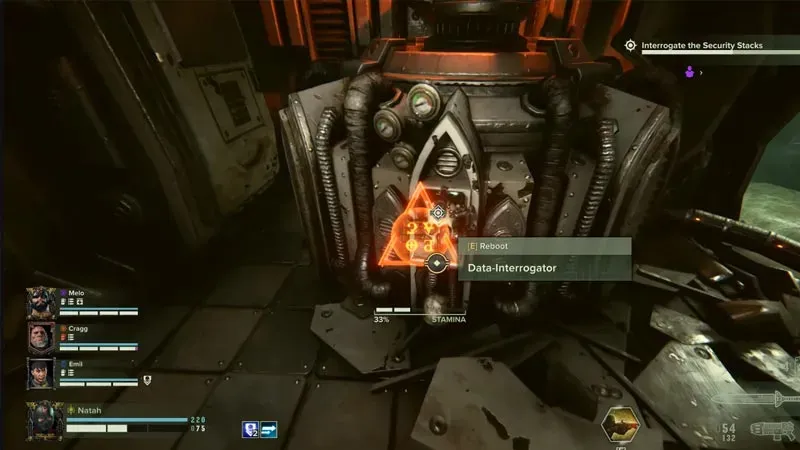
Disable and poll security stacks

Image source – Meatman Plays (YouTube)
Once you get the encryption ID, use the freight elevator. Sneak into the Oblivium of Vigil Station to upload false data to the cogitator array. It’s not as easy as it sounds because you’ll be hindered by defensive stacks in the area. Hence, your second main objective when doing a spy mission is to disable and interrogate security stacks in Warhammer 40K Darktide. To do this, simply interact with the marked terminals. There are several terminals that you need to poll with the data poller. In the meantime, the data is interrogated, defend the area from the approaching enemy forces.
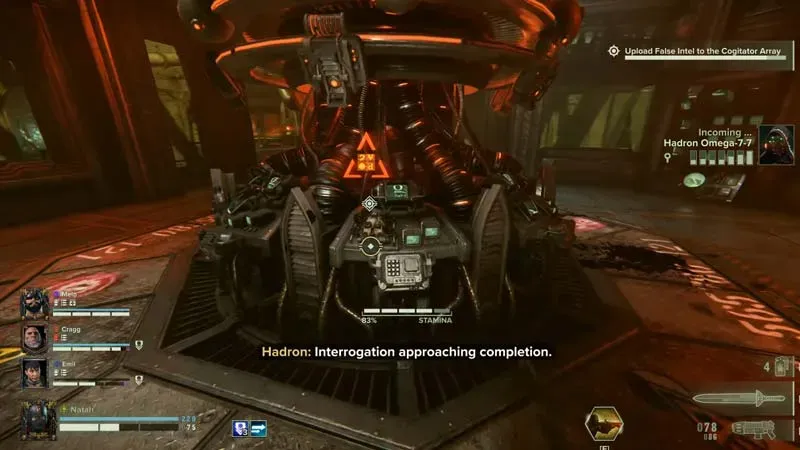
Upload false information to the Cogitator Array – the final target of the WH40K Darktide spy mission

Image source – Meatman Plays (YouTube)
Once all security stacks have been interrogated, head to the indicated location. In this final espionage mission in Warhammer 40K Darktide, use the Data Interrogator again to upload false information into the enemy system. Loading data will take some time. In the meantime, eliminate all enemies approaching you through the bridges. Later, when the task is completed, leave the area to finally complete the espionage.
That’s all about how to complete the spy mission in Warhammer 40K Darktide. If you found this article helpful, be sure to check out our other WH40K Darktide guides.
Leave a Reply