How to Make a Snapchat Filter on Mac or PC
Although Snapchat is considered a pioneer in the introduction and integration of filters and lenses into its platform, it did so by purchasing a startup. And I dare say it was one of the most commendable acquisitions given how widely people use these filters. But did you know that you can also make a Snapchat filter?
Well, you read that right! Let me show you how to create a Snapchat filter on your iPhone or iPad. But first, let’s clear up the basics.
There are different Snapchat filters
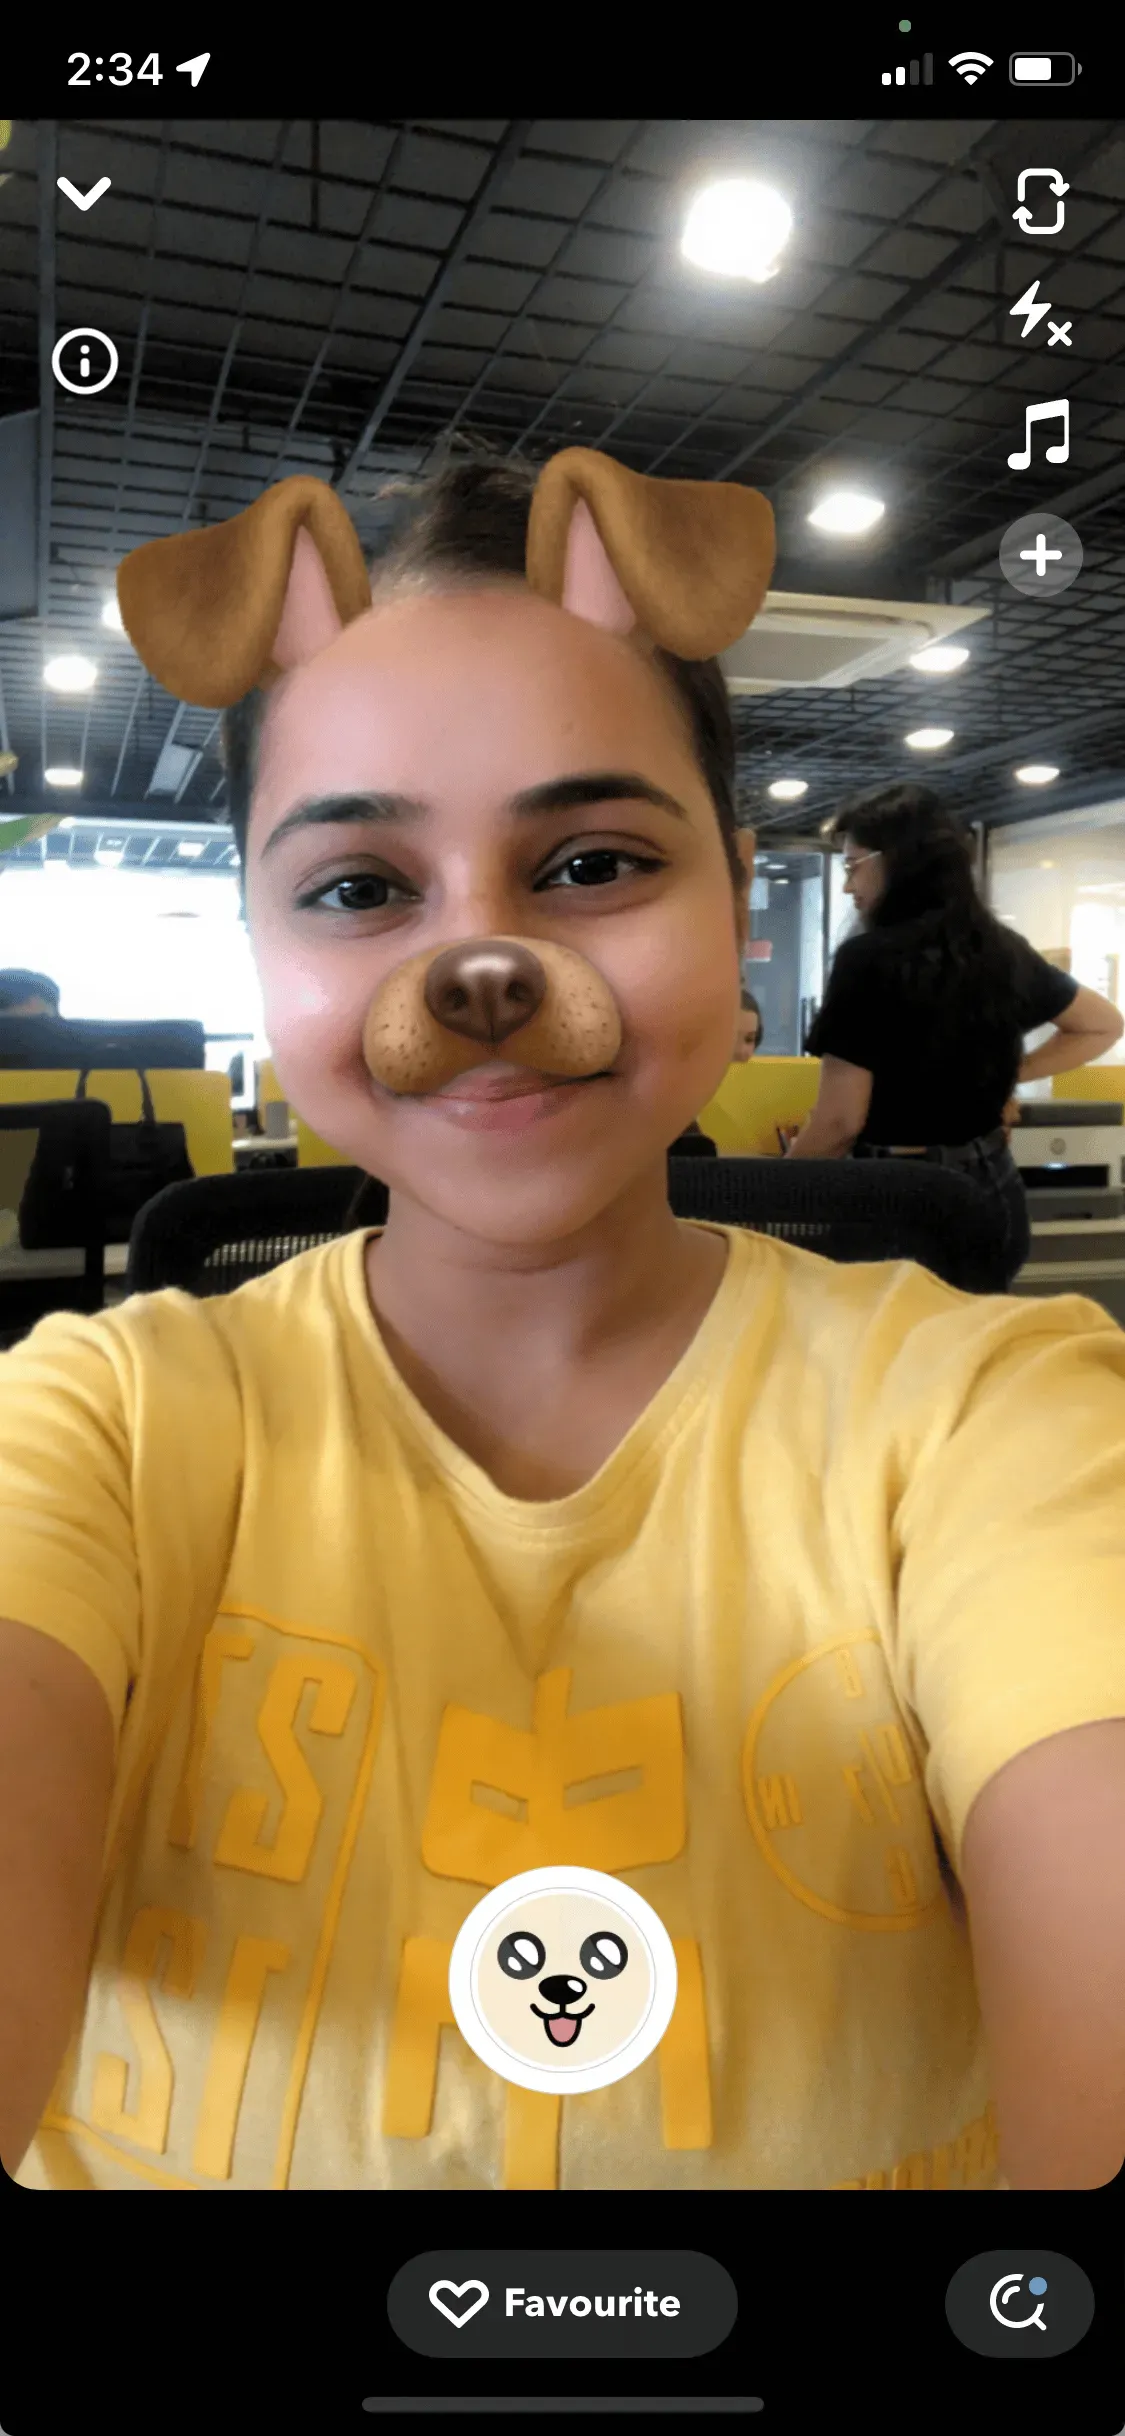
Before we start creating filters, let’s understand the different types of Snapchat filters. There are two types of filters: wiz, Regular filters and Geofilters. Now these ordinary filters also consist of lenses. However, I will focus on understanding the differences between these two filters.
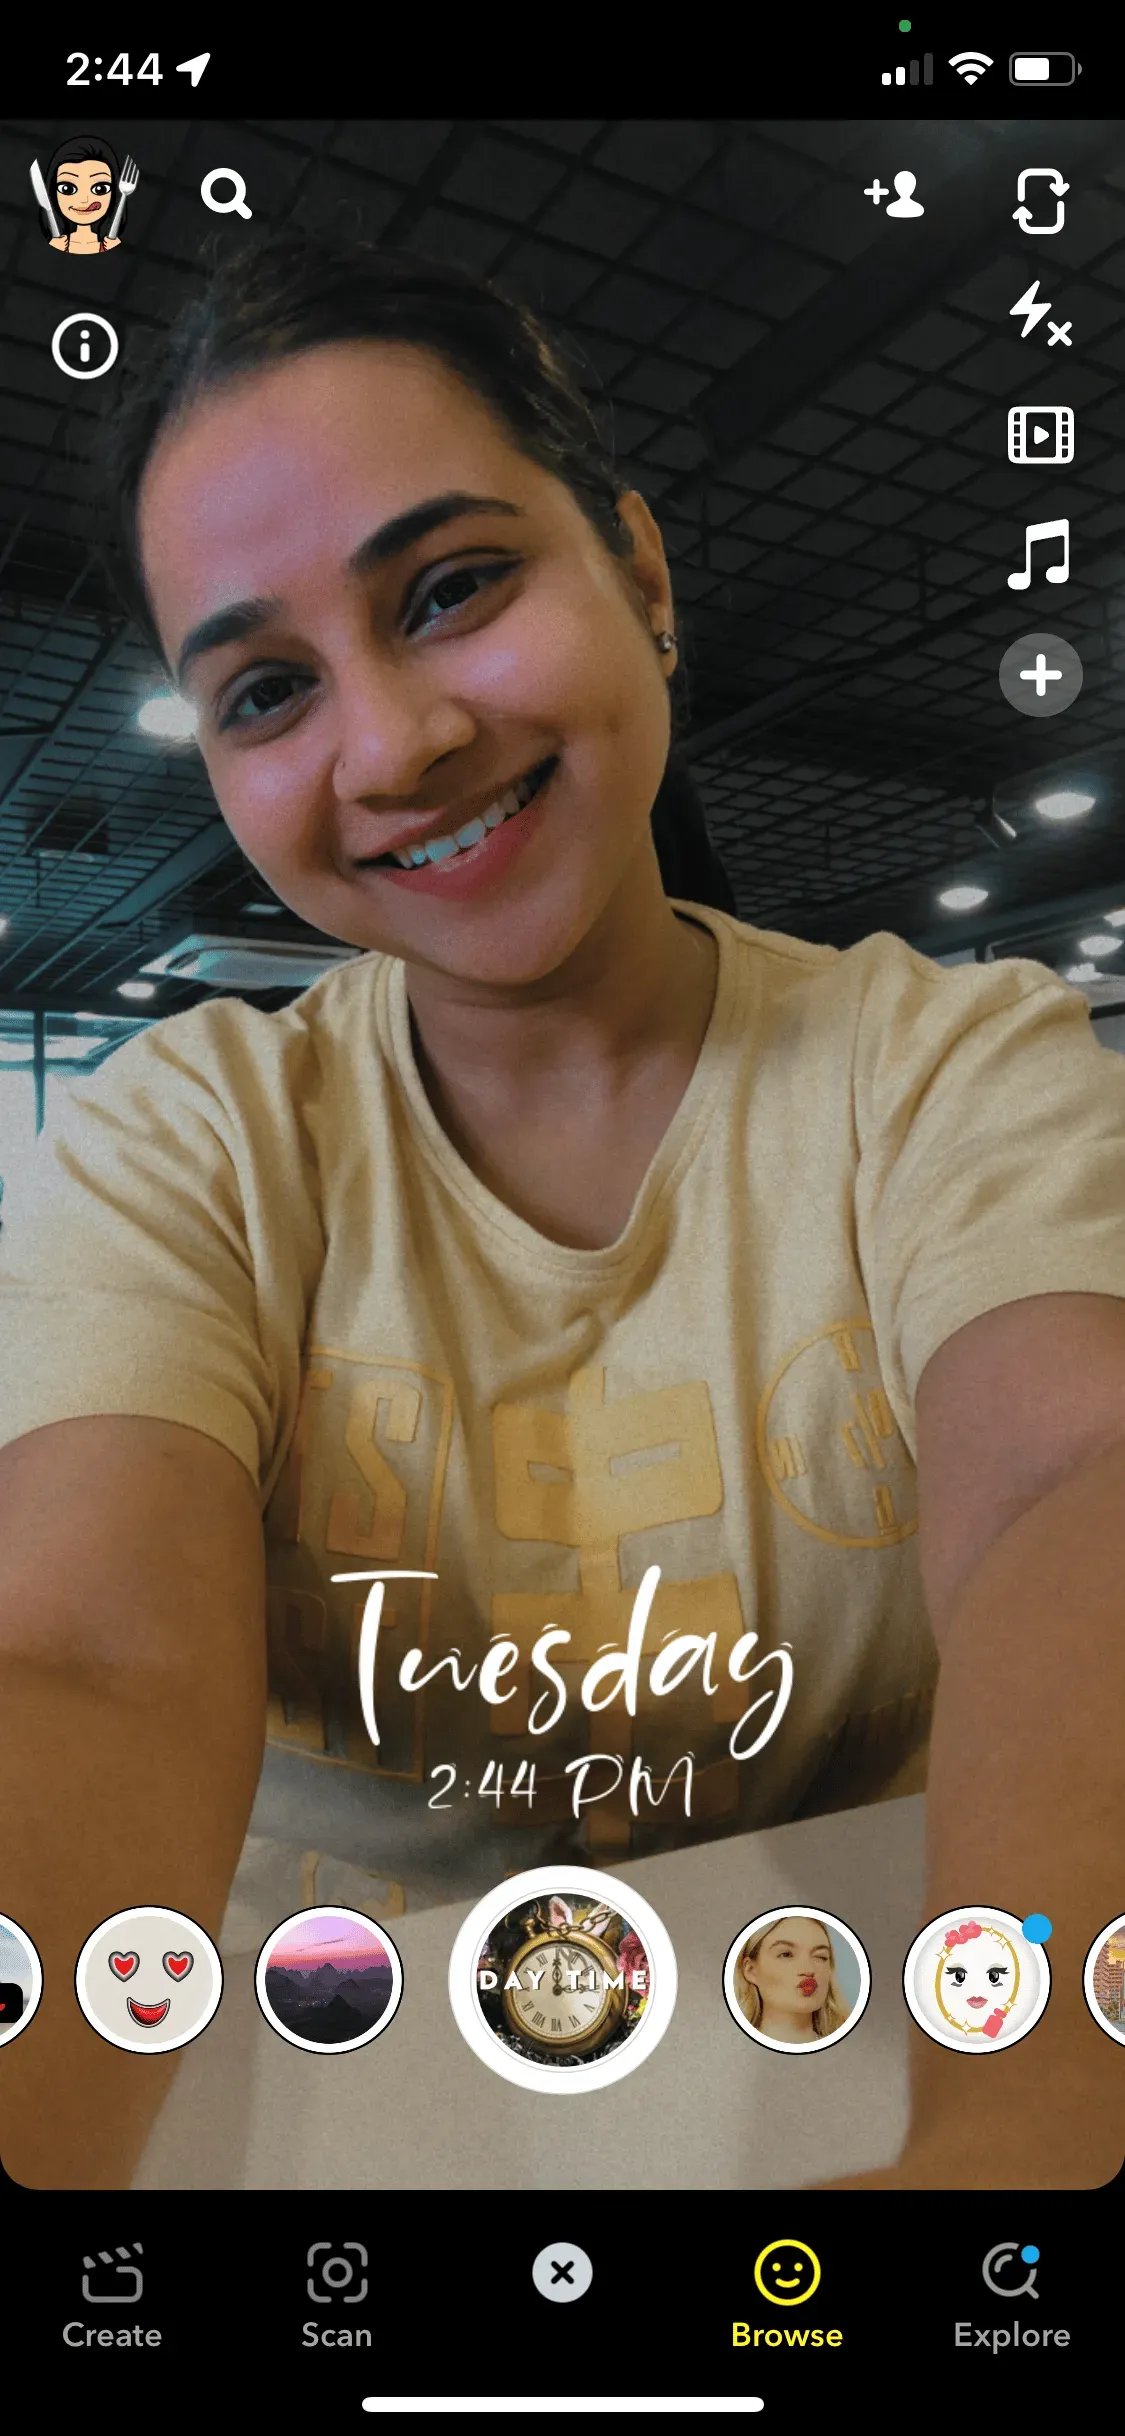
1. Regular Snapchat filter
2. Snapchat geofilter
When you read the term “Geofilter”, you are basically associating the GEO prefix with a geographic location. And you are right for that. Snapchat Geofilter is location based. Companies and individuals can create a geofilter to advertise a product launch or event. Geofilters are divided into personal filters and community filters.
Anyone can create a community filter for free. And these filters are usually limited to cities, landmarks, universities, etc. On the other hand, users need to pay money to create personal filters related to events such as birthdays, weddings, etc. There are also personal and business filters, but in this article, we will focus on creating filters for individuals.
Best Practices for Creating Snapchat Filters
You can create free Snapchat filters through a web browser. However, there are certain guidelines that you should follow. Here is a list of all the requirements
- The file size must be 1080 x 2340 pixels.
- File size < 300 KB.
- File resolution = 72 DPI.
- Download files. PNG with transparent background.
- Save the filter from the File menu using Save → Save for Web (Legacy) → select the PNG-24 preset.
How to Create a Community Filter (Free) on Snapchat
Once you’ve created an image that meets all of the above requirements, you can start making a Snapchat filter for free.
- Go to the community filters on the Snapchat website.
- Choose whether you want to create a community filter or a moment filter. Here I have selected the “Geofilter”option.
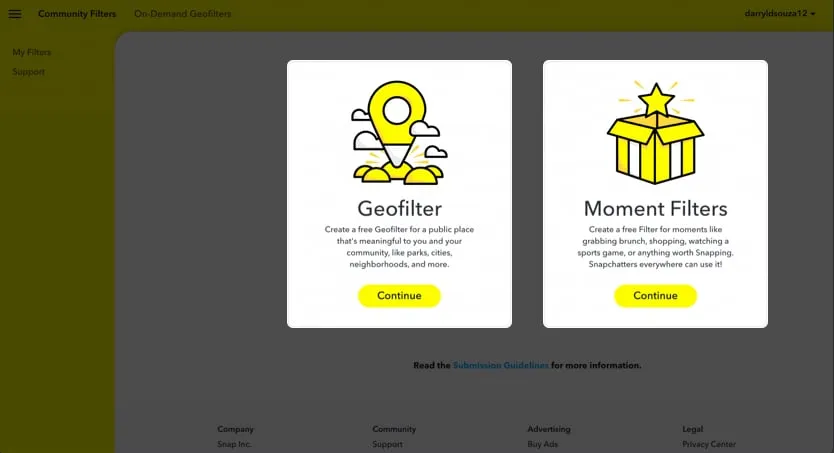
- Click Continue.
- Click “Download”below the “Download”filter and click “Continue”.
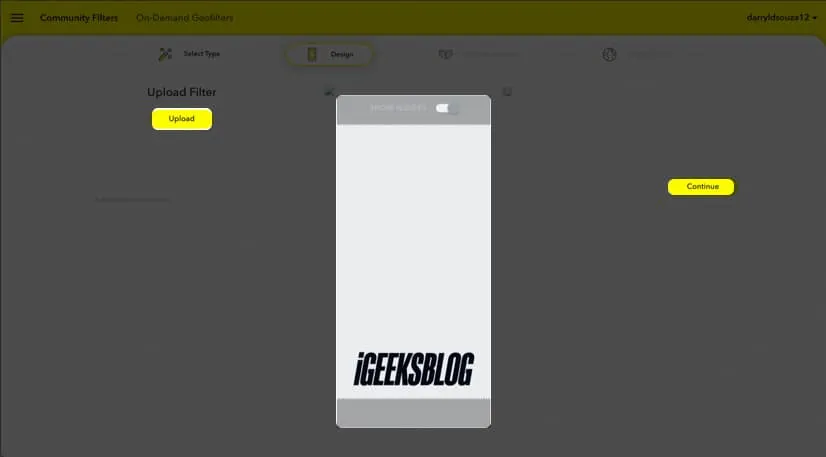
- Select an area → click Continue.

- Fill in all the details → click Continue.
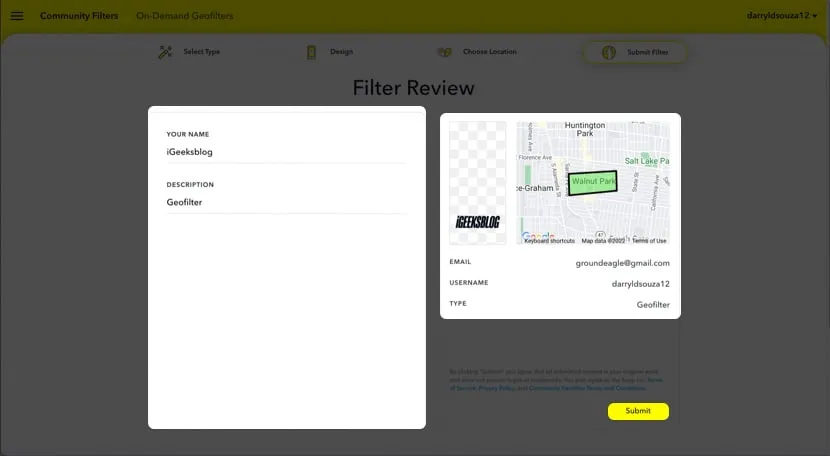
The Snapchat team will now review the filter and you will receive an email if your filter has been activated.
How to Create a Personal/Business Filter on Snapchat
- Go to the Filter section on the Snapchat website.
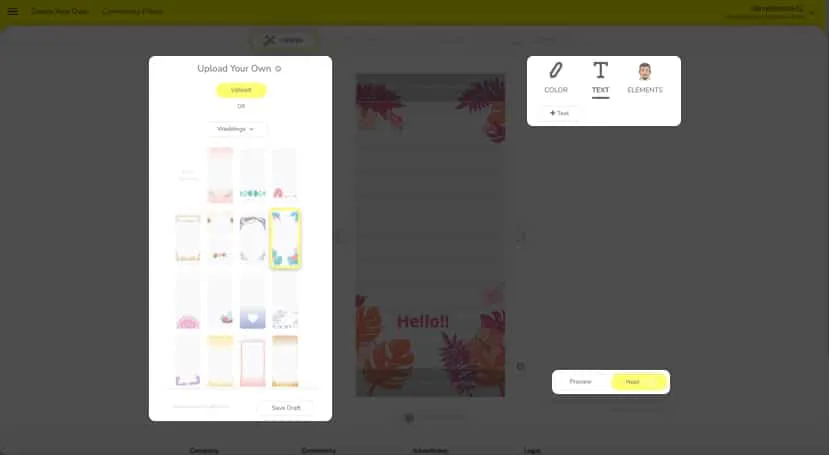
- Follow the on-screen instructions and create your design.
- Click “Next. Optional: You can also click Preview to see the design you have created.
- On the next page, select a date and time → click Next.

- Now select an area on the map and click Checkout.
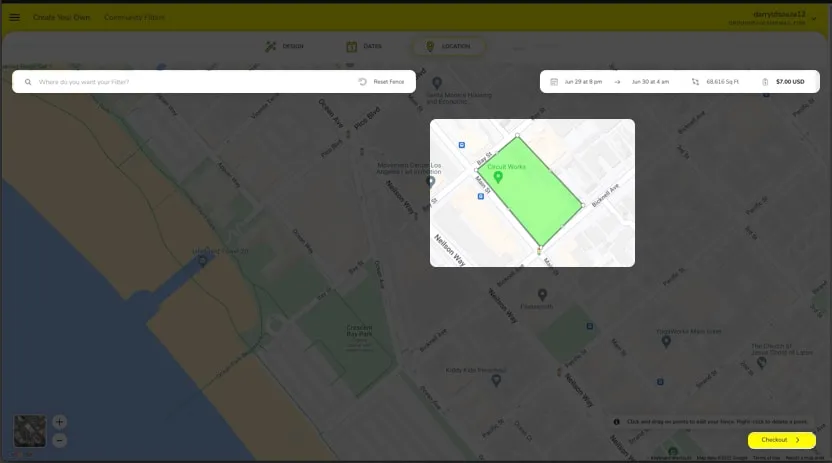
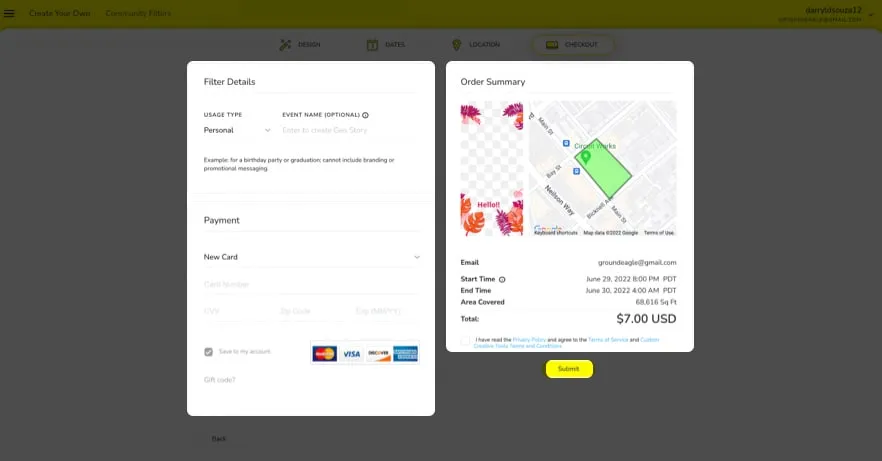
- On the next page, select a Usage Type based on your needs.
- Enter your card details → read the terms and conditions → click Submit.
- The Snapchat team will now review the filter and you will receive an email if your filter has been activated.
FAQ
Yes and no! Community filters are free to create. However, personal and business geofilters require payment.
Snapchat geofilters start at $5 and up. The size of the area and the duration the filter is available determine the cost when creating a Snapchat filter.
That’s all!
I hope this article helped you create Snapchat filters. If you run into any other issues, let me know in the comments below. I will do my best to help you.
Leave a Reply