How To: Erase or Recover Deleted Texts and iMessages on Your iPhone, iPad or Mac
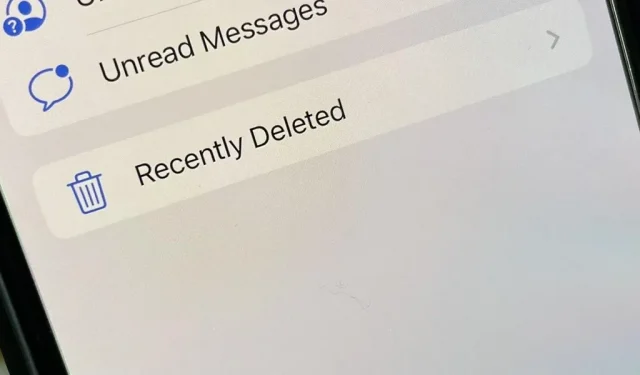
Among the many cool features coming to iPhone, iPad, and Mac this fall is the ability to recover recently deleted texts. Imagine never again being frustrated by accidentally deleting an important text or iMessage knowing that you can recover it with just a few taps. This feature is long overdue, but better late than never.
There are other cool new things you can do in the Messages app with the iOS 16, iPadOS 16, and macOS 13 Ventura software updates, such as editing and unsending a message, but the trick with them is that they only work for iMessages. — not for regular SMS and MMS texts. Restoring deleted messages works the same for iMessages and texts as it does for marking them as unread.
How Recently Deleted Messages Work
The Messages app now has a new “Recently Deleted”section that stores your deleted messages for 30 days, just like a trash can on a computer. After 30 days, Apple will permanently delete your messages. (Apple mentions that this “may take up to 40 days,”as weird as that sounds.)
You also have the option to manually erase some or all of your deleted messages permanently instead of having to wait 30 days. And you can restore whatever you need to see it again – only you won’t be able to see the message until you restore it.
Using Recently Deleted Messages on iPhone and iPad
To access deleted messages, click Edit in your conversation list, then select Show Recently Deleted. Here you can manage them before your software goes into management after 30 days. To forever:
- Erase all deleted messages: Click “Delete All”and then “Delete [#] Messages”at the confirmation prompt.
- Retrieve all deleted messages: Click “Retrieve All”and then “Retrieve [#] Messages”at the confirmation prompt.
- Erase just one or more: Tap the empty circle next to each message, select Delete, then Delete [#] Messages at the confirmation prompt.
- Restore just one or a few: tap the empty circle next to each message, select “Restore”, then “Restore [#] Messages”at the confirmation prompt.
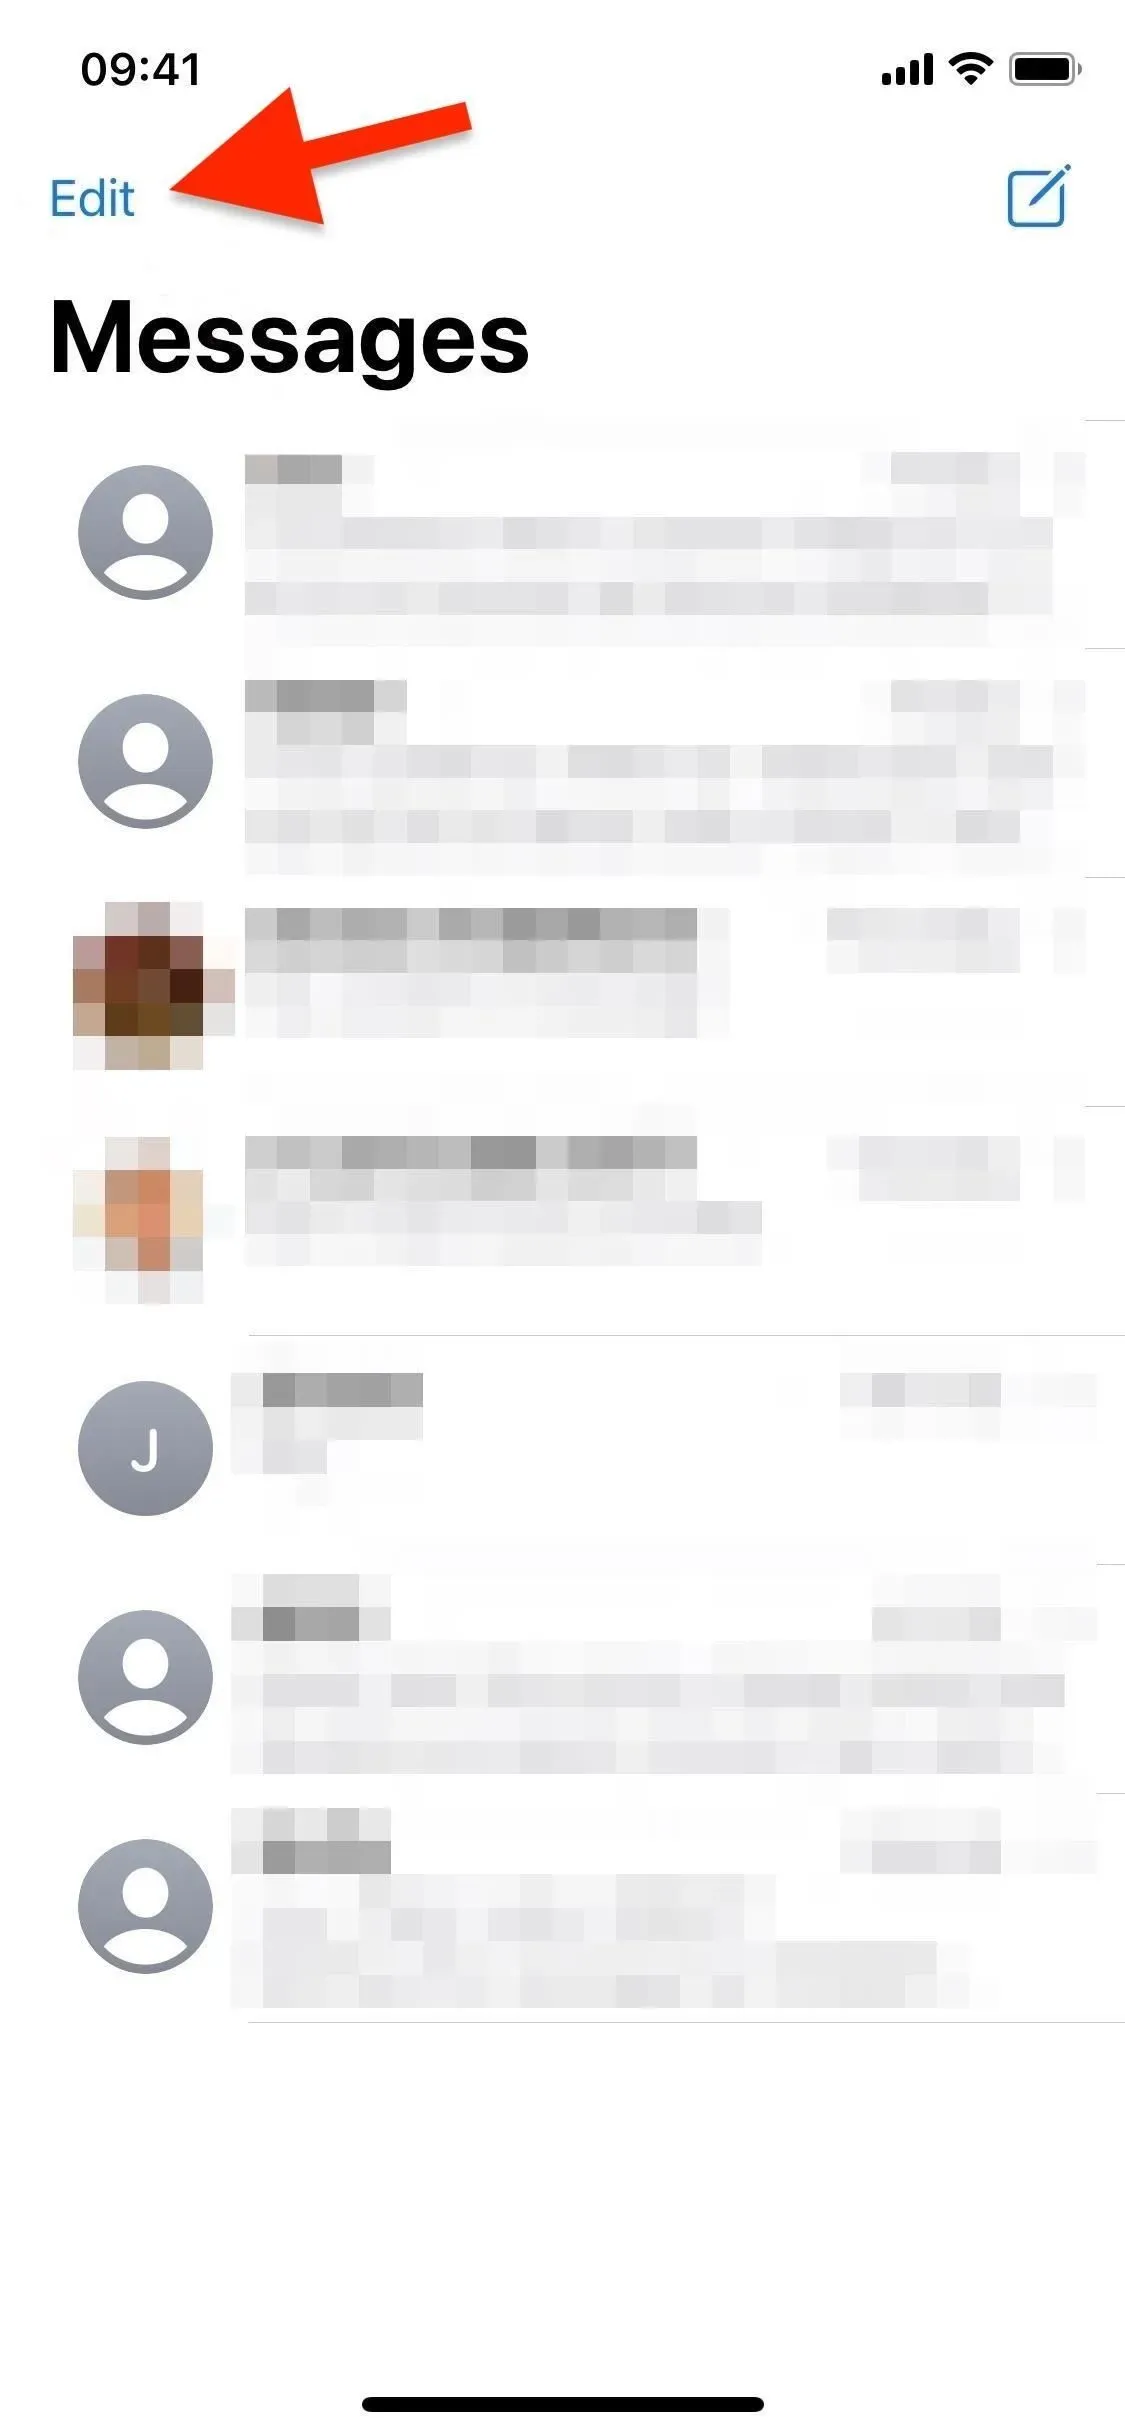
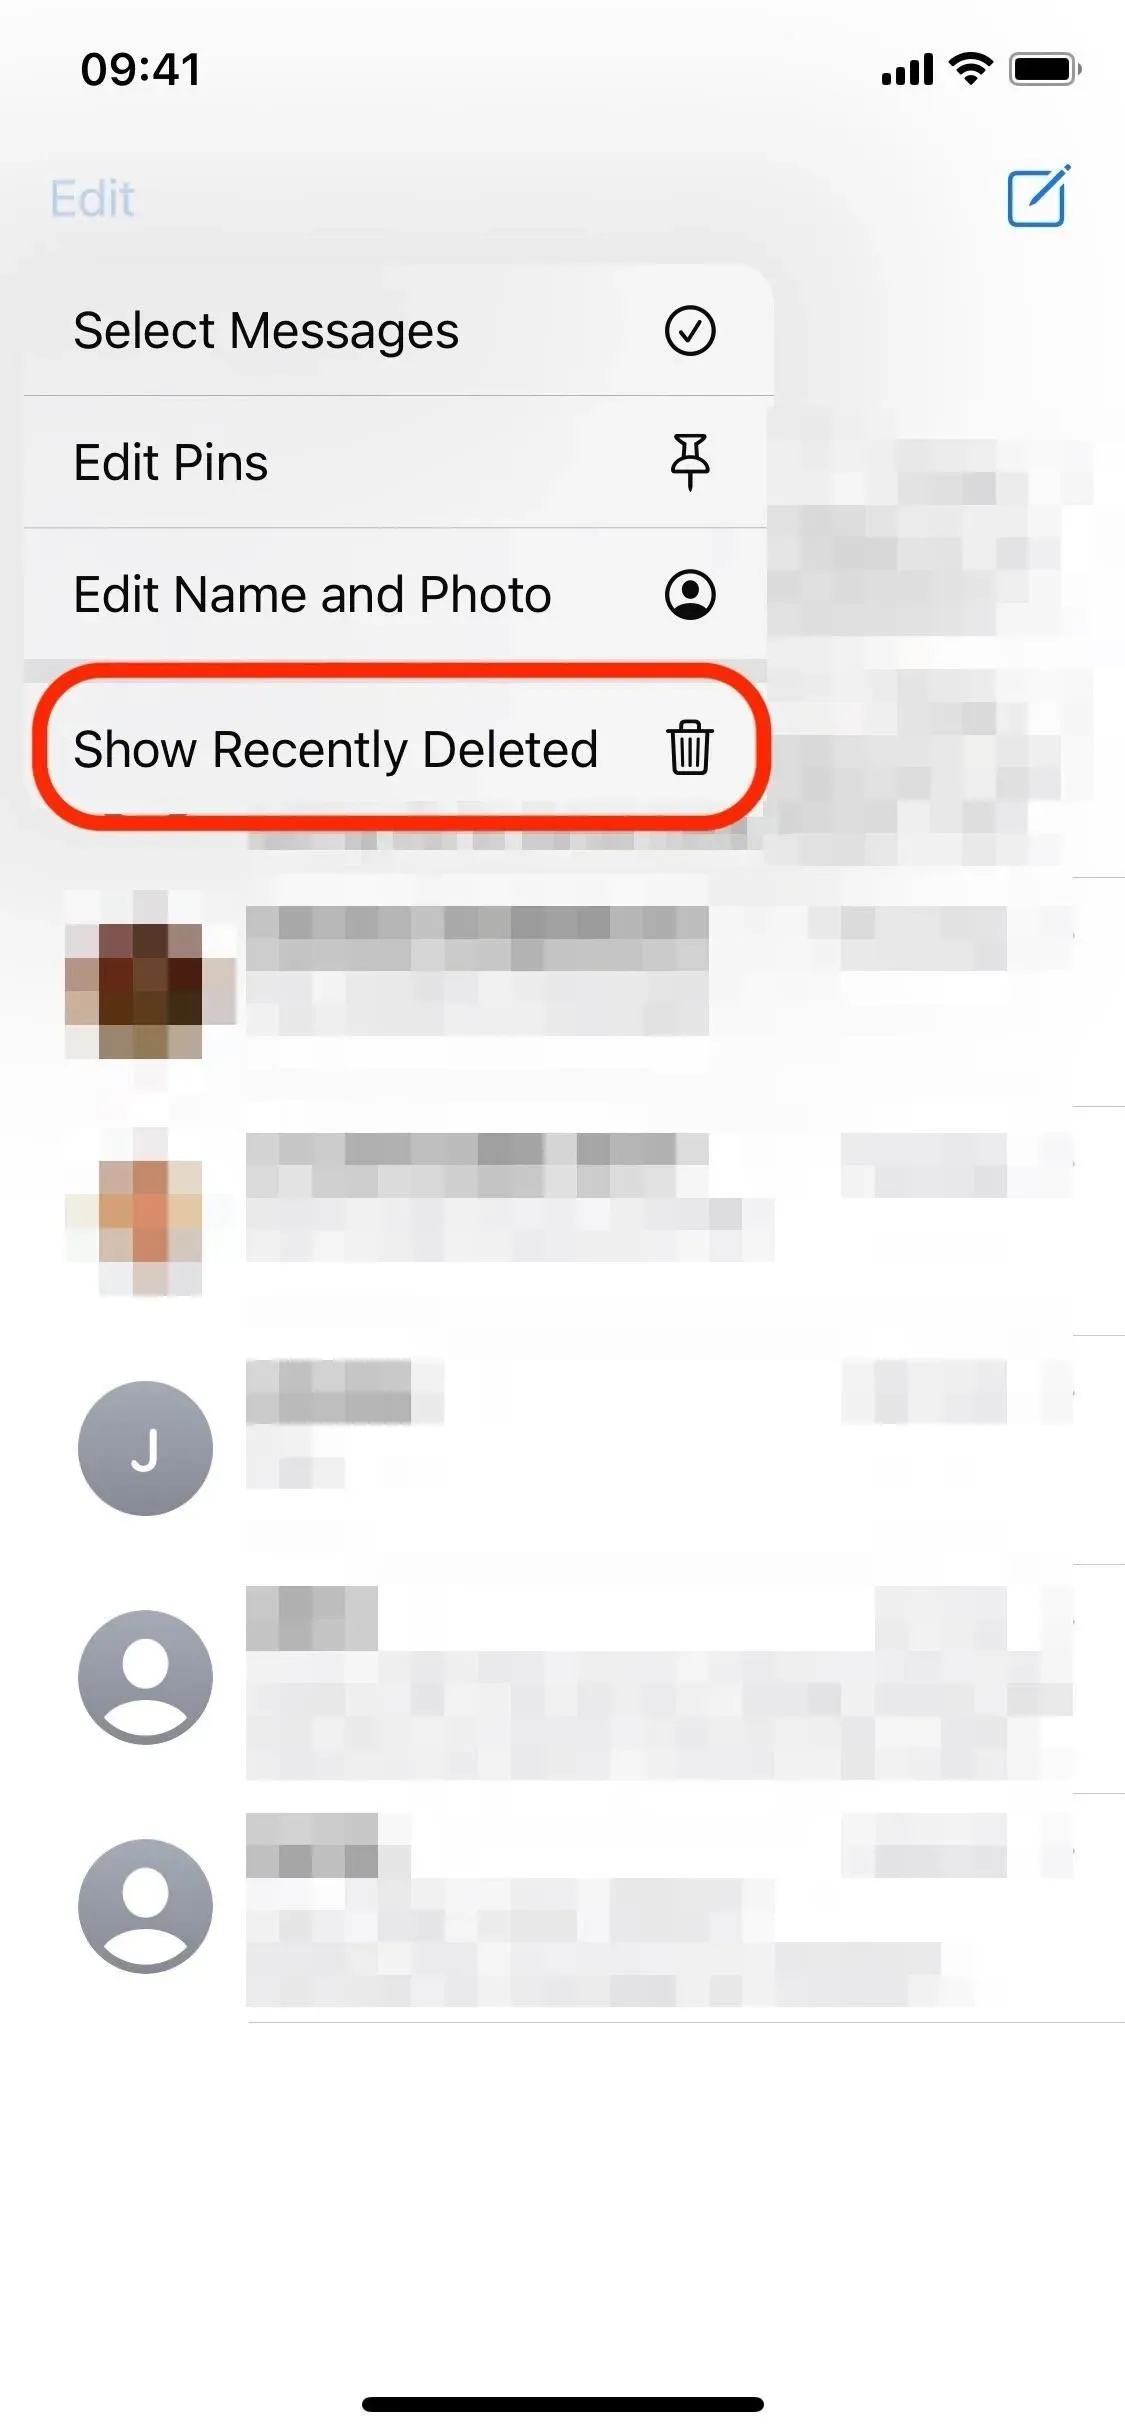
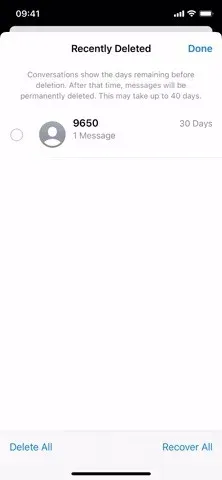
Click Edit (left), Show Recently Deleted (middle), then manage messages (right).
If “Filter unknown senders”is enabled in Settings -> Messages, the process looks a little different. The “Recently Deleted”section appears under “Filters”after you’ve deleted one or more messages. To access it, tap Filters in your conversation list or swipe right from the left side of the screen.
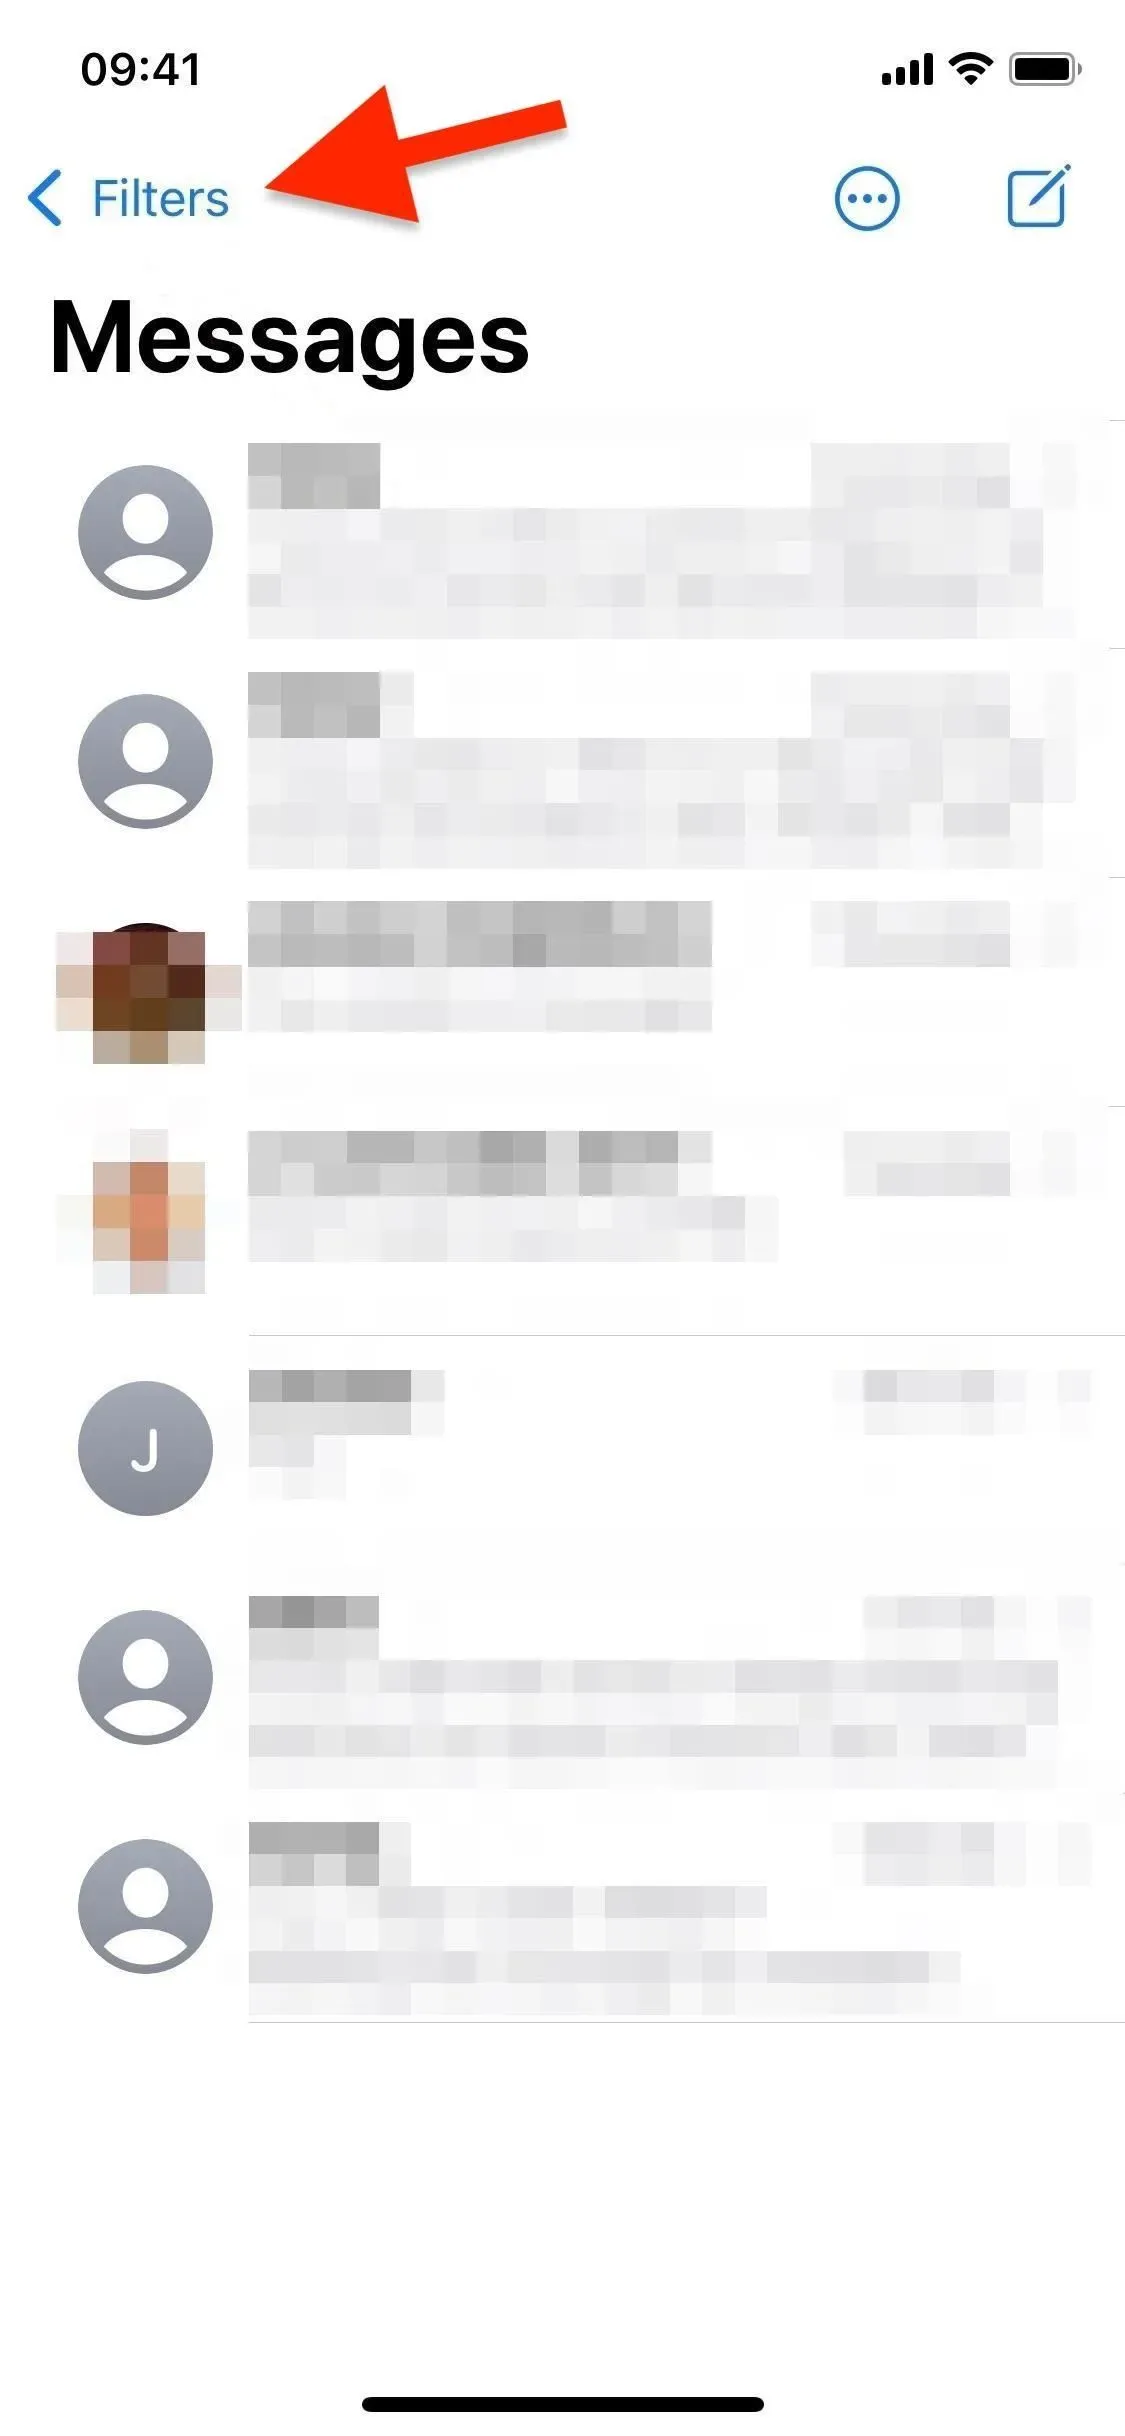
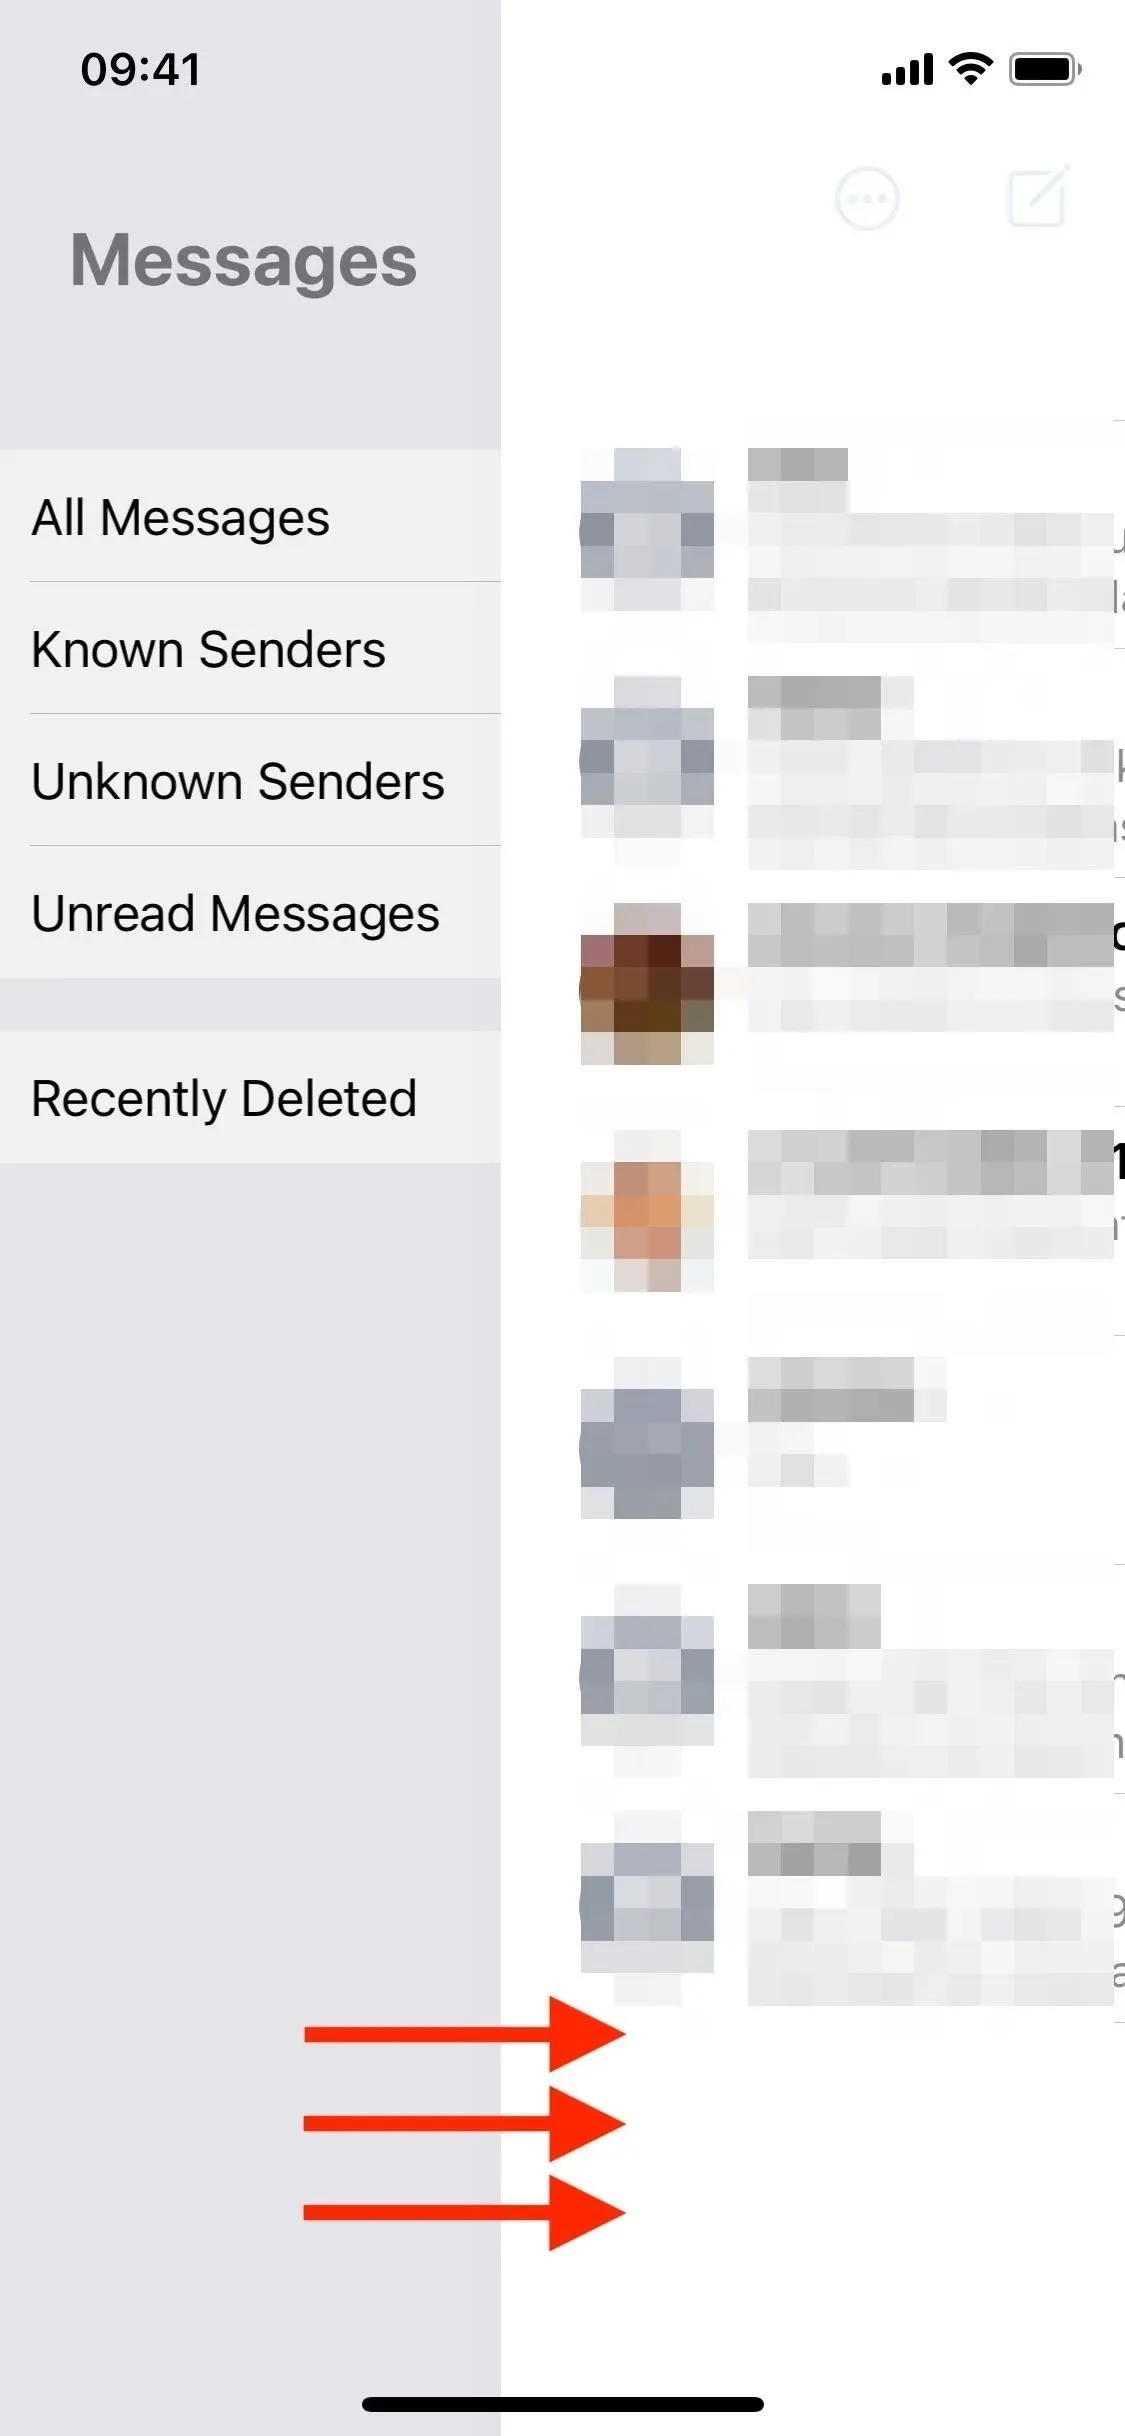
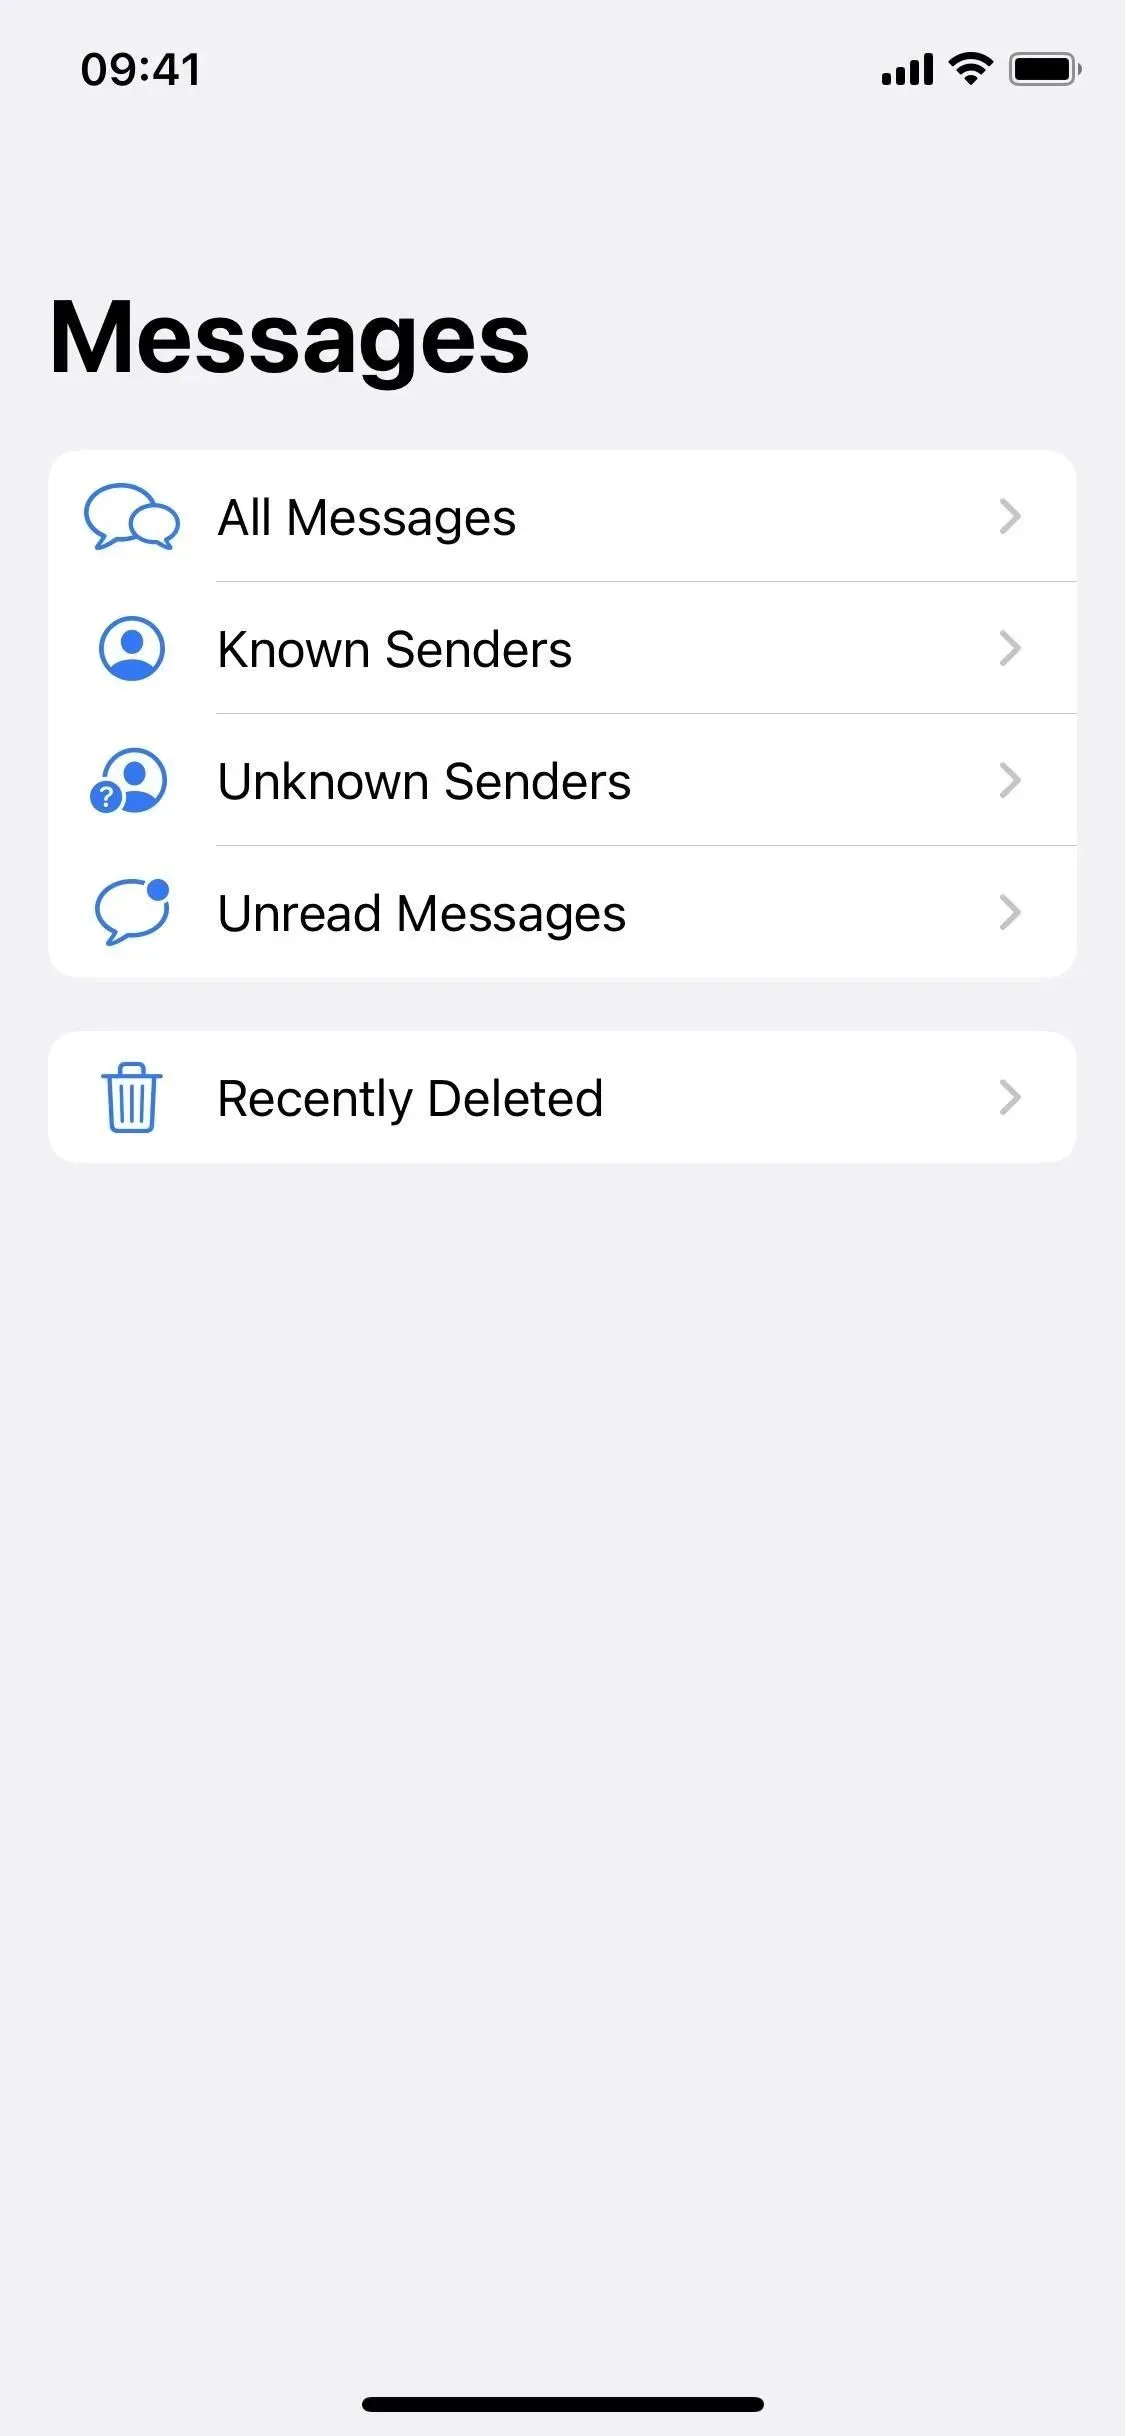
Tap Filters (left) or swipe right (middle), then select Recently Deleted (right).
Use Recently Deleted Messages on Mac
In macOS 13 Ventura, the process works differently. To access deleted messages, click View in the menu bar, then choose Recently Deleted.
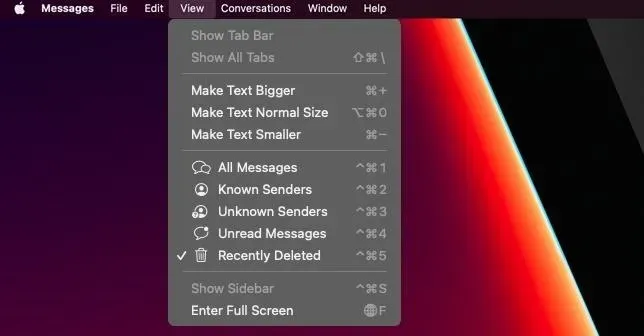
Here you can manage them before your software goes into management after 30 days. This is slightly different from iOS 16 and iPadOS 16 as there is no Delete All or Restore All button. Instead, you can select a single message (click), multiple messages (Command click), or a group of messages (Select click).
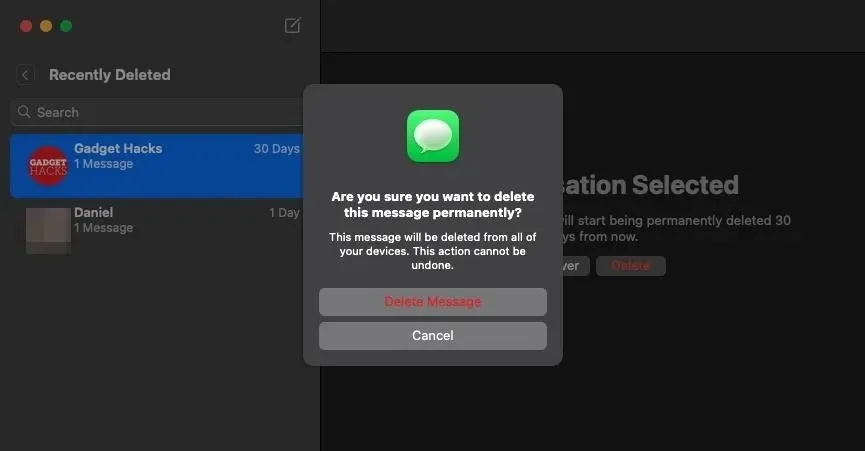
You can then choose “Delete”or “Restore”to affect all selected content.
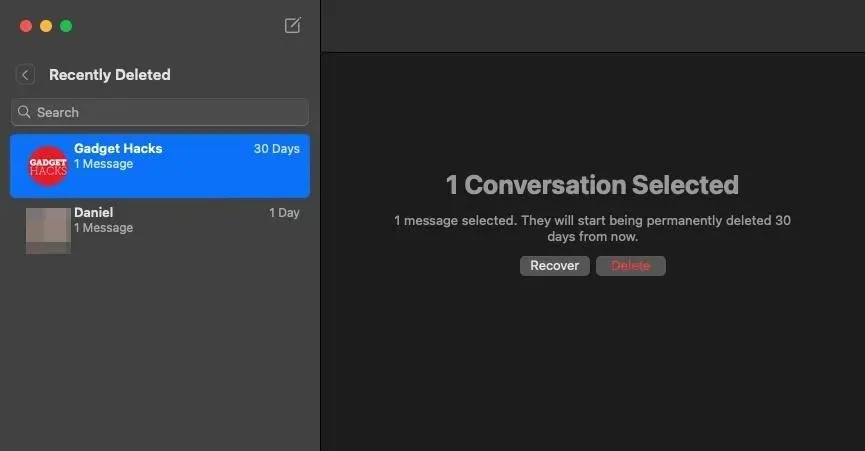
And then “Delete [#] messages”or “Restore [#] messages”in the confirmation prompt.
Unfortunately, you won’t be able to block the “Recently Deleted”text in the same way that you can in the Photos app for recently deleted images. Apple made your “Recently Deleted”photos locked by default in iOS 16 and iPadOS 16, but they didn’t offer such a feature in the Messages app.
Leave a Reply