How to install Bonelab mods

Bonelab is an experimental physics and action VR game from Stress Level Zero. This game involves exploring a mysterious laboratory filled with various challenges, secrets and enemies. With a wide range of modding tools, you can add your own style to the game. But some players who are new to modding have absolutely no idea how to add mods to the game. So, check out our guide to installing mods in Bonelabs.
How to install mods in Bonelab (Quest 2 and PC)
You can add mods by going to the mods section in the lab. When you head there, you will find a modification machine. To install mods, follow these steps:
- You need to select the “Download”option to install the downloaded mods.
- Then select the option “I understand”and “Accept the chaos.”
- You will see various mod options, namely:
- Play
- Installed mods
- Approved mods
- External mods
- Settings
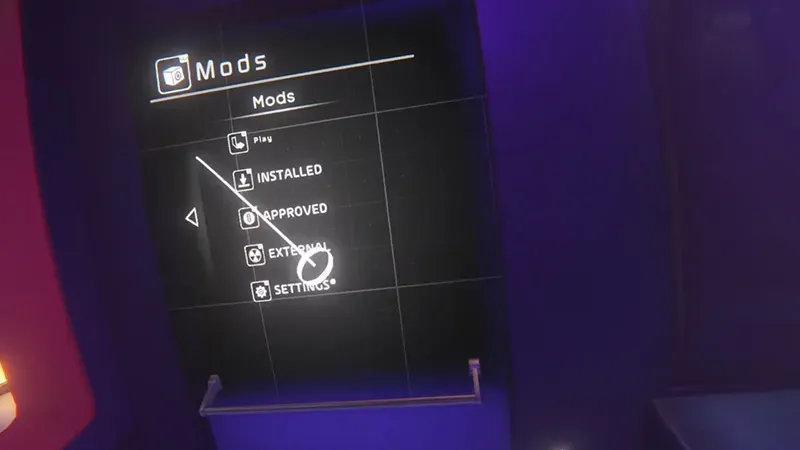
Image source: Schmitto on YouTube.
- While installed mods are preloaded, approved mods are those offered by the game itself.
- For external mods, you need to download the mods manually.
- You can find a bunch of mods on the Mod.io website (link).
- All you have to do is download these mods and move them to the Mods folder in Bonelab.
- The default file directory for this folder is: AppData/Locallow/Stress Level Zero/Project 4/Bonelab/Mods.
Since the modding feature is in development, there is a potential for a glitch. But you can safely install Approved Mods without any risk. This is because they are approved by the Stress Level Zero studio itself. With these mods, you can add Quick Season and Hover Junkers avatars to the game.
That’s all for installing Bonelab mods.
Leave a Reply