How to enable dark mode in Microsoft Outlook

You can enable dark mode in Microsoft Outlook to make the application look aesthetically pleasing. This not only looks aesthetically pleasing, but also reduces eye strain. Whether it’s any device, Windows, macOS, Android, or iOS, Outlook lets you turn dark mode on and off on all of them. If you are looking for a way to enable dark mode in Microsoft Outlook, then you have come to the right place. This guide will help you enable dark mode in Microsoft Outlook; let’s see how you can do it.
Content:
Enable Dark Mode in Microsoft Outlook
Microsoft Outlook is available for a variety of platforms including Mac, Windows, Android, iOS, and the web. In this article, we discussed the steps to enable dark mode in Outlook on all platforms.
Turn on dark mode in Outlook on Windows
If you are using the Microsoft Outlook app on your Windows PC and want to enable dark mode on it, follow these steps:
- Press the Windows key on your keyboard and then search for Microsoft Outlook in the Start menu. Click on the first option in the search results to open the Microsoft Outlook application.
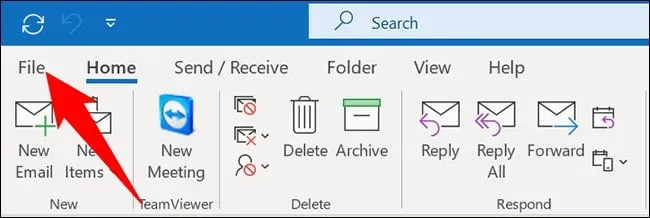
- In the Outlook application window , click the File button .
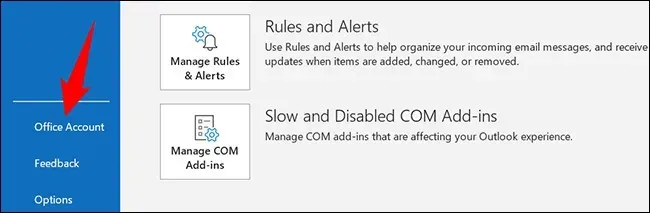
- Now, on the left sidebar, click on the Office Account option.
- On the right side, you will see the Office Theme option. Click the dropdown menu right below this option and select Black .
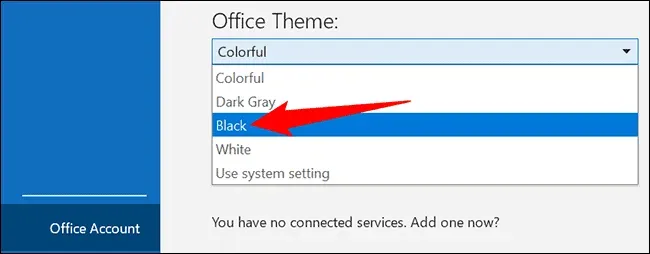
- This will enable dark mode in Microsoft Outlook on your Windows PC.
If you want to turn off Dark Mode in Microsoft Outlook, click the drop-down menu under Office Theme and select White . This will disable dark mode in Outlook app.
Enable Dark Mode in Outlook on Mac
There is no option to enable dark mode in Microsoft Outlook on Mac. You can’t enable dark mode in Outlook from within the app, so if you want to do that, you’ll have to enable dark mode on Mac. You can follow the steps given below to enable dark mode on Mac.
- Click on the Control Center icon in the upper right corner of the screen.
- In the Control Center, click on the Screen option.
- Now tap on the dark mode icon to turn it on.
- After enabling dark mode on your Mac, open the Outlook app. You will see that the Outlook app is now displayed in dark mode.
Turn on dark mode in Outlook on the web
If you’re using the Outlook website, you can also enable dark mode on it. To do this, follow the steps given below:
- Open a browser and visit the Outlook website by clicking here.
- You will now need to sign into your Outlook account; once you’ve done that, you can continue.
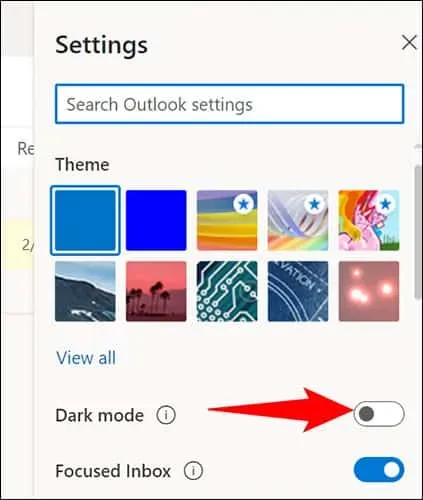
- On the Outlook toolbar, click the Settings icon in the top right corner.
- Here, turn on the dark mode toggle to enable dark mode.
Enable Outlook Dark Mode on Mobile or Tablet (Android/iOS)
If you have Outlook on your mobile phone or tablet and want to enable dark mode on it, you can do so by following these steps:
- Open the Outlook app on your phone/tablet. Make sure you are signed in to your account to continue.
- Here, click on the profile icon in the top left corner.
- From the menu that opens, tap the Settings icon.
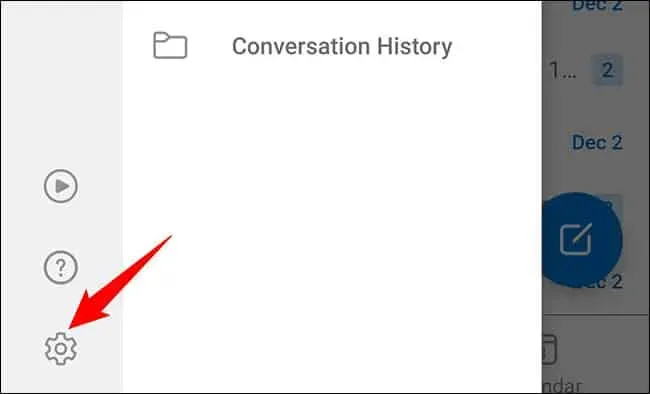
- In the settings , tap the” Settings “option. Click on the Appearance option.

- Here you will see three options:
- Light – This setting enables Light Mode in Outlook.
- Dark. This setting enables dark mode in the Outlook application.
- System – With this option, Outlook will use the look and feel of your phone. If you have enabled system-wide dark mode, dark mode will be enabled in Outlook, and if you have light mode enabled, Outlook will appear in light mode.
- Select “Dark “to put the Outlook app in dark mode. You can select the” System “option if you have system-wide dark mode enabled on your phone.

Final words
If you want to enable dark mode in Microsoft Outlook, this article will help you. We’ve discussed the steps to enable dark mode in the Outlook app on various platforms including Windows, Mac, web, and mobile devices. We hope you find this article helpful, and if you run into problems with any of the steps mentioned above, you can contact us in the comments section below.
Leave a Reply