How to Record a Zoom Meeting on Chromebook
These days, many people choose to use Zoom on their Chromebook to attend their meetings. This is because Chromebooks are much cheaper compared to Windows or macOS PCs, and they can be very useful for small tasks like attending conferences or taking notes. When using Zoom on a Chromebook, some interface elements may differ from Zoom on a PC or Mac. Many users have reported that there is no recording option in the Zoom app on Chromebook. Because of this, they can’t record a meeting at scale on a Chromebook.
Content:
- 1 Record Zoom meeting on Chromebook
- 2 Why is there no record button on Zoom In Chromebook?
- 3 Record a Zoom meeting on a Chromebook
- 4 Outcome
Record a Zoom meeting on a Chromebook
If you are unable to record Zoom meeting on Chromebook, this article will help you. In this article, we will discuss how you can record a Zoom meeting on Chromebook.
Why is there no record button on Zoom In Chromebook?
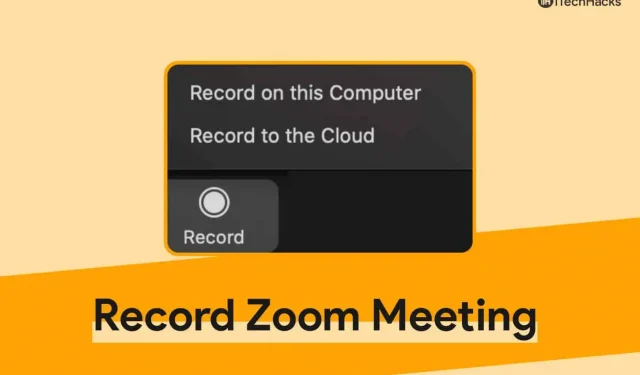
Zoom on a Windows PC or Mac is very similar to a Chromebook, but the only thing it lacks is the record buttons. When using the Zoom app on PC, you’ll get a record button on a free or paid account. Users using a free Zoom account on a regular PC will be able to record their meetings locally. However, if users have the paid version of Zoom, they will have the option to record the session locally and in the cloud.
But when it comes to using Zoom on a Chromebook, you’ll see that there’s no record button on Zoom if you’re using a free account. There will be a record button when using a paid Zoom account, but this will only allow you to record meetings and save them to the cloud. There will be no option for people using Zoom on a Chromebook to record meetings, and users with a paid account will only be able to record their meetings in the cloud. Chromebooks don’t have an option to allow users to record appointments locally.
Recording a Zoom Meeting on a Chromebook
Now that you know how Zoom on Chromebook is different from Zoom on Windows PC and Mac and why there is no record button, we can proceed with the Zoom meeting recording process. To record a Zoom meeting on your device, follow these steps:
- Open the Zoom app on your Chromebook. Make sure you have a paid or educational Zoom account before you can record Zoom meetings.

- Connect to the meeting you want to record.
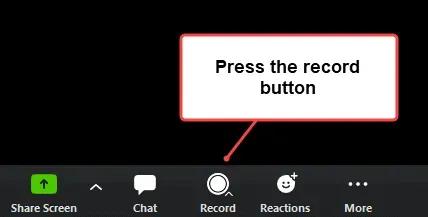
- Now go to the meeting toolbar in the Zoom app and you will see a Record button here.
- Click the Record button to start recording your Zoom meeting.
- When you click the Record button , you won’t have the option to save the file because the recordings will be automatically saved to the cloud.
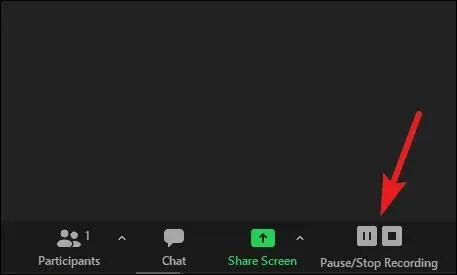
- It will be possible to pause or stop the recording at any time. Just go to the meeting toolbar and click the Pause button to pause the recording and click the Stop button to stop the recording.
- After the meeting ends or after you stop recording, you can access it from the Zoom web portal.
- To access the recording, go to the Zoom website . Log in with your account here.
- Now in the left menu, go to the Personal section and click on Posts. Here you will see two recording options: cloud recordings and local recordings.
- Go to Cloud Recordings. You will be prompted to enter the date you recorded the Zoom meeting.
- Select a date range and status, and then click “Search”to get the entry. You can search for an entry by ID if you know it.
- You can also download Zoom recordings locally. Click” More “next to the Zoom entry and click “Download”to download the Zoom file.
bottom line
This is how you can record a Zoom meeting on Chromebook without problems. You will also be able to download the Zoom meeting you have recorded in the cloud. However, before following the above steps, you need to make sure that you are using a paid account and only then will you be able to record a Zoom meeting.
Leave a Reply