Minecraft: how to download and install the lunar client

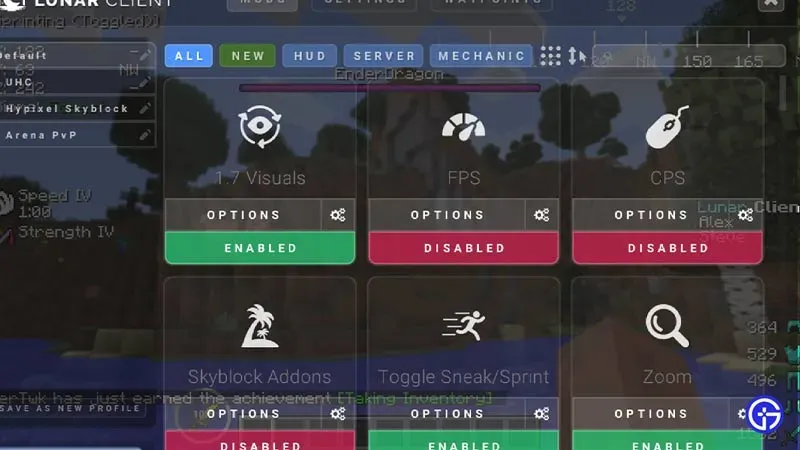
If you play Minecraft, you should download the Lunar Client and give it a try. This is a modpack that supports all modern versions of Minecraft. You just get an optimized PvP client for different versions of Minecraft. Many players use it primarily to improve FPS and performance, but you can also try mods to change the HUD, add a crosshair, and more. So, in this guide, let’s check how to download and install Lunar Client for Minecraft.
How to download moon client for minecraft

You can download Lunar Client for Windows, macOS and Linux from the official website.
- Find the Lunar Client.
- Click the Big Upload button in the top right corner of the screen.
- This will give you 3 options Windows, macOS and Linux.
- For Windows, it supports Windows 7 and above. macOS gives you two options to download from Intel and Apple depending on your machine. And finally, you can download the Lunar Client for Linux as an AppImage.
- Finally, click the download button for your system and it will download the Lunar Client.
The installation procedure will vary depending on your machine. Here is how you can install the Lunar Client.
How to install the lunar client on Windows
- Change to the directory where you downloaded the Lunar Client for Windows.
- Double click the installer to start the installation.
- Click “I agree”after reading the license agreement.
- The installer will begin the installation process.
- Once it is completed, it will be installed on your Windows.
Works with both 64-bit and 32-bit versions of Windows.
Install on Lunar Client on macOS
You can install Lunar Client on your Mac if it is El Capitan or higher. The process is the same as for Windows.
- Open the installer file to start installing it.
- Click “Agree”after reading the Agreement.
- Finally, when the installation is complete, drag the Lunar client icon to your Applications folder.
- Now find Lunar Client and you can start using it.
How to install on Linux
There are two ways to install Lunar Client on Linux.
- Using Commands
- Open a command line tool.
- Change to the directory where you downloaded the Lunar Client using the ch (directory name) command. For example, Downloads from CD.
- Then enter the following command: chmod u+x. /(here is the file name). This will give it read and write permissions. For example, chmod u+x. /Lunar Client v2.12.7.AppImage
- Finally, launch the game by typing. /(file name). For example,. /Lunar Client v2.12.7.AppImage.
- Run as executable
- Launch file manager.
- Find where you downloaded the Lunar Client file.
- Right click on it and go to properties.
- Here click “Permissions”.
- Check the last option which says “Allow file to be executed as a program”.
- Double click on it and you can use it like a regular app.
That covers this guide on how to download and install the Lunar Client for Minecraft on Windows, macOS and Linux.
Leave a Reply