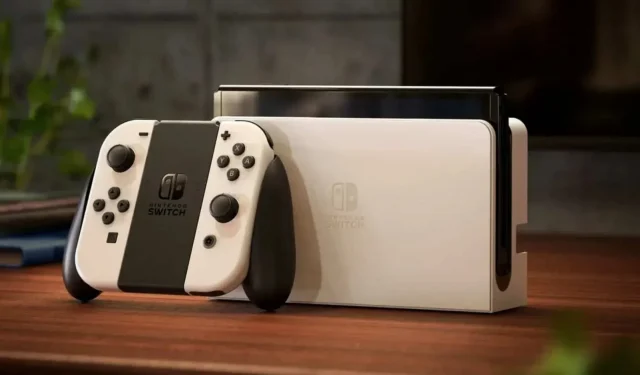
Nintendo Switch OLED: how to set up your new console

If you just had a Nintendo Switch OLED screen and don’t know how to set it up, here’s what you need to know.
Whether you’ve had a Nintendo Switch OLED under the tree or just bought one, once the console is unboxed and plugged in, it’s time to set everything up with your account information and the game data you want. Perhaps you have. Some consoles even come with enough battery to play right out of the box.
Press the power button for the first time and you will see a short introductory video about Nintendo Switch. Then there are the various configuration screens. First of all, the choice of language, at least 12 options. Then the region of the globe – America, Europe, Asia, etc. -. Next, Nintendo’s terms of service, read or not.
Then comes the Wi-Fi setup. Unlike the Xbox Series and PS5, the Switch does not have an Ethernet port, but the new version of the OLED Switch dock does. It’s nice compared to the original version that didn’t have it, gamers had to buy a USB to LAN adapter in order to use a wired connection.
On the next screen, you can set the time zone. Not only will you see different areas, but you will also have different cities in those time zones to find the closest one to you.
The first optional step in setting up this OLED switch is asking you to connect your console to your TV. Since the switcher can be connected to play on a TV or used in portable console mode, you can check the connection between the dock and TV. If you only play in handheld mode or don’t have a TV nearby, you can skip to the next step.
On the next screen, you will be prompted to turn off your Joy-Con to use them and proceed to the next screen. At this stage, you can only check the pairing of the original Joy-Con. If you want to add more, you can do so later.
Then it’s time to create or authenticate with your user account. This is a very important step, since games, saves and other data will be linked to this account. If this is your first time using Switch, you will need to create an account. Once the primary user is logged in, you can add other users now or later.
At this point, the setup process is slightly different for those who already have a Switch and for the rest. If this is your first Switch, it will be considered your primary device. If you are going to keep two consoles, this one will be considered a secondary or, as Nintendo calls it, a non-primary console. You can change this hierarchy later if necessary.
If you have two Switches, both can download games purchased from Nintendo eShop and play them as long as they are connected to the Internet. The non-primary console will not be able to play digital games if it is not connected to the internet. In fact, it’s interesting to have an OLED switch for portable mode, while the other, older model remains on the dock connected to the TV.
Return to setting. For those with their very first Switch, a screen will ask if they want to subscribe to Nintendo Switch Online, a subscription service that allows you to play online, store your saves in the cloud, and play a range of retro games. You don’t have to, of course, but if you want to play games like Mario Kart 8 online, you should. Next up is the Parental Controls screen, which allows parents to limit the amount of time their kids spend on the console and the games they can play. Nintendo also has dedicated mobile apps for iOS and Android, specifically for shutting down the console remotely.
That’s it for users setting up their first console.
On the other hand, those who already have a Switch should select “Import user data from another console”. Then a screen will appear asking if you have a console with user data or not. The system also asks if you want to keep both consoles. This process will be much easier if you answer yes to both of these questions.
You must then link the machine to your Nintendo Account, but you will definitely need to perform a system update. The switch will download the latest version from the Internet and install it. Once this is done, it will restart by itself.
Once restarted, you will need to identify yourself with your Nintendo Account via email, ID or QR code on your smartphone. The QR code opens the Nintendo Account page in the browser. This is a very simple option instead of having to enter your credentials on a small on-screen keyboard. After connecting to the browser, you will receive a verification code that must be entered on the switch.
If you move from one Switch to another, you’ll be taken straight to the Switch’s Online and Parental Controls screens. And now voila. Press the Home button and start using your new OLED Switch.
Leave a Reply