Steam Deck: how to install emulators
The Steam Deck is ideal for playing the latest games in handheld mode, but it can also be used for retro gaming. Using the emulator is pretty easy. Here’s how.
Once you’ve finished playing all the latest games on your Steam deck, you can use your handheld console as an emulator to immerse yourself in iconic games from the past. With the right software and some knowledge, you can play games from GameCube, original PlayStation, Xbox 60 or even older platforms. There’s no shortage of options when it comes to Steam Deck compatible software, but for now, we’re going with EmuDeck: pretty intuitive, easy to set up, and free. For solutions that are a bit easier to pick up, try Batocera or RetroDeck.
How to set up EmuDeck
To use EmuDeck, you need to prepare a little. A microSD card is the best option for storing your emulated games, and you’ll get the best results with a U3 A1 card like the SanDisk Extreme line.
In this tutorial, we’ll be using the Steam Deck desktop mode so we can complete the installation faster by connecting a keyboard and mouse (via Bluetooth or via a USB hub). This is not required, but it makes it easier to enter text.
Press the “Steam”button on the console, then “Power”and “Switch to desktop”. This means that you are in a traditional Linux environment. Launch the pre-installed Firefox browser and go to the EmuDeck website. Select “Download”at the top, then “Download Installer”and save the file to your desktop.
Double-click the downloaded file to start the installation. You will then have a choice: “Easy Mode”, which handles most of the configuration for you, or “Custom Mode”to select the emulators you want to install, as well as other options.
“Easy Mode”is the fastest, but the questions asked by “Custom Mode”are simple and allow you to select the emulators you are interested in. Regardless of which option you choose, you will need to select an installation folder, select a microSD card.
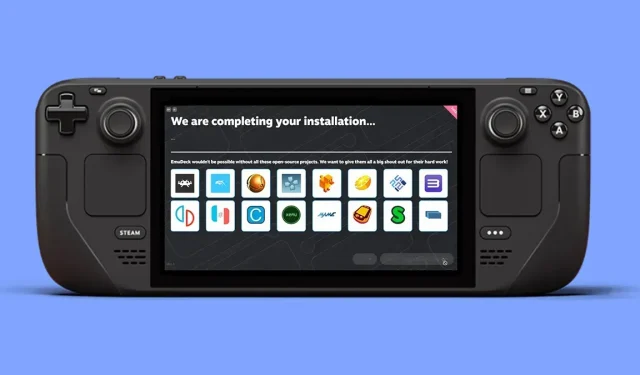
Once you are familiar with EmuDeck, you can run the setup file again to select other emulators or change the configuration. You are not stuck with your original choice. The installer will copy and prepare all the necessary files and you can start downloading games.
How to use EmuDeck
We’re not going to get into the still very hazy gray area around restoring BIOS or ROM files here, but you need both: BIOS files to run emulators and ROM files that are games. The easiest way to move these files from your computer to Steam Deck is to use external media.
You cannot use a microSD card directly because Windows and macOS cannot read such cards after being formatted in Linux. However, Steam Deck can play media files formatted in Windows and macOS, so you can connect an external drive with BIOS and ROM files to the console and copy them. You can also opt for wireless and use Windows File Sharing, for example.
On the microSD card you will find important folders: “Primaary/Emulation/bios/”for BIOS files and “Primary/Emulation/roms/”for ROMs, where “Primary”represents the name of the card itself. Each emulator has its own individual folder, it’s not difficult to find where everything goes.
Then make sure Steam Deck sees all those emulators and games. Run the EmuDeck installer again from your Linux desktop and select “Tools and Other”and “SteamRomManager”. On the next screen, a list of emulators is displayed on the left: select the ones whose games you want to see in the Steam Deck interface, or select “EmulationStationDE”to access all your emulators and games through the same item in the receive OSD menu.
Click “Preview”(top left), then “Create Application List”and the Steam ROM Manager will show you what it found. Select “Save Application List”and in a few minutes your selected emulators and games will be added to Steam. You can then open Steam on Linux and delete entries for games you don’t want to be able to access directly (right click, then “Manage”and “Remove selected non-Steam games from your library”).
Use the “Return to Game Mode”link on your Linux desktop and your games should be ready to play via the “Library”section in the standard Steam Deck interface: the ones you selected earlier will appear individually, but you can also find them all. copied via EmulationStation to your library. If something doesn’t work, repeat the step by step steps and you will find all the help you need in the EmuDeck Discord and EmuDeck Wiki.
Leave a Reply